Classifying color with a color lookup table in Photoshop
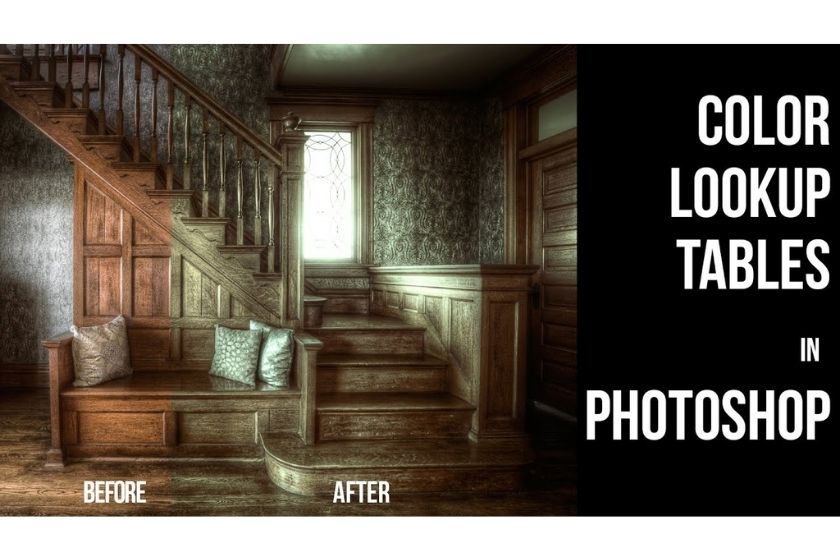
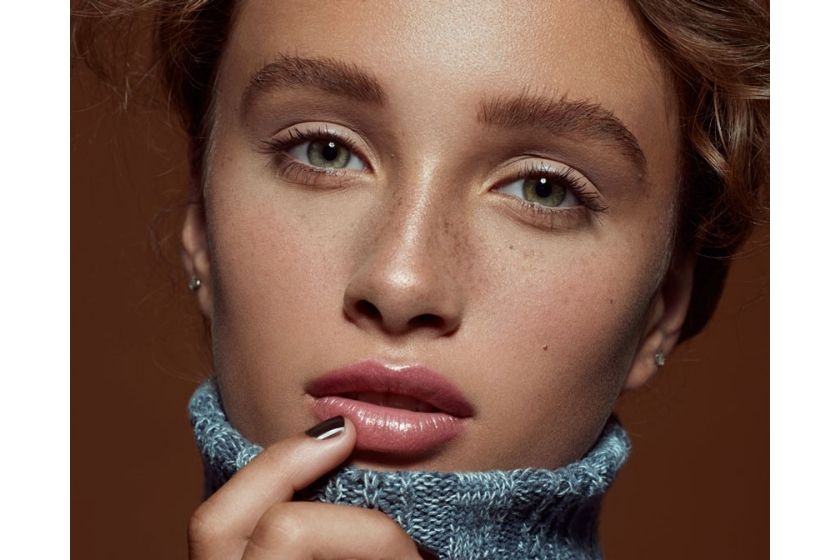
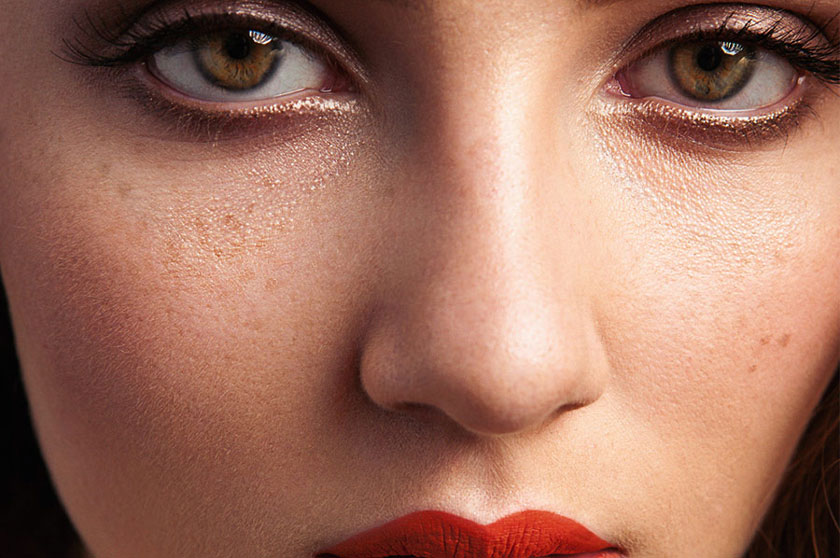
The color lookup board in Photoshop plays a very important role. LUT (Lookup tables) is considered the most useful tool for coloring and DP process. So, in the article below we will give information about how to create a simple LUT in Photoshop as well as how to control the best image color.  color LUTS Lookup tables LUT stands for Lookup Table, which is used to map one color space to another. Primarily, 3D LUT is used in the film industry to show how colors will be reproduced, after classifying color or on another display device. In Photoshop, if you want to use LUT, you need to create a color preset (3D LUT), which can be created from a set of adjustment layers to adjust the color and value of your work precisely as you wish. You can refer to the video tutorial: https://youtu.be/tImGDDurwgg to see how.
  Color classification in Photoshop To create the Color Lookup Board you must have adjustment layers above your background image, with layer masks, but no masks are made for those masks. Make sure that the background layer is locked and that it is “Rasterized” and not the Object to edit. If your bottom layer is not background, you can fix this by going to Layer => New => Background from Layer. With your locked background layer and the ready adjustment layers, click File => Export => Color Lookup Table. From there, it will ask for description, quality and format. In the tutorial, the recommended method is lowering the quality to Medium or High instead of Maximum and using CUBE instead of 3DL (CUBE is more widely accessible on other applications). Rename and save this LUT file where you want. In a new file to which you want to apply this newly created LUT, you can either open the Adjustment Layers window or select the icon from the Layers window and choose Lookup Colors. Then, next to 3DLUT File, you'll choose Load 3D LUT and choose your newly created LUT. You can also try the ones provided in Photoshop. However, if you are interested in how color is handled in your work, using a custom LUT would be a better choice.
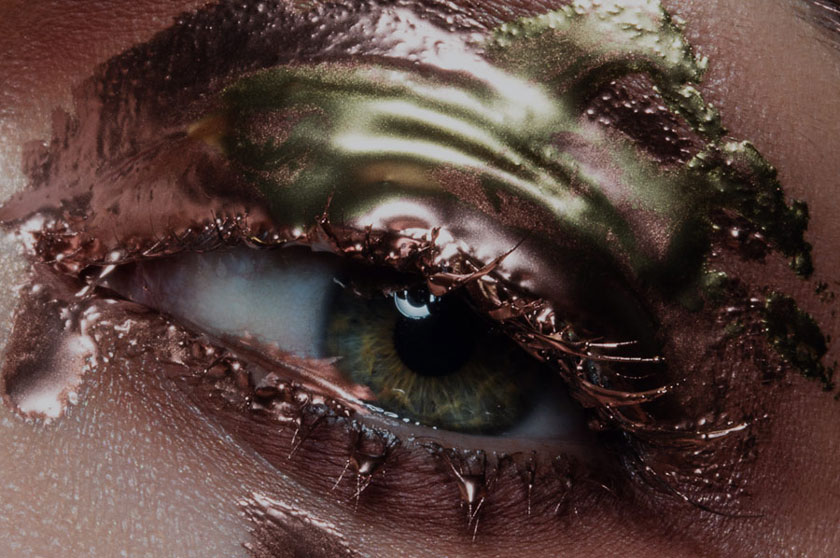
  use lut As your 3D LUT loads, you'll see all of your adjustments in a single adjustment layer, with a few additional options to make changes to how Photoshop reads those colors. You can change the Data Order from RGB to BGR, as well as Table Order, mask the adjustment with Layer Masks, and adjust the Opacity and Fill to rotate the colors exactly as you want. For photo editors, having a complete set of colors after grading means a lot. This can be an important factor in ensuring consistency on a set of images. Therefore, if you are planning to become a professional image editor, do not ignore these skills. Above is an article sharing about color classification with color lookup table in Photoshop, SaDesign Retouching hopes to help you grasp useful information. If you need advice, or use professional image editing services, please contact us by leaving a comment below the article for the fastest support. See more How to Use Select and Mask in Photoshop
About LUTs in Photoshop
To master the techniques related to color lookup tables in Photoshop, you need to define LUTs. Usually it will be displayed as 3D LUT. color LUTS Lookup tablesColor classification in Photoshop
To be able to classify colors in image editing software Photoshop, it is necessary to combine adjustment layers such as Curves, Channel Mixer, Gradient Map, Levels, Black & White and Color Balance. Instead of selecting all of those layers and repeating the layers over and over again on other files, you can create 3D LUTs from those adjustments and quickly apply them. Color classification in Photoshop use lut