Create a 2 5D Parallax Photo in Photoshop
Do you know how to make parallax 3D photo animation in Photoshop? It's a piece of cake. Stay tuned!
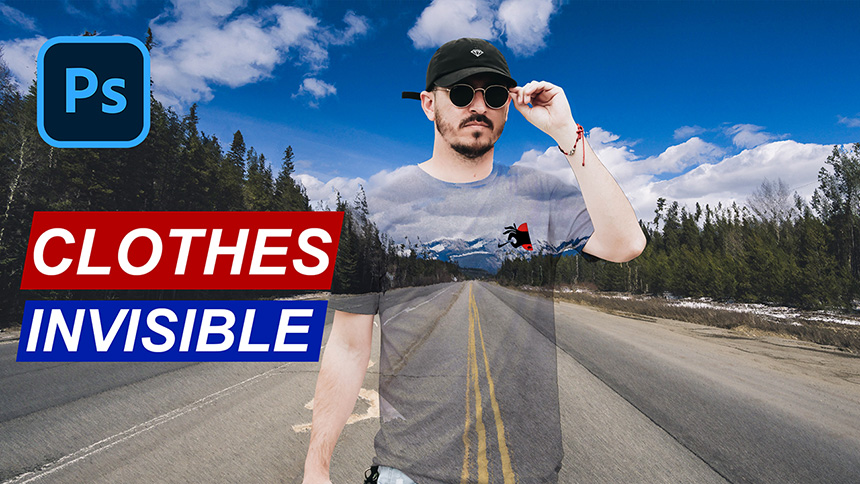
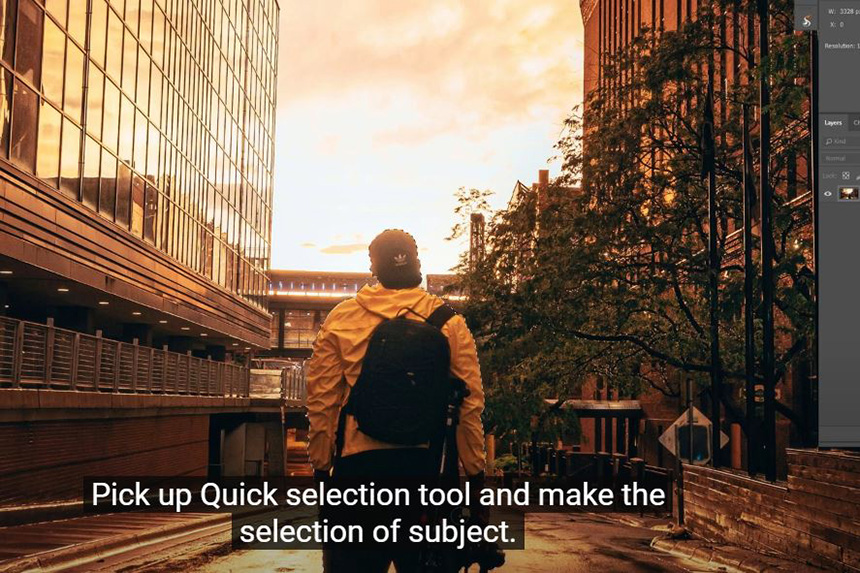
As usual, cut the subject out of the background. Pick up Quick selection tool and make the selection of subject. Hold Shift to add more selection or remove the selection with ALT.
Add feather to it by pressing SHIFT+F6, 1 pixel
Then, take the selection to new layer with CTRL or CMD+J
Hold CTRL and click to layer 1 to take the subject's selection again, turn it off.

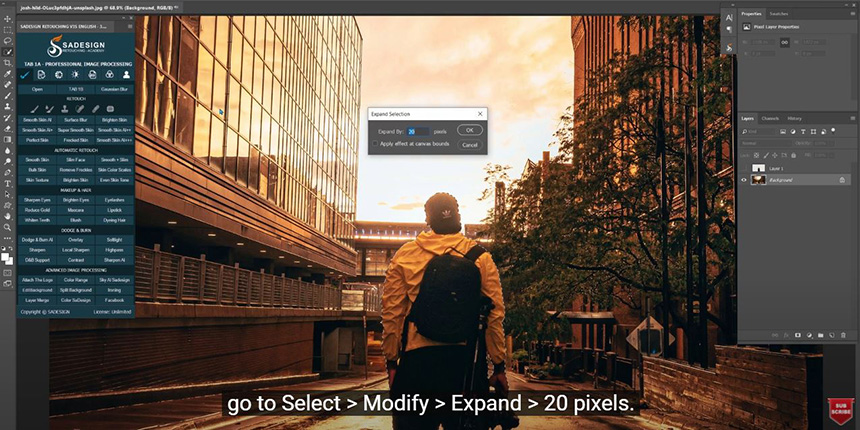
Next step, we will remove the subject in background layer, now just move to background layer, go to Select > Modify > Expand > 20 pixels. Press SHIFT+F5, choose content-aware in contents box and OK.
in Photoshop will analyze and fill the selection with contents in background. It's quite OK.
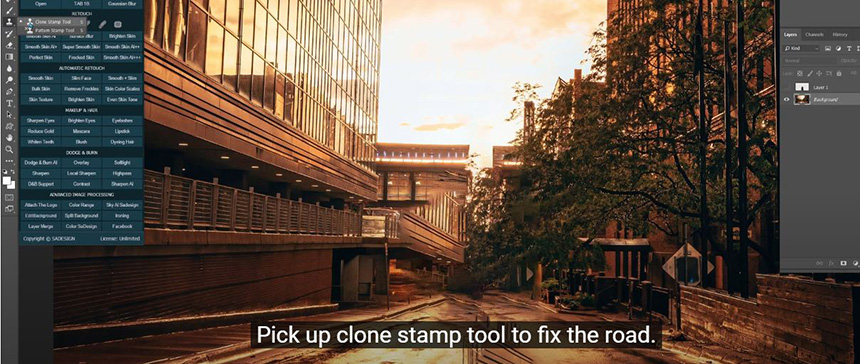
Pick up clone stamp tool to fix the road. To use this tool, you have to take the sample by hold ALT and click to the sample. Then, paint to apply the sample to the destination.
Click to lock icon to unlock the background layer.
Turn back on layer 1.
Create a new document with CTRL or CMD+N
Set width at 2560 pixels, height 1440 pixels, Resolution: 100, color mode: RGB color, background content: White and create.
Use move tool to move these layers to new document.

CTRL+T to resize it to fix the layout.
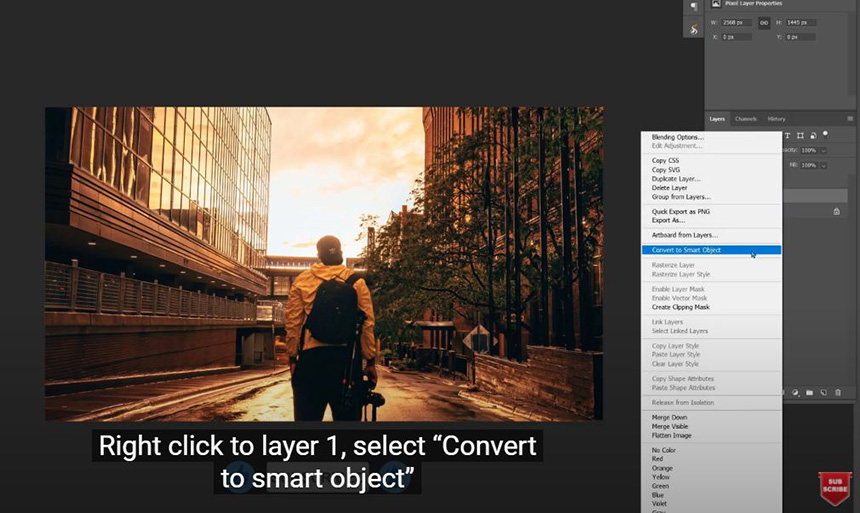
Right click to layer 1, select “Convert to smart object”
Do the same thing to layer 2 also.
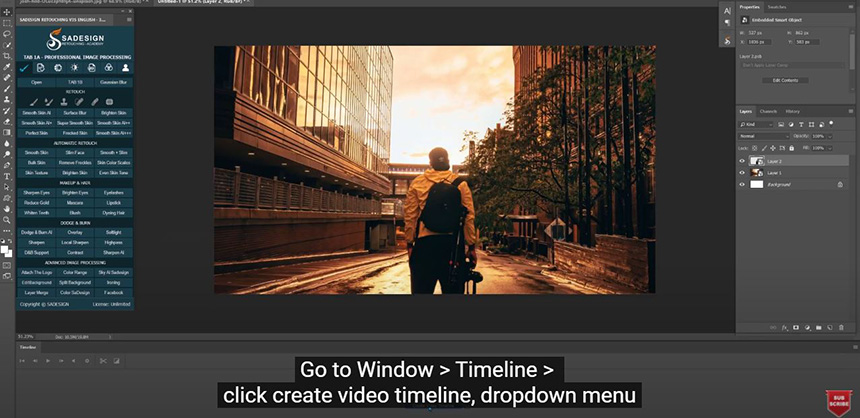
Go to Window > Timeline > click create video timeline, dropdown menu in layer 1 on the left side.
Click to the clock, to create a key frame, make sure the red line is at the beginning of the timeline.
Now, we will move the red line to the end of the timeline, then check to “auto-select” box.
Hold Shift + ALT, click to the corner and drag out to expand the background from the center. This action is for parallax 3D creation. Then Enter

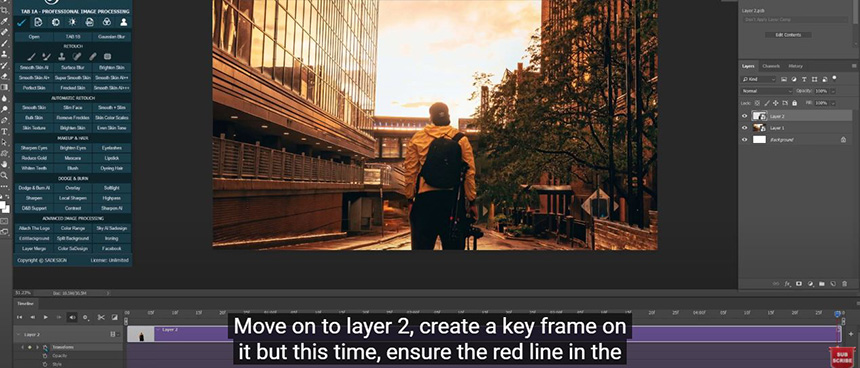
Move on to layer 2, create a key frame on it but this time, ensure the red line in the end of the line. Expand the size of the subject a bit, just like the subject is moving when we start the timeline. See how cool is it?
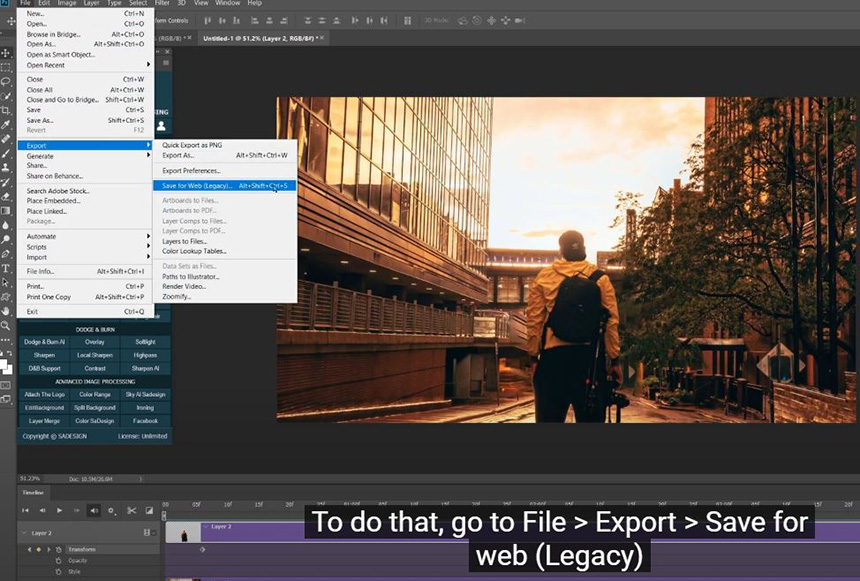
However, you can only enjoy this effect on your PTS. If you want to share this to your friends or upload in social media. You have to export it to gif file. To do that, go to File > Export > Save for web (Legacy)
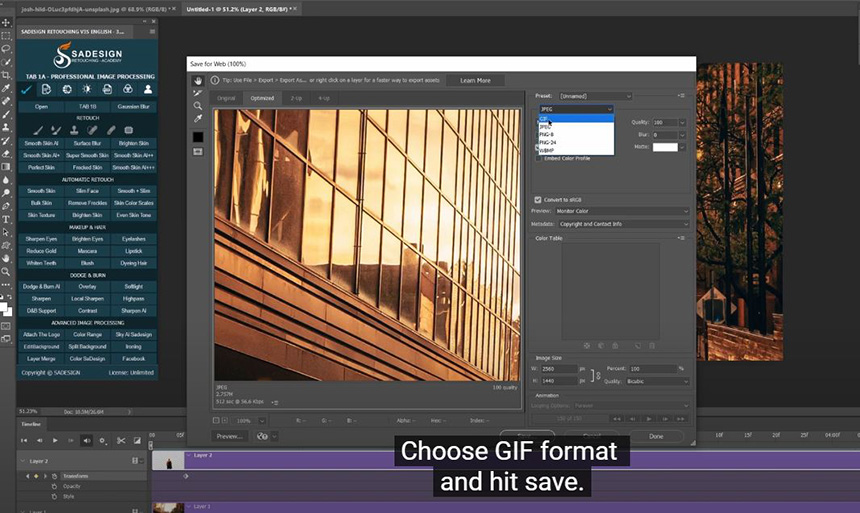
Choose GIF format and hit save. put the name and destination. Then Save it.
Now, just open the file and enjoy!
Watch the video here:
REGISTER FOR FREE PHOTOSHOP LEARNING
============================
The most powerful Retouch tool processor
DOWNLOAD:
✅ SADESIGN PANEL ENGLISH: https://sadesign.ai/retouching/
✅ SADESIGN PANEL VIETNAM: https://www.retouching.vn/