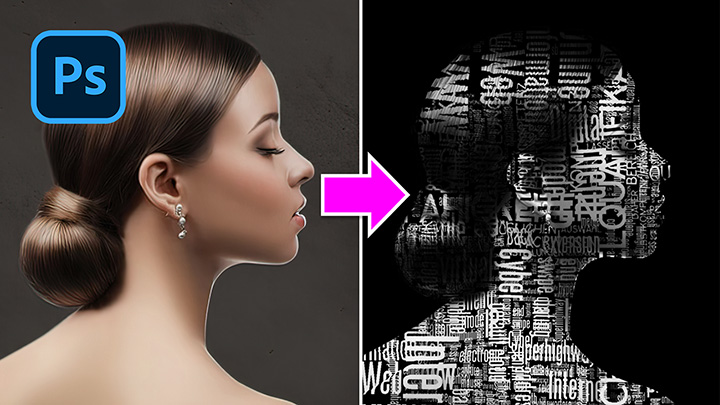
Glitch Effect on Portrait Photoshop Tutorial
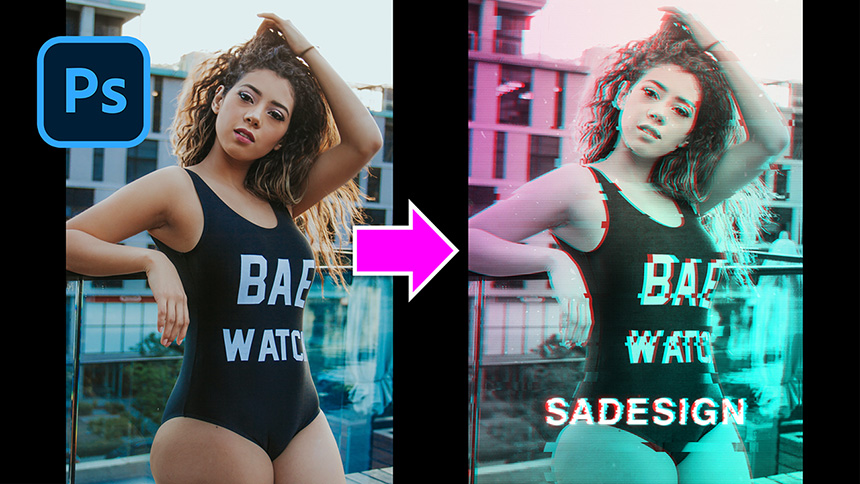
Hi there, today we will have some fun to create a unique glitch effect in Photoshop. Let’s get started!
(1). At first, remove the color of this beautiful girl to black and white by pressing CTRL or CMD + SHIFT + U, then duplicate it with CTRL or CMD + J. Click to the fx icon and select “Blending Options”, in the advance blending, we will turn off R channel which means Red.
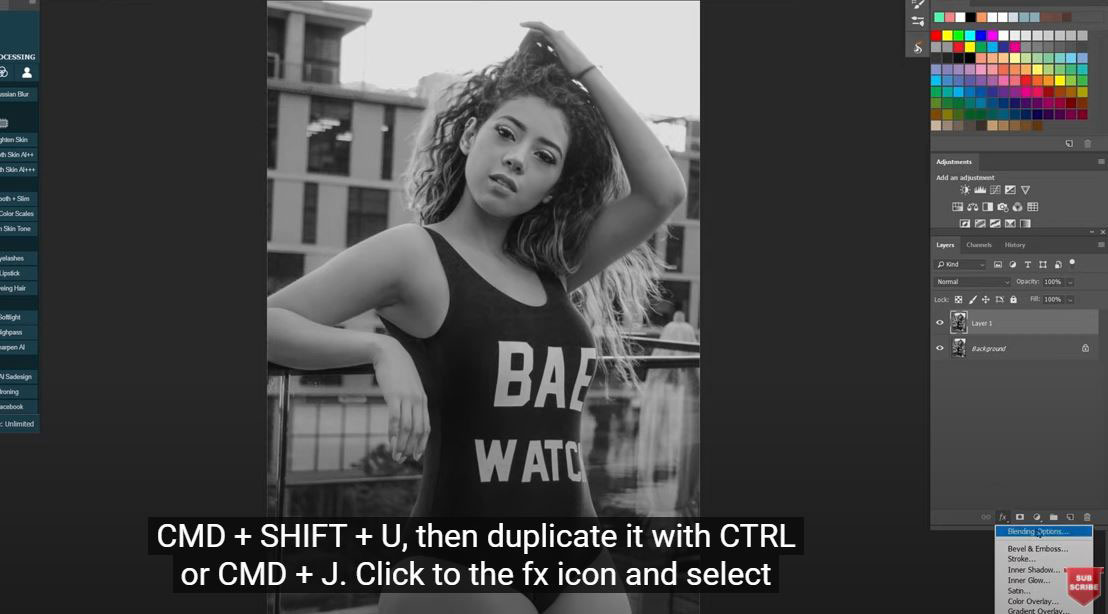
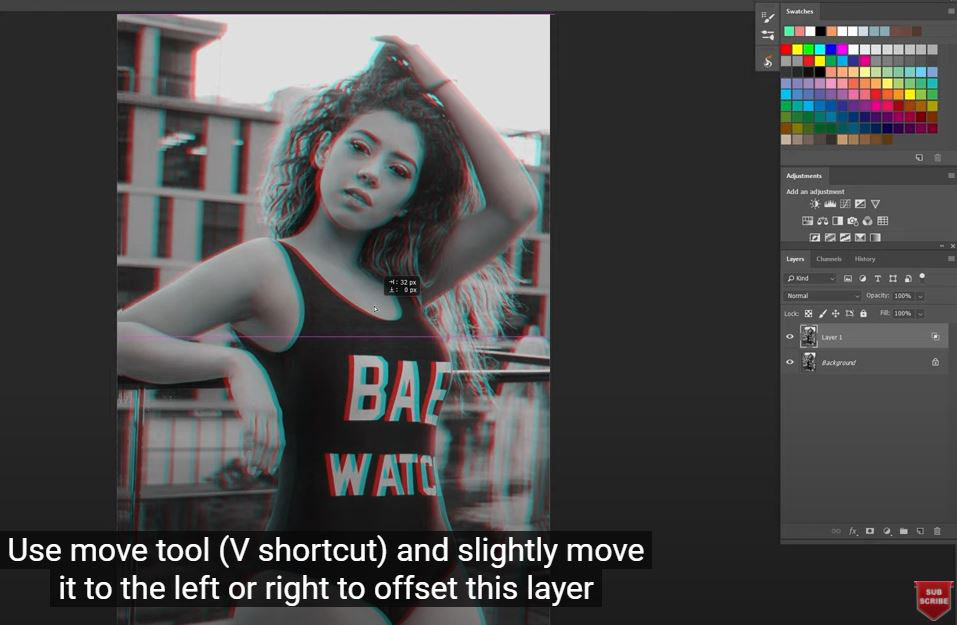
(2). Use move tool (V shortcut) and slightly move it to the left or right to offset this layer from the original. You can also use the keyboard cursor keys to move the layer. Now, you will see the anaglyph effect.
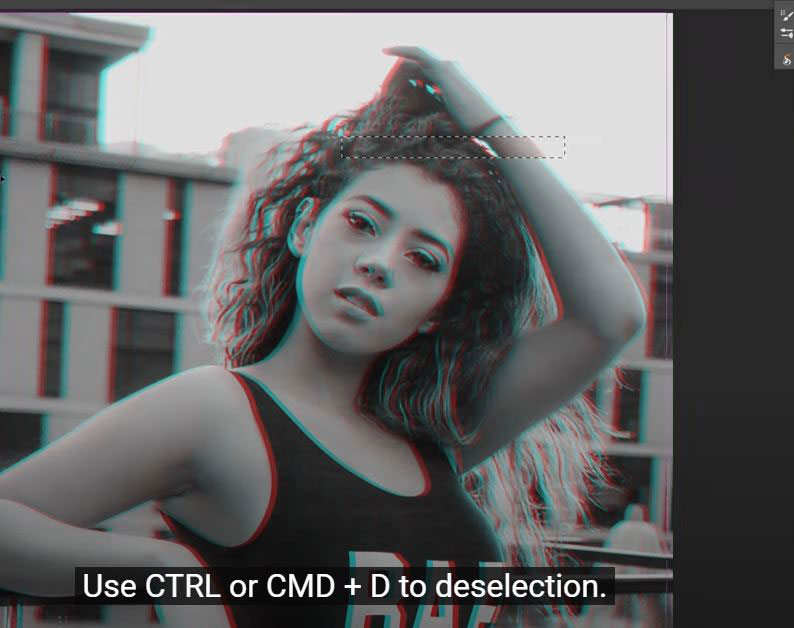
(3). Pick the rectangular marquee tool and draw a rectangle across a portion of the image. Switch back to the move tool then take this selection to the left or right to offset it. Use CTRL or CMD + D to deselection.
(4). Now, you get the ideas. Just keep repeat these steps for create the effect. You can increase or decrease the size of rectangular to make it unique.
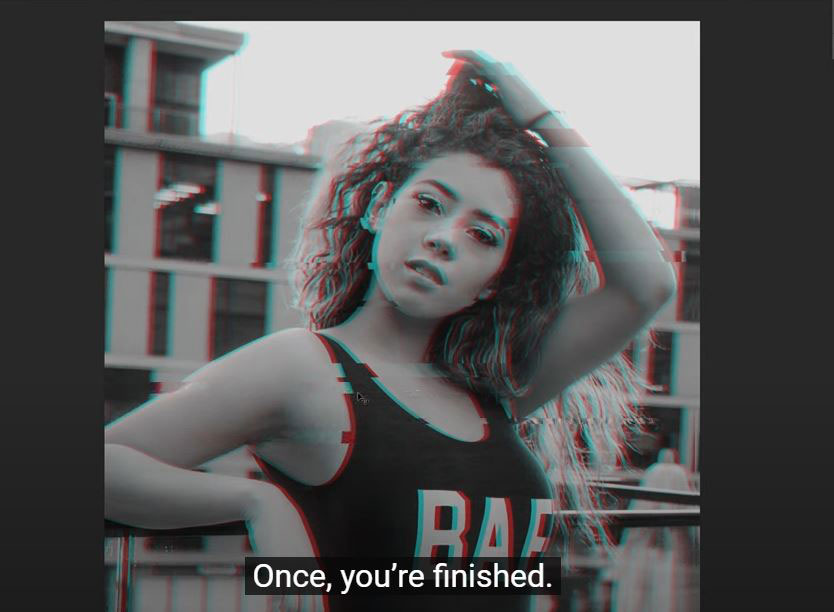
(5). Once, you’re finished. Click to the page icon to create a new layer, and fill white color to it by pressing ALT or OPTION + Delete. Before that, make sure the foreground color is white.

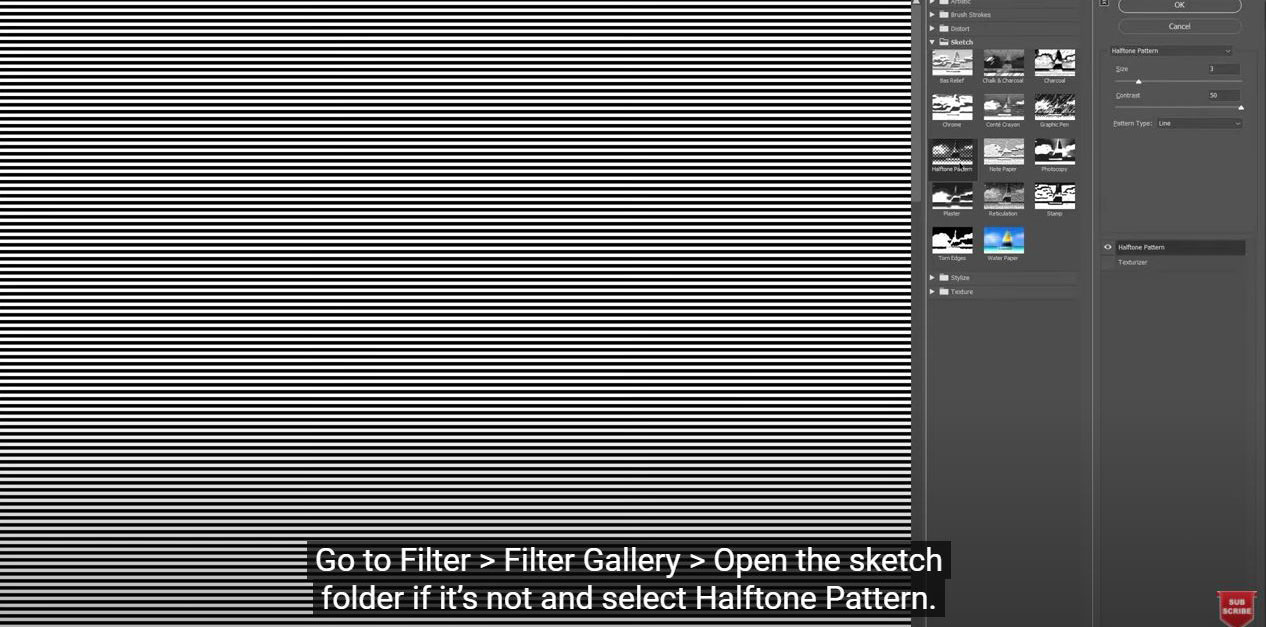
(6). Go to Filter > Filter Gallery > Open the sketch folder if it’s not and select Halftone Pattern. Ensure the pattern type is “Line”, size is 3 and contrast is 50, then OK.
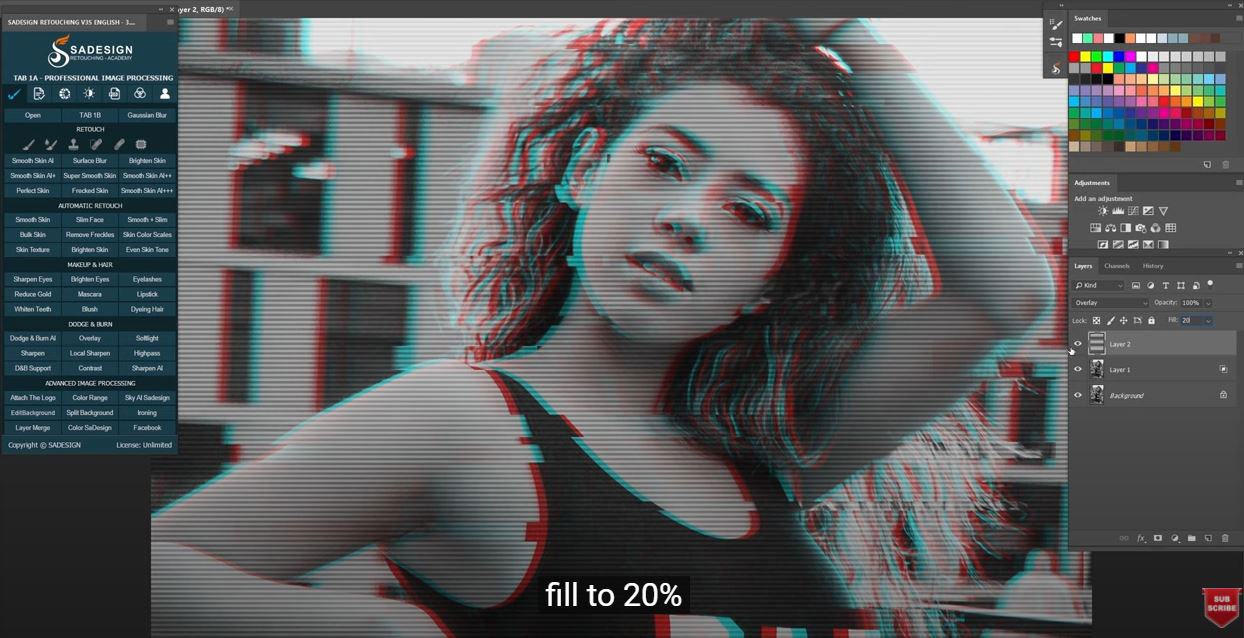
(7). Change blending mode from normal to overlay, it’s quite intense so I’ll reduce the fill to 20%
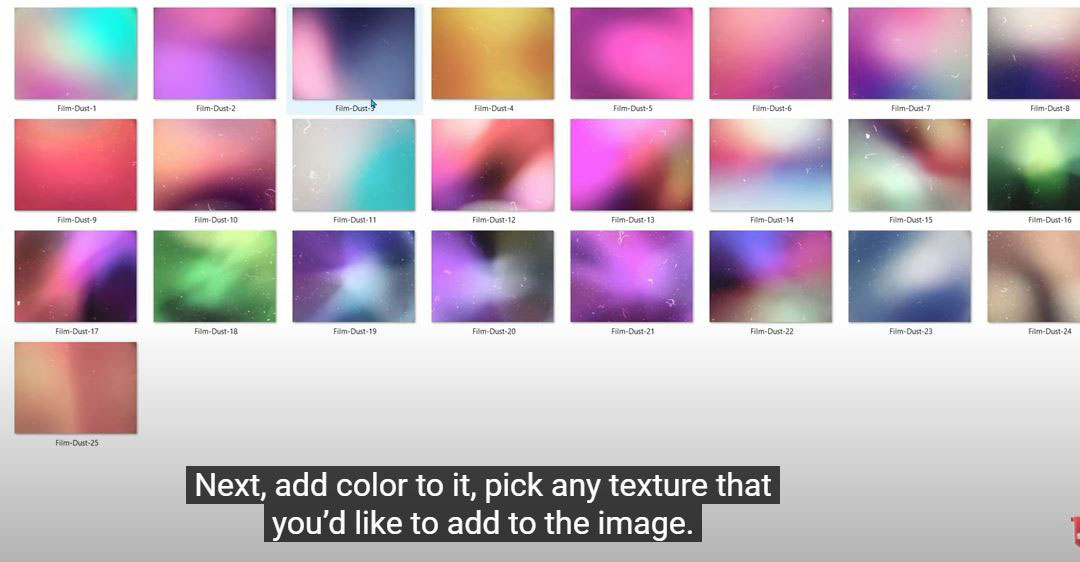
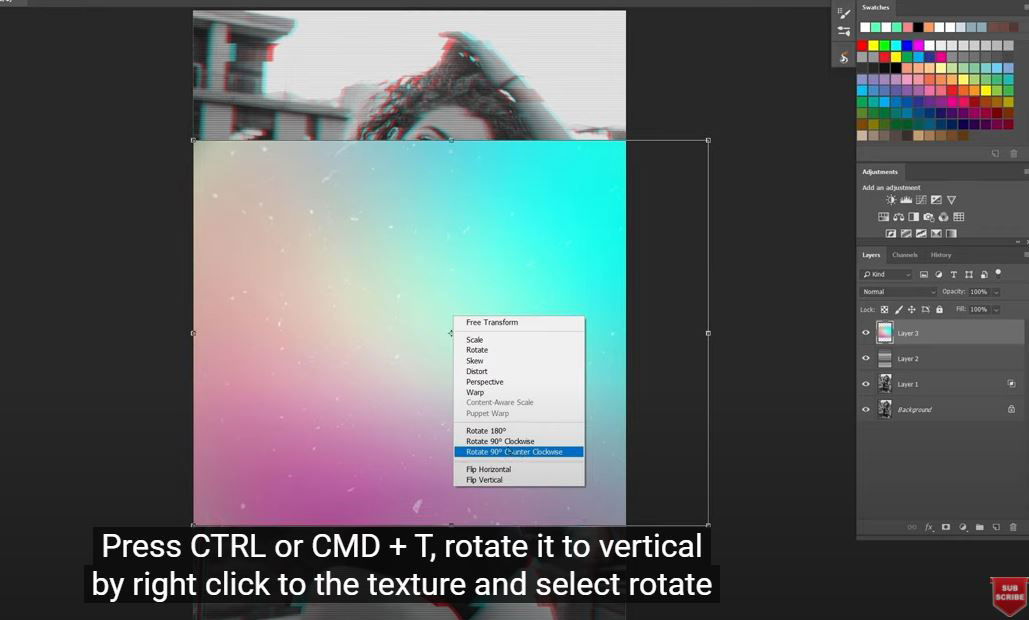
(8). Next, add color to it, pick any texture that you’d like to add to the image. I’ll take this one, just copy it to our project. Press CTRL or CMD + T, rotate it to vertical by right click to the texture and select rotate 90 degrees. Expand it to cover the photo and Enter. Just change to overlay in blending mode and see the difference.
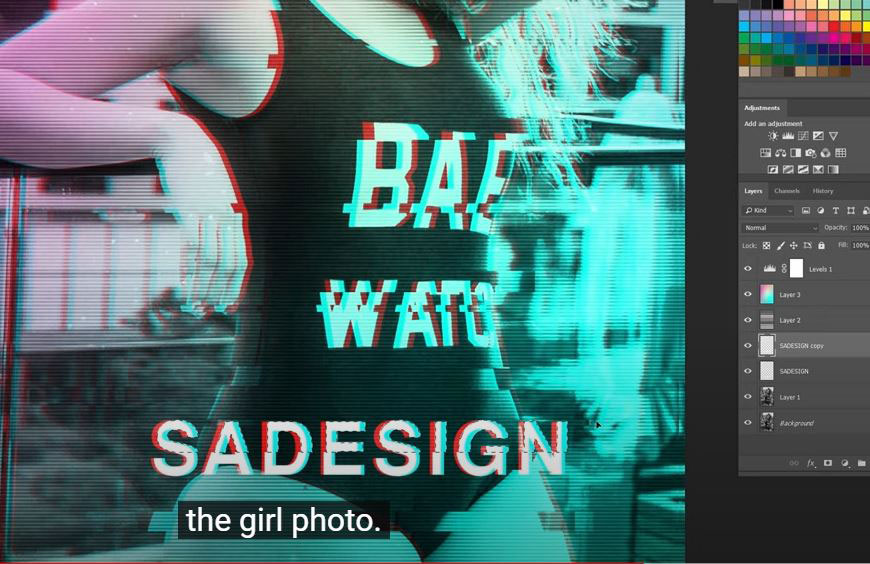
(9). Create a level adjustment layer and increase black from 0 to 8. It’s nearly done. Let’s add some text to it. Choose layer 1 and select text tool, click and type the text that you want to show. You can increase the text size in the text tool or use CTRL or CMD + T to adjust the size.
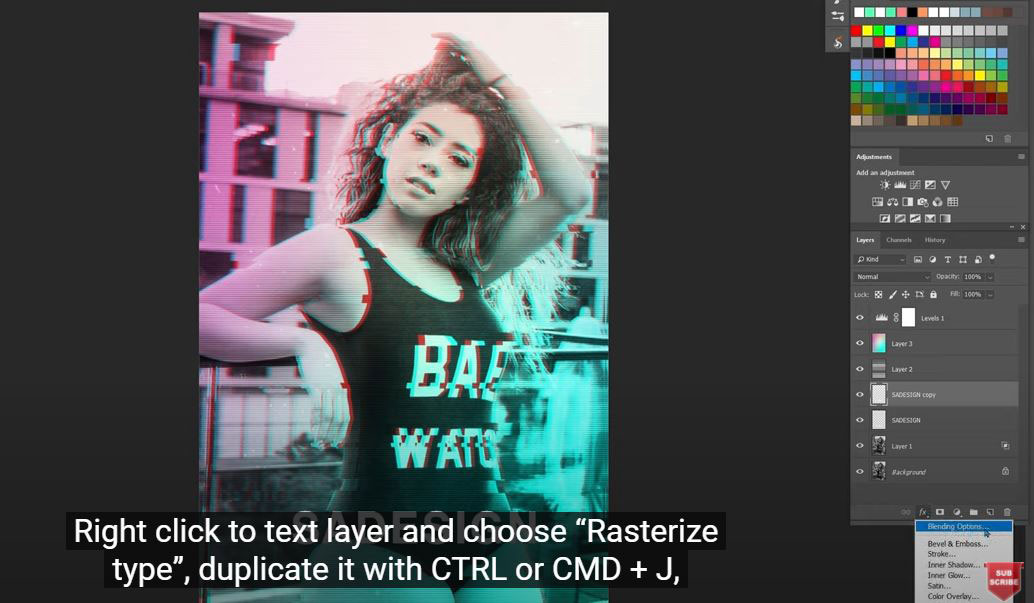
(10). Right click to text layer and choose “Rasterize type”, duplicate it with CTRL or CMD + J, open Blending Options and turn off R channel just like the begin step. Now, move it to left or right to create the effect.
(11). Select the SaDesign layer, remove Green and Blue channels in Blending Option to add another color effect to the text.
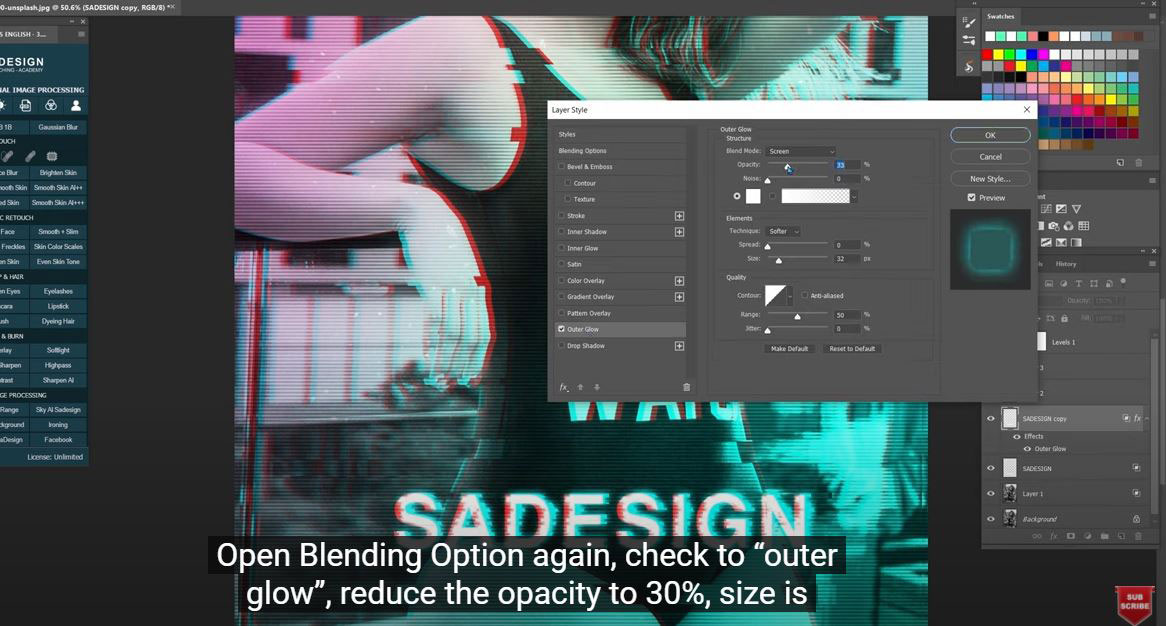
(12). Open Blending Option again, check to “outer glow”, reduce the opacity to 30%, size is around 16 pixels and OK. Similarly, we will add outer glow effect to SaDesign layer, this time, increase the size to 59 and opacity to 53%
Similarly, we will add outer glow effect to SaDesign layer, this time, increase the size to 59 and opacity to 53%.
Alright, enjoy your work!
If you find this tutorial is helpful, please hit like and subscribe buttons and you can enjoy our tutorials about Photoshop technique, tips while learning. Free tutorials are launch day by day so it will satisfy your needs in case you are interested in Photoshop. Please leave comments right below the video in case you have any questions. Thank you and See ya!
REGISTER FOR FREE PHOTOSHOP LEARNING
============================
The most powerful Retouch tool processor
DOWNLOAD:
✅ SADESIGN PANEL ENGLISH: https://sadesign.ai/retouching/
✅ SADESIGN PANEL VIETNAM: https://www.retouching.vn/