How to apply textures to add excitement to your images
Sometimes you finish editing an image, but the image is still incomplete, like something is missing to really make them unified.
And the answer isn't in the extra editing of skin and hair, but in your overall creative choices. Just have a little experience or you can refer to this article of SaDesign for how to edit your photos, bring creativity and art.
Like most retouching techniques, vignette changes from the background or something in the image will make big changes to your image. Here I want to add Texture, Pattern or grain to give my image a bit more creativity. Sometimes I feel like an image might look too "digital" for my liking and I can tweak it a bit to bring out my favorite styles like I'm painting on them.
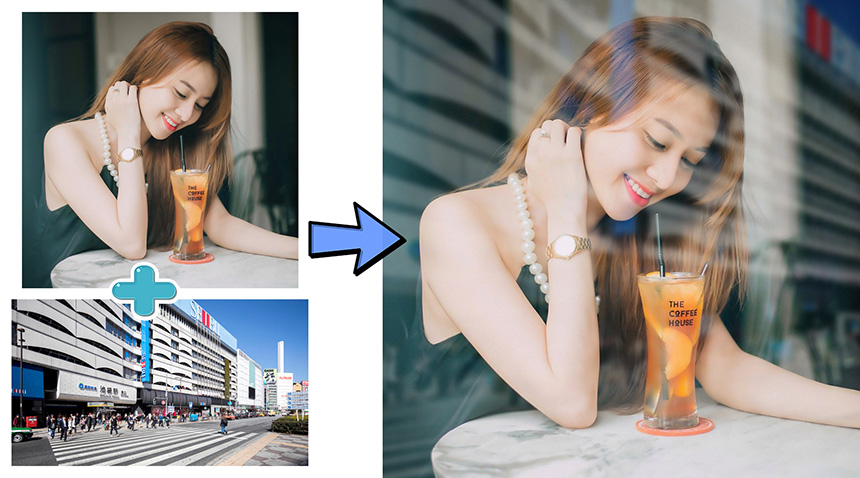
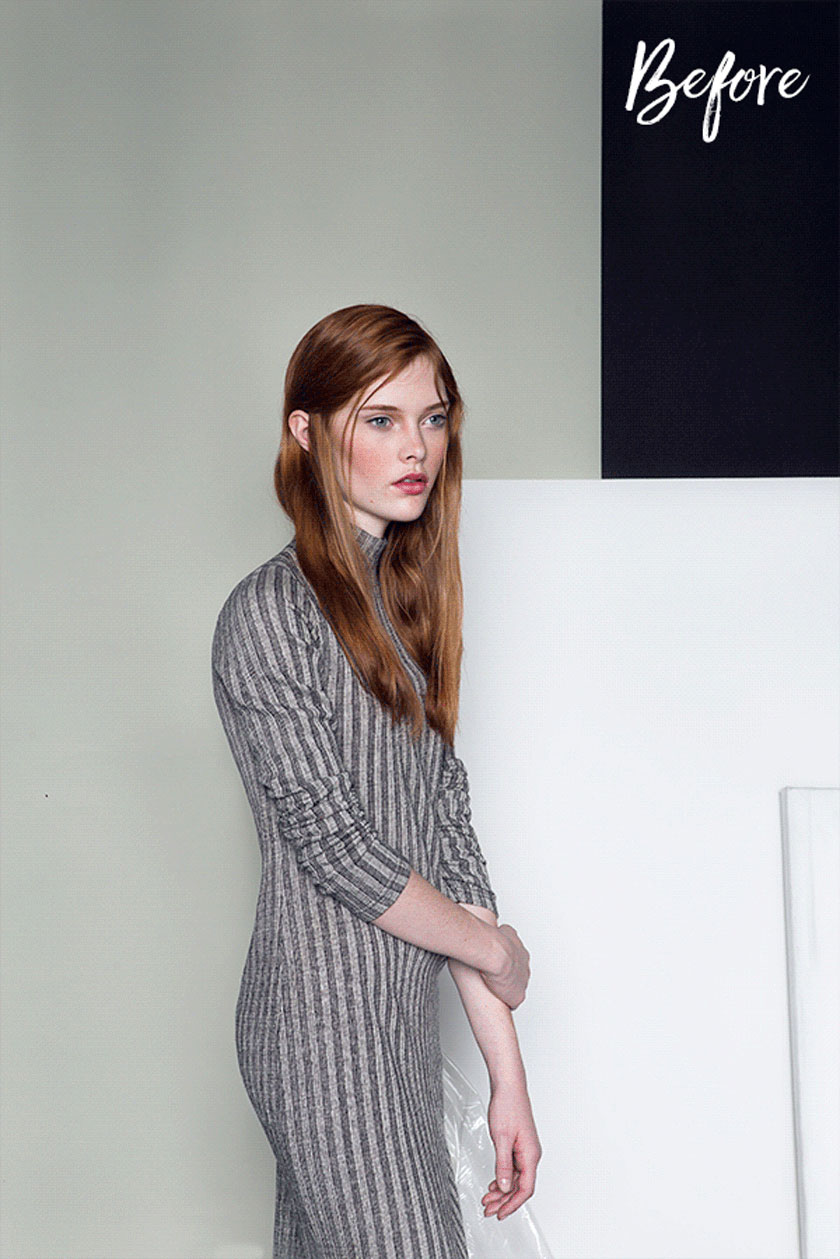
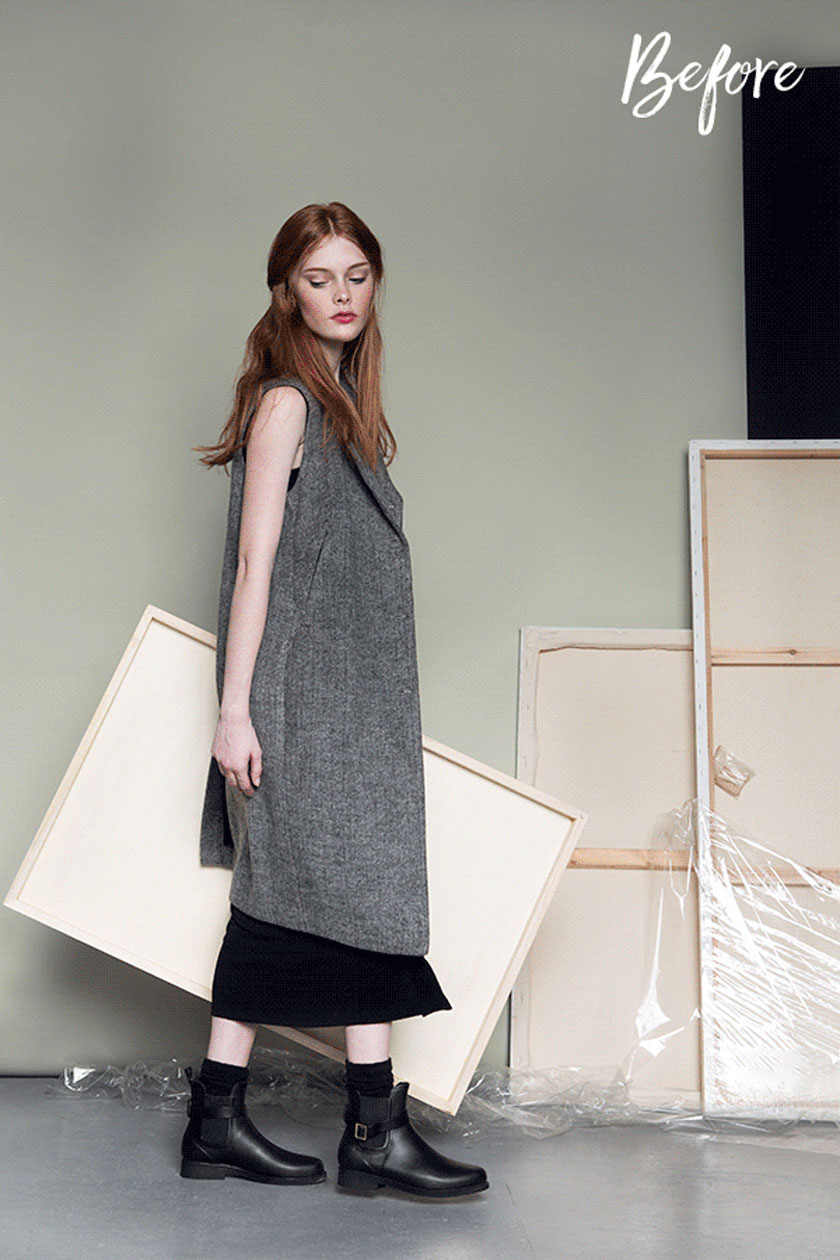
Here is an example:
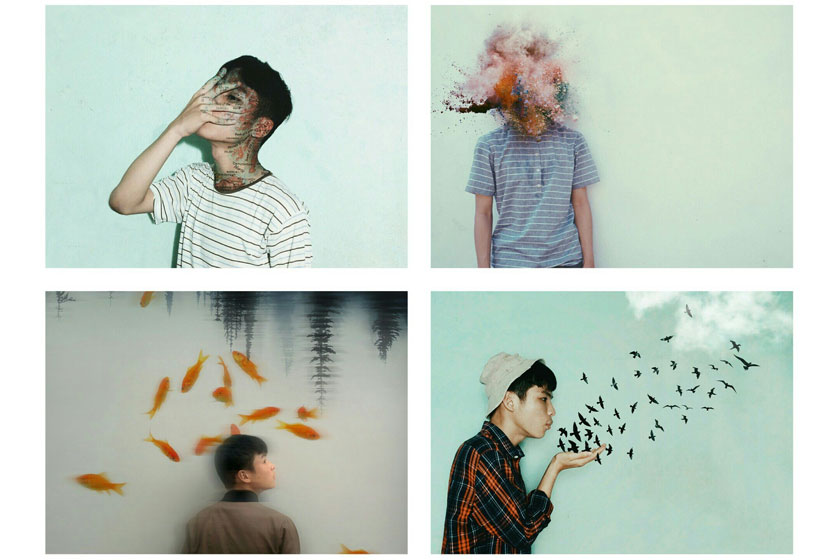
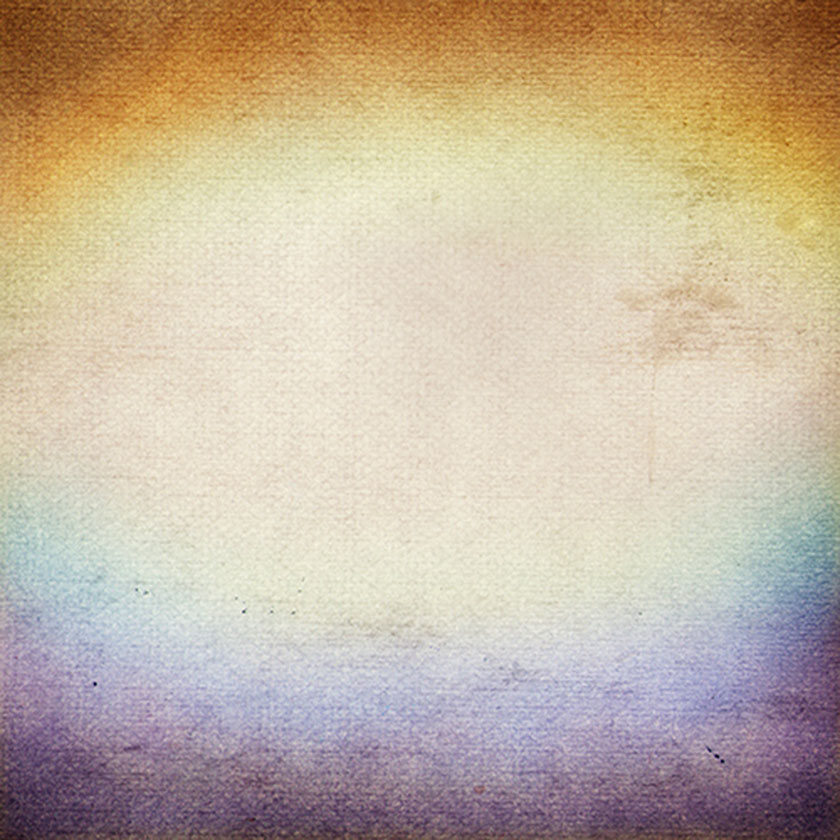
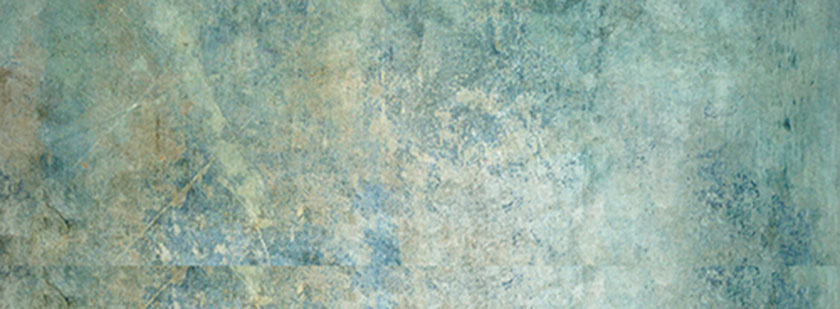
I wanted this image to have a more hand-drawn feel. So I'm going to use I used some other background image to replace the original one, and in the process I tried using a light gray background but then I found it didn't really match what I wanted at first, so I decided to add one more texture to the photo, and I used these two textures together for the background of the photo:

Proceed as follows:
- First, I decide if the color of the texture adds to or detracts from the prominence of the pattern I'm using. However, in this case I decided it would take that focus away and I converted my textures to black and white;
- Then I go to the layer to use the blend mode where most of the work will be done. You can find the modes there and try to see which one suits your image. In this shot of mine, I decided that the “Multiply” blend mode would be best for the effect I wanted;
- Since I wanted this texture to be used only on the background, I added a vector mask to the textures and masked what I didn't want to show. Then I lower the opacity to about 25-35% for each texture.
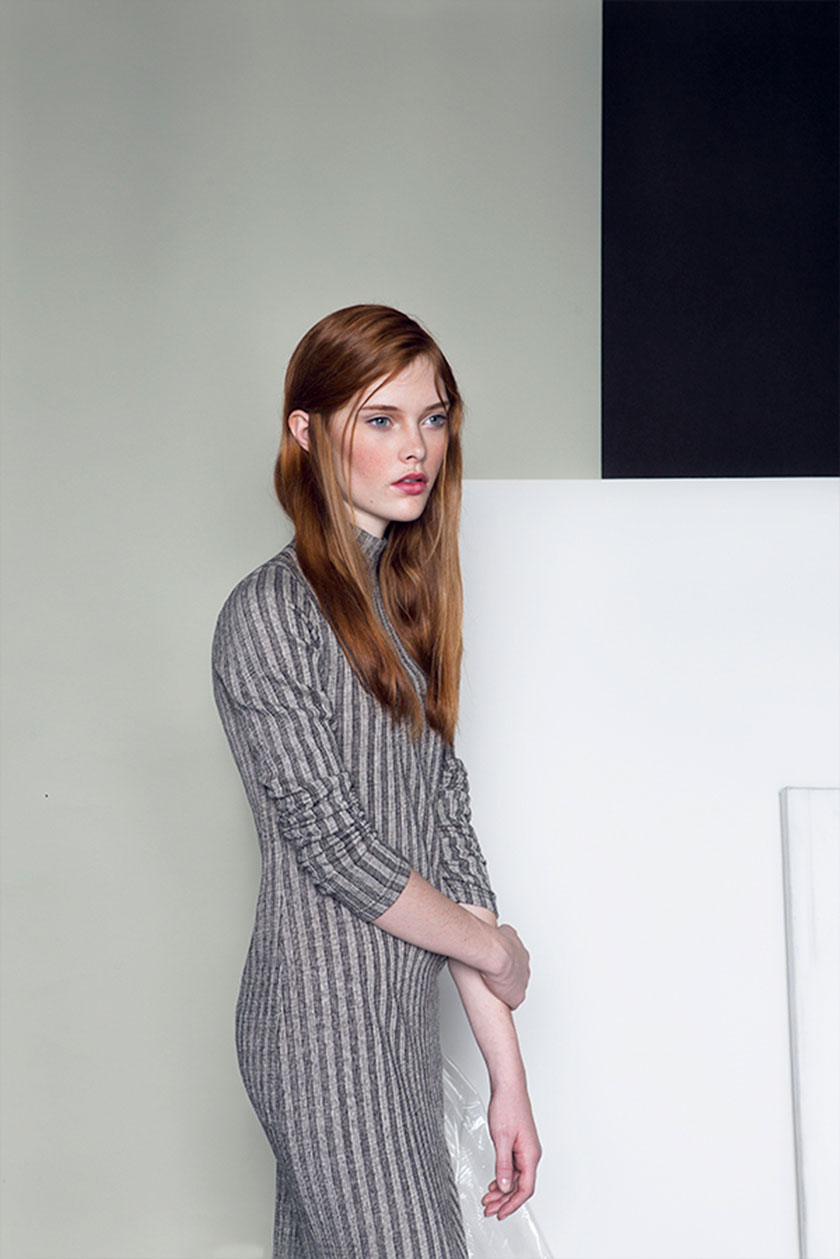
- What I ended up doing was adding a blur to the textures to give the illusion that they belong to a sadder looking wall instead of an added digital layer. Here's what I get when I'm done:
The effect will be a subtle touch that will help you make a big difference in tying this photo story together like a concept made by a vintage art studio.
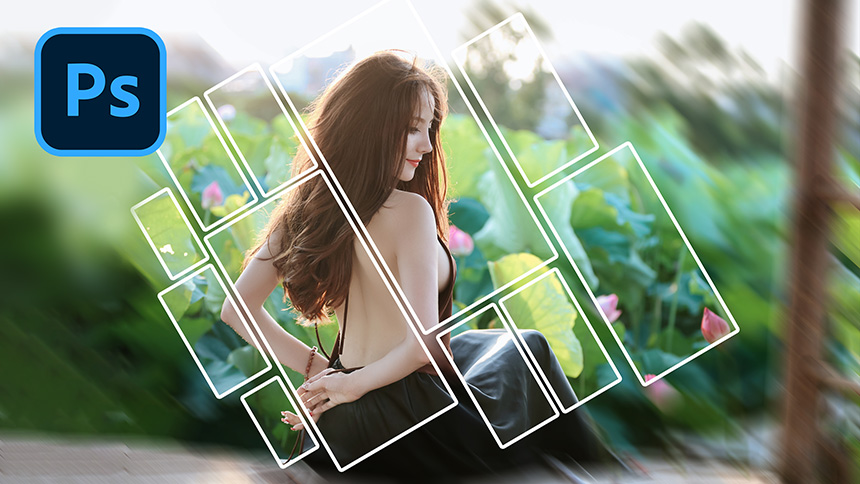
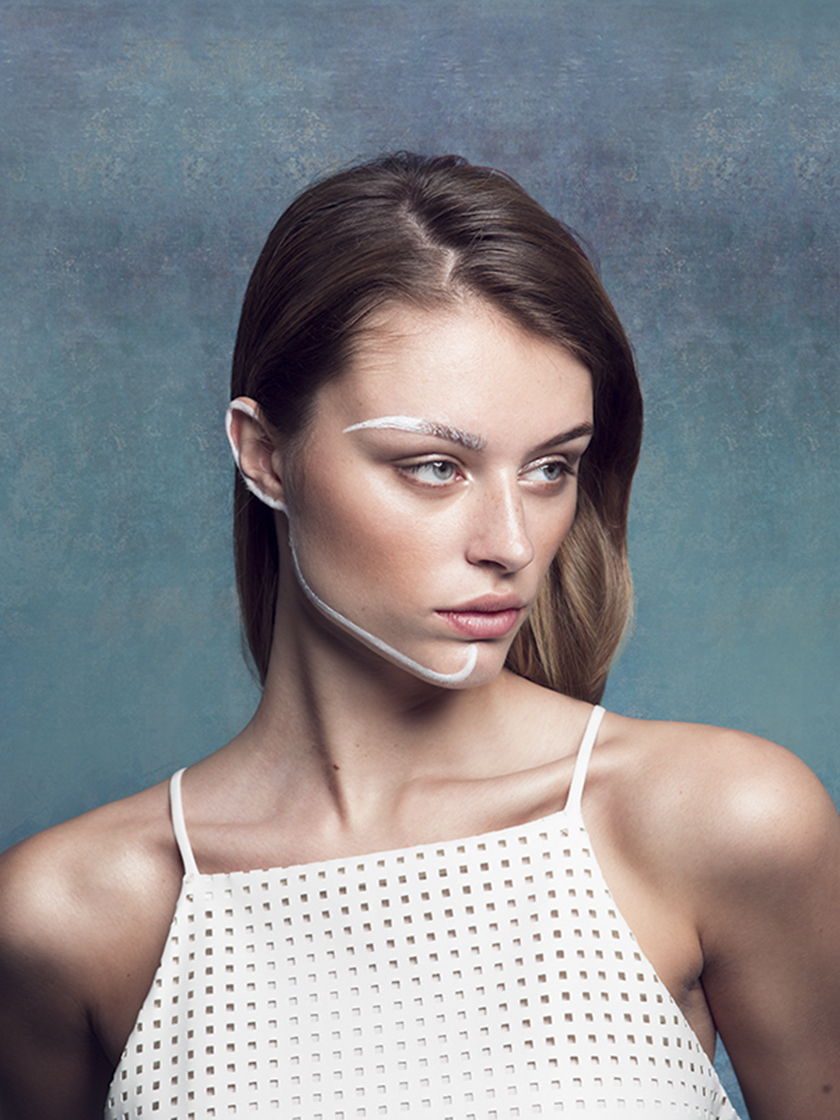
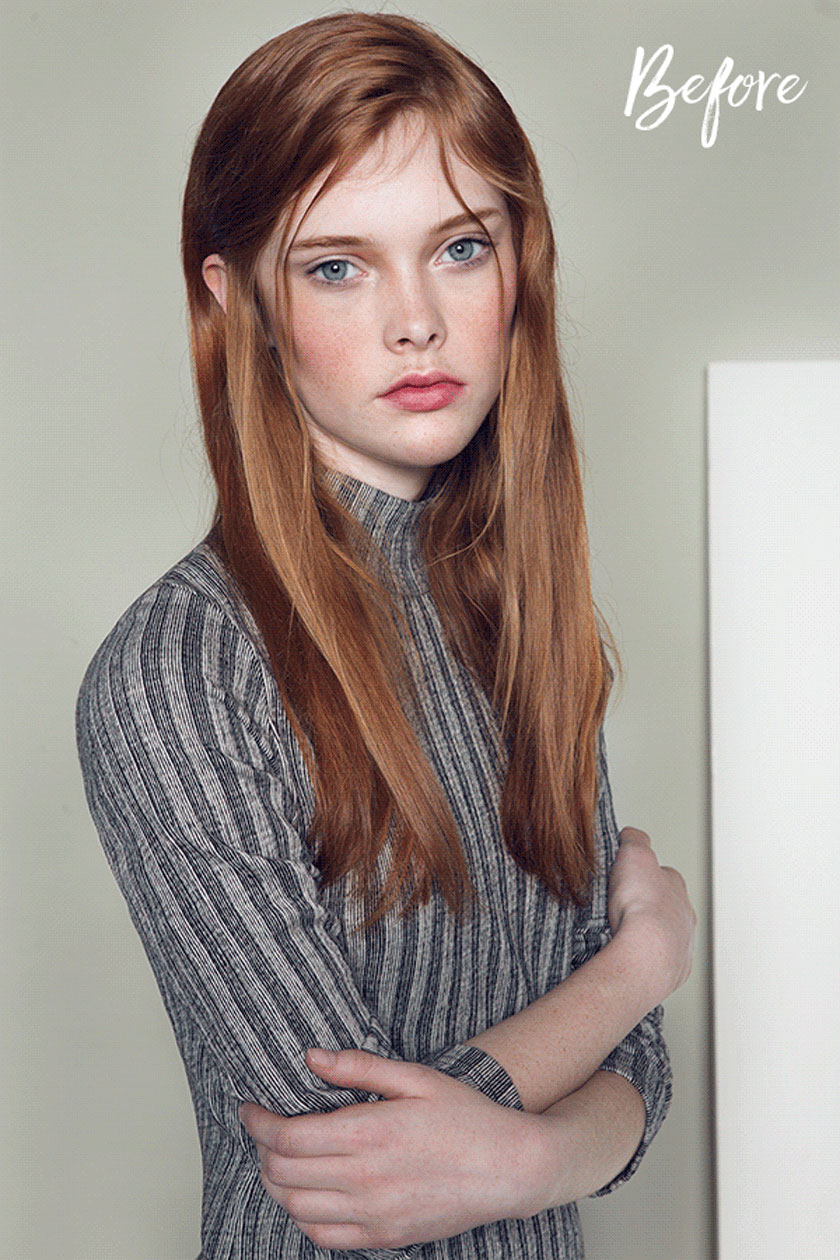
You can also add textures or patterns for a more dramatic, painterly look that's very noticeable. For this series of photos, I wanted a dreamlike background that would go well with the hand-painted makeup theme. I used this texture for the following image:
Here, I decided that the color of the texture would add to the image, not take it away, so I just shifted the color more towards lavender. The layer blend mode I used is “Overlay” at around 65%.
You can do the same with Patterns and Grain.

Here are some ways that you can make your images more creative. Have you tried adding textures and patterns to enhance your work? Once done, please let SaDesign know the results you achieved.
Image editing work requires us to have a creative mind and know how to combine them to create a harmonious whole for the photo. So you must understand the tools in your editing software.
See more: Instructions on how to add color to a gray background in Photoshop fastest