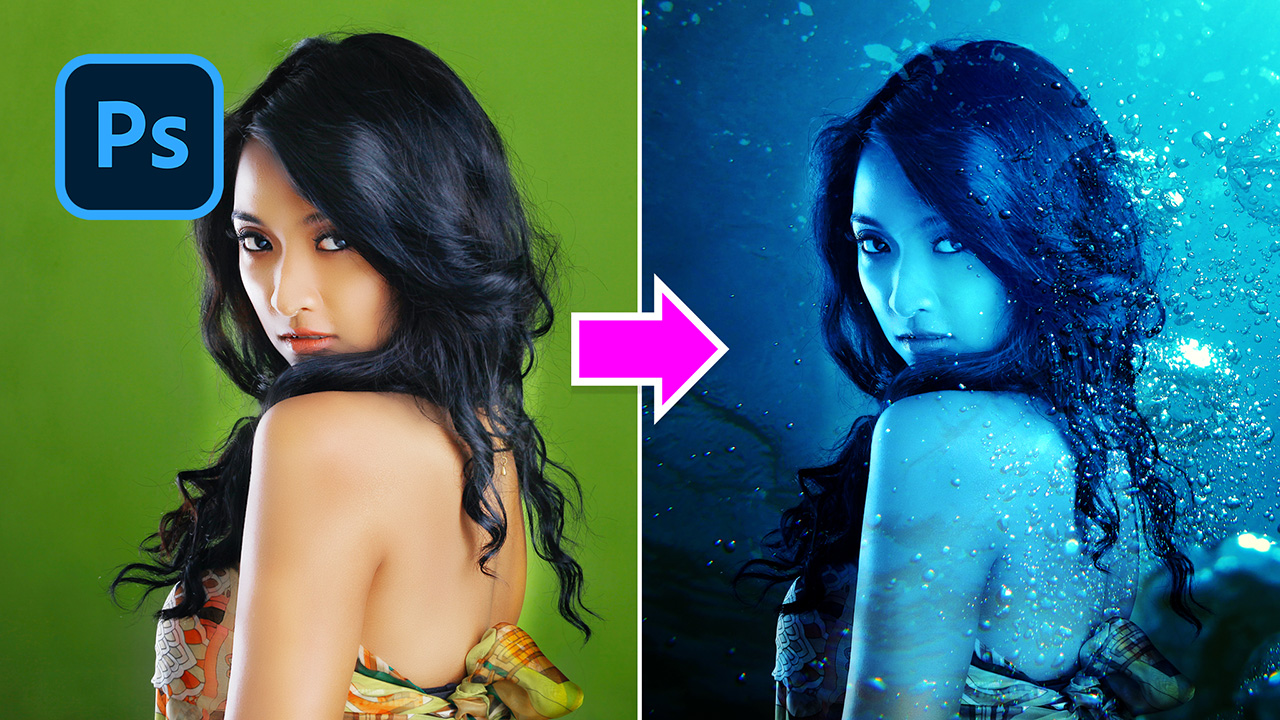
How to Change Background in Photoshop
Hi, this is Sa from SaDesign channel, i’m going to show you how to change background and add bokeh today in Photoshop.
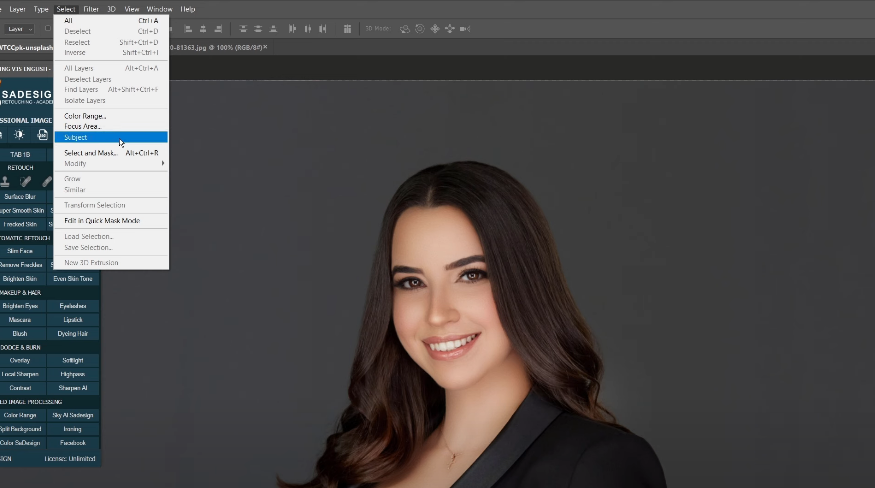
First, separate subject from the background, go to Select > Subject, then Photoshop does make the selection.
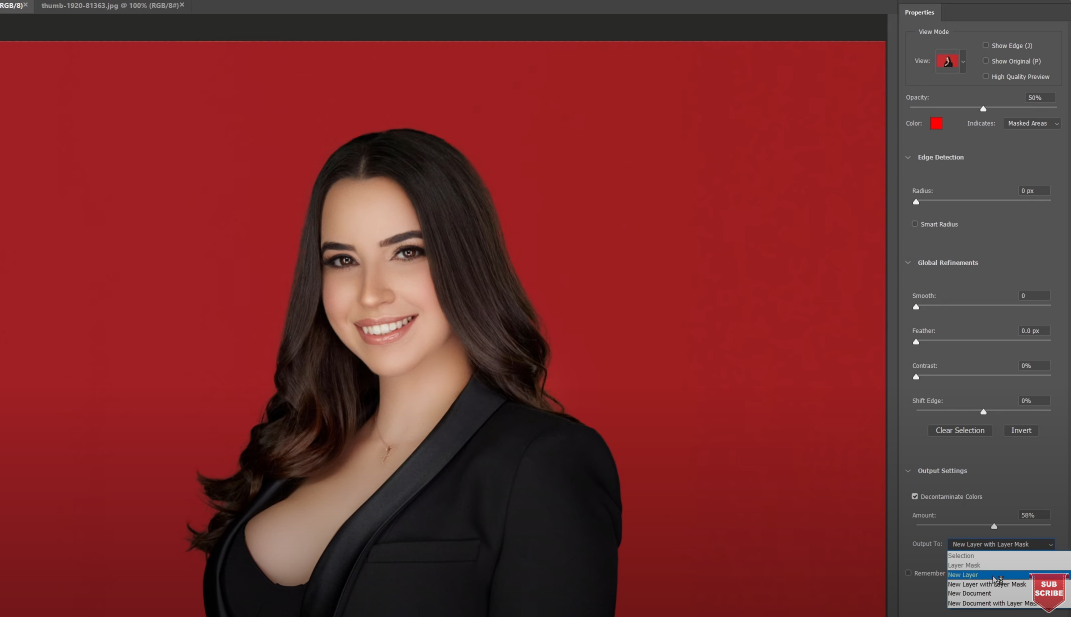
Go to Select > Select and Mask (shortcut CTRL+ALT+R) to make the subject selection more accurate. Pick up Refine Edge Brush tool, paint along her hair to make the hair selection part smoothly.
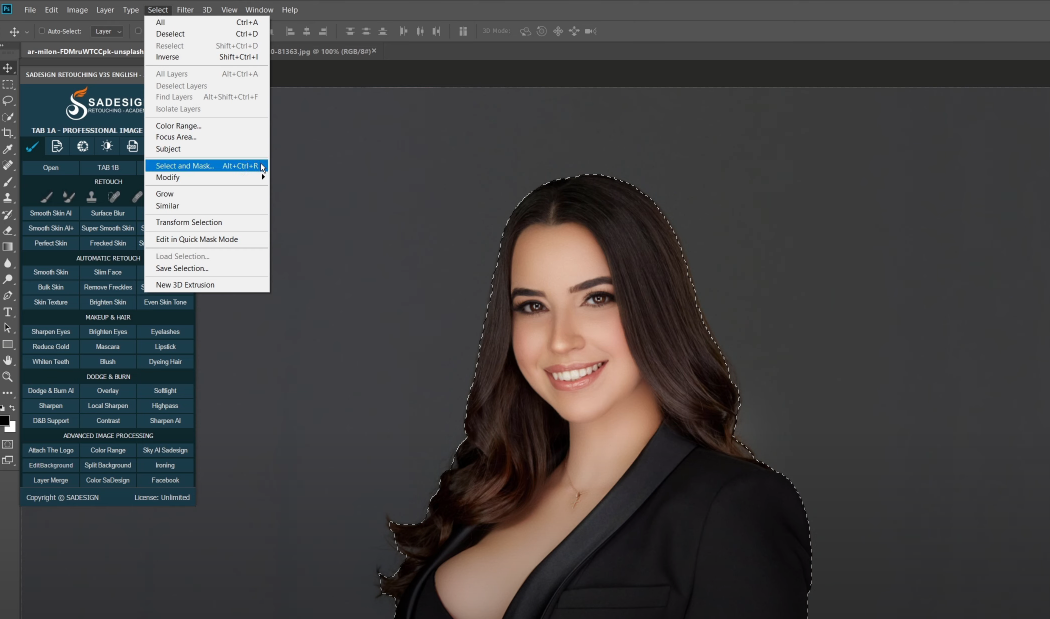
Check to “Decontaminate Colors”, adjust the amount to 58%. Make sure to select “New layer” in the output. Then confirm.
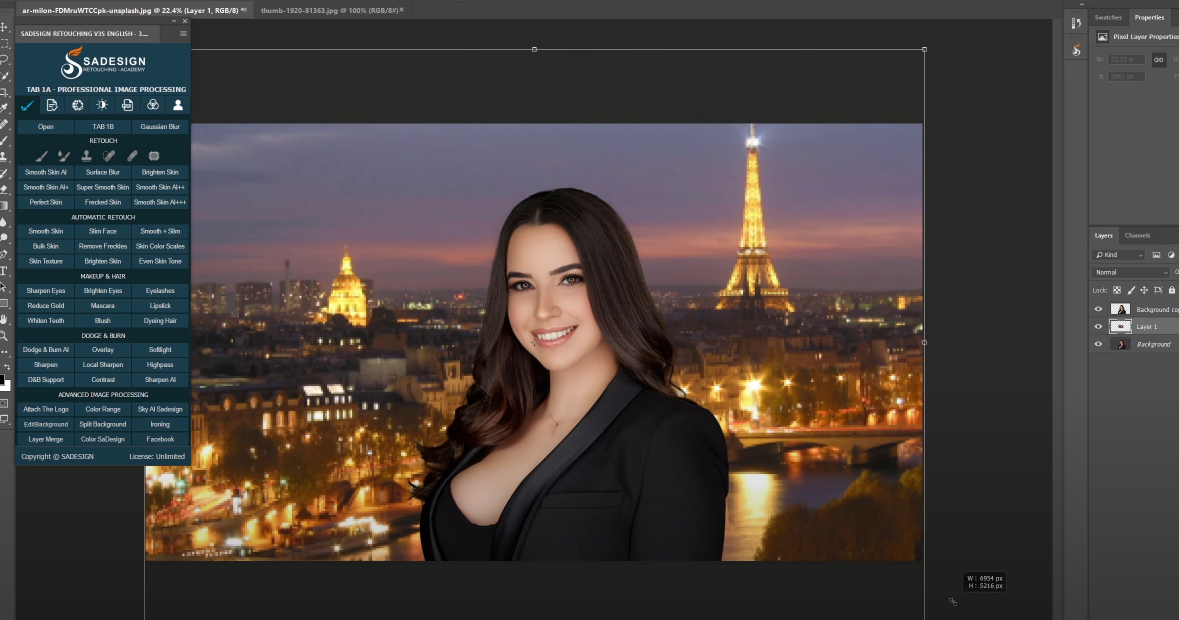
These stocks are available in the description’s link for download. Select and copy this background by pressing CTRL+A and CTRL+C for Win or CMD+A and CMD+C for MAC users.
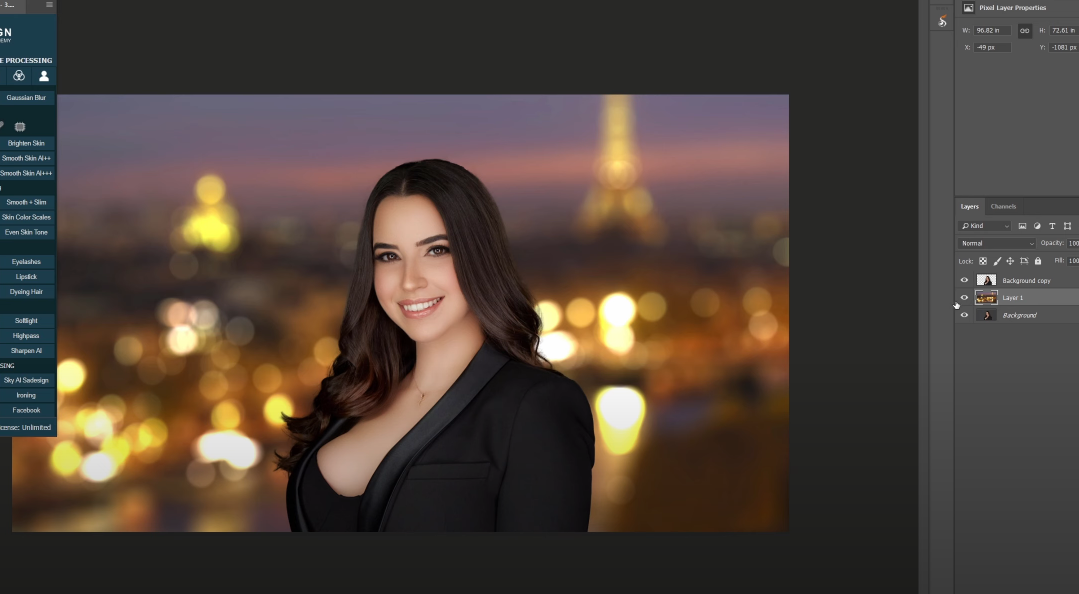
CTRL+V to paste it to our project. The new background should be below the subject layer. Expand it with CTRL+T. Hold ALT and drag it out to increase the size from the center.
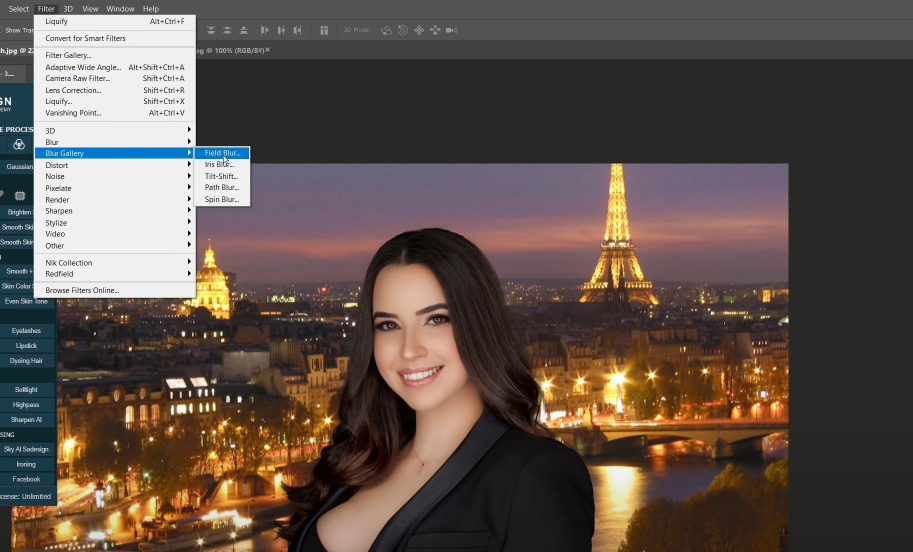
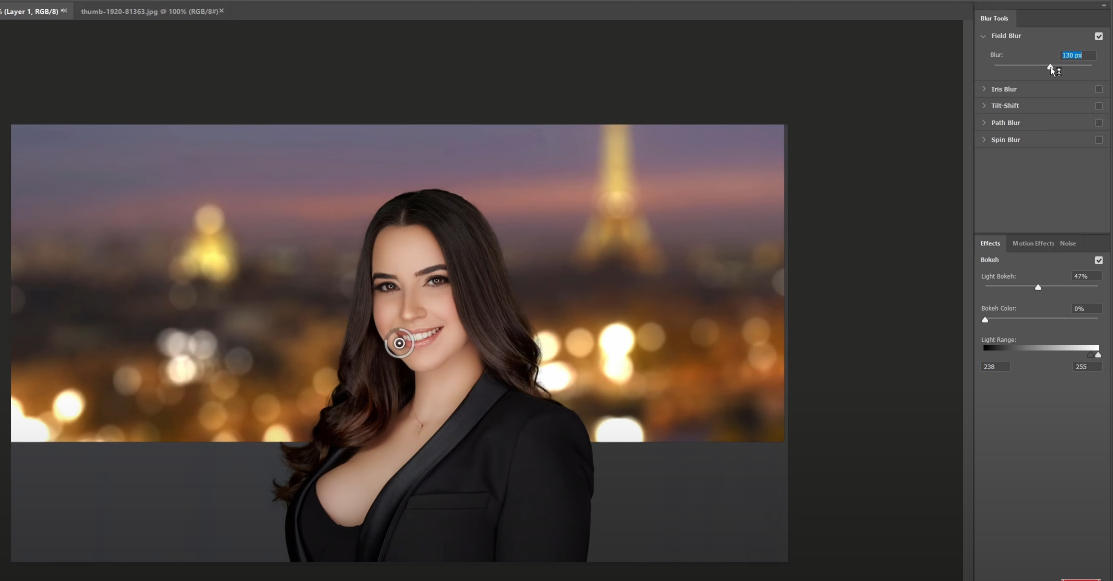
Go to Filter > Blur Gallery > Field Blur > adjust the blur amount on the right side as you see fit.
In the Effects tab below, increase “Light bokeh” to nearly half, limit the light range by increase the black to 238 Increase the blur amount to 130 pixels and bokeh color to 28%. Hit OK or Enter to confirm
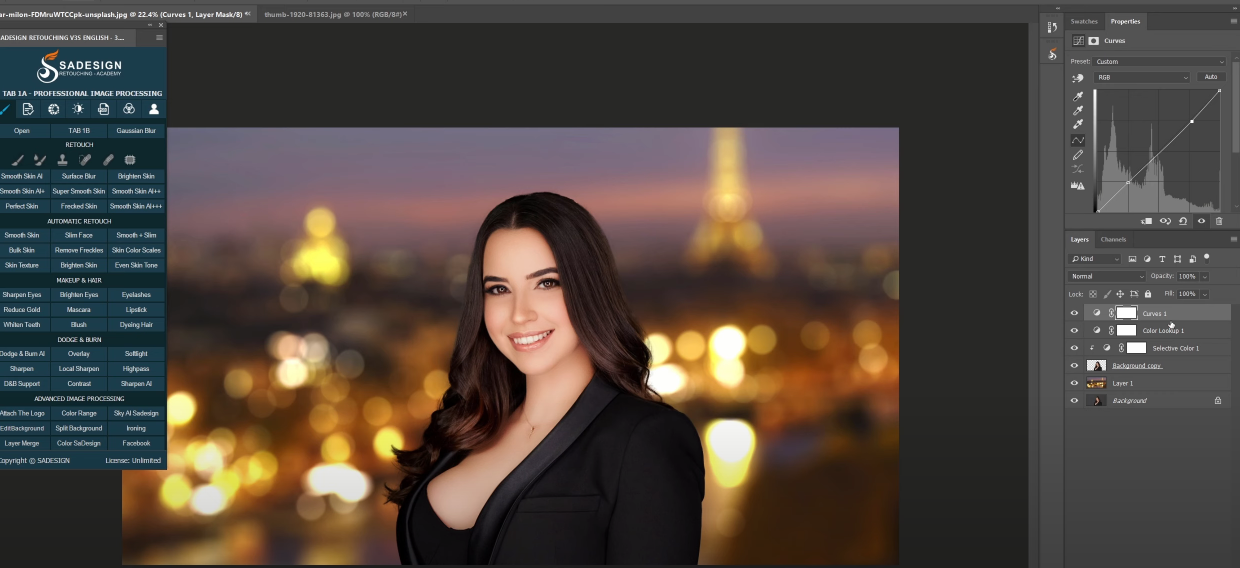
Next, we will match the color of subject with background. Click to adjustment icon, choose “Selective Color”, click to clipping mask icon just to make the effect only apply to the subject layer.
In Reds channel, Cyan -6. In Neutrals channel, Cyan -3, Magenta 1, Black -3
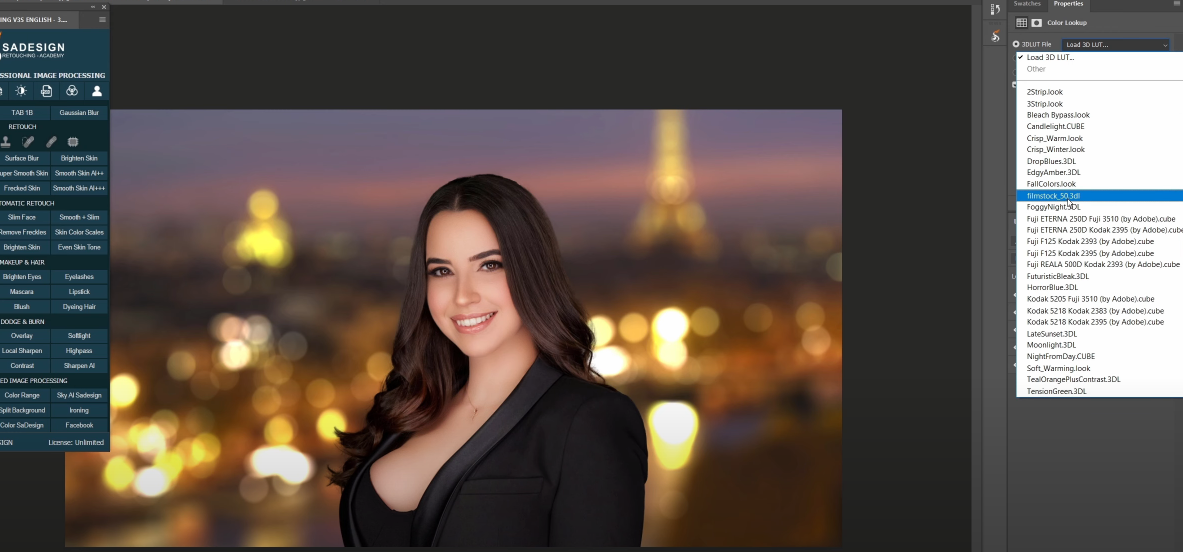
Add color to the photo, create Color lookup adjustment layer, drop down menu in 3DLUT file, select “filmstock”, reduce opacity to 35% Create S curve to add contrast in Curves adjustment layer, decrease highlight and increase shadow.
Create a stamp visible layer (CTRL+SHIFT+E or CMD+SHIFT+E), change its blend mode to “Multiply”, use Rectangular marquee tool, draw a shape to nearly cover all the canva just like this to make the vignette.
Head to Select > Modify > Feather, increase feather radius to 3000 pixels. Then, press Delete, adjust opacity to 70% Put all layers into a group to see the before and after.
Hope that you guys enjoy this session. Hit like and subscribe or you can leave comments right down below. Thanks for watching!
REGISTER FOR FREE PHOTOSHOP LEARNING
============================
The most powerful Retouch tool processor
DOWNLOAD:
✅ SADESIGN PANEL ENGLISH: https://sadesign.ai/retouching/
✅ SADESIGN PANEL VIETNAM: https://www.retouching.vn/