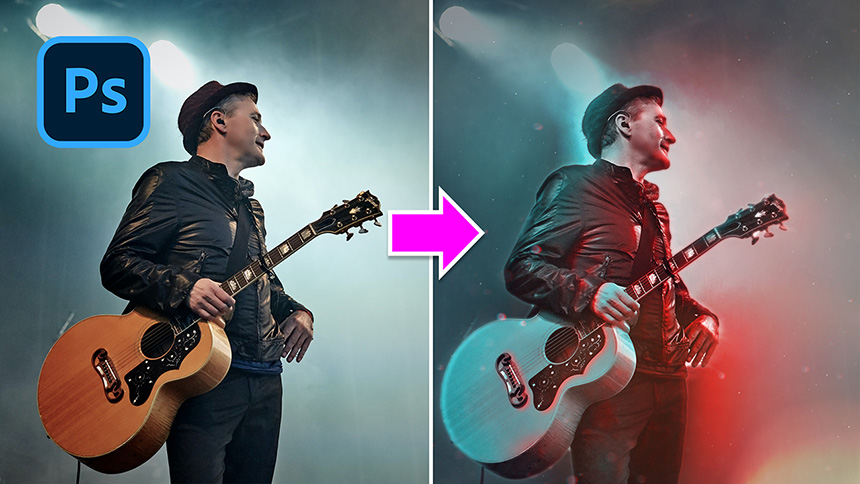
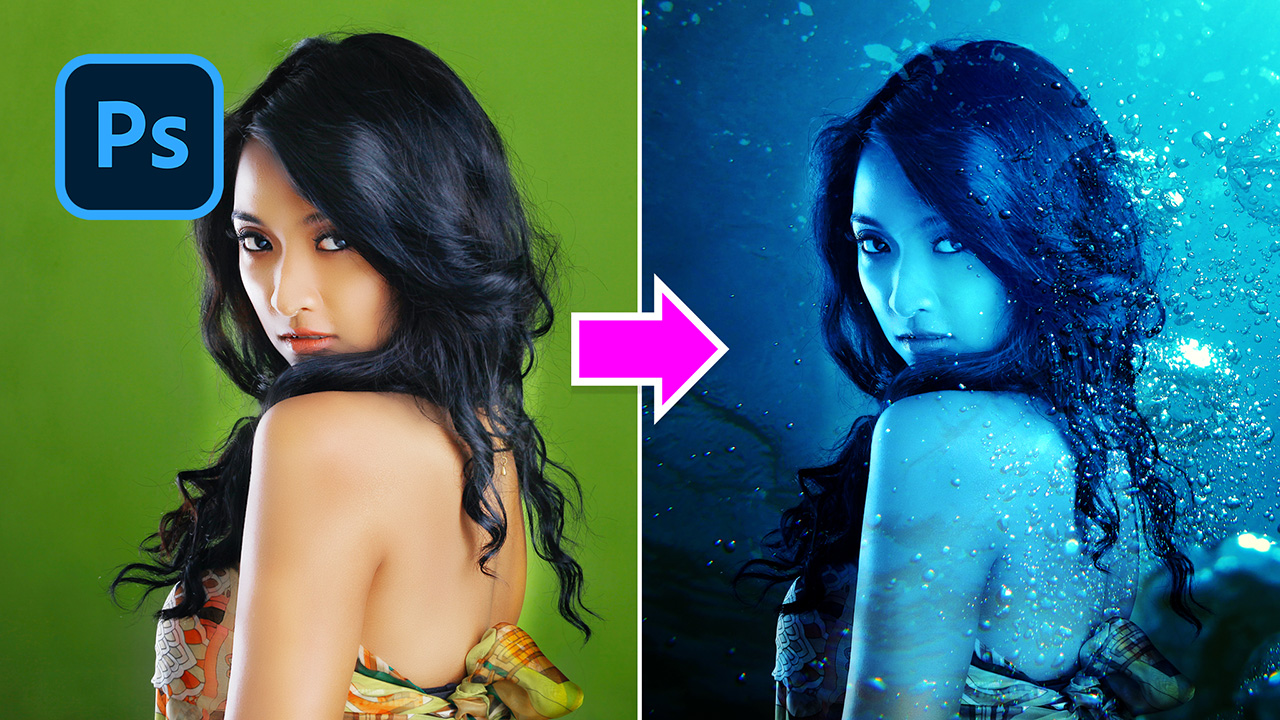
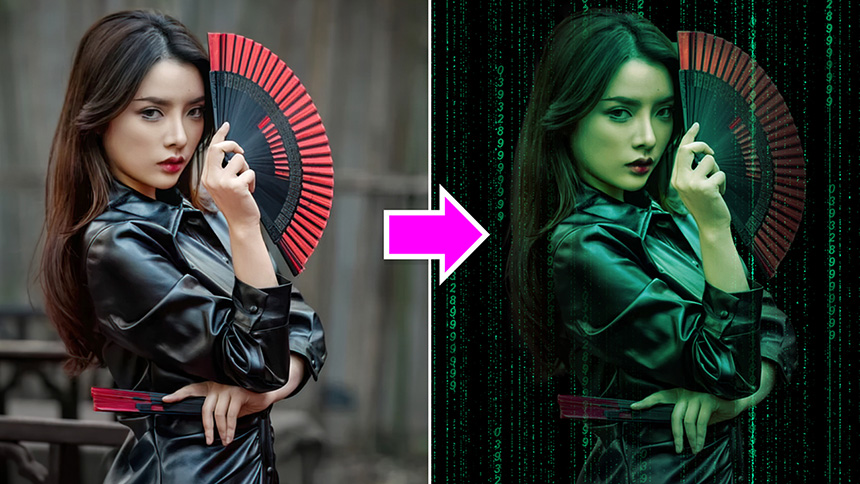
How To Create A Colored Smoke Effect In Photoshop
Hi, I’m going to share with you how to create a colored smoke effect in Photoshop.
After you open your photo, create a new layer by simply clicking to this icon below. Pick up “Gradient tool” (G shortcut), in the color box, click to the arrow icon and choose this preset.
Double click to the color box to open Gradient Editor. This preset is already set colors for you. In case you want to change any colors, just double click to its color, then set the new one.
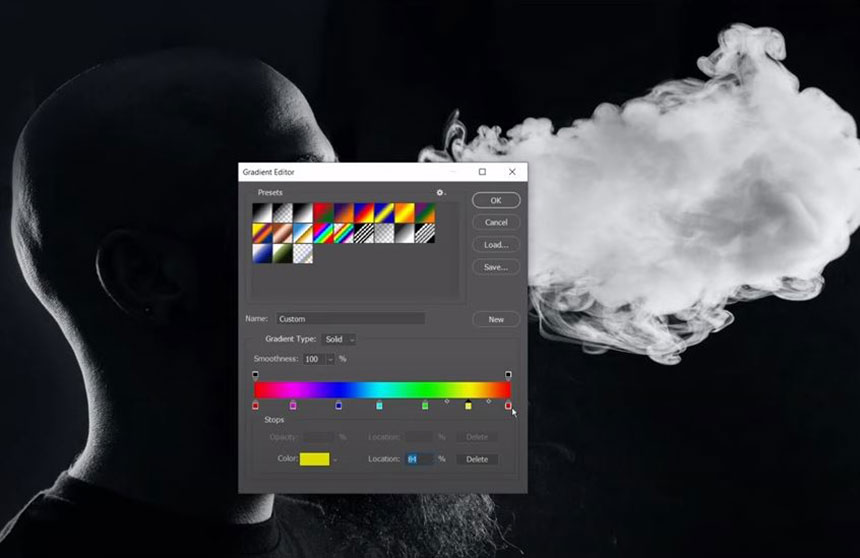
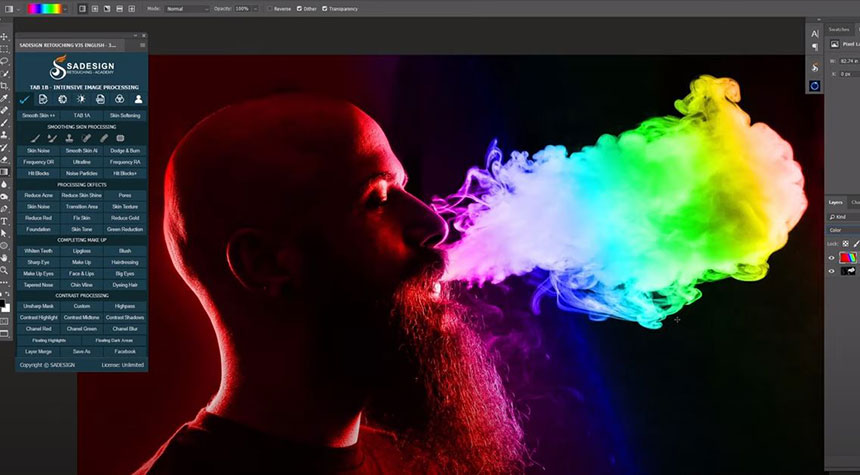
Make sure you choose “linear gradient” icon, opacity 100% and foreground is black color and background color is white.Make sure you choose “linear gradient” icon, opacity 100% and foreground is black color and background color is white. Now, draw the line from his mouth to the smoke direction to create gradient effect. Change its blend mode to Color. You can see the smoke blended with lots of colors. We just want to keep the color in the smoke so for the rest, we will remove colors on those areas.
Use Eraser tool, create layer mask to gradient layer with this icon, ensure foreground is white.

Now, paint to remove colors. Increase or Decrease brush size with this bracket [ ] to improve your workflow. Some areas at nose or mouth that near to the smoke, adjust the opacity to 50% and paint slightly to remove, not to touch on the smoke.
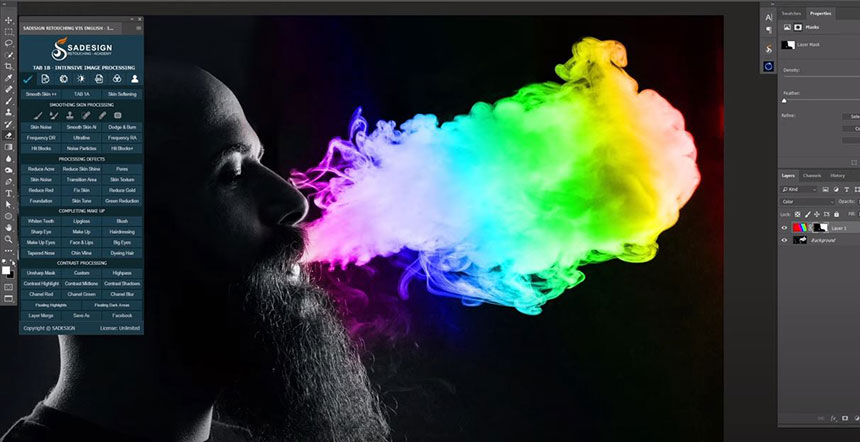
In case you accidentally remove too much, you can take the color back by pressing X to switch black color to foreground, then paint again to bring back the color.
Let’s remove the color on these areas as well. This is before and after using gradient map and layer mask. That’s it! Let’s move to another example for you. I’ll show another way to color the smoke.
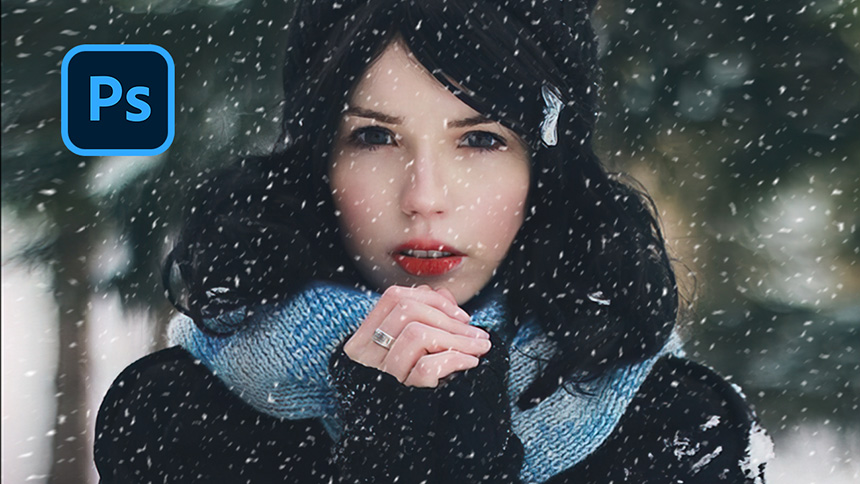
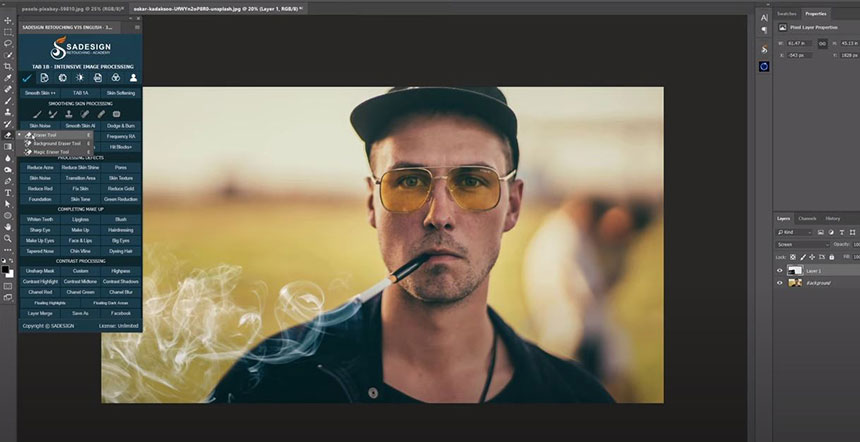
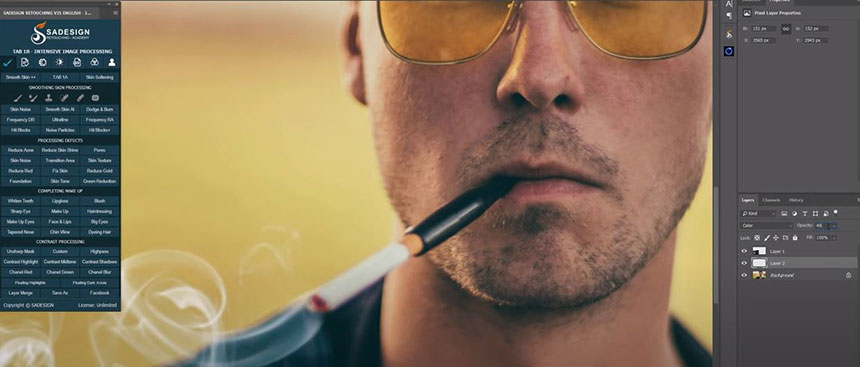
Here, I have a guy with a cigarette, we will add smoke before adding the colors. I provided all the photos and the smoke. Their link is in my video’s description. Select and copy this photo by pressing CTRL+A and CTRL+C. Back to the main project and paste it with CTRL+V Use Transform tool (CTRL+T) to rotate and move it to match with the cigarette.
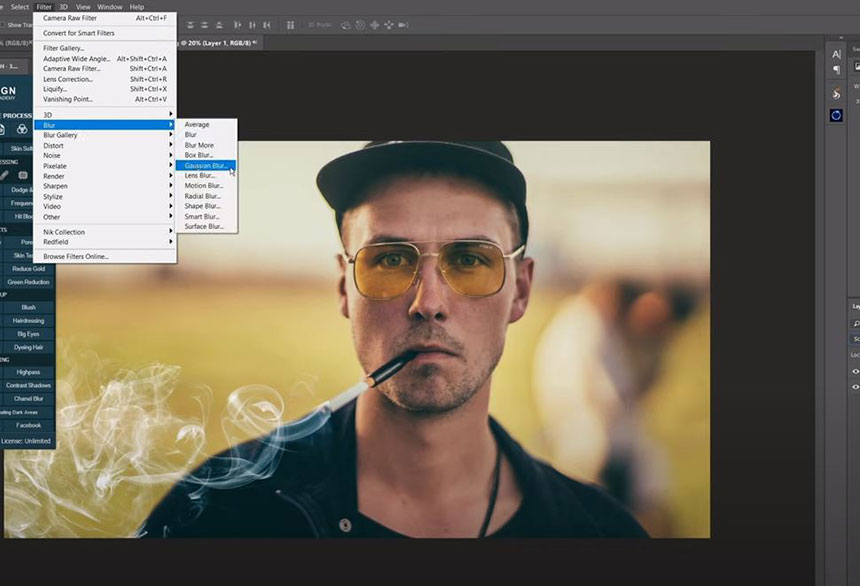
Change blend mode from normal to screen to remove the black background color Head to Filter > Blur > Gaussian Blur > blur the smoke with 5 pixels Pick up Eraser tool to remove just a bit at the start point of the smoke to make it realistic.
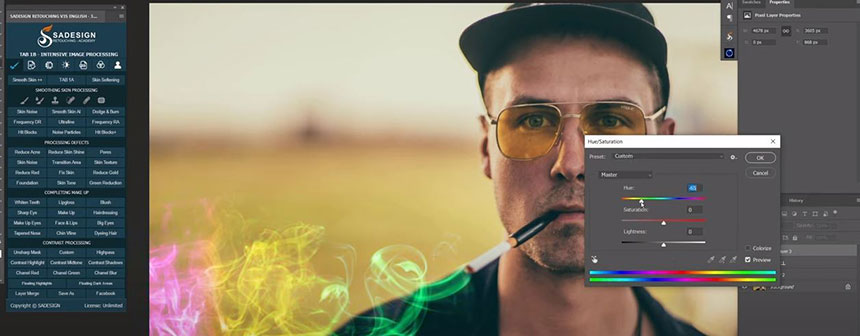
Create a new layer, Use brush tool (B shortcut), set foreground color to red, then paint on the tobacco smoke filter. Change its blend mode to color, decrease opacity to 40%
CTRL+ALT+G for Window or CMD+OPTION+G for MAC to clipping mask it to the smoke layer. Change foreground color to the any colors that you prefer and paint on the middle and the start areas. CTRL or CMD + U to open Hue/Saturation, in this window, you can adjust Hue to the colors that you like. Then confirm.
Use Eraser tool to remove some areas you don’t want. If you like this tutorial, hit like and subscribe buttons so we will have more motivation for launching tutorials in the future. Bye bye!
REGISTER FOR FREE PHOTOSHOP LEARNING
============================
The most powerful Retouch tool processor
DOWNLOAD:
✅ SADESIGN PANEL ENGLISH: https://sadesign.ai/retouching/
✅ SADESIGN PANEL VIETNAM: https://www.retouching.vn/