How To Create a Vintage Movie Poster in Photoshop
Nội dung
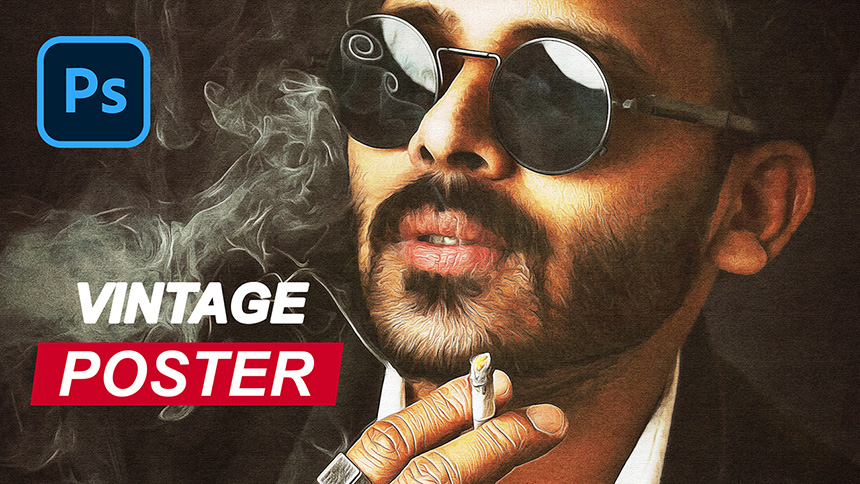
Hey hey... welcome back to our channel, today let's create a vintage oil poster in Photoshop.
(1). First, duplicate the background layer by using CTRL or CMD + J
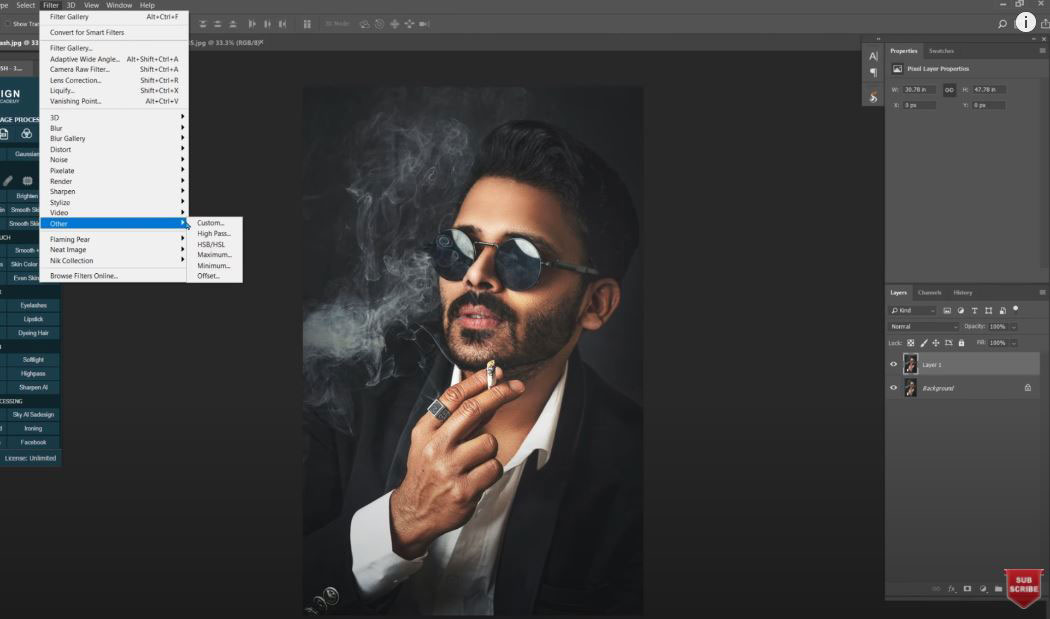
(2). Filter > Other > High Pass, set radius at 2 pixels, then confirm – change blend mode to vivid light.
Next, we will create a stamp visible layer with CTRL + ALT + SHIFT + E for Window or CMD + OPTION + SHIFT + E for the MAC.
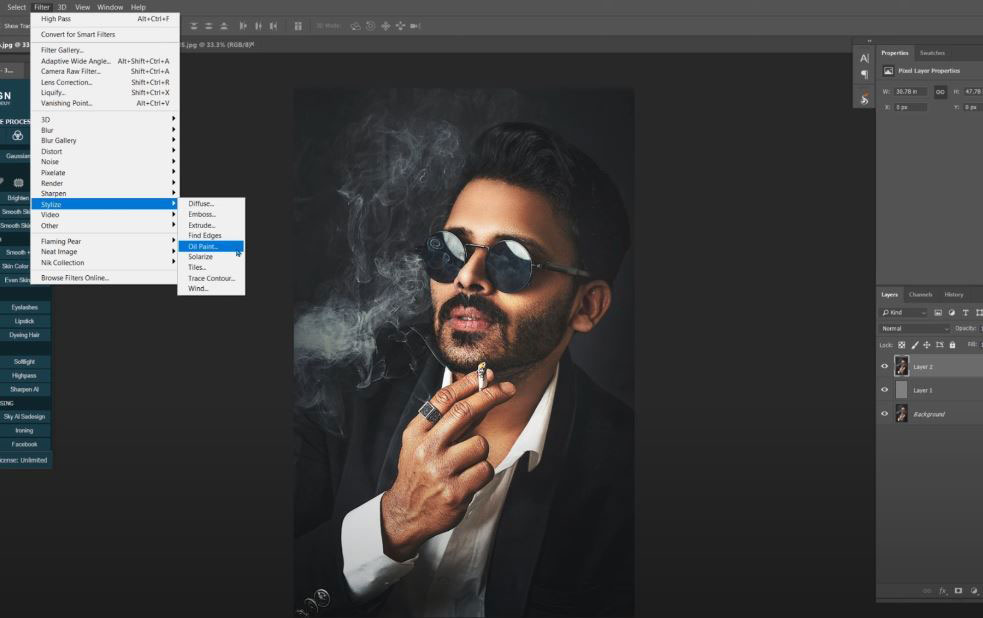
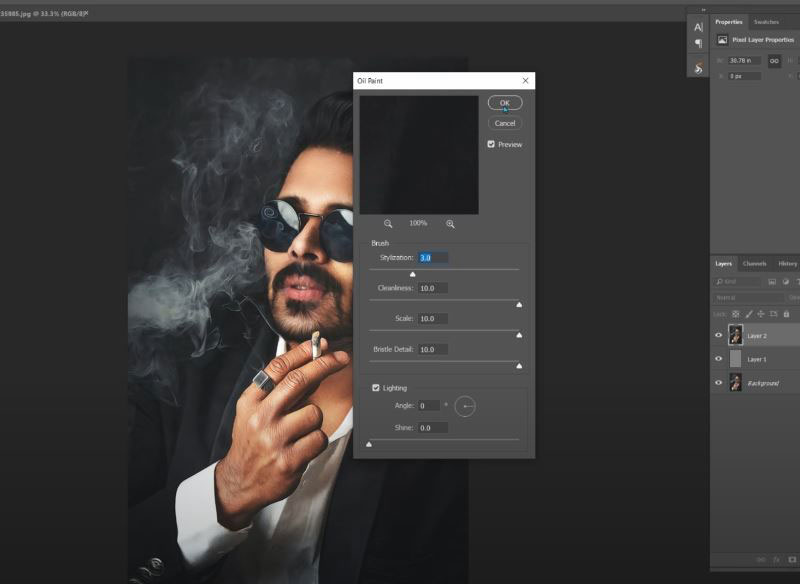
(3). Head to Filter > Stylize > Oil paint, these values will follow as below:
Stylization: 3
Cleanliness: 10
Scale: 10
Bristle Detail: 10
Then OK
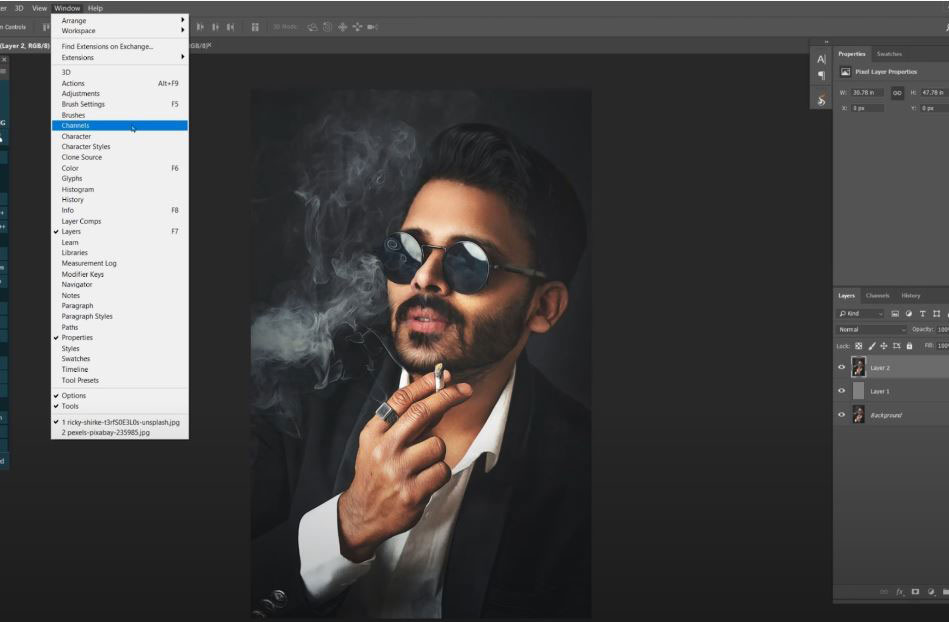
(4). Move to Channel tab, if you don't see channel tab, it may not turn on, go to Window > click to Channels to turn it on.
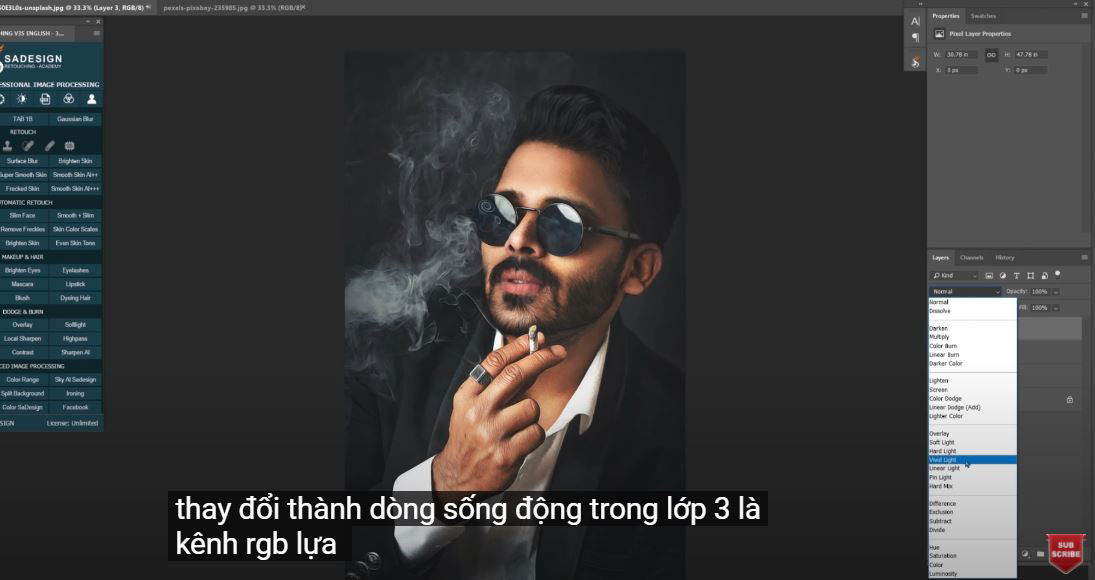
(5). In this tab, we will take the selection of RGB channel, to do that, hold CTRL and click to RGB channel.
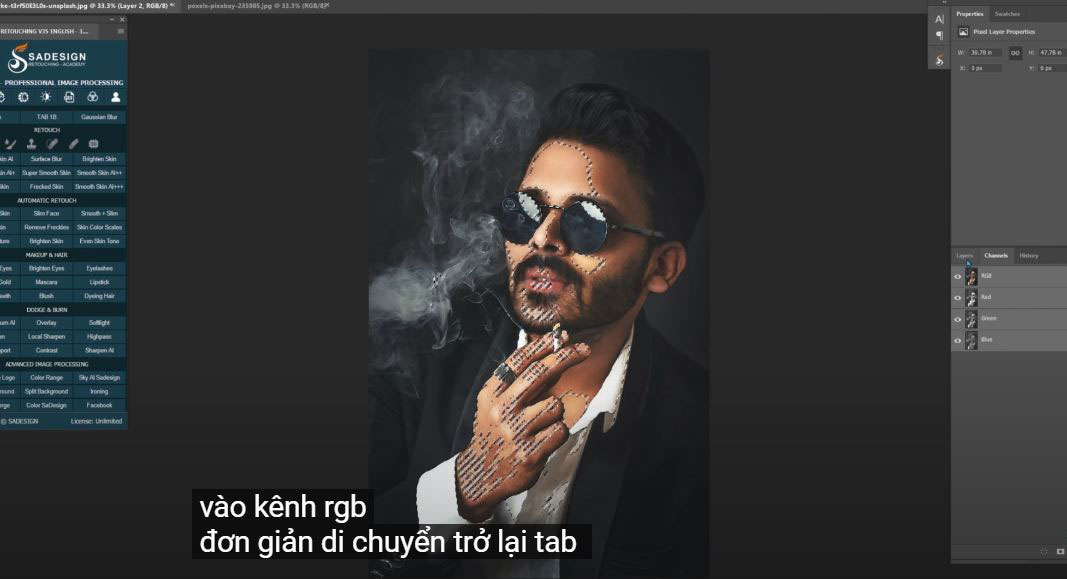
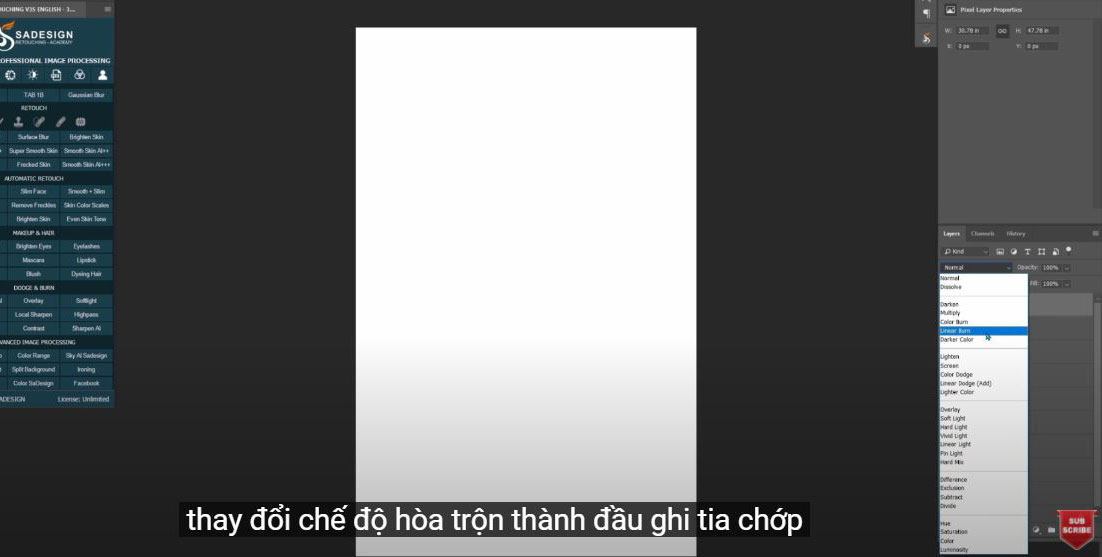
(6). Move back to layers tab, press CTRL or CMD + C and CTRL or CMD + V. Change to vivid light in layer 3 which is the selection of RGB channel that we just copied
(7). Next step, take the selection of layer 3 again, create a new layer, fill this new layer in white with CTRL or CMD + Delete and make sure background is white

(8). Change normal to soft light in blend mode, reduce the opacity to 80% in layers 4 and 3.
Create stamp visible layers again with CTRL+SHIFT+ALT+E or CMD+SHIFT+OPTION+E
(9). Filter > Filter Gallery > open Artistic folder and select Poster Edges. OK
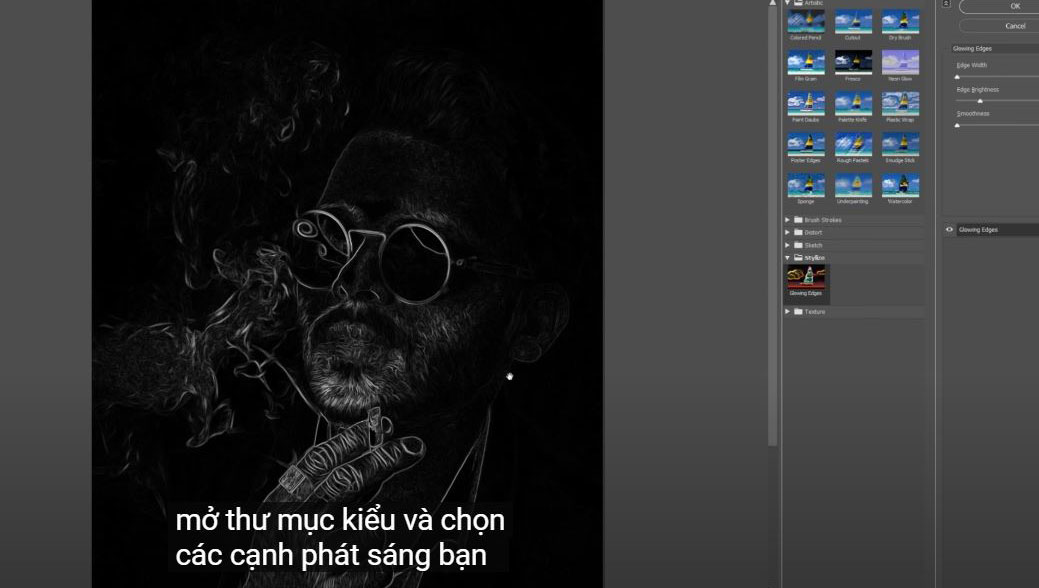
(10). Add another filter to this layer, go to Filter > Filter Gallery > Open Stylize folder and choose Glowing Edges. You can adjust the options as your preference. As for me, I'll leave Edge width at 1, Edge Brightness 4 and Smoothness 1.

(11). Change blend mode to screen after that, remove opacity to 80% Create another new layer, press SHIFT+F5, print contents, select 50% gray then confirm

(12). Filter > noise > add noise > 20%, Distribution: Gaussian. OK. Choose overlay in blend mode and cut the percentage of opacity in half. 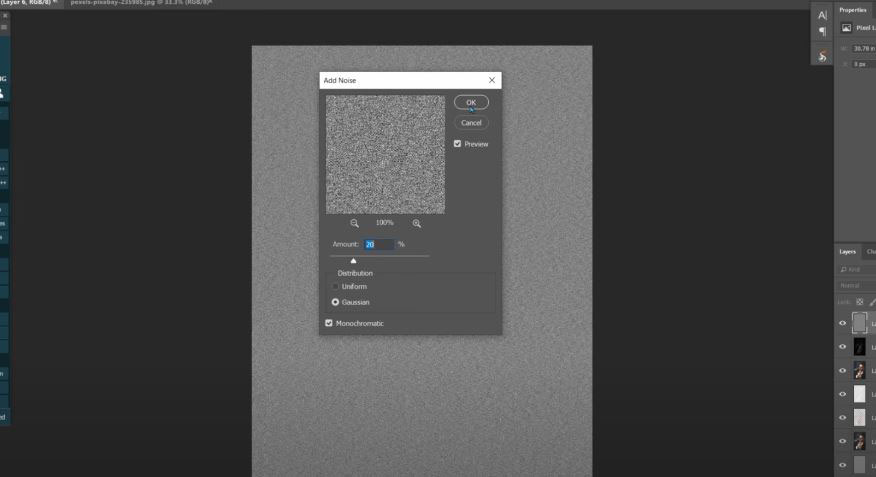
(13). Move to this texture layer that I've prepared. You can use your own texture that you think it suits your image. You can also download these stocks in the link on the description for practicing.
Now, just copy it and paste on our project. Press CTRL or CMD+T to expand the texture layer in full of the document.
(14). Change blend mode to soft light. There you go, it looks great!
Create new layer, press CTRL or CMD + Delete to fill white to it.
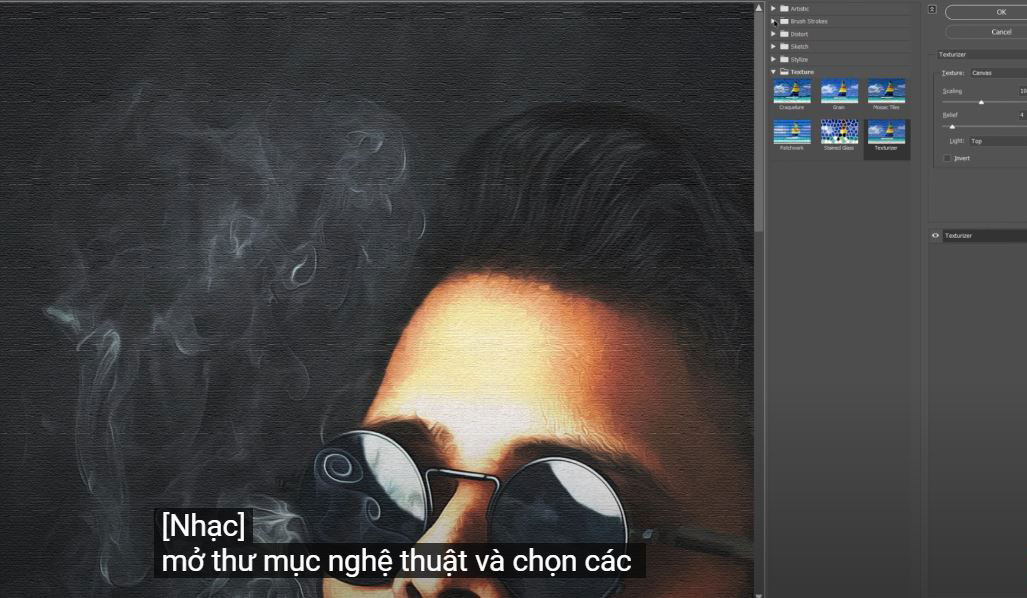
(15). Head to Filter > Filter Gallery > choose Texturizer in texture folder, drop down menu in texture on right side and select “Canvas”. Then, confirm
Reduce the opacity a bit.
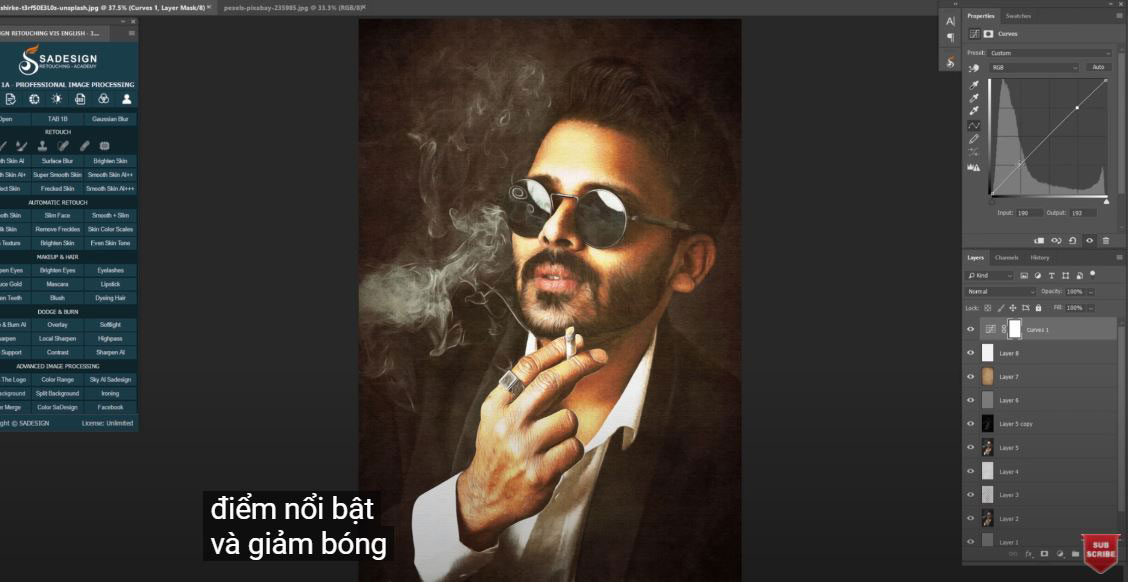
Let's add some contrast to this image, create curves adjustment layer, increase highlight and decrease shadow
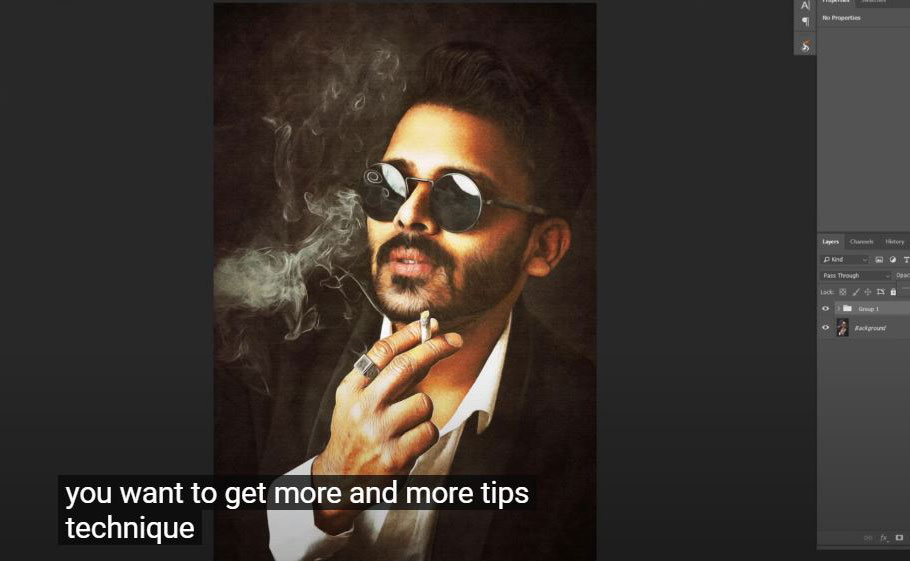
Here you are! Enjoy!
If you like Photoshop and Photograph just like SaDesign and you want to get more and more tips, techniques, experience from us. Make sure to subscribe to our channel by simply clicking the subscribe button and you will get tons of free tutorials that SaDesign share about Photoshop technique on a daily basic. See you guys in the following tutorials. Bye Bye!
REGISTER FOR FREE PHOTOSHOP LEARNING
============================
The most powerful Retouch tool processor
DOWNLOAD:
✅ SADESIGN PANEL ENGLISH: https://sadesign.ai/retouching/
✅ SADESIGN PANEL VIETNAM: https://www.retouching.vn/