How to Make a Comic Book Effect From a Photo in Photoshop
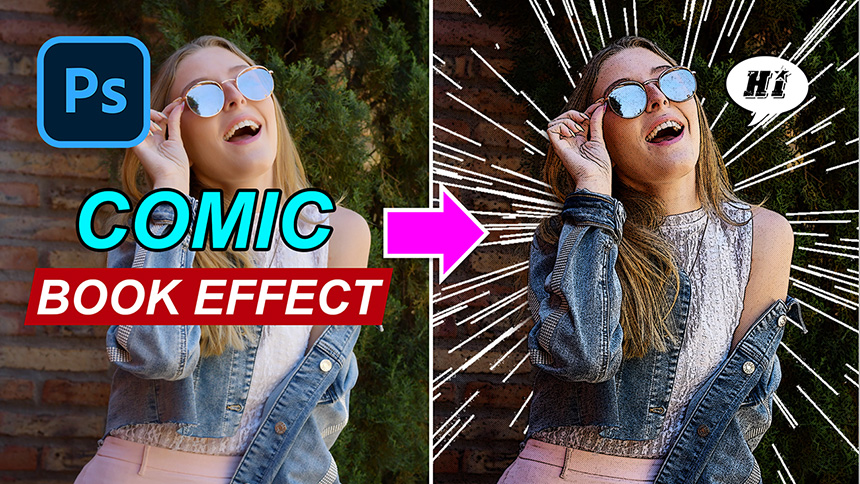
Hey guys, today let’s turn your photo into a comic poster in Photoshop.
First, duplicate this background layer by pressing CTRL+J for those using Window or CMD+J for MAC.
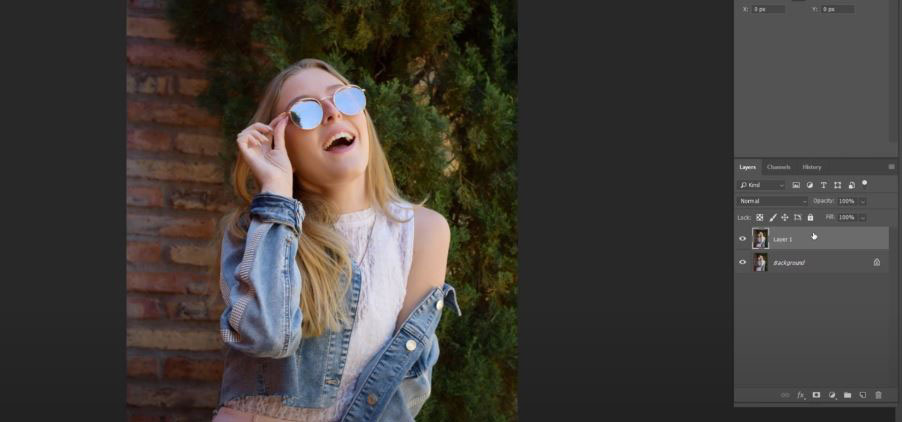
Convert this copy layer to smart object so we can modify it non-destructively.
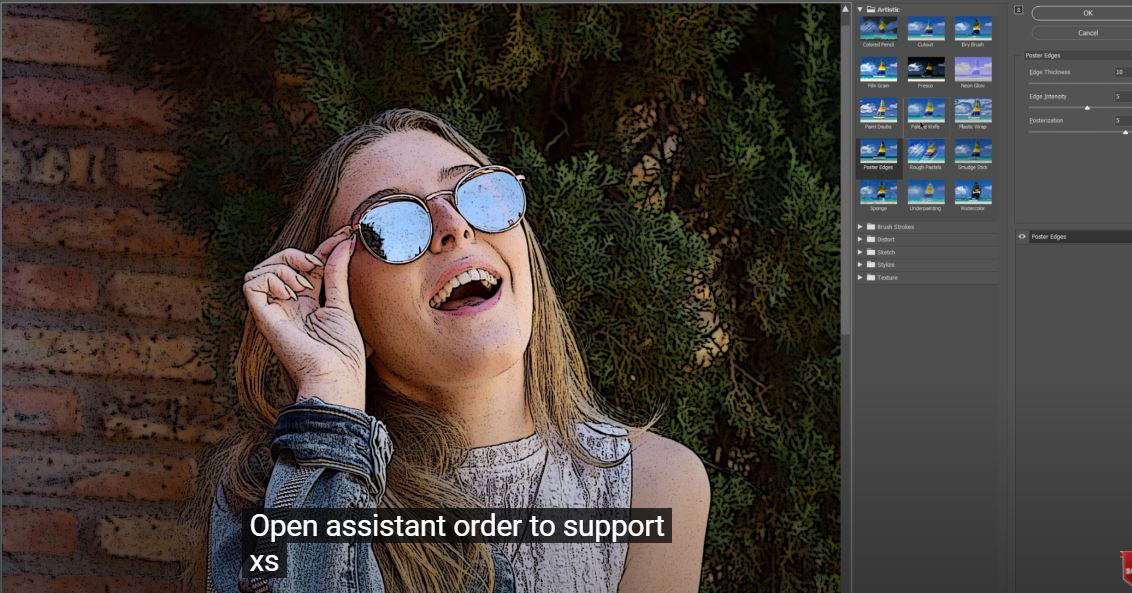
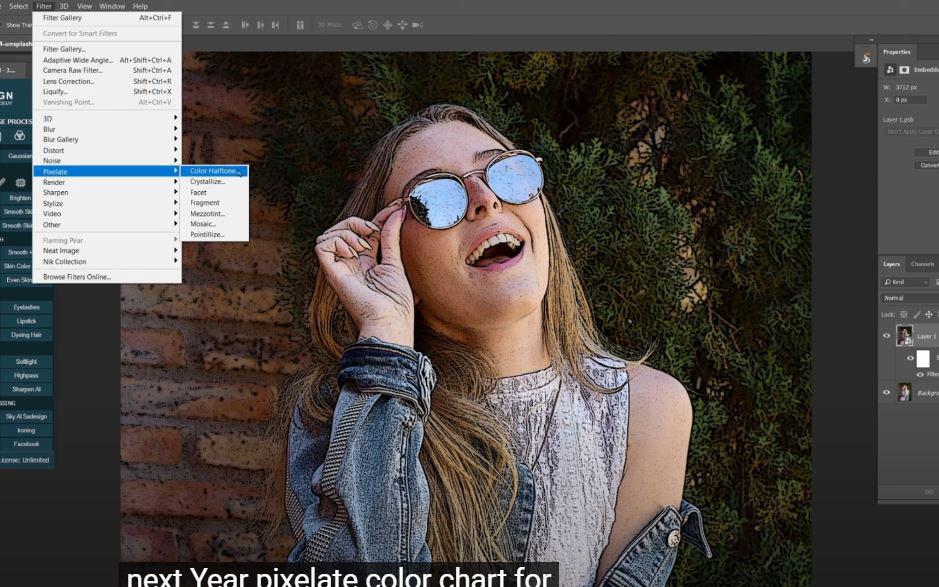
Go to Filter > Filter Gallery > open Artistic folder, choose Poster Edges,
Print Edge thickness: 10
For the rest, the amount at 5.
Next, Filter > Pixelate > Color Halftone > Maximum radius 8 pixels, screen angles of 4 channels are the same 45 degrees. OK
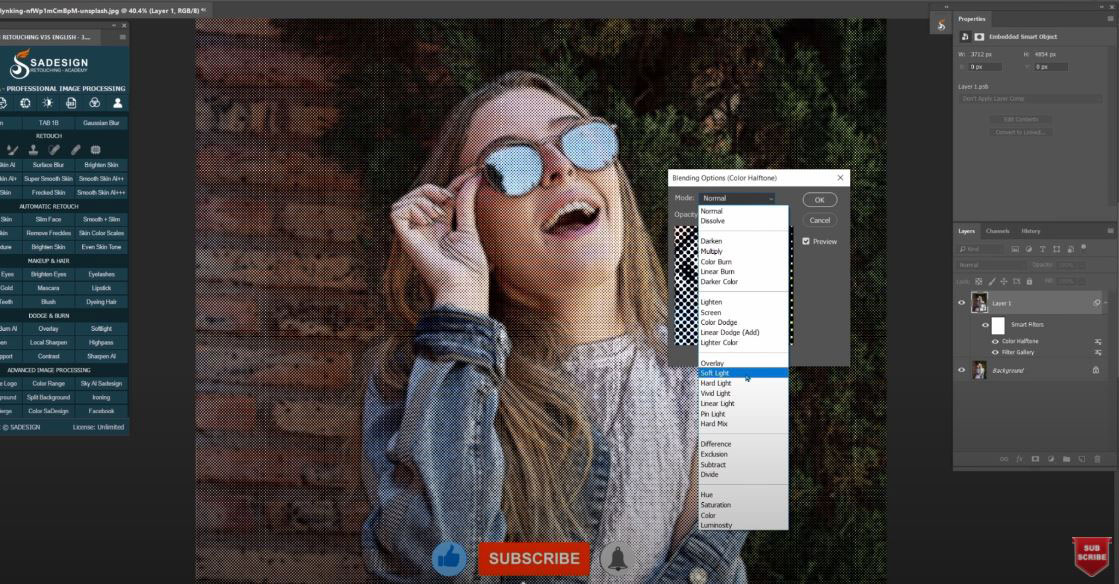
Change blend mode of specific color halftone effect to soft light byclick to the icon next to color halftone and change in mode box.
Adjust the opacity to 80%
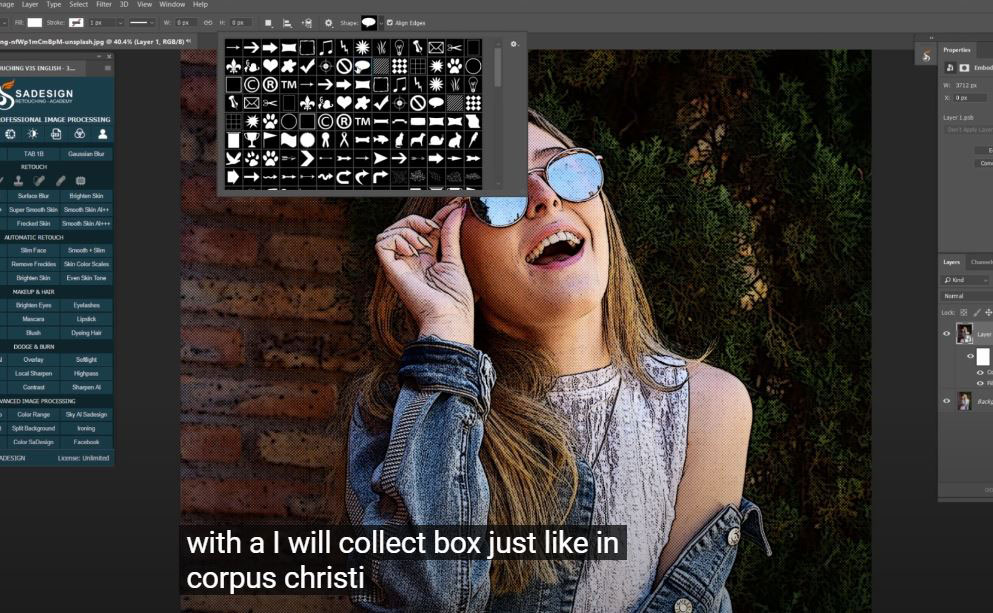
Right click to this icon and choose “custom shape tool”, make sure to choose Shape, not path.
Color is white,
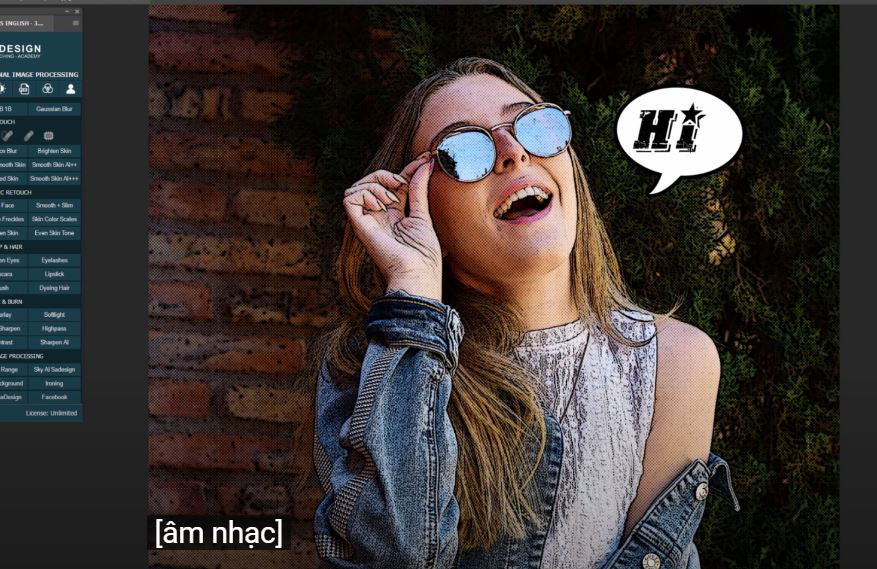
We will create a chat box just like in comic book. Click to shape icon and select this shape.
Then, just create a shape. Hit Enter when you are done.
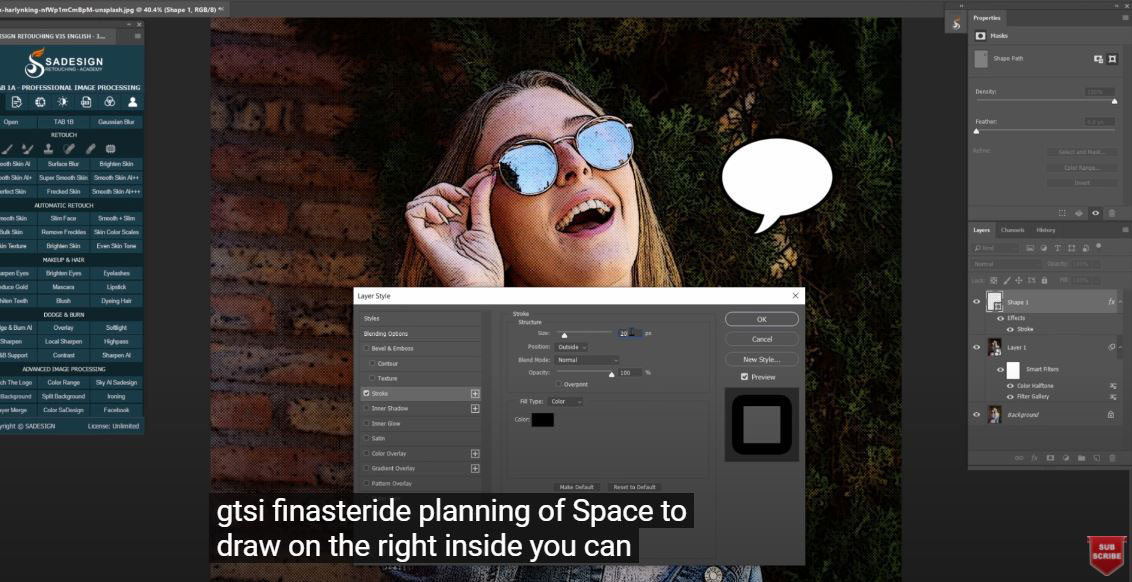
Next, add black border to this shape, to do that, click to fx icon and select Blending Options,
Choose stroke on the right-hand side, you can customize the size, position, color of stroke in Stroke window.
Use move tool to move the shape to the right place and CTRL+T to expand or scale down the size of shape.
After that, pick up text tool, select font, style, algin and type it out inside the shape.
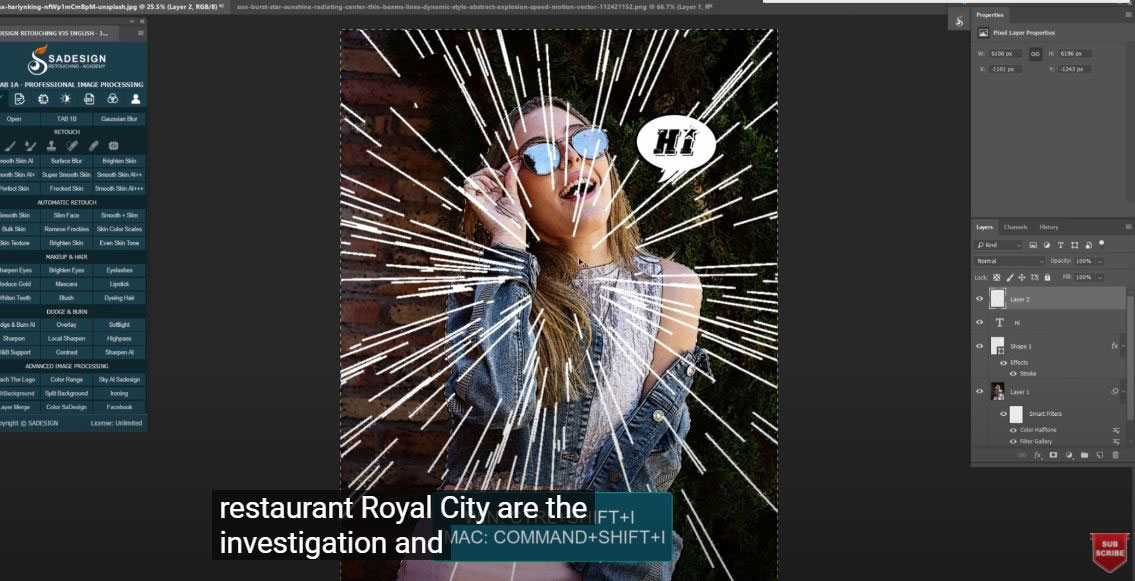
Here, I have a speed light photo to decorate the subject. You can use your own, if not, feel free to download these stock in the link on the description. I always leave stock link on every tutorial for you guys to download and practice.
Take it to our project and expand the size from the center just to make the subject stand out.

In the background layer, go to Select > Subject, press CTRL+SHIFT+I to invert the selection and click to layer mask icon.
There you go!
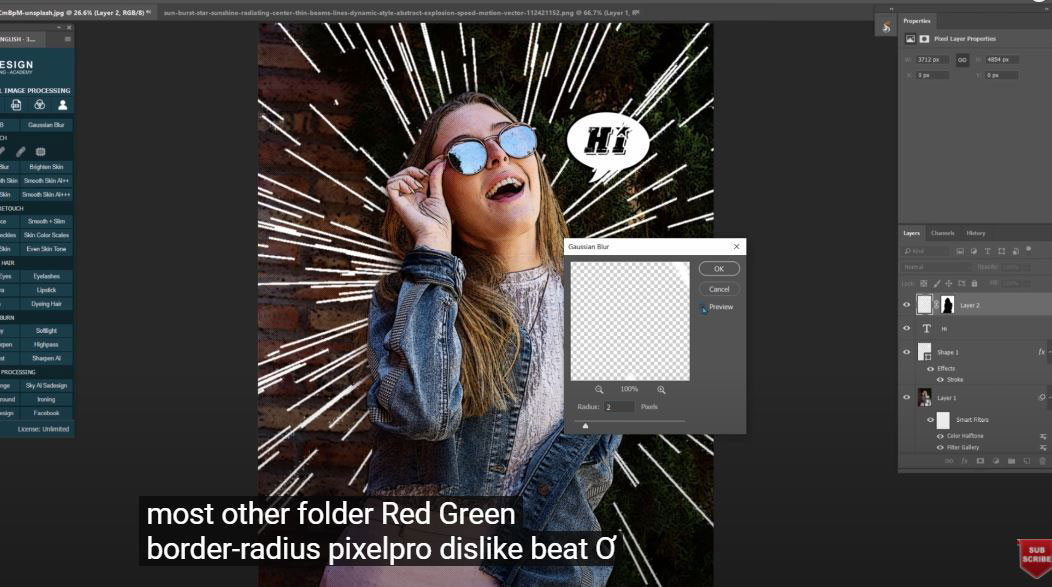
Move to layer, Filter > Blur > Gaussian Blur > 2 radius pixels to blur these lines a bit.
Create a stamp visible layers which is the combination of all below layers of the currect layer.
Add border to the photo by open Blending Options and turn on “Stroke”. Make sure position is inside this time. The size and color depends on your style.
Click to + icon to duplicate stroke effect.
Change to white color and size should be bigger than the black one.
Enjoy!
If you like Photoshop and Photograph just like SaDesign and you want to get more and more tips, techniques, experience from us. Make sure to subscribe to our channel by simply clicking the subscribe button and you will get tons of free tutorials that SaDesign share about Photoshop technique on a daily basic. See you guys in the following tutorials. Bye Bye!
REGISTER FOR FREE PHOTOSHOP LEARNING
============================
The most powerful Retouch tool processor
DOWNLOAD:
✅ SADESIGN PANEL ENGLISH: https://sadesign.ai/retouching/
✅ SADESIGN PANEL VIETNAM: https://www.retouching.vn/