How To Turn a Photo into a Light Dreamy Romantic Image
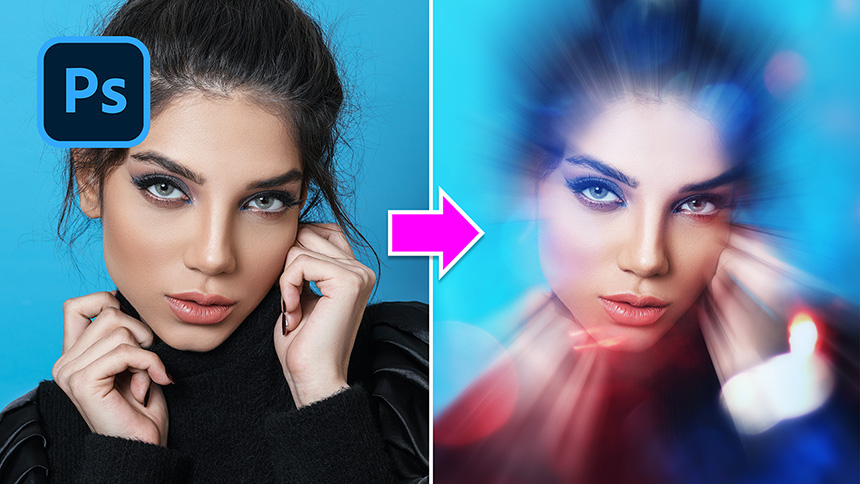
Hey, this is SaDesign channel, today I'll show you how to turn your photo to a dreamy look with bokeh lights right here in Photoshop. Let's get started!
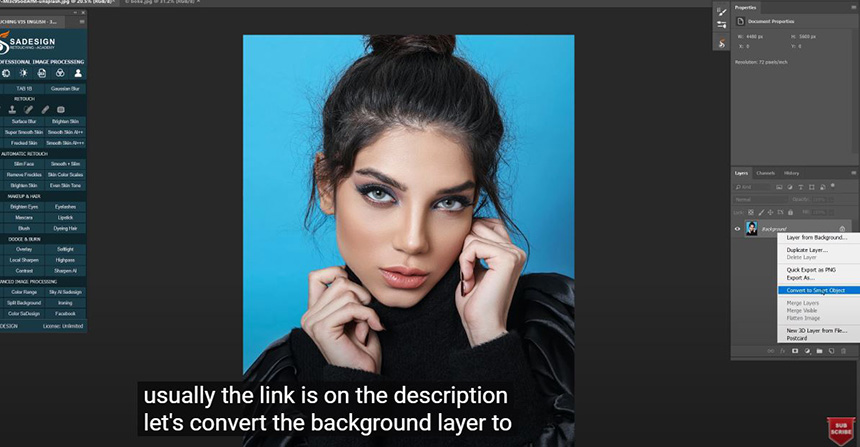
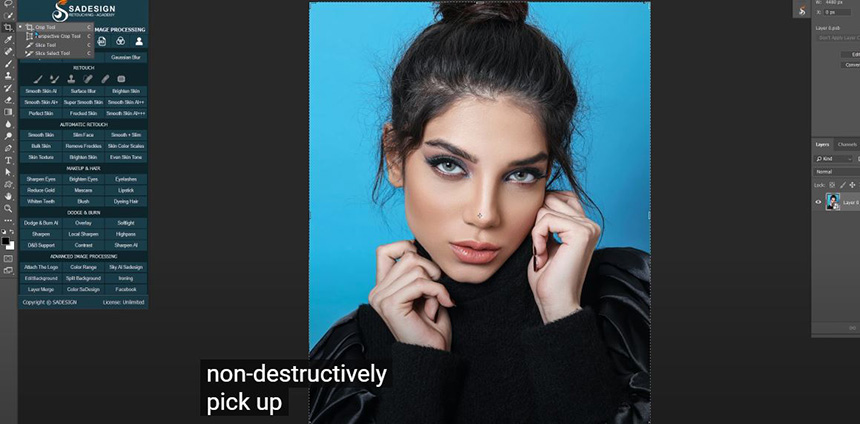
First, open your photo in Photoshop, you can use my stock to go along with me throughout the whole process. Usually, the link on the description.
Let's convert the background layer to a smart object so we can modify it non-destructively.
Pick up “Crop tool” (C shortcut), we will make this document from a rectangle shape to a square shape. Then, click to the check mark on the top to confirm. Duplicate the layer 0 twice by pressing shortcut CTRL or CMD + J 2 times.
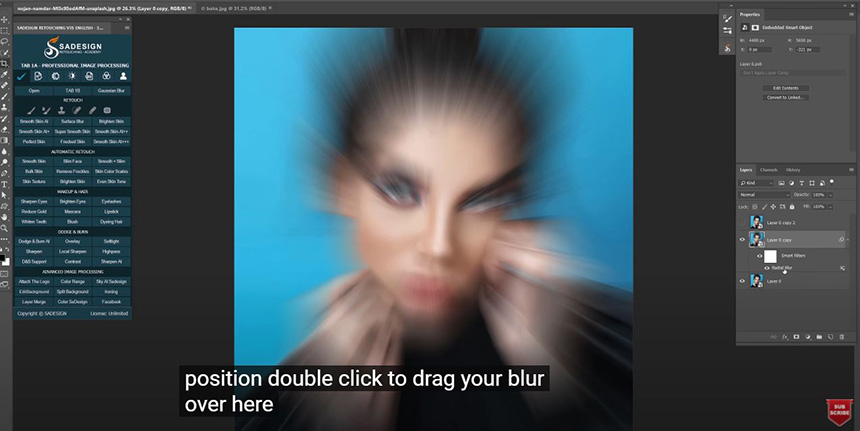
Turn off the top layer, in the second one, we will add blur to it, go to Filter > Blur > Radial Blur > in here, set the blurring amount to 100. Blur Method: zoom and Best in quality. Just leave the blur center as it is because we want the blur effect to start from the center. OK
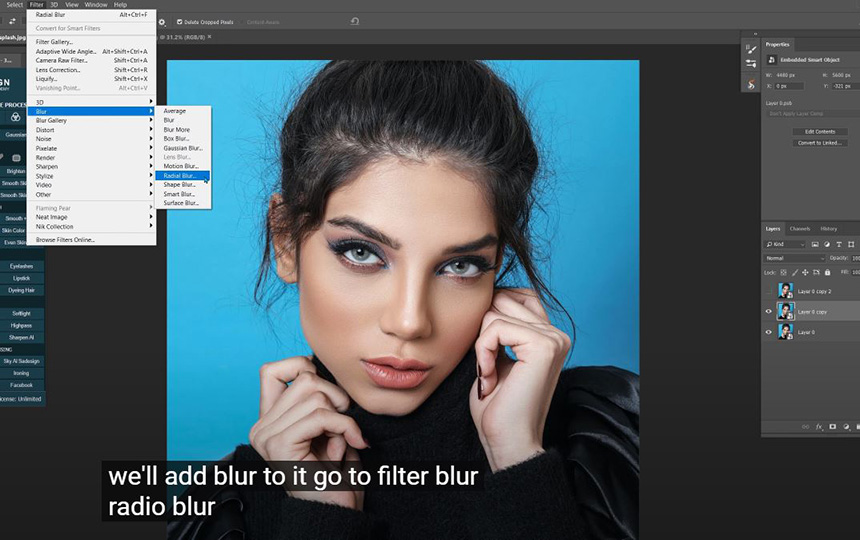
If you want to adjust the blur position, double click to Radial blur over here, and move the dot right in the center of the model's face. Don't worry about her eyes, we will fix that now.
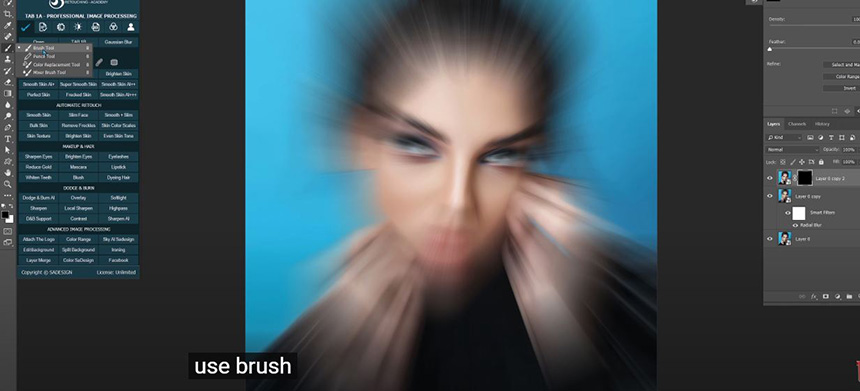
Turn back on top layer, create black layer mask to it by holding ALT and clicking to this icon below.
Use the brush tool (B shortcut), adjust the opacity to 75% and the foreground should be in white. If it's not, click to this icon to switch foreground and background color or X shortcut on the keyboard. Just paint on her face to remove the blur effect. You can adjust the opacity if needed.
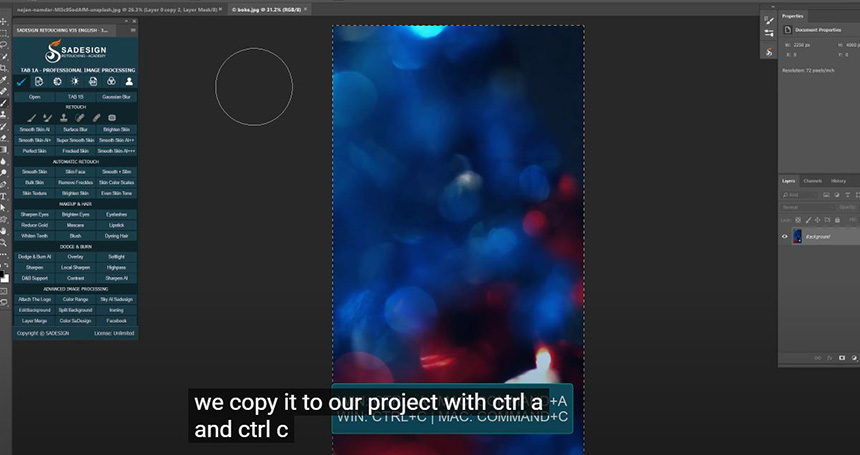
Here, I have bokeh image, we copy it to our project with CTRL+A and CTRL+C
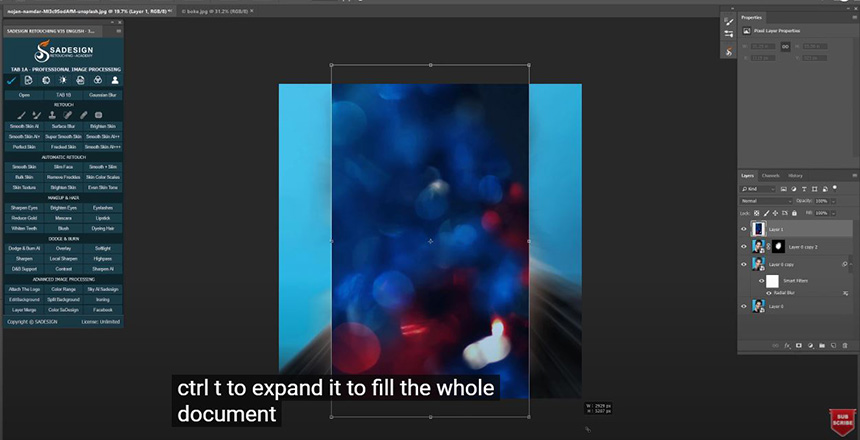
CTRL+V to paste it on our project and CTRL+T to expand it to fill the whole document. Tip: hold ALT and SHIFT while dragging to make it expand from the center.
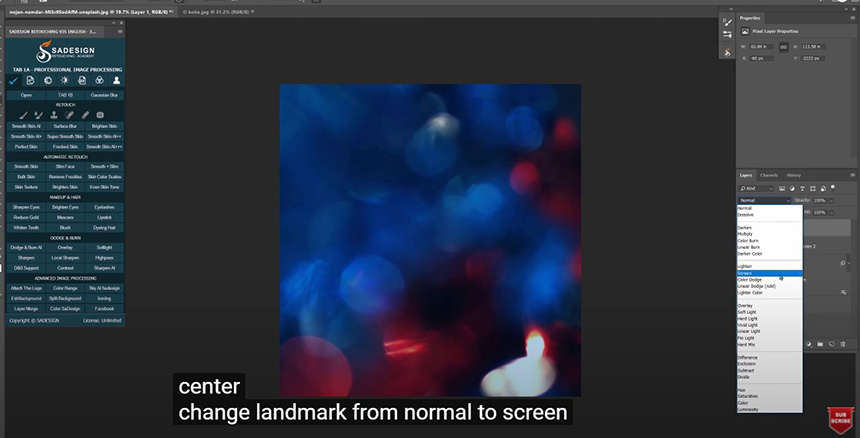
Change blend mode from normal to “Screen” You can adjust bokeh lights with move tool (V shortcut) Next, just add some contrast to it, create a curves adjustment layer, increase highlight and decrease shadow for adding contrast.
There you go. Hope that you like this video, hit like and leave comments in case you want me to clarify something on this clip. Thanks for watching!
Watch the video here:
REGISTER FOR FREE PHOTOSHOP LEARNING
============================
The most powerful Retouch tool processor
DOWNLOAD:
✅ SADESIGN PANEL ENGLISH: https://sadesign.ai/retouching/
✅ SADESIGN PANEL VIETNAM: https://www.retouching.vn/