How To Turn a Photo Into a Realistic Watercolor Painting
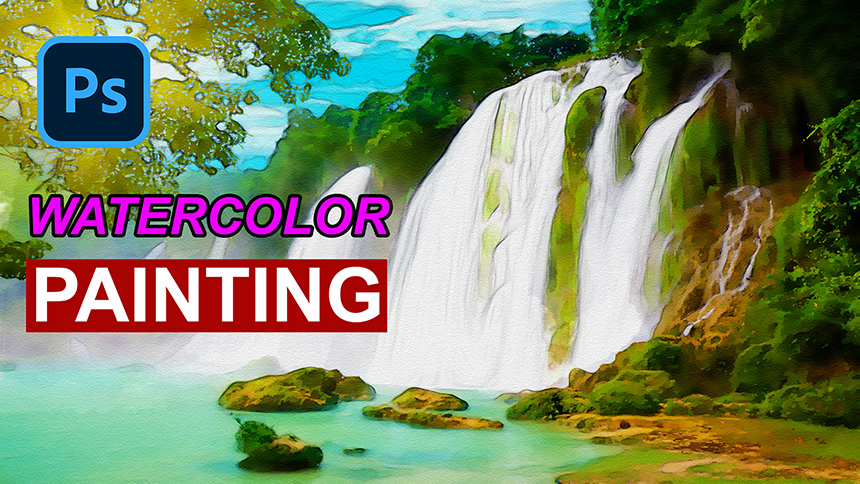
Hey hey, in this tutorial, I'll show to the way to create a realistic watercolor painting from portrait, landscape photos.
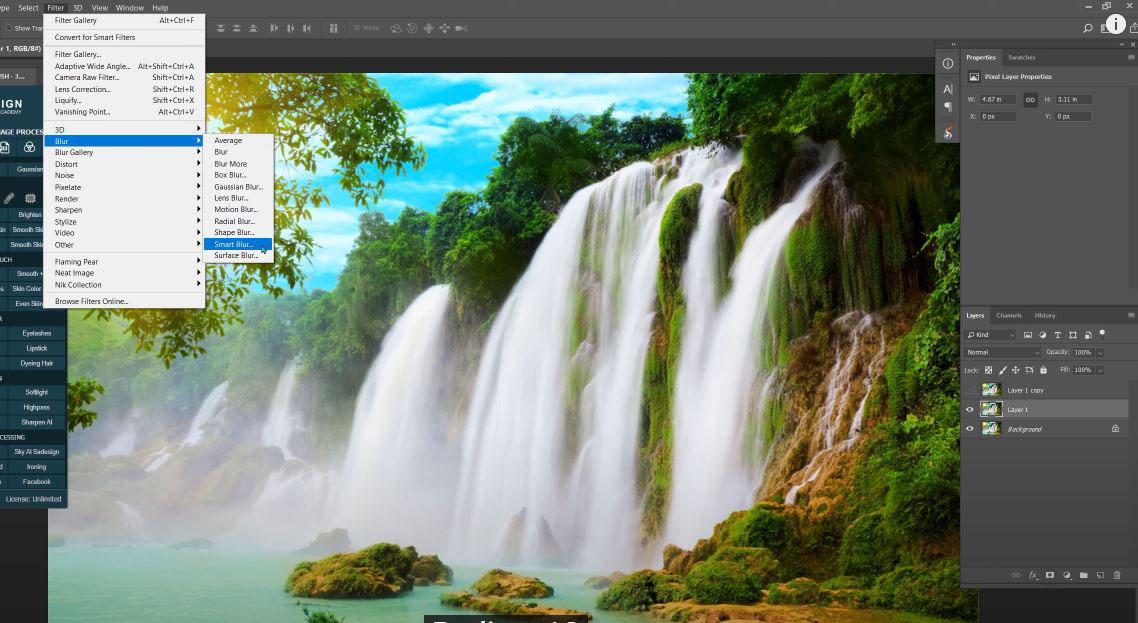
After opening your photo, let’s duplicate the background layer by pressing CTRL+J 2 times.
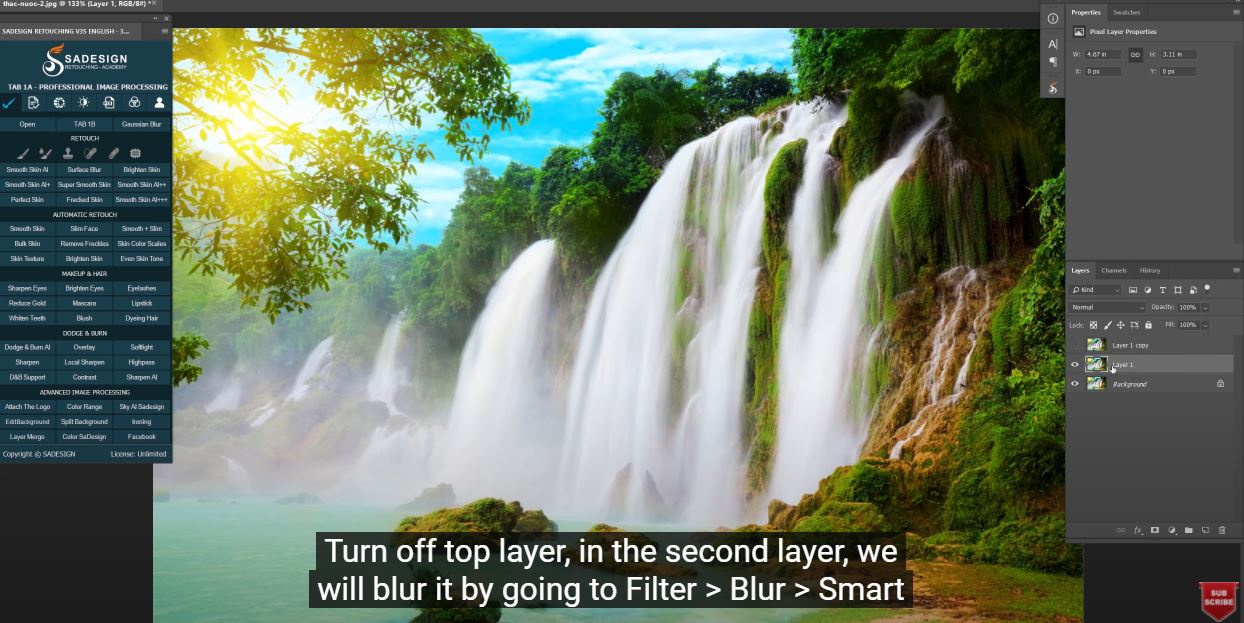
Turn off top layer, in the second layer, we will blur it by going to Filter > Blur > Smart Blur
Radius: 10
Threshold: 30
Quality: high
Mode: Normal, then confirm
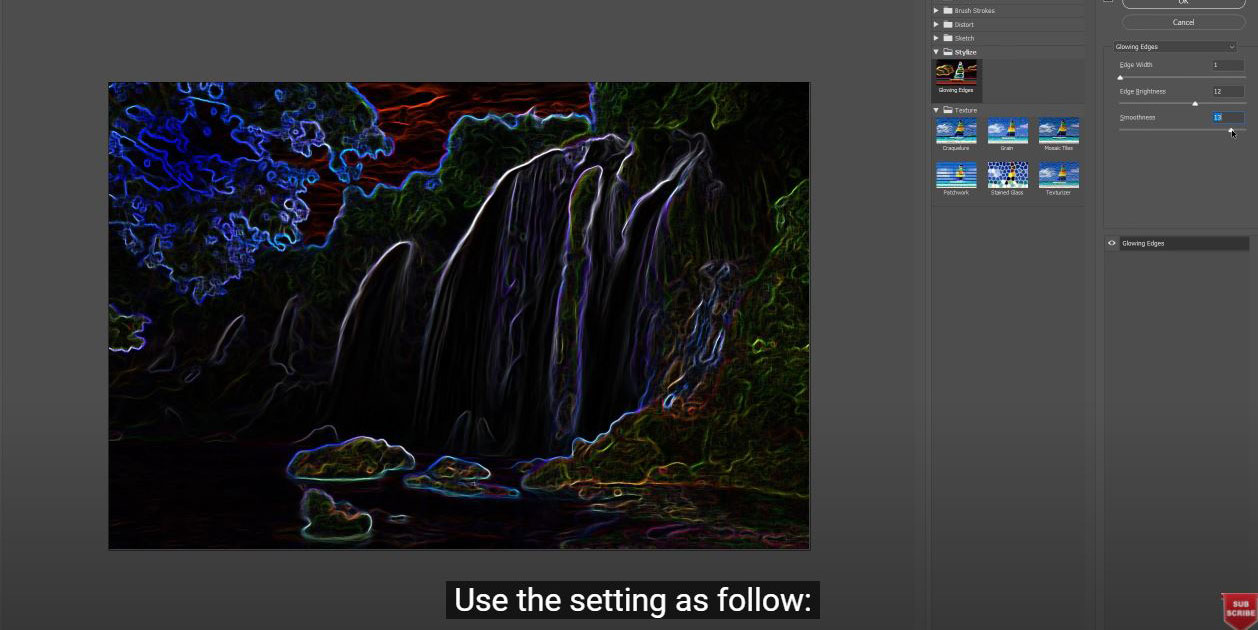
Move back to top layer and turn it on. Head to Filter > Filter Gallery > there are many filters in here, when you have time, try one by one filter to understand what the filter is. In this case, we will use Glowing edges filter in stylize folder.
Use the setting as follow:
Edge width 1
Edge brightness 12
Smoothness 14
Remove all colors in this layer with CTRL+SHIFT+U for Win or CMD+SHIFT+U for MAC
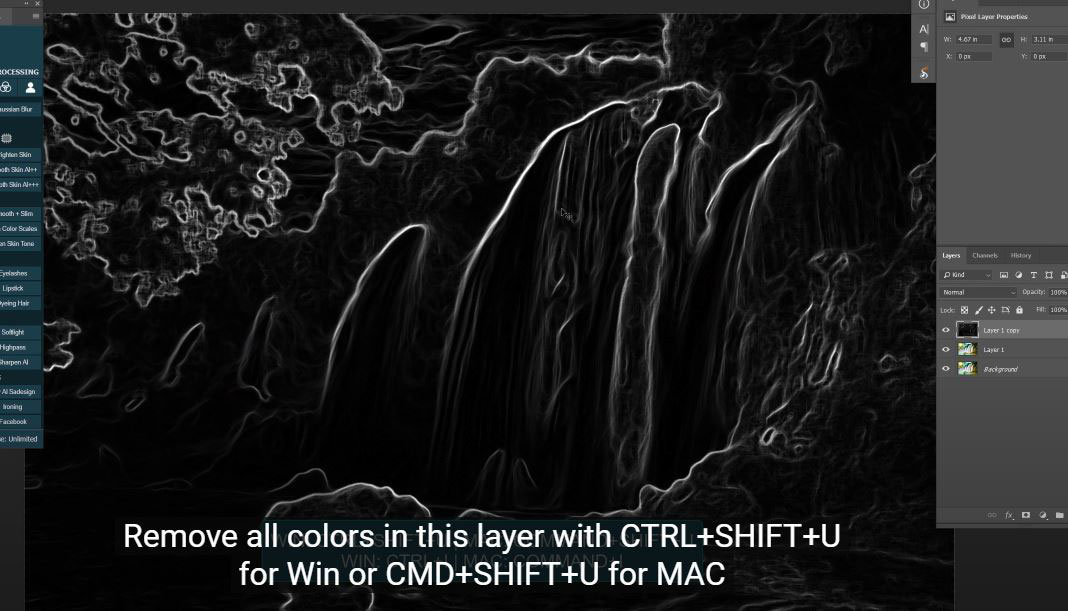
Then, press CTRL or CMD+I to reverse it from black to white.
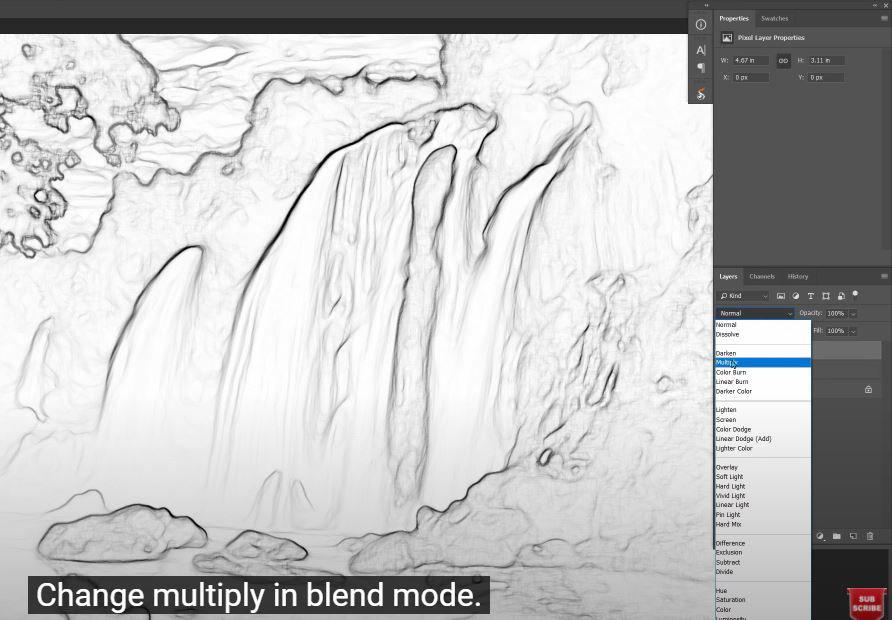
Change multiply in blend mode.
Now, the photo looks like more painting
Let’s reduce the opacity to 80%
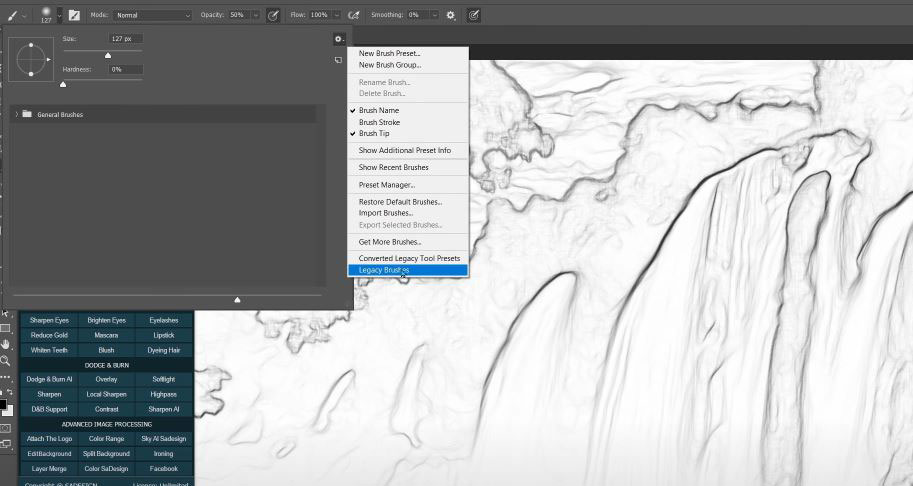
Pick up brush tool (B shortcut), choose small arrow over here, then click to wheel icon and select Legacy brushes. OK
Open legacy folder, then default folder, scroll down until you find “Dry brush”
Pick it up, lower the opacity to 10%, now we’re going to use this brush to paint over this layer.
While painting, you can increase or decrease brush size with bracket shortcut {} on the keyboard.
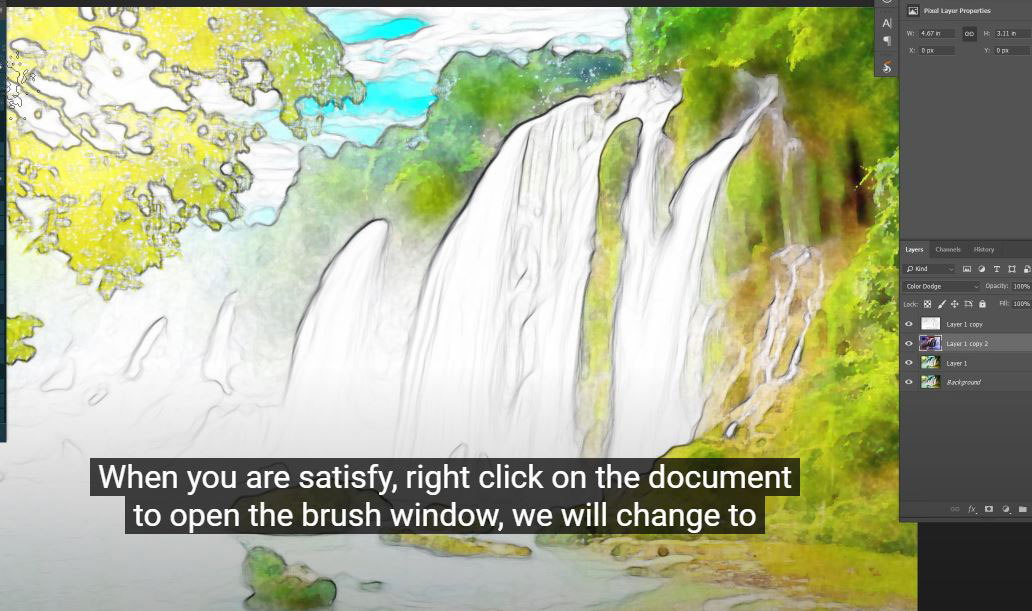
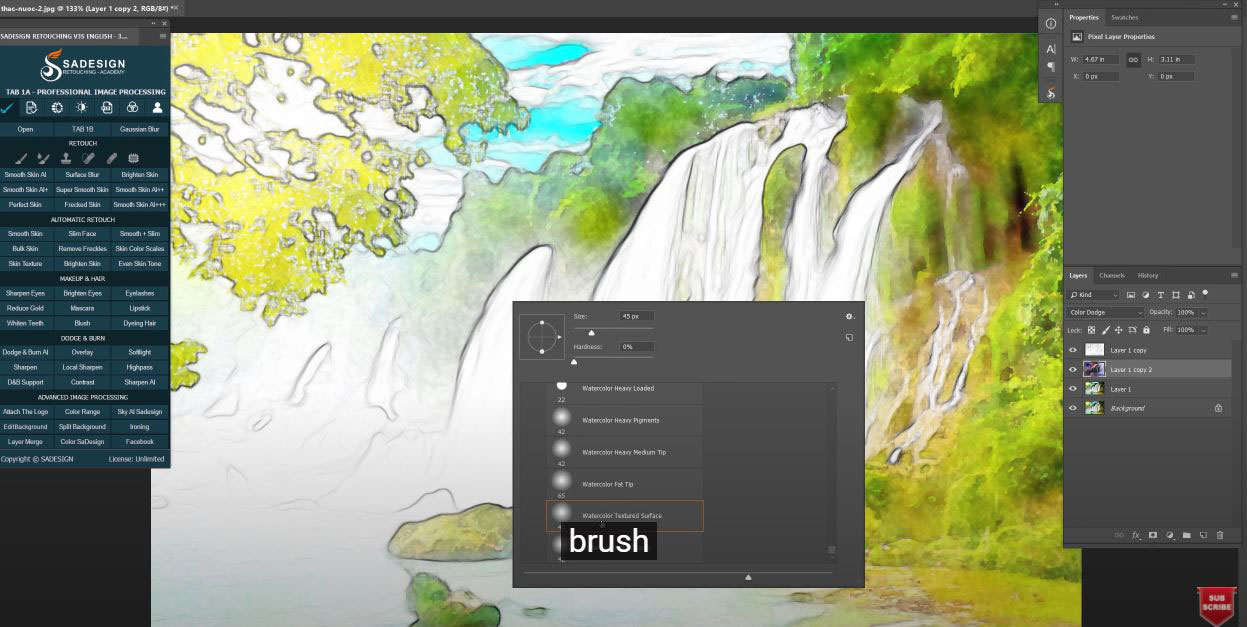
When you are satisfy, right click on the document to open the brush window, we will change to other brush, scroll down and open “wet media” folder, choose “watercolor textured surface” brush
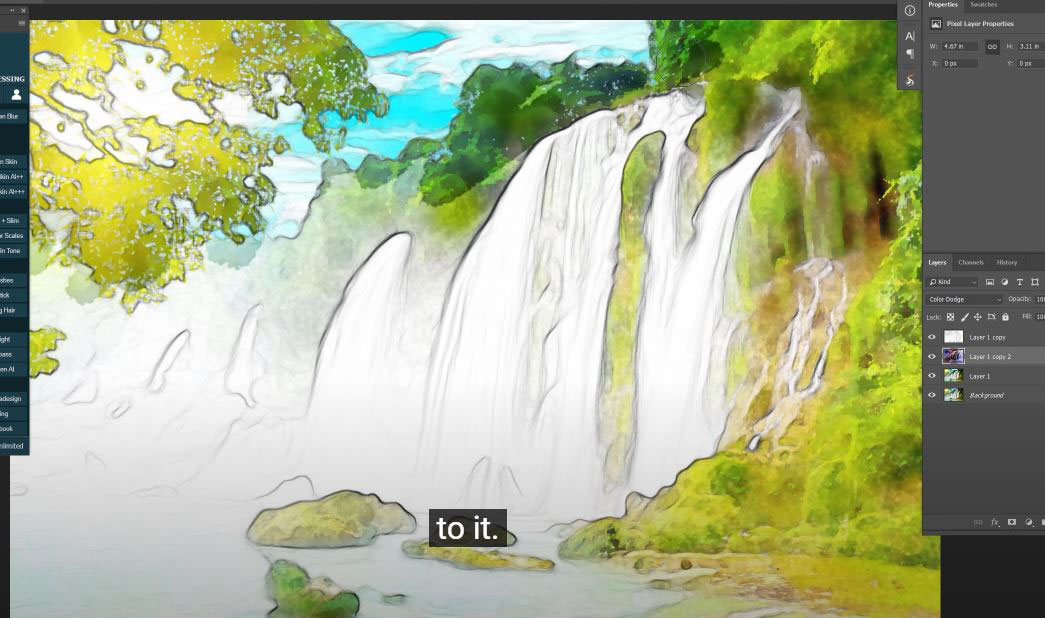
Increase the opacity to 50% and paint over the layer again to add watercolor texture to it.
After finishing, add layer mask to top layer, use eraser tool to remove or hide the dark lines just like the pencil lines in the document.
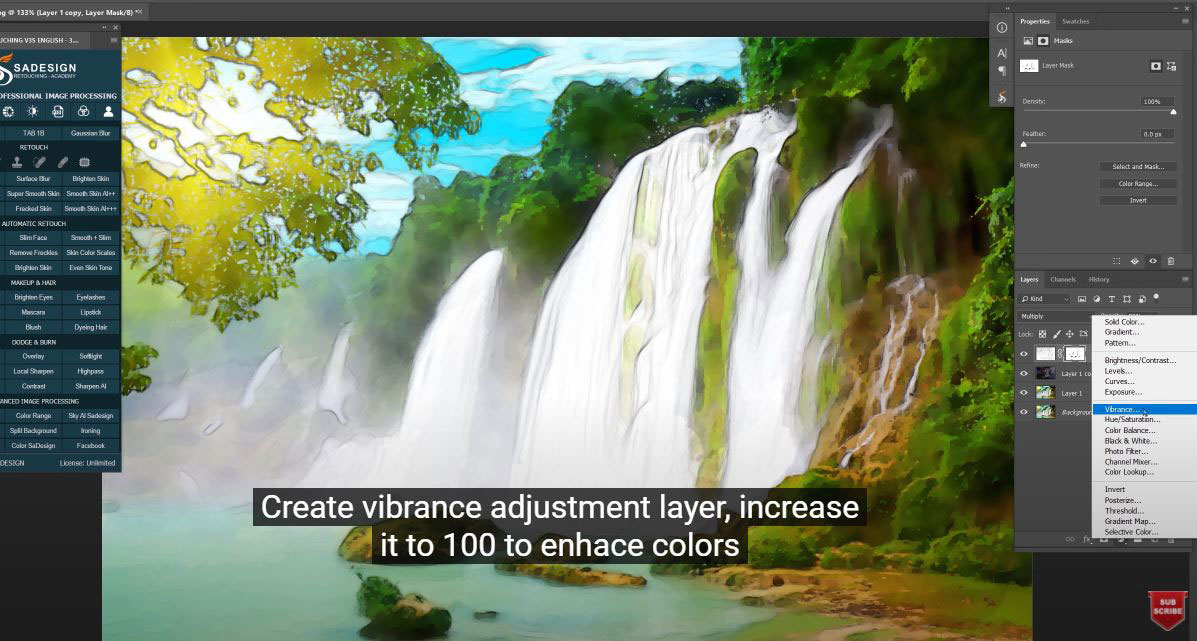
Create vibrance adjustment layer, increase it to 100 to enhace colors
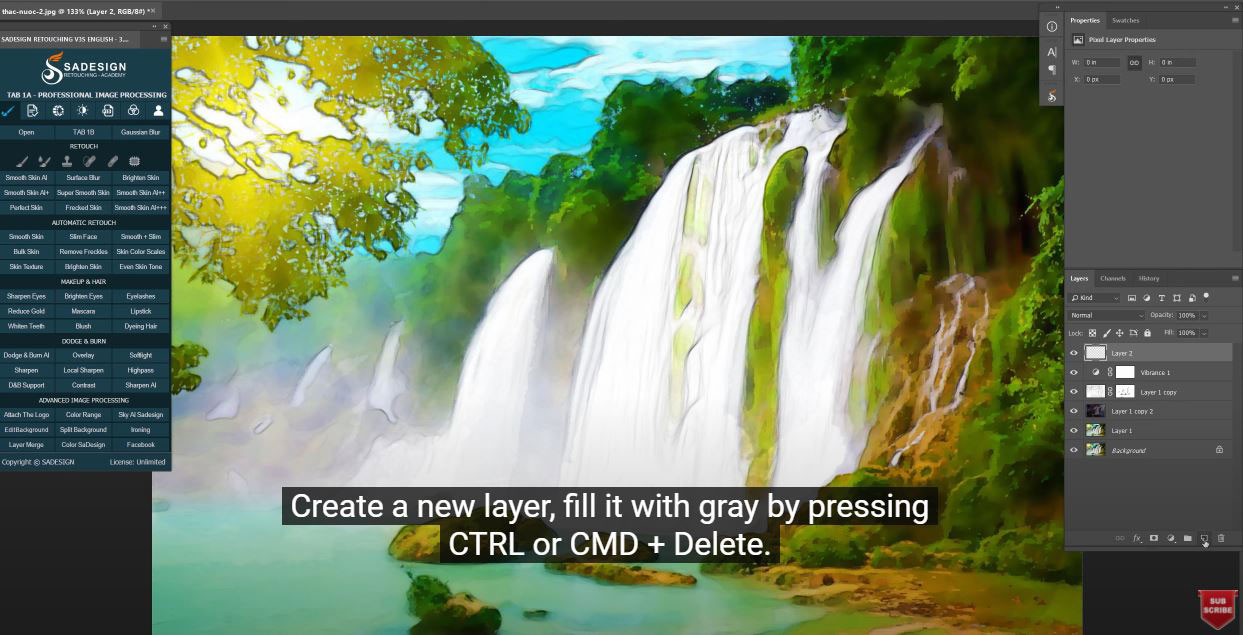
Create a new layer, fill it with gray by pressing CTRL or CMD + Delete. Make sure to set the background color to gray first. Change blend mode from normal to linear burn.
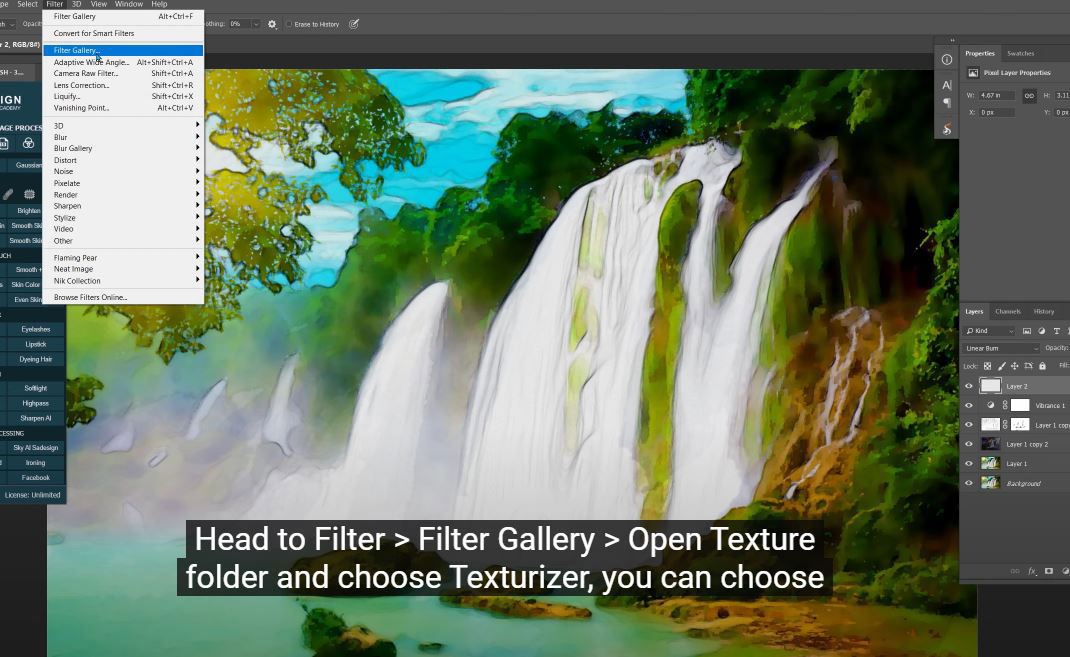
Head to Filter > Filter Gallery > Open Texture folder and choose Texturizer, you can choose any texture that you want, (Brick, Burlap, Canvas or Sandstone).
Reduce the opacity to the point that you see fit.
Alright! Enjoy your new landscape painting.
If you think this video is helpful, hit like, subscribe and ring the bell for any guide videos later on. See ya!
REGISTER FOR FREE PHOTOSHOP LEARNING
============================
The most powerful Retouch tool processor
DOWNLOAD:
✅ SADESIGN PANEL ENGLISH: https://sadesign.ai/retouching/
✅ SADESIGN PANEL VIETNAM: https://www.retouching.vn/