How to Create a Broken Mirror Effect in Photoshop

Hey hey, let’s create a broken mirror effect in Photoshop.
It’s not too complicated actually, just simple techniques, duplicate subject many times and masking it to create this effect. Now, just jump right into it. First, create a new layer by clicking to the small page icon at lower right corner.
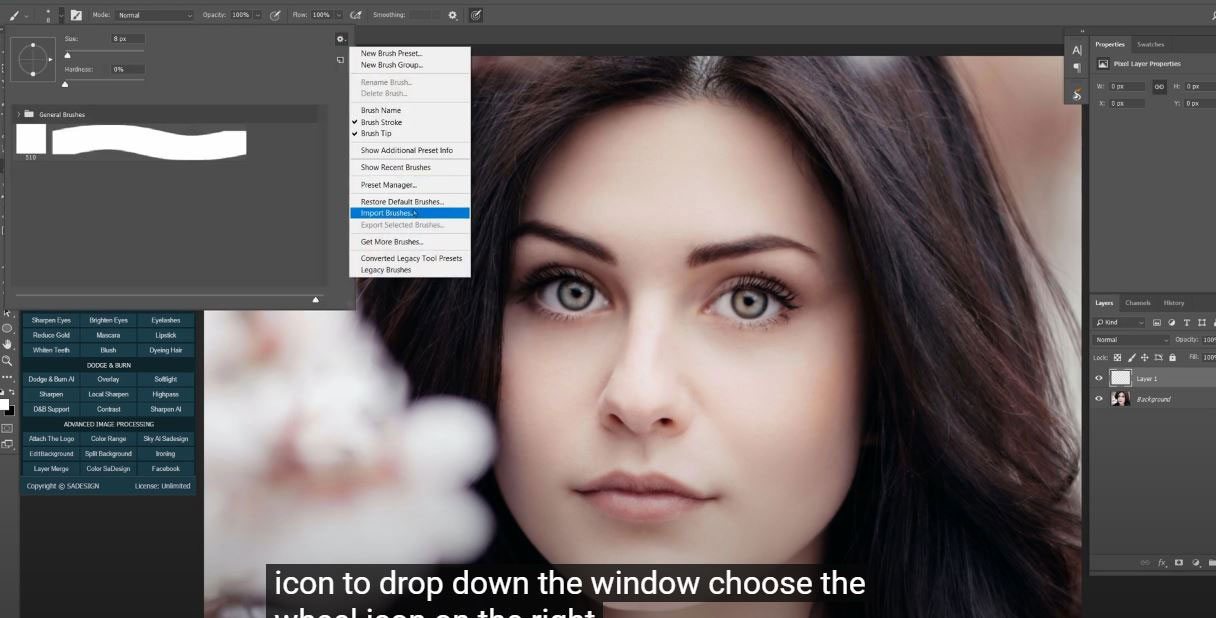
Pick up brush tool (B shortcut), select the tiny down arrow icon to drop down the window, choose the wheel icon on the right and choose import brushes
Choose the brush and load it.
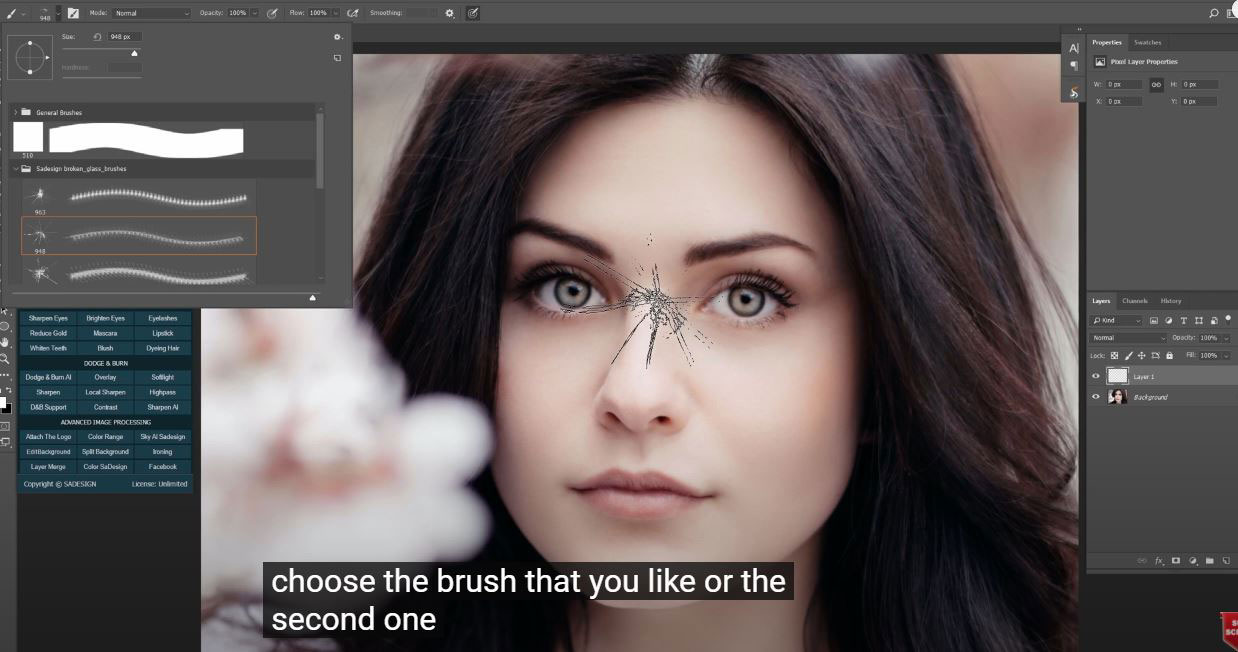
Open the broken glass brushes folder that we’ve just imported, choose the brush that you like or the second one just like me.
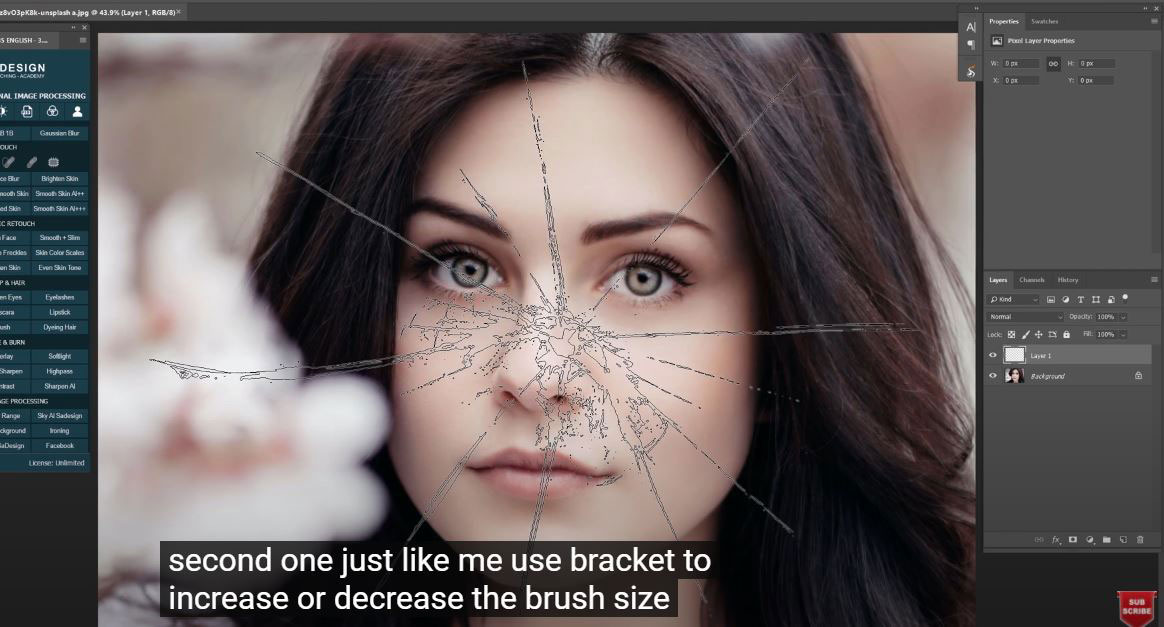
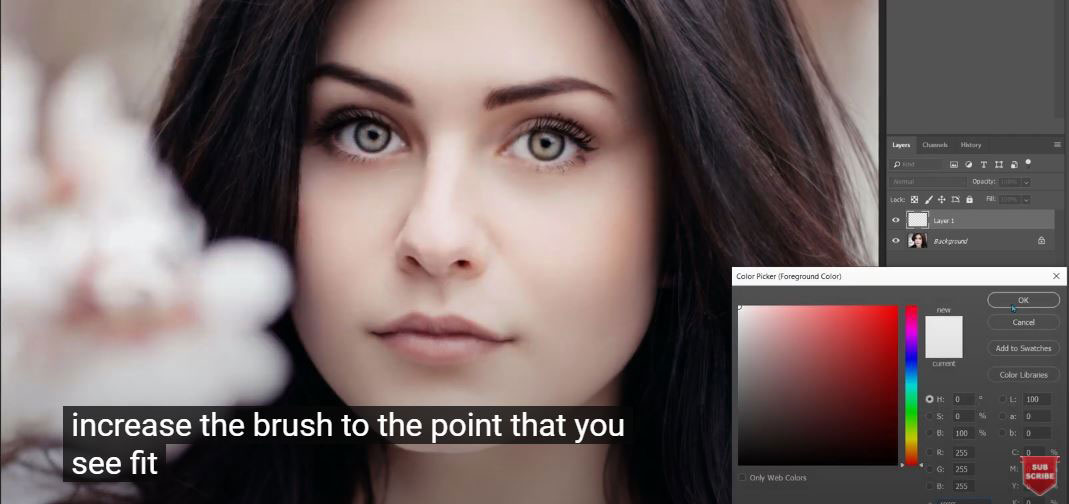
Use bracket {} to increase or decrease the brush size, increase the brush to the point that you see fit, make sure the foreground color is white. Both Opacity and Flow are 100%.
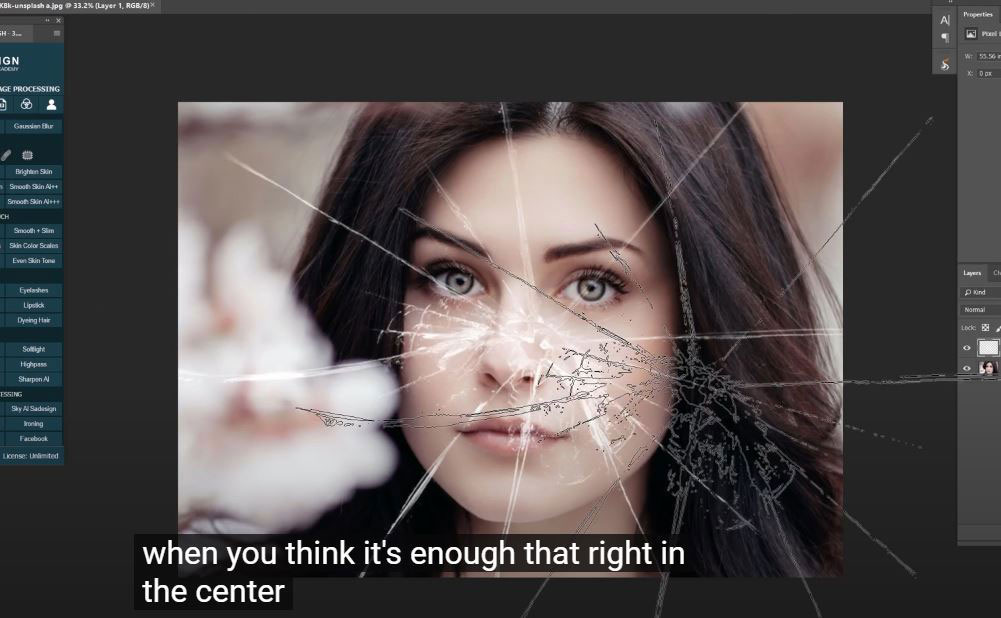
Zoom out a bit to have more space of view, increase the size of brush even more, when you think it’s enough, dab right in the center.
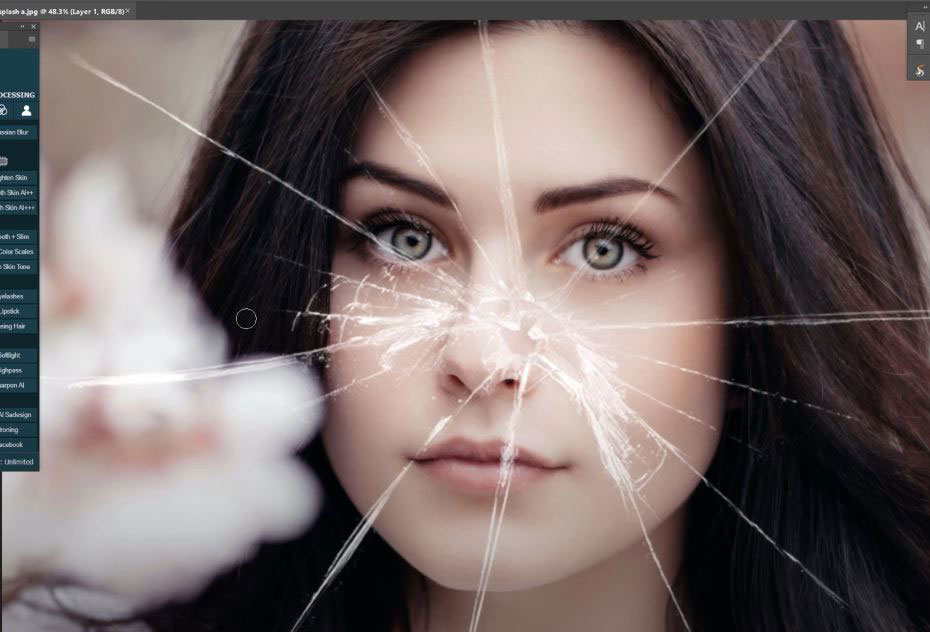
There you go, it just like the broken screen already.
Use eraser tool to remove some of the areas of glass that you don’t want.
Once, you’re done, move back to background layer, press CTRL or CMD + J to duplicate it.

Now, we will multi this subject into many pieces of broken glass to create the effect. To do that, use Polygonal lasso tool to take the selection of a piece of broken glass then click to layer mask to add the selection to layer mask.
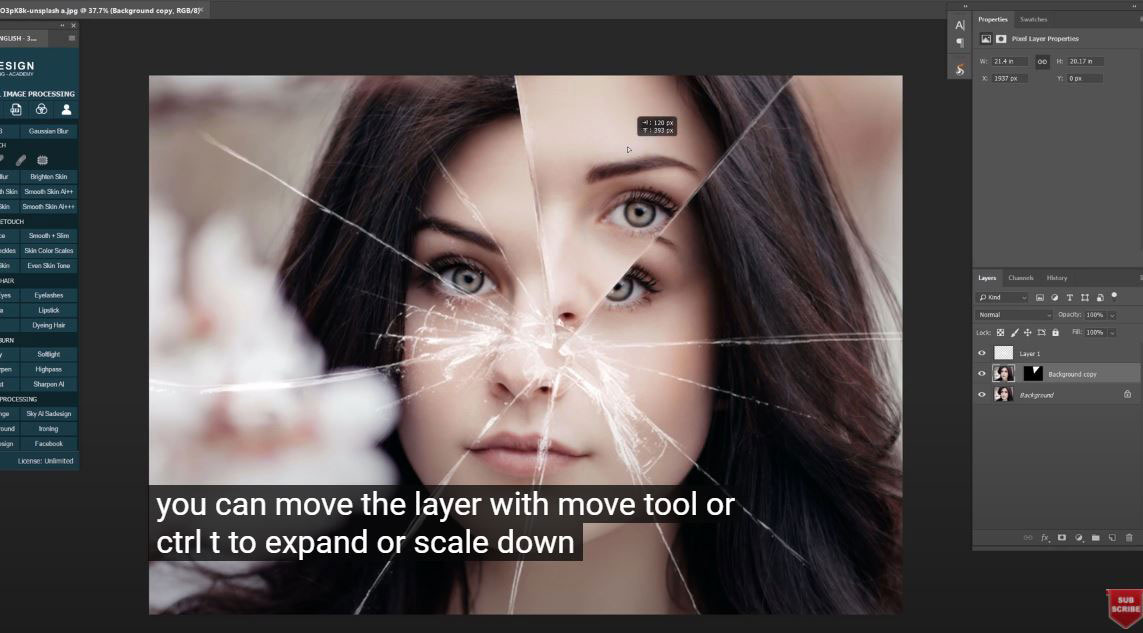
To adjust the photo inside, click to the chain icon between layer and layer mask to unlink the connection between them. You can move the layer with move tool or CTRL + T to expand or scale it down. The first piece is done. Let’s move to another one
Duplicate the background layer with CTRL or CMD + J,
Use polygonal lasso tool to take the selection, for using this tool, just simply click click click and click to cover the selection and double click when you finish
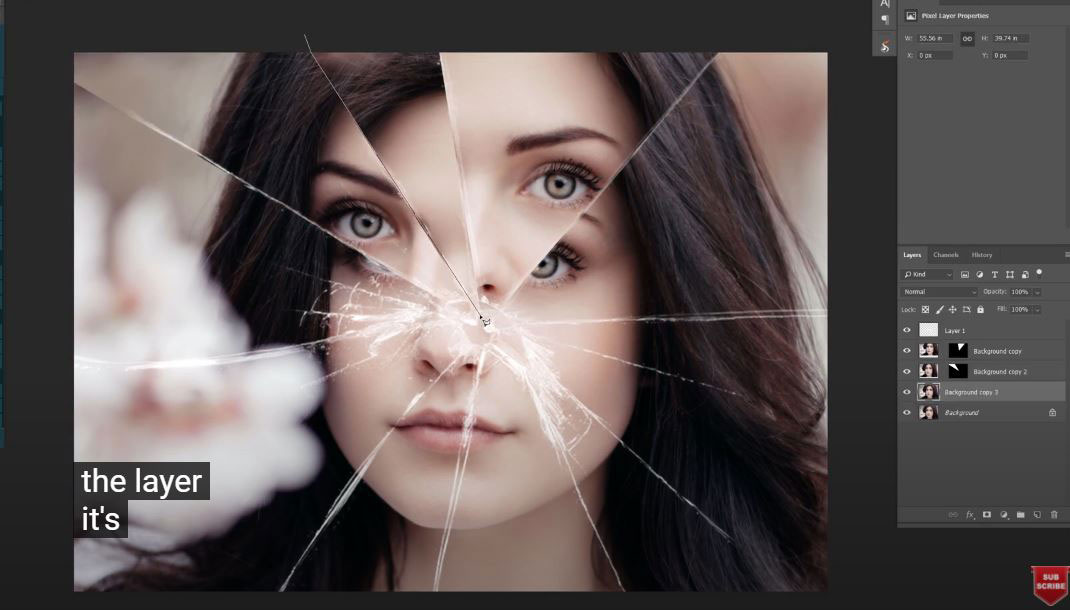
Click layer mask, unlink and adjust the layer
It’s simple right.
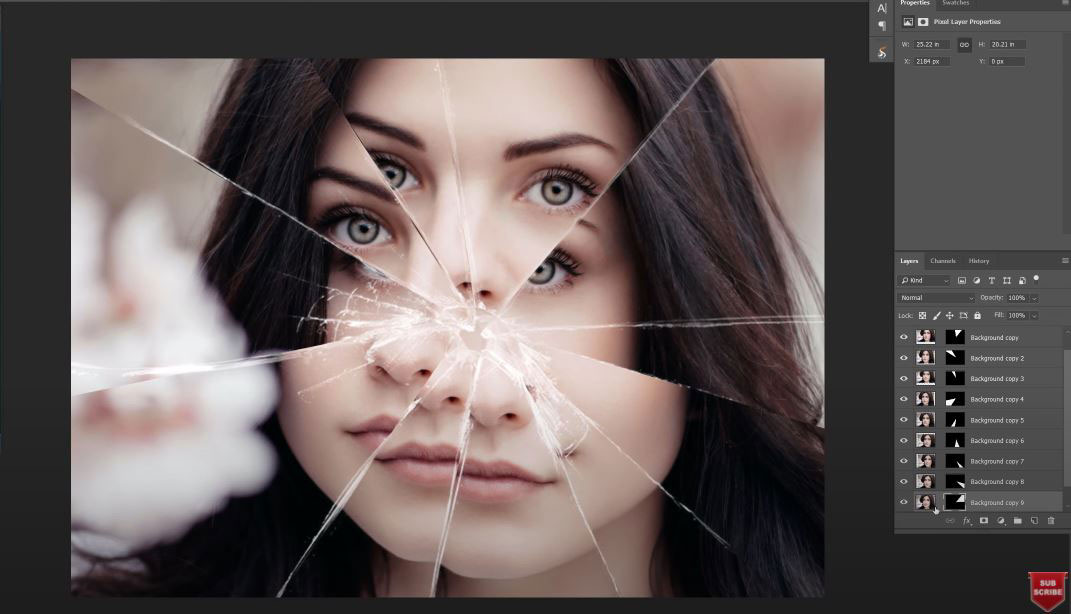
Just keep repeat these steps until you see it enough for this effect.
I’ll speed up the process a little bit so it won’t consume your time.
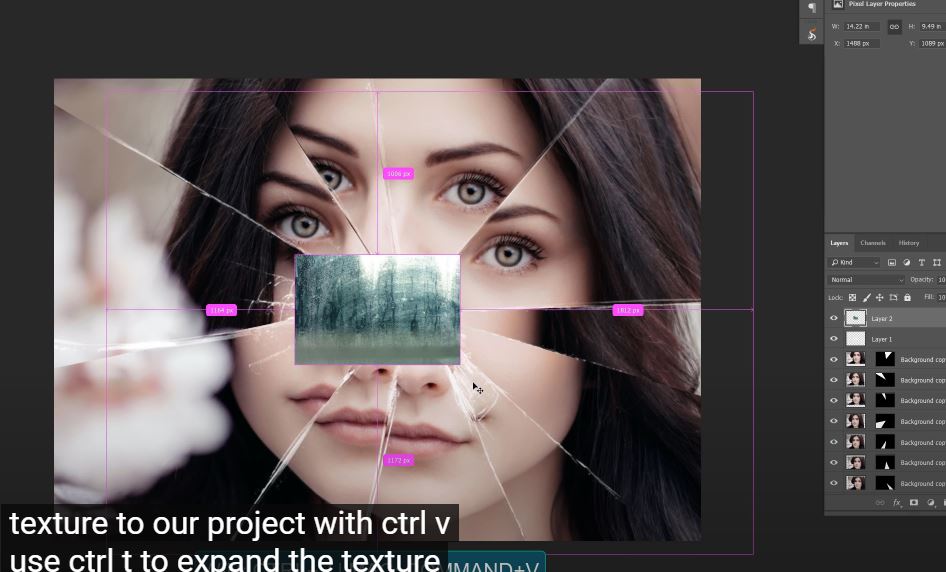
When you are done, here I have a texture to make the effect looks realistic even more.
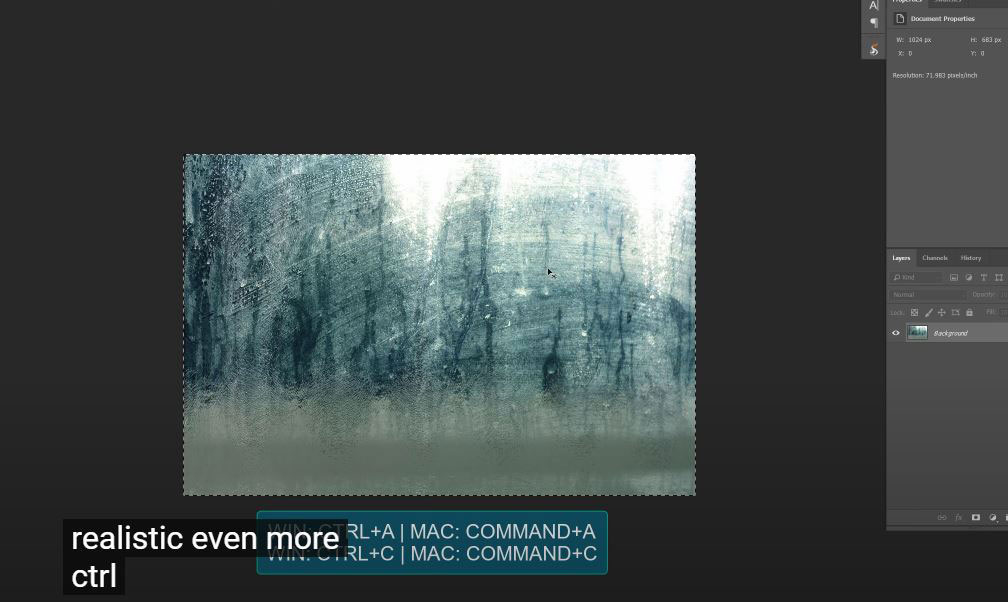
CTRL + A and CTRL + C to copy it, paste this texture to our project.
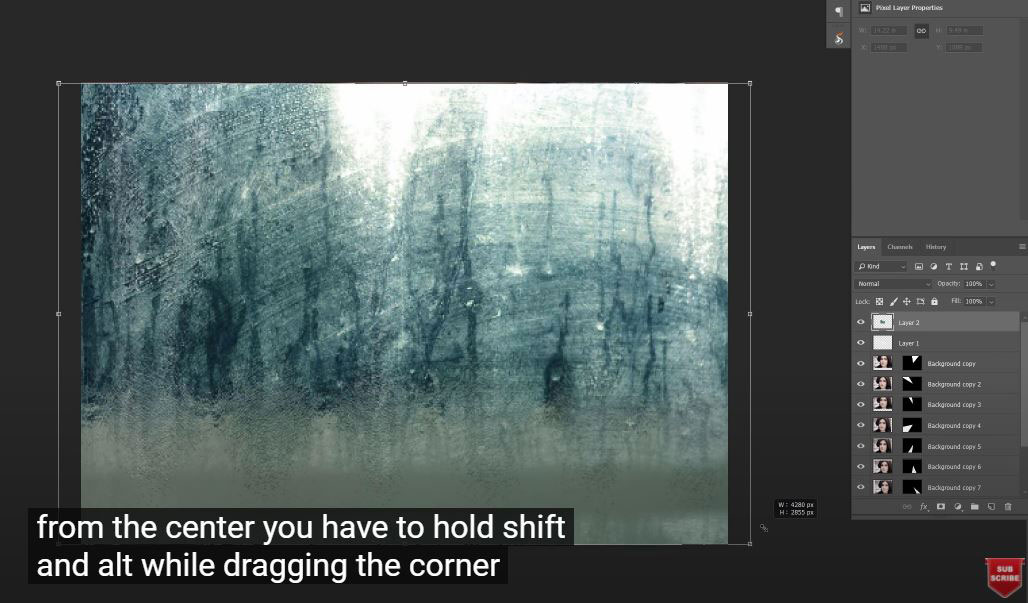
Use CTRL+T to expand the texture to fill all the document.
To expand the size evenly from the center, you have to hold SHIFT and ALT while dragging the corner out.
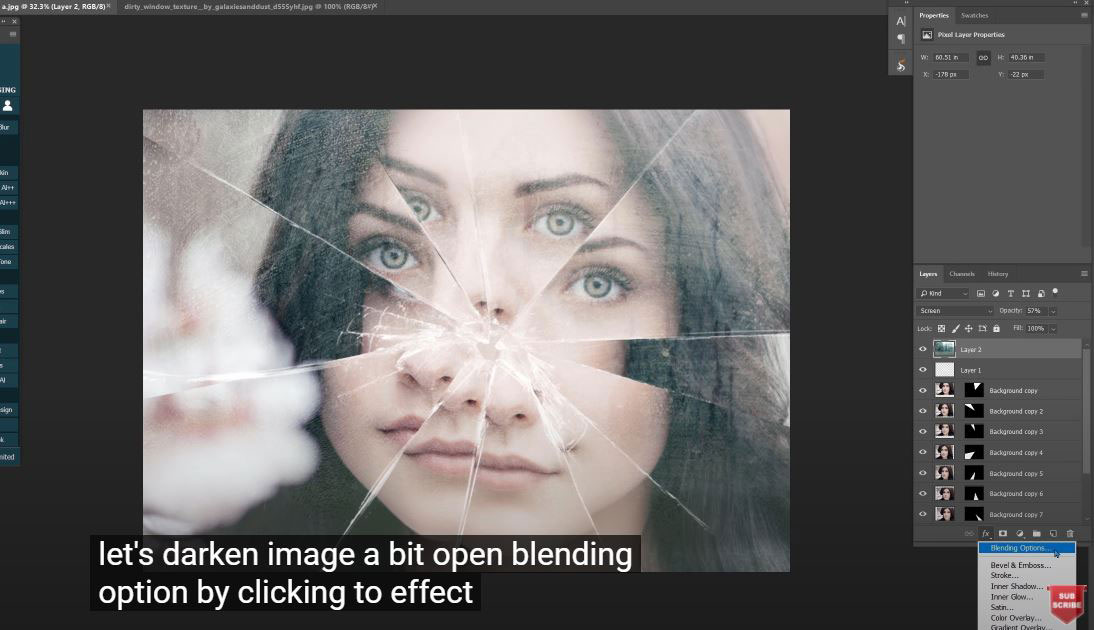
Change blend mode to screen and decrease the opacity into nearly half
It's quite bright, let’s darken image a bit, open Blending Options by clicking to fx icon and choose Blending Options, in “This Layer” hold ALT, click to black triangle and drag half of it to the right, stop where you feel, it’s OK
Reduce the opacity of layer 2 to 38%,
Create a gradient adjustment layer, select gradient preview to open gradient editor, choose “Foreground to transparent” preset.
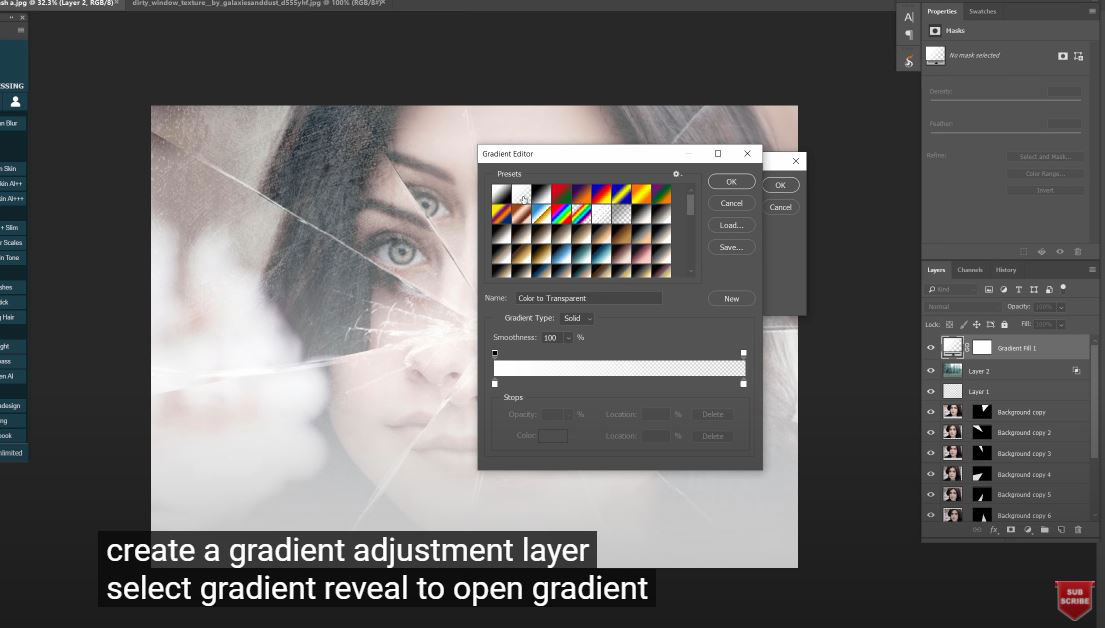
Change white color on the left side to black and OK.
In Gradient Fill window, change linear in style to Radial. Make sure to check on “Reverse” , scale around 166%
Reduce the opacity to 85% for this gradient layer.

After that, add some contrast to this image with curves adjustment layer.
There you go! Enjoy.
Hope you enjoy this tutorial, hit like, subscribe buttons to get more and more tips of PTS everyday. Thank you and bye bye.
REGISTER FOR FREE PHOTOSHOP LEARNING
============================
The most powerful Retouch tool processor
DOWNLOAD:
✅ SADESIGN PANEL ENGLISH: https://sadesign.ai/retouching/
✅ SADESIGN PANEL VIETNAM: https://www.retouching.vn/