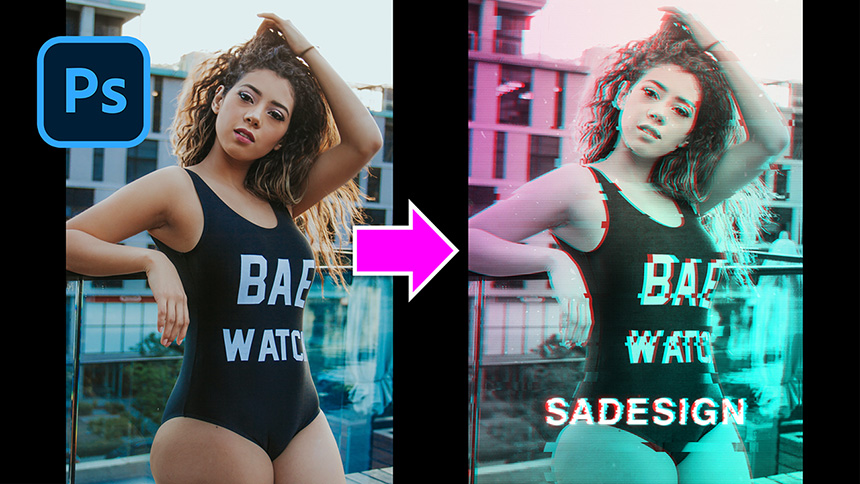
How to Create Dispersion Effect in Photoshop
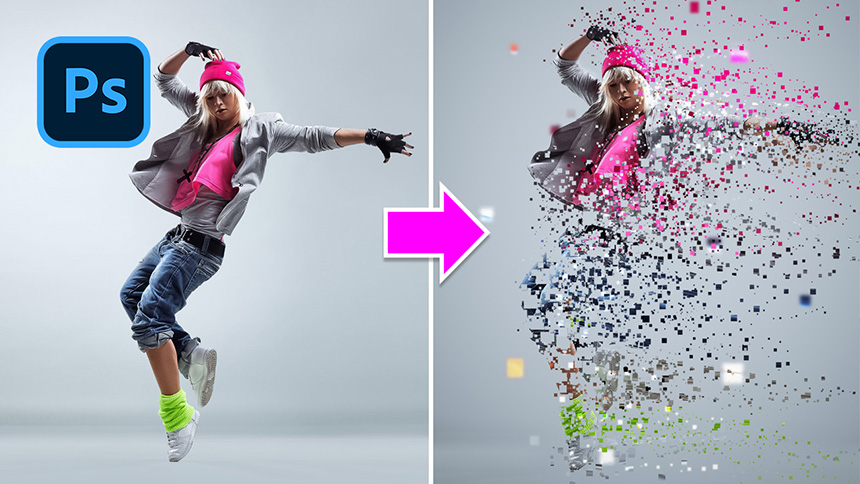
Hi there, this is SaDeisgn channel, today let’s try some advance techniques that have subject selection, liquify, new brush and so on. This effect is called dispersion. Stay tuned!
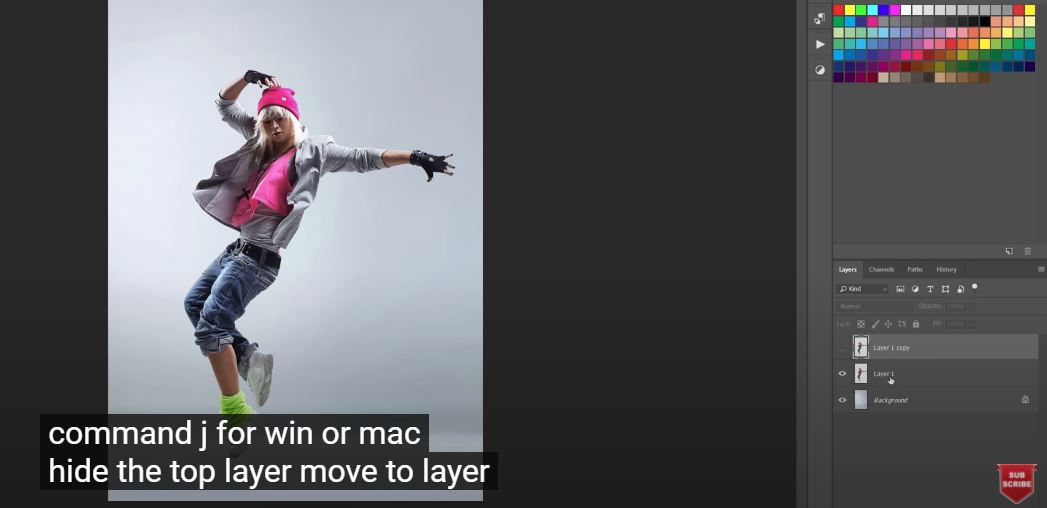
First of all, we have to separate the model from the background. There are lots of tools in Photoshop can do that like Quick Selection tool, Select Subject or Pen tool. I already cut the model out of the background. So, it won’t take you much time.
Now, duplicate the subject model by simply click and drag it’s layer to page icon below or you can use shortcut CTRL or CMD + J (for Win or Mac)
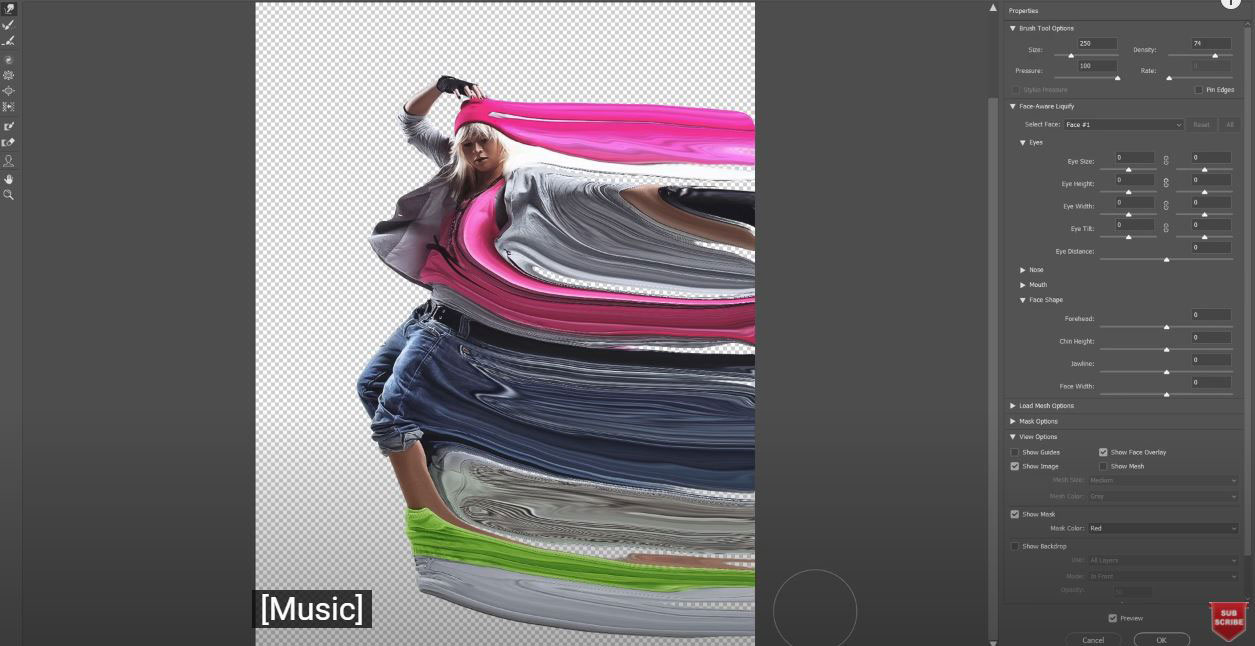
Hide the top layer, move to layer 1, go to Filter > Liquify, in here, make sure Forward warp tool is selected and warp the model like so. This determines the size of dispersion effect. Just take time to stretch the subject, one side or both sides depend on you. Hit Ok when you are done. Hold ALT while click on the layer mask to fill it with black
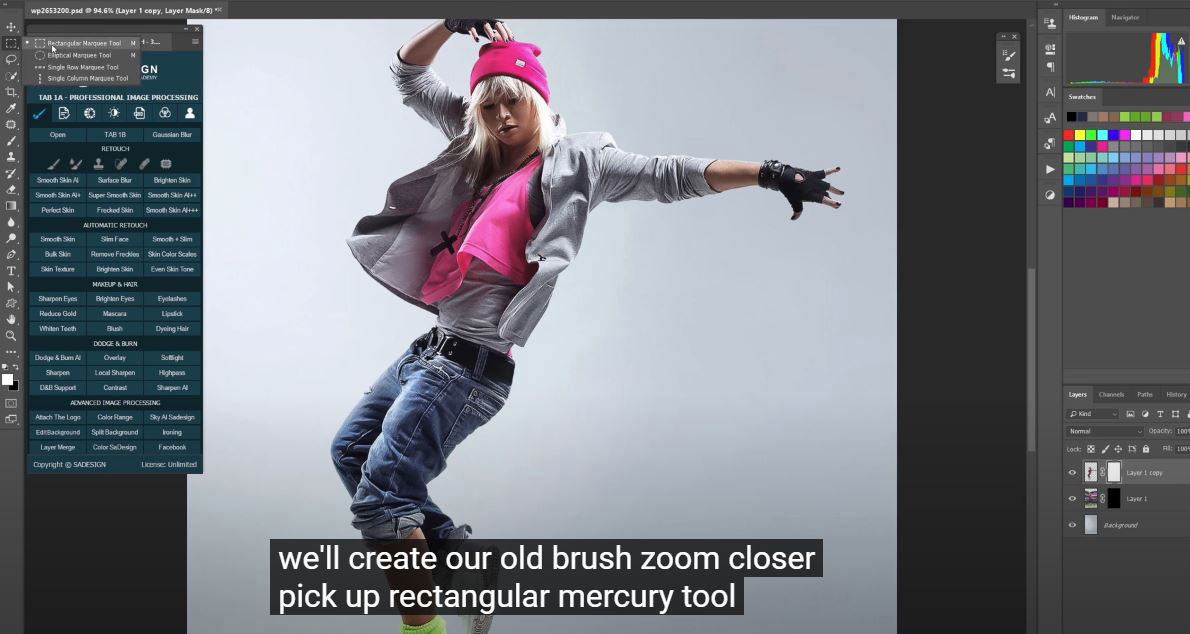
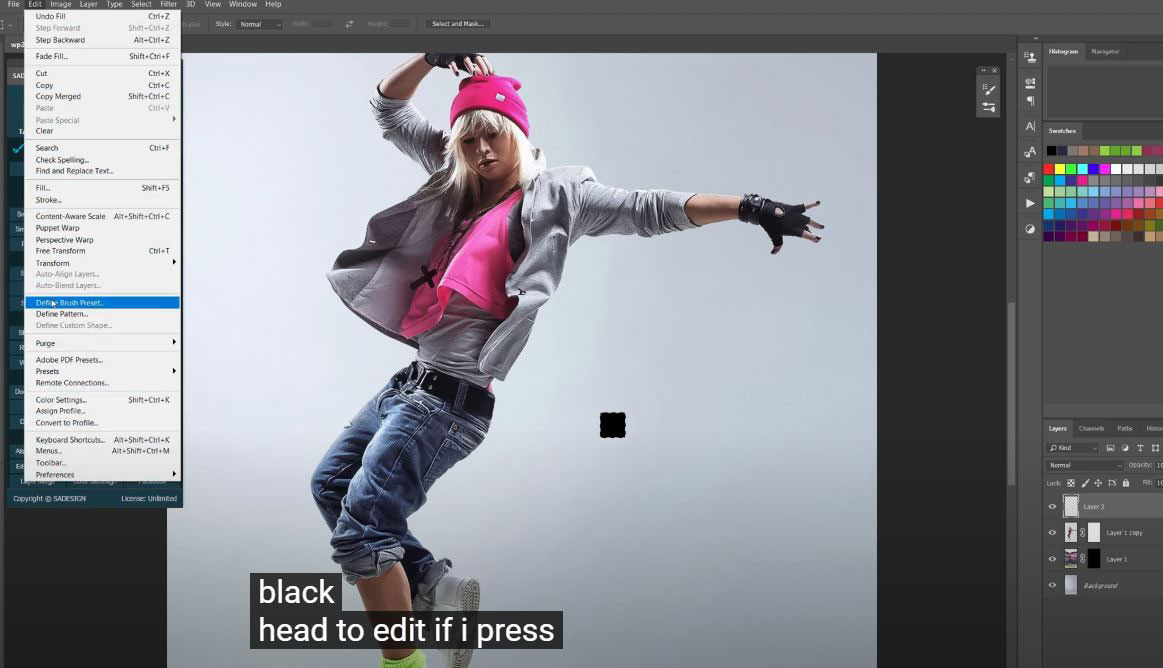
Next step, we will create our own brush, zoom closer, pick up Rectangular marquee tool and draw a small square shape while hold SHIFT. Then click to page icon to take this selection into new layer and fill it with black by pressing ALT or OPTION + Delete. Before doing that ensure foreground is in black.
Head to Edit > Define Brush Presets > place the name that easy for you to reuse and confirm.
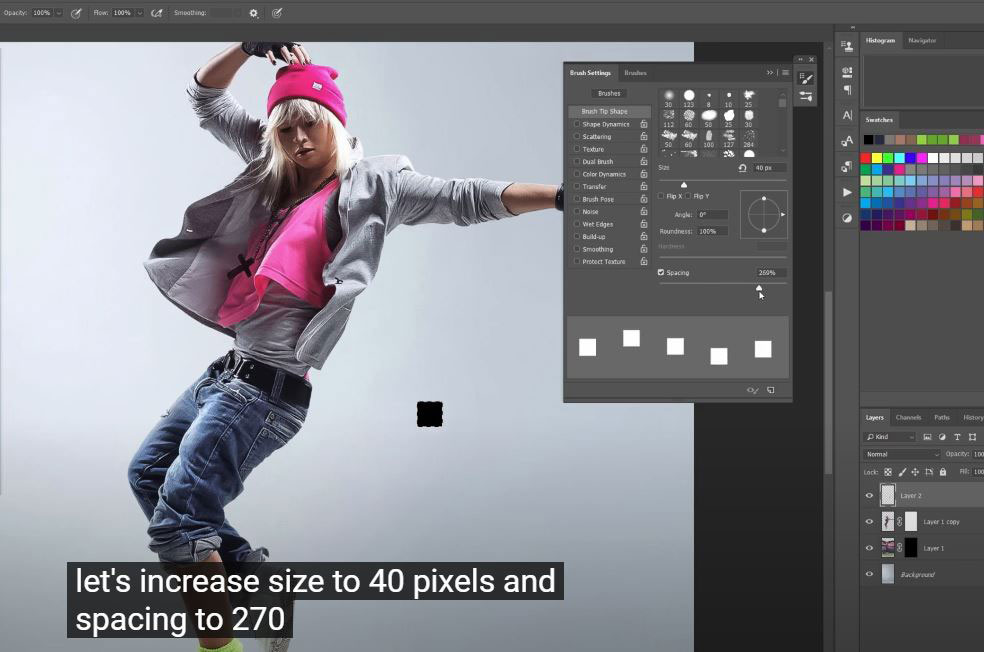
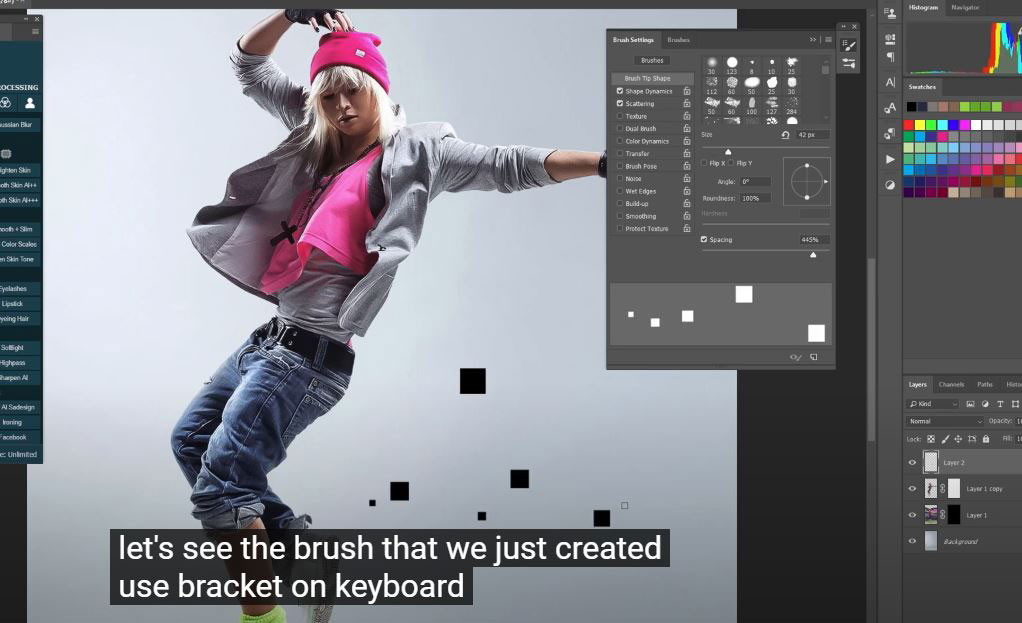
Window > Brush settings > we will customize this brush in here, in “Brush tip shape”, we will form the brush about size, angle, roundness and spacing. Let’s increase size to 40 pixels, and spacing to 270%
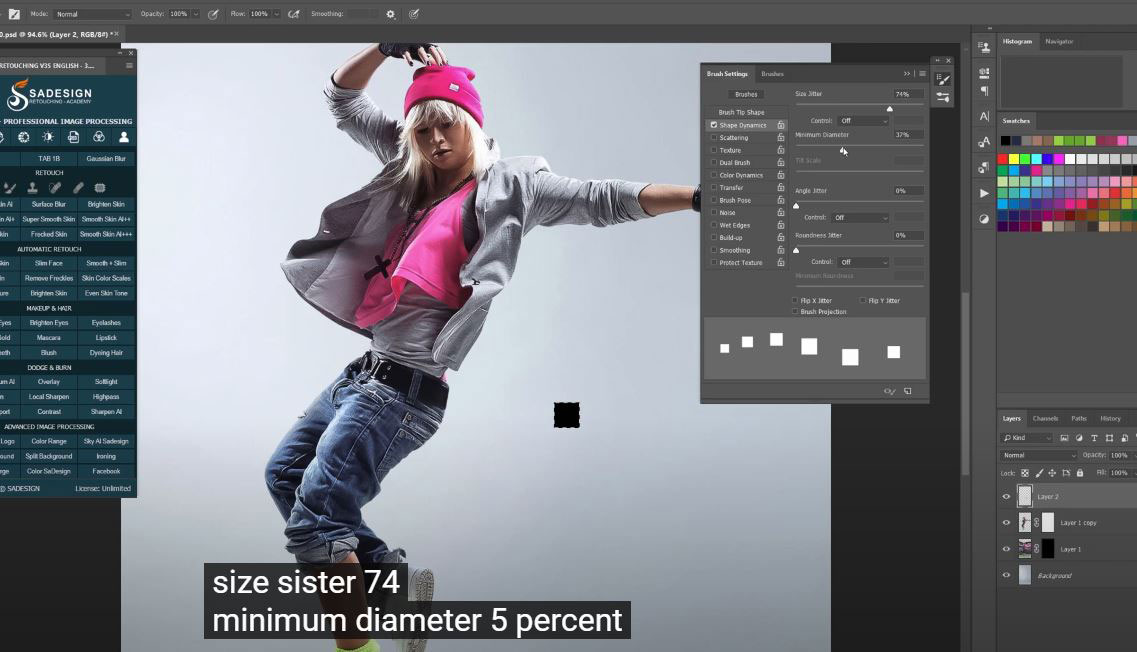
Move to “Shape Dynamics”, follow the values as below:
Size Jitter 74%
Minimum Diameter 5%
Next is “Scattering”, set scatter at around 450%
Go back to “Brush tip Shape” and increase spacing even more. Then close the window.
Let’s see the brush that we’ve just created. Use bracket {} on the keyboard to increase or decrease brush size. It will save tons of time.
That’s good! Let’s delete the layer for now, we don’t need it anymore.
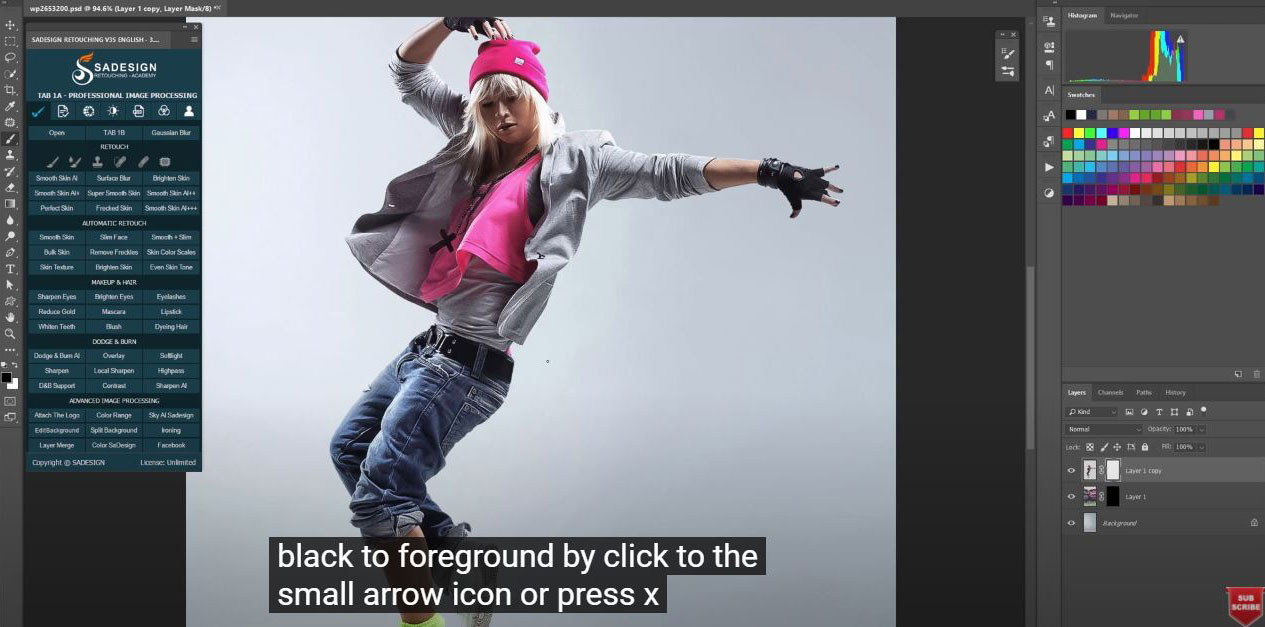
Choose white layer mask in top layer, change black to foreground by click to the small arrow icon or press X.
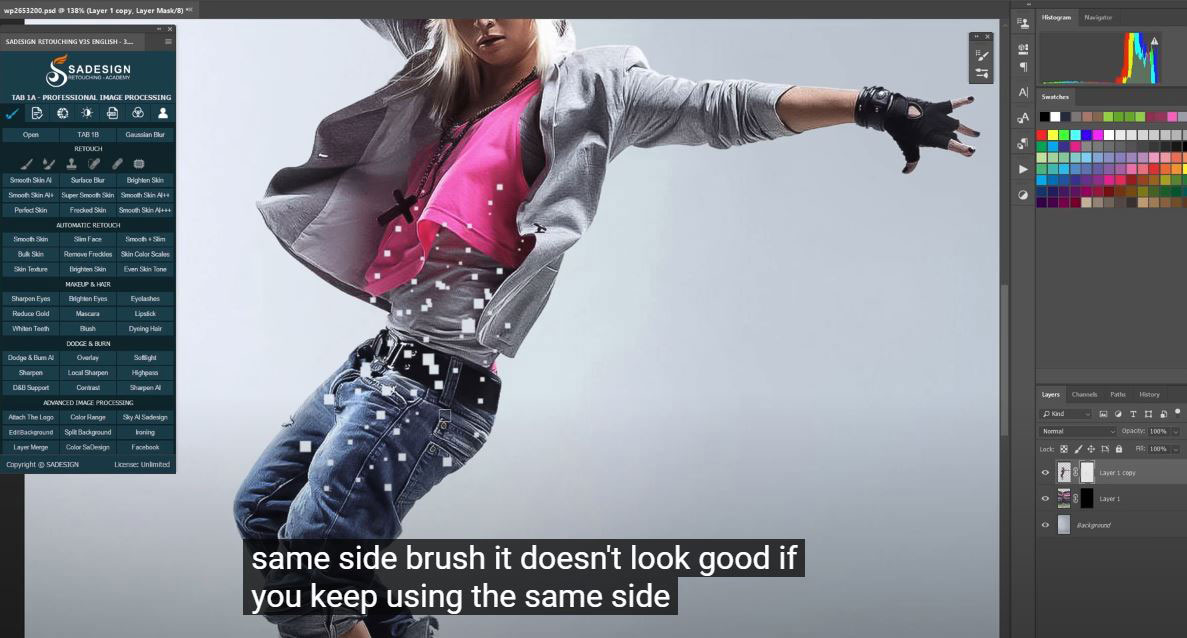
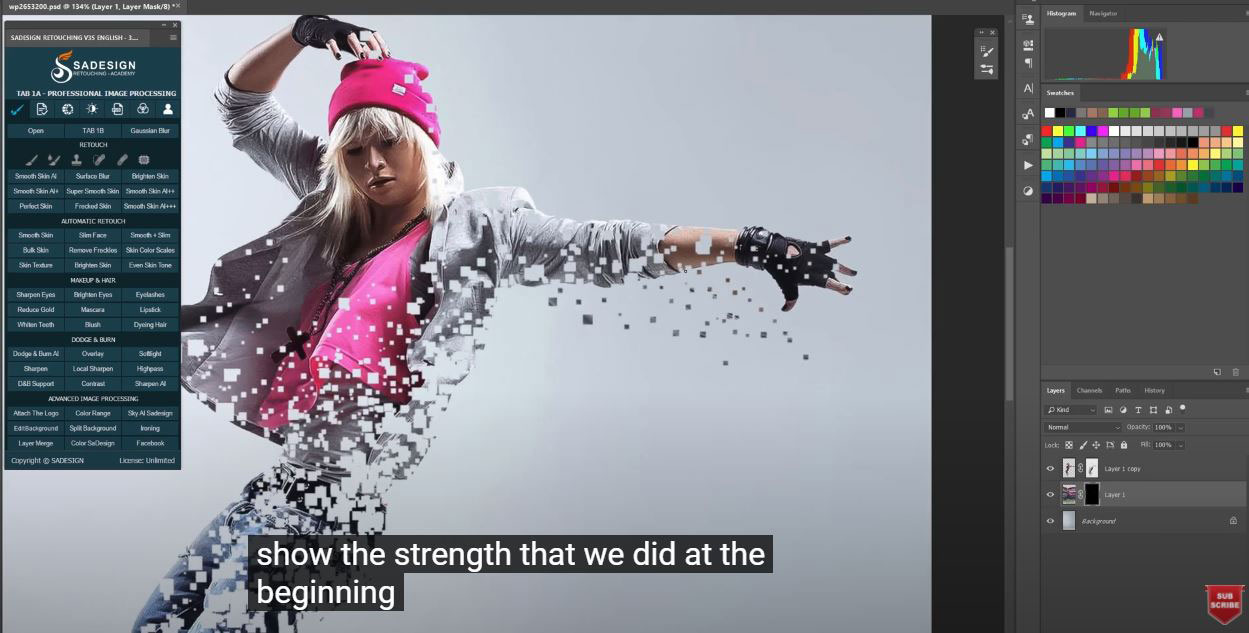
Adding the effect like so, make the subject just like fade away. While painting, make sure not to use the same size of brush, it doesn’t look good if you keep using same size. Keep changing brush size to create unique look. This is the reason why you should use bracket while painting, it’s obviously convenient. Once, you’re done. Move to black layer mask in second layer, this time we also use brush but with white in foreground to show the stretch that we did at the beginning.
This is cool effect, right? just keep doing this until you happy with the result.
Create a new layer above layer 1, change blend mode from normal to color dodge
While you using brush, hold ALT to change cursor to eyedropper tool and we can take the color sample of the area we want, then release ALT and apply color with brush.
Just keep doing this to mix colors
Change to hard light in blend mode.
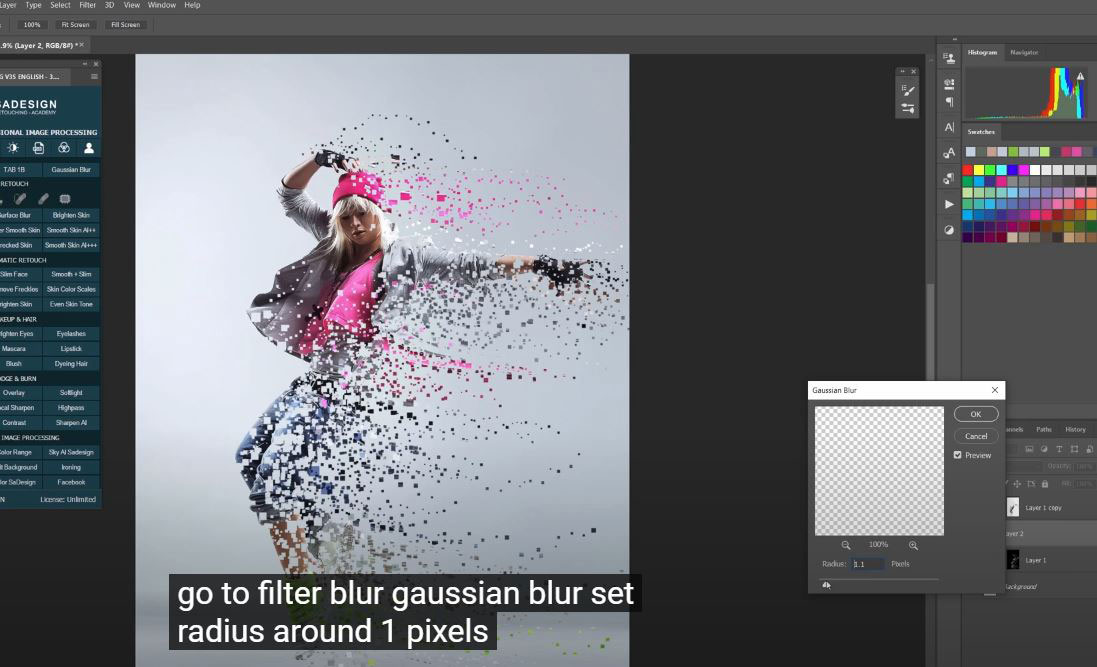
Go to Filter > Blur > Gaussian blur > set radius around 1 pixel and confirm. Change back to color dodge in blend mode after you blur it.
We will create a new layer to add another dispersion layer effect. Just spread the colors as much as you want it to be.
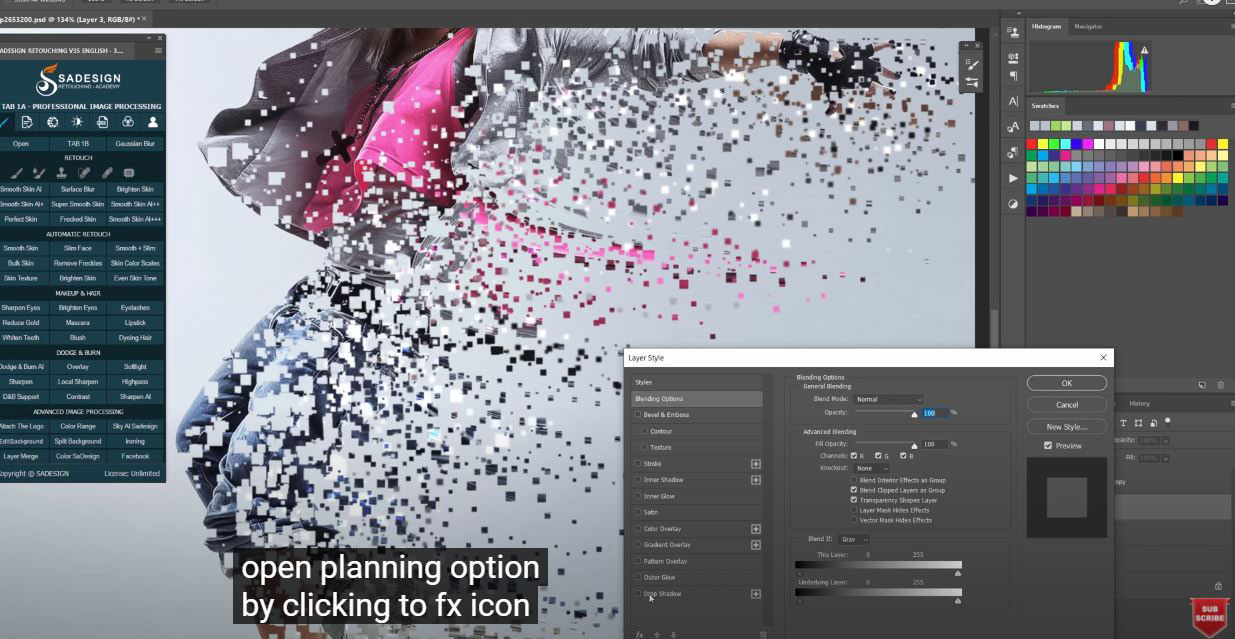
Apply blur effect to this layer as well, then we will add shadow to it, to do that. Open Blending Option by click to fx icon and select Blending Options, check to “Drop shadow”, just slightly adjust the values in here.
Opacity 5%
Angle 146 degree
Distance 6 pixels
Size 1 pixel
OK
Now, we will add more big squares around the subject to make some differences.
Choose layer 1, pick up rectangular marquee tool and draw square shapes with different size around the model. Remember to hold Shift when you want to draw another shape and create new layer after that
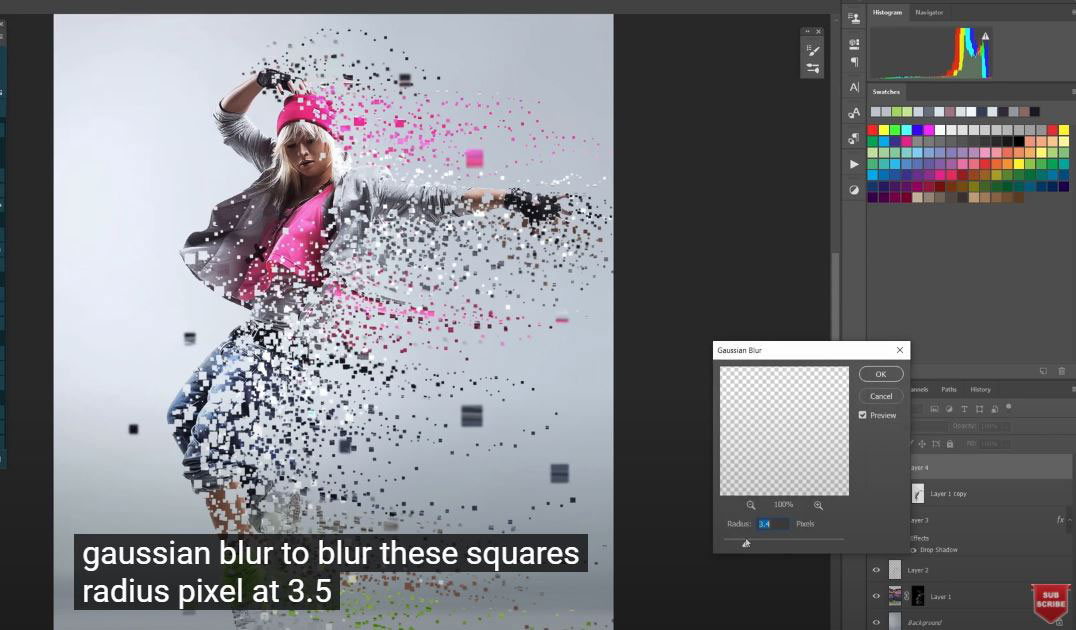
Put this layer to the top and use Gaussian blur to blur these squares. Radius pixels at 3.5.
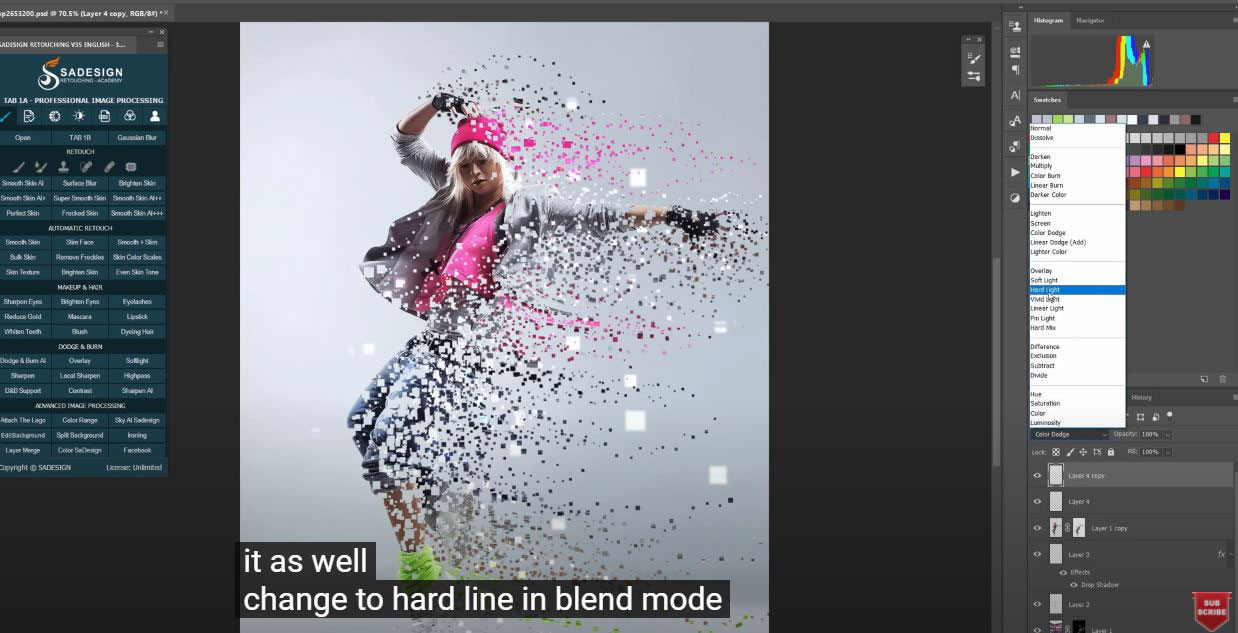
Duplicate this layer with CTRL or CMD +J and use move tool to move it. CTRL or CMD + T to resize and rotate it as well. Change to hard light in blend mode.
Create a stamp visible layer with CTRL + ALT + SHIFT + E or CMD + OPTION + SHIFT + E.
Head to Filter > Camera raw filter or using shortcut CTRL or CMD +SHIFT + A.
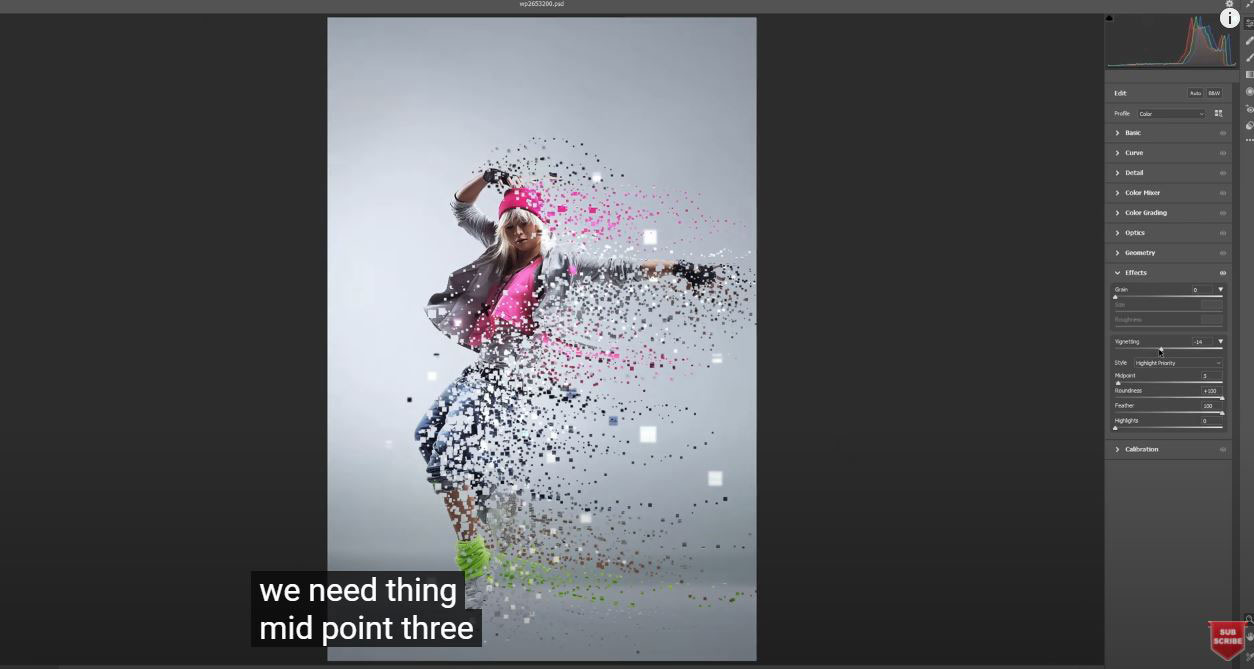
Drop down Effect menu, set the value as below:
Vignetting –22
Midpoint 3
Roundness 100
Feather 100
Highlight 0
Then OK
Alright! That’s all techniques that you need to do for this dispersion effect. Hope you enjoy this tutorial, hit like, subscribe buttons to get more and more tips of PTS everyday. Thank you and bye bye.
REGISTER FOR FREE PHOTOSHOP LEARNING
============================
The most powerful Retouch tool processor
DOWNLOAD:
✅ SADESIGN PANEL ENGLISH: https://sadesign.ai/retouching/
✅ SADESIGN PANEL VIETNAM: https://www.retouching.vn/