Best Selling Products
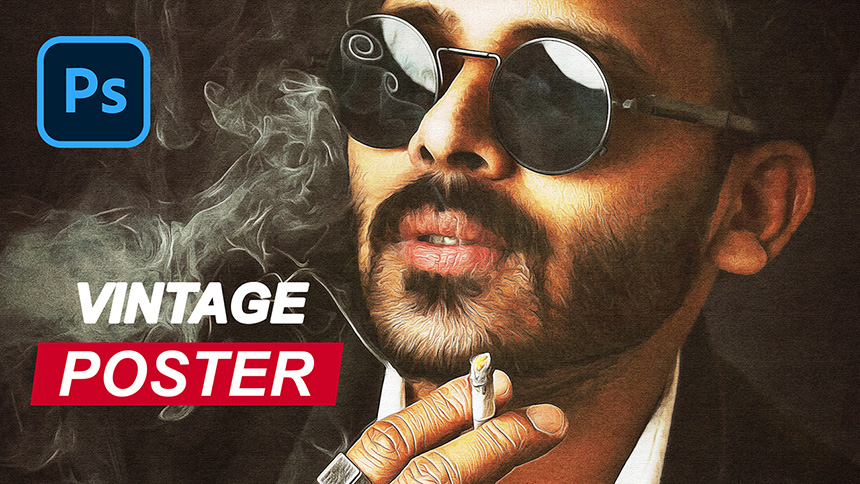
How to Create a Photo Effect Printed on Paper in Photoshop
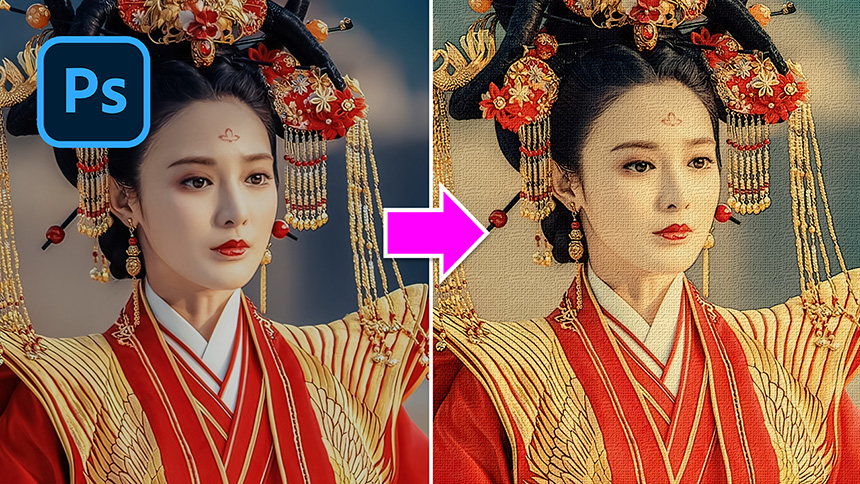
Want to create a unique image but don’t know how to to that? No worry! Today, I’ll share with you the way to create printed photo effect.
(1).
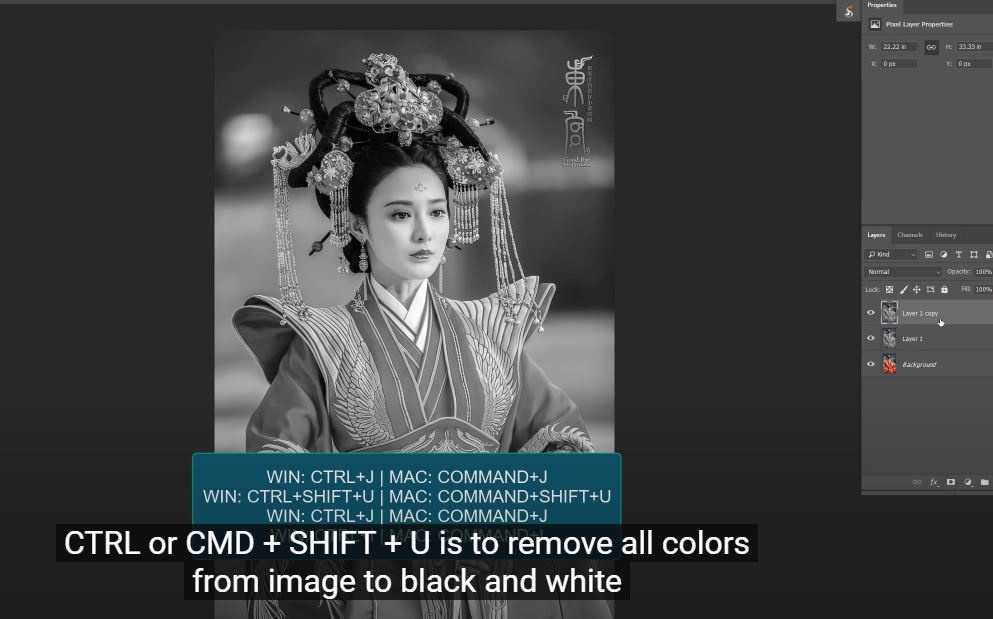
After you open your image, there are key combinations to shorten your workflow, let’s me explain one by one
CTRL or CMD + J is for duplicate layer
CTRL or CMD + SHIFT + U is to remove all colors from image to black and white
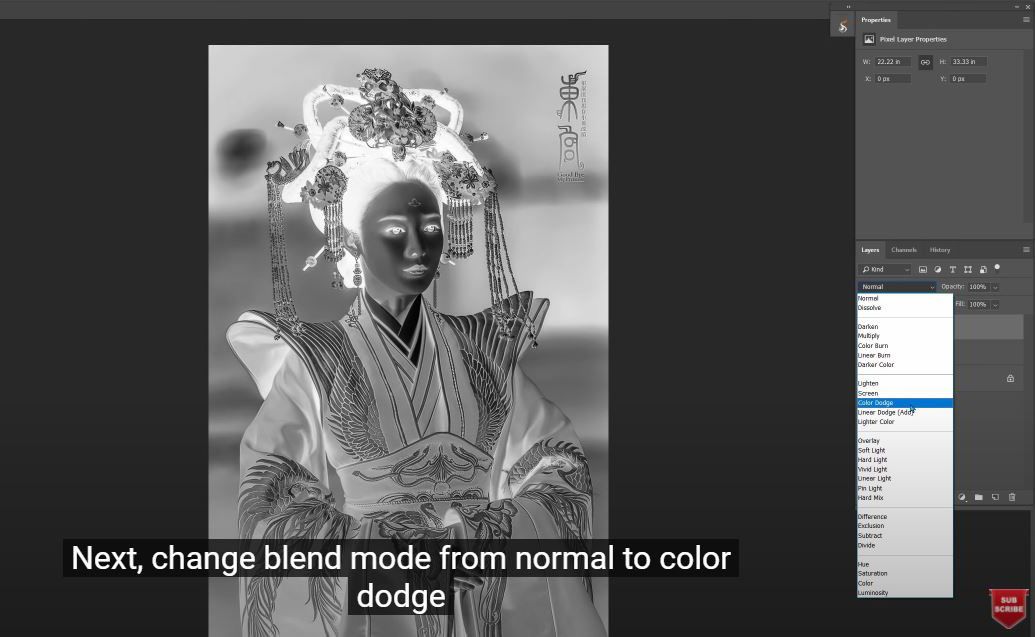
CTRL or CMD + I is for reverse
(2). Next, change blend mode from normal to color dodge
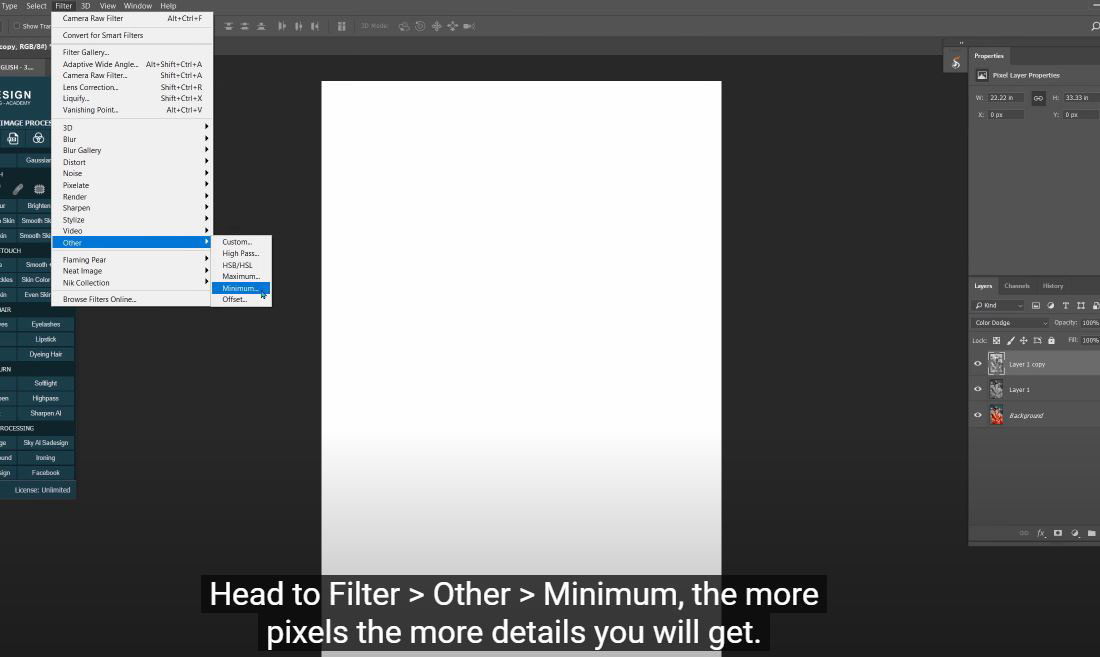
(3). Head to Filter > Other > Minimum, the more pixels the more details you will get. Let's set it around 2 pixels
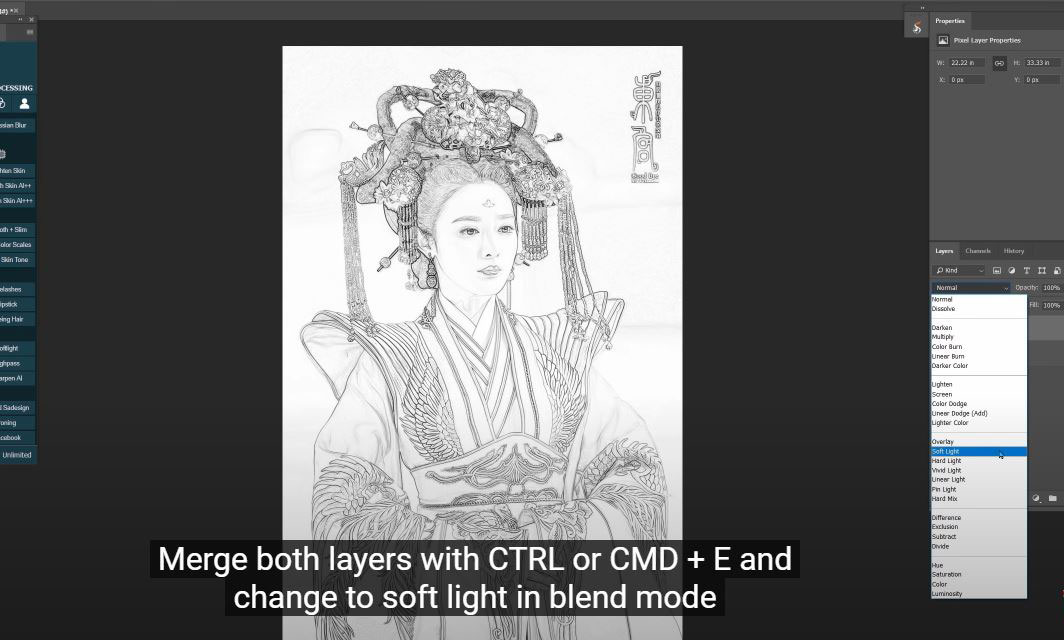
(4). Merge both layers with CTRL or CMD + E and change to soft light in blend mode
(5).
First step is done,
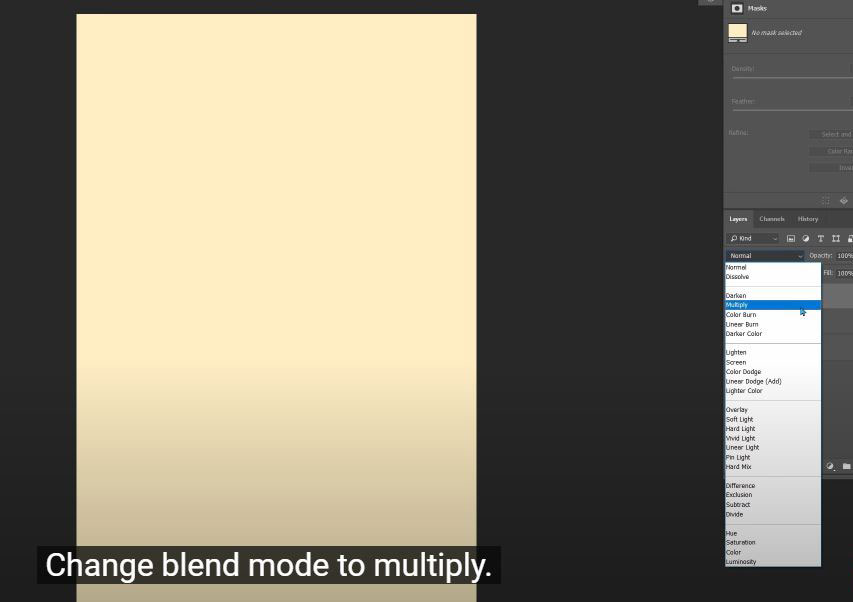
Now, create a solid color and fill it with the color of old paper.
Change blend mode to multiply.
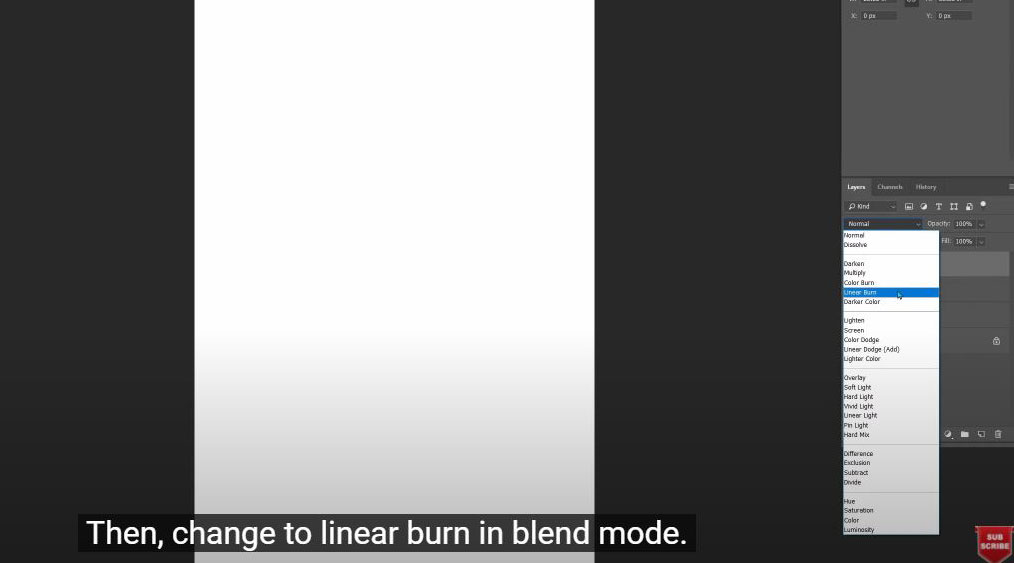
(6). Create a new layer, fill it with white by pressing CTRL or CMD + Delete. Make sure the background is in white. Then, change to linear burn in blend mode.
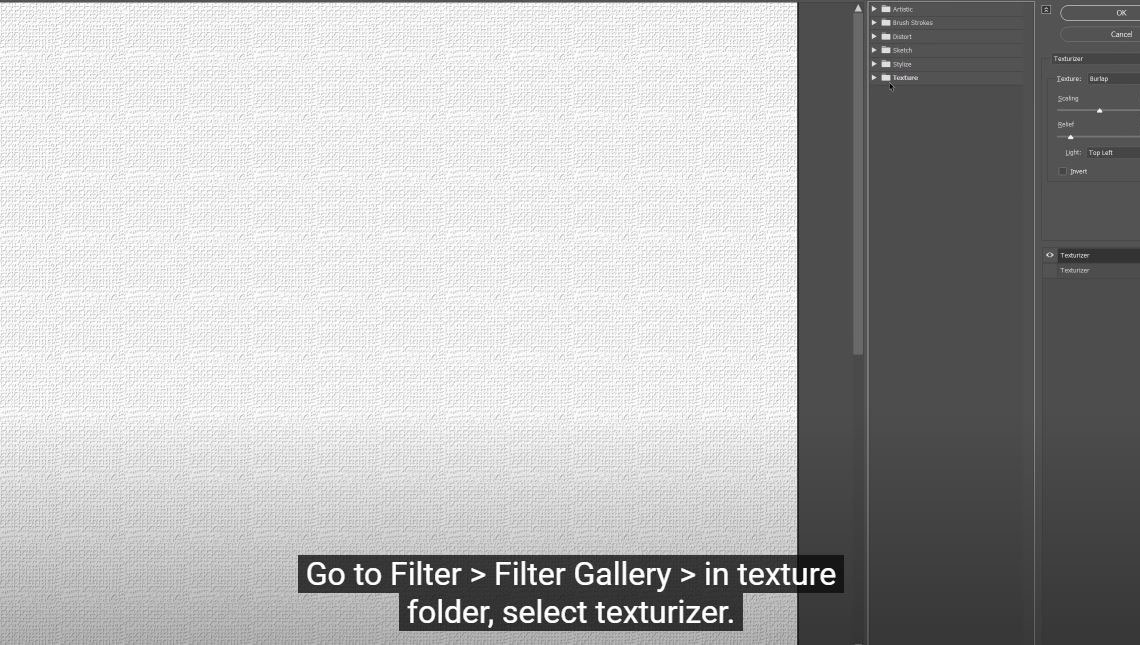
(7).Go to Filter > Filter Gallery > in texture folder, select texturizer.
(8).
You can choose texture that you want. Let's try with burlap
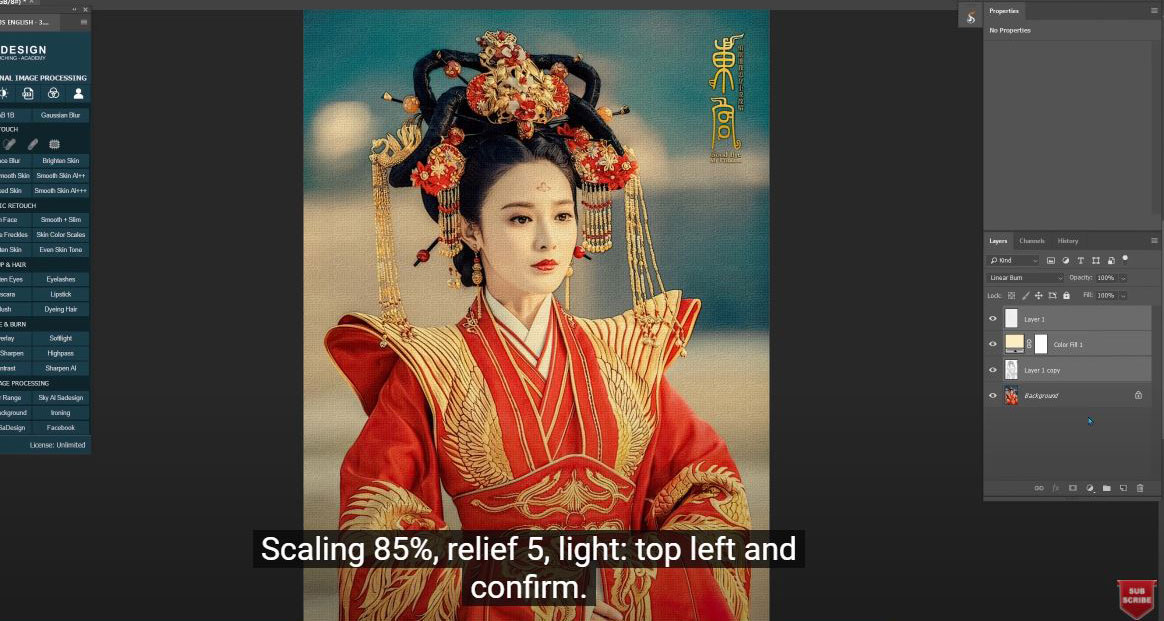
Scaling 85%, relief 5, light: top left and confirm. Done!
How do you think about this effect? If you like Photoshop and Photograph just like SaDesign and you want to get more and more tips, techniques, experience from us. Make sure to subscribe our channel by simply clicking the subscribe button and you will get tons of free tutorials that SaDesign share about Photoshop technique on a daily basic. See you guys in the following tutorials. Bye Bye!
REGISTER FOR FREE PHOTOSHOP LEARNING
============================
The most powerful Retouch tool processor
DOWNLOAD:
✅ SADESIGN PANEL ENGLISH: https://sadesign.ai/retouching/
✅ SADESIGN PANEL VIETNAM: https://www.retouching.vn/


