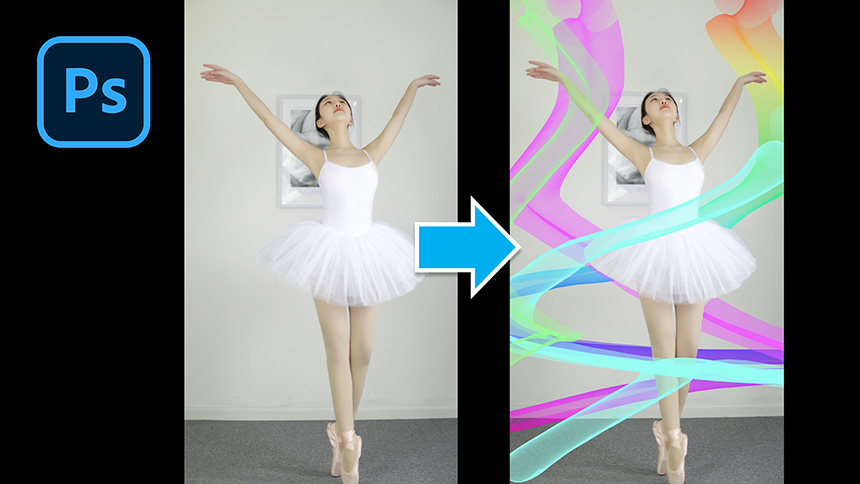
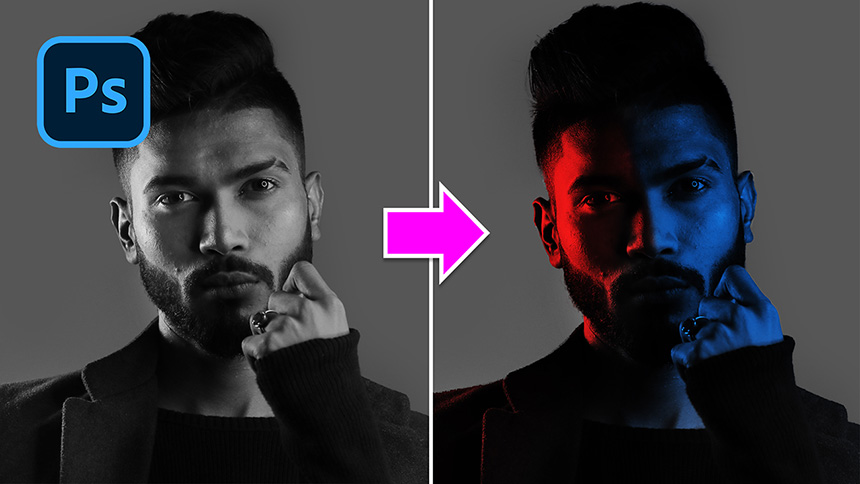
How To Add Colorful Dual Lighting Effect to Portrait

Hello, today I will share with you how to add a colorful double light effect to portrait photos in Photoshop.
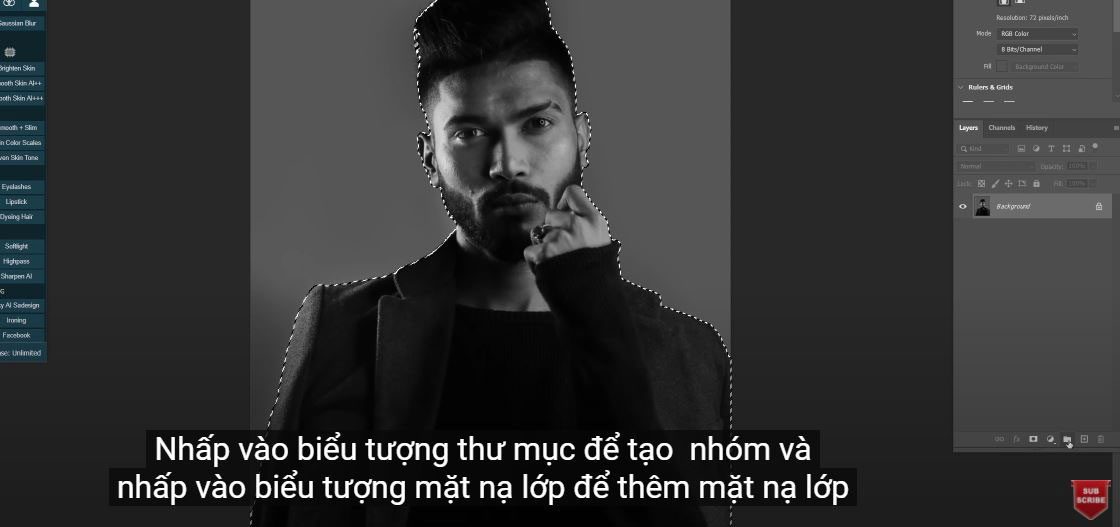
As usual, you have to cut the subject out of the background.
(1). Select > Theme. PTS AI will automatically select the model for you and that's awesome!
(2). Take a closer look, there's still a small portion of his ear left behind. We will use the pen tool to add it to the selection.
Then go to Select > Select and Mask > select the “Refine Edge brush tool” and paint around the edges of his hair to select the correct hair
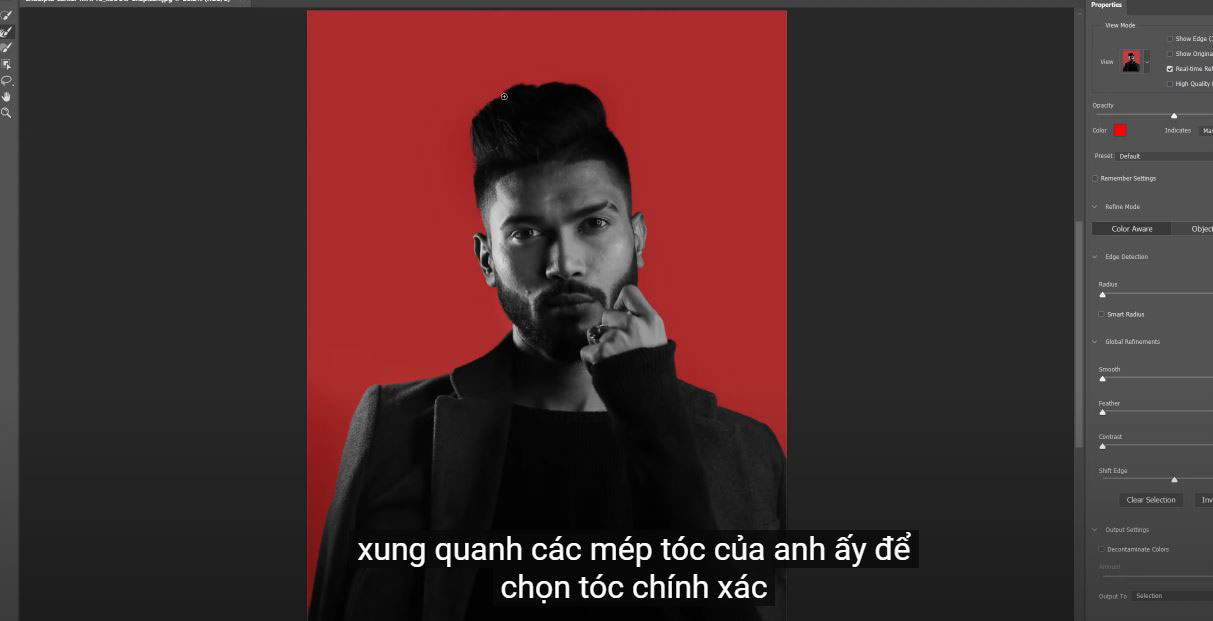
(3). In the output box: select “Selection” and OK
Click the folder icon to create a group and click the layer mask icon to add a layer mask to group 1
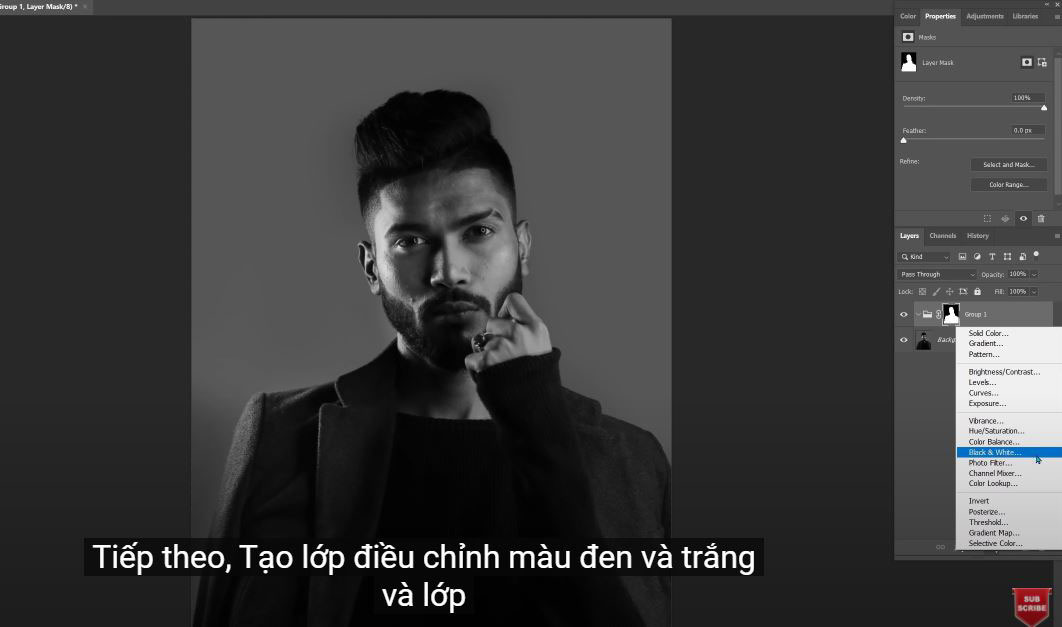
(4). Next, Create a black and white adjustment layer and a gradient map layer
In the gradient map layer, click evaluate the gradient to open the gradient editor window, in the presets the dropdown in the Basic folder and select Black, White
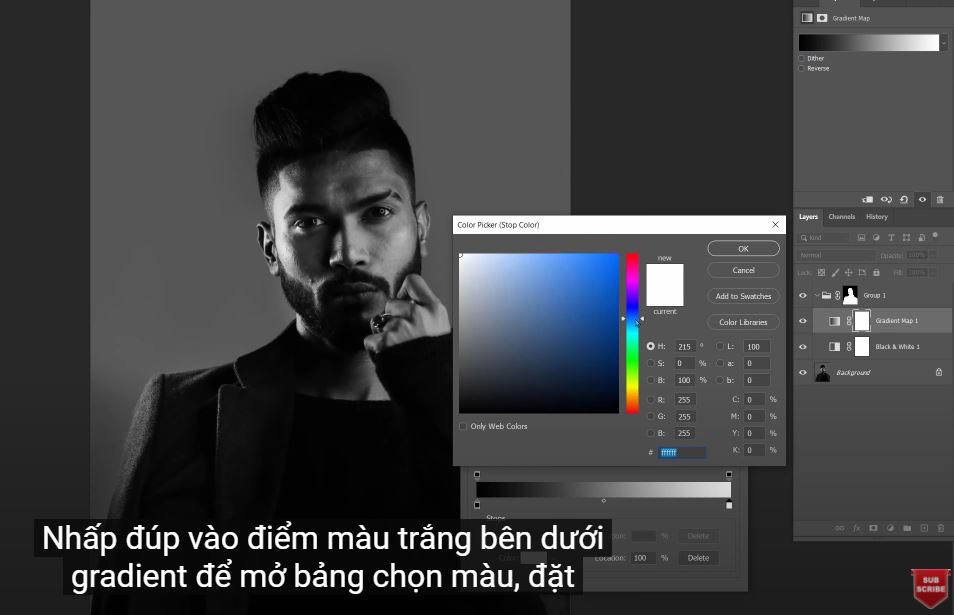
(5). Double-click the white point below the gradient to open the color picker, set the color to light blue, then OK twice to close these windows.
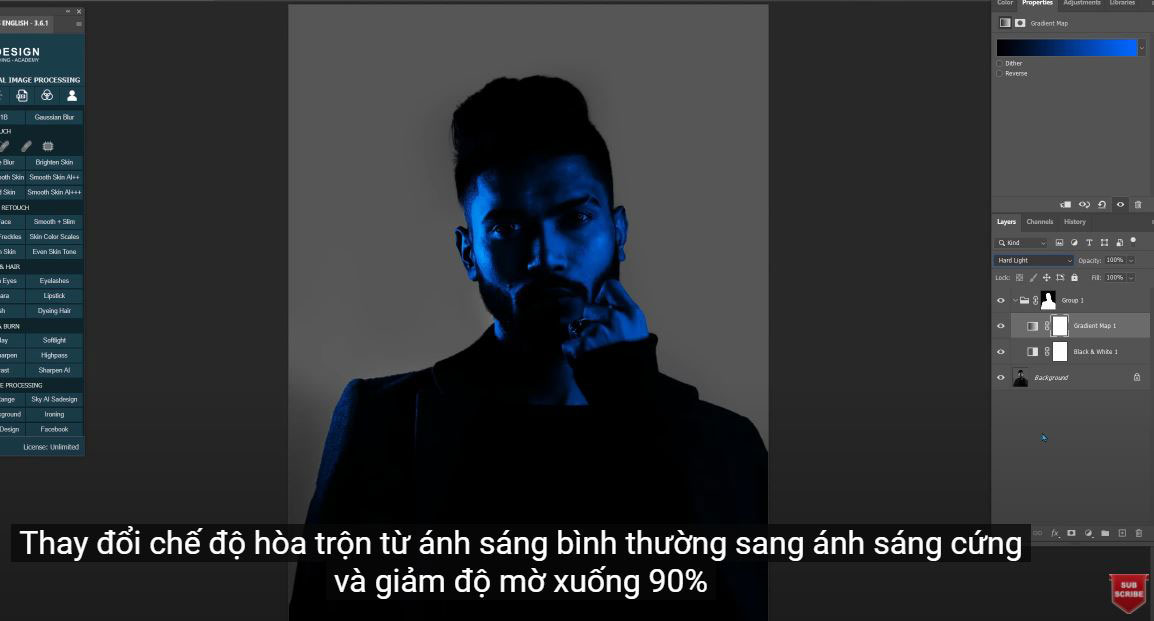
(6). Change the blend mode from normal to hard light and reduce the opacity to 90%
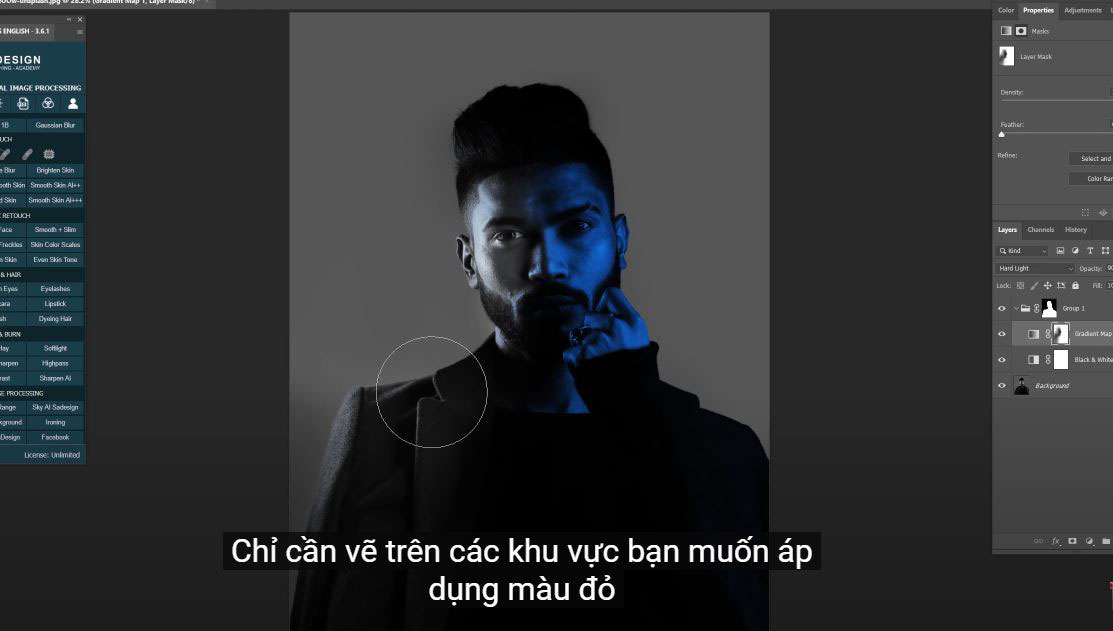
Select the white layer mask of the gradient layer, select the Brush tool, black in the foreground, opacity about 45%.
(7). Since we will be adding red on one side of his body, we will remove the blue color on half of his body. We'll save it for the red one. Just paint over the areas you want to apply red
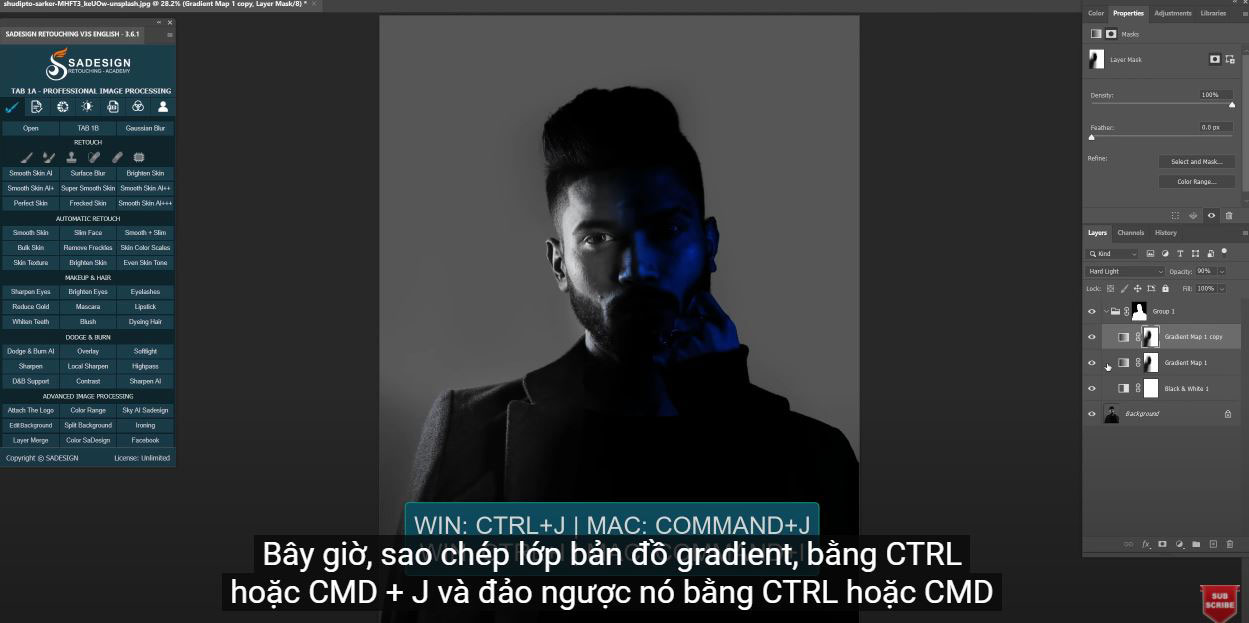
(8). Now duplicate the gradient map layer, with CTRL or CMD + J and invert it with CTRL or CMD + I
(9). Click on the gradient preview to open the gradient editor again, just change the blue color to red.
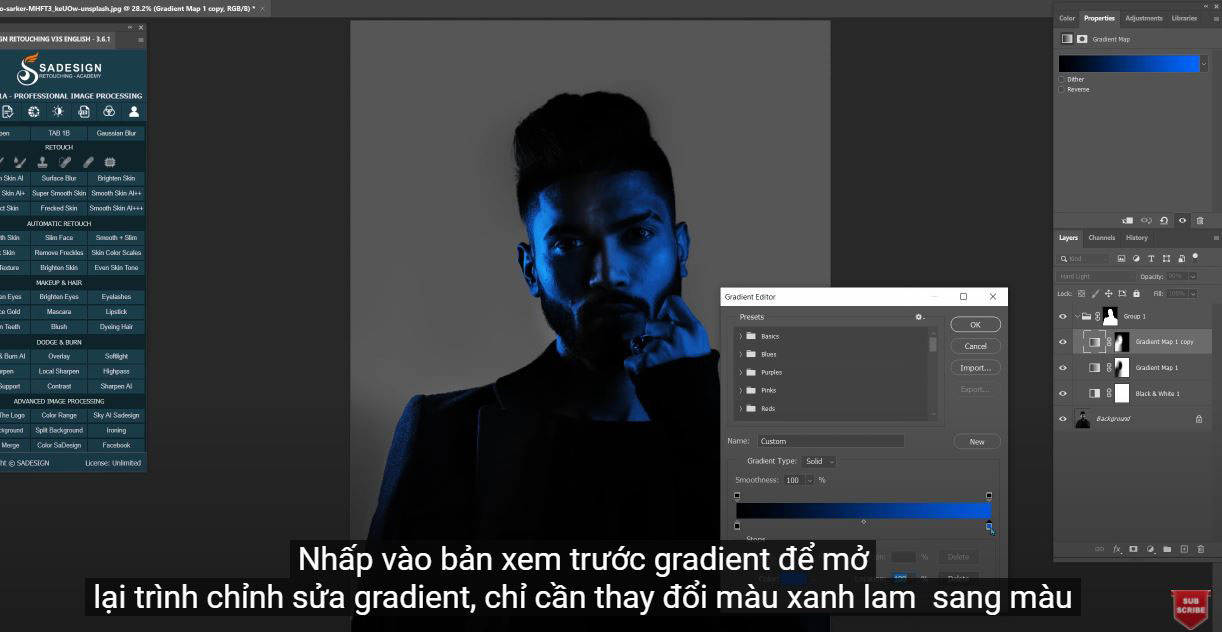
(10).Do it!
For now, just make some small adjustments to make the photo even more stunning
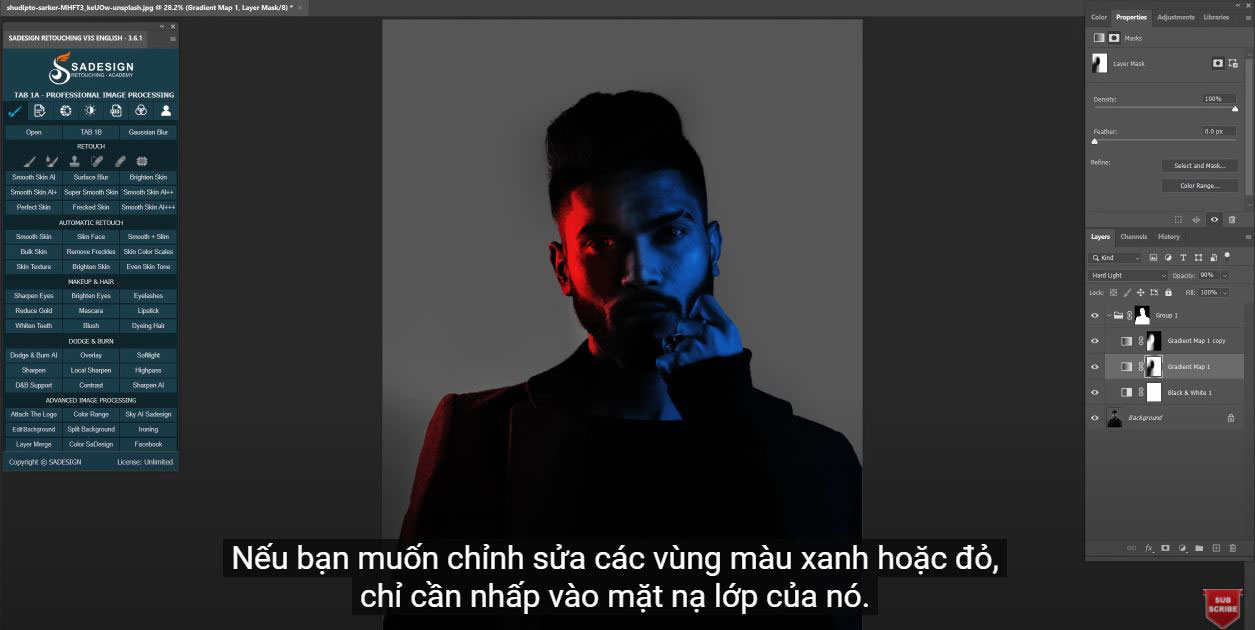
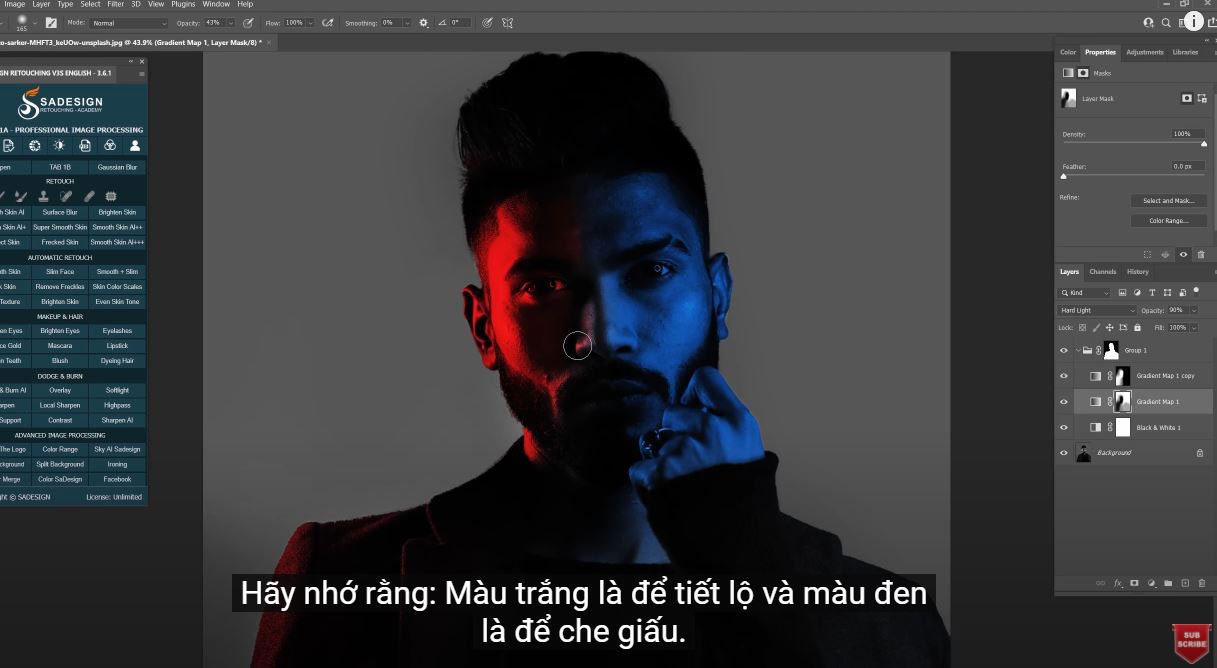
If you want to edit the blue or red areas, just click on its layer mask. Use the brush tool and paint over wherever you want to show or to hide the color effect.
(11). Click the arrow icon here or press X to change between black and white to the foreground.
Remember: White is for revelation and black is for concealment.
That's it! If you liked this technique, hit the like button and leave a comment if you have any questions about this tutorial. Bye!
REGISTER FOR FREE PHOTOSHOP LEARNING
============================
The most powerful Retouch tool processor
DOWNLOAD:
✅ SADESIGN PANEL ENGLISH: https://sadesign.ai/retouching/
✅ SADESIGN PANEL VIETNAM: https://www.retouching.vn/