Best Selling Products

Adobe Photoshop Copyright - Full App
120 USD

Freepik Premium Account
59 USD

Autodesk All App Account Copyright
120 USD

Genuine Adobe Illustrator account
99 USD

Adobe Premiere Pro Account
99 USD

ChatGPT Plus Account (GPT-4)
16 USD

Plugin Retouch4me
69 USD

Upgrade Genuine Office 365
49 USD

Capcut Pro 1 Year
39 USD

Upgrade Duolingo Super
29 USD

Genuine Cheap Canva Pro
39 USD

Upgrade genuine Capture One account
120 USD

Copyright Adobe Lightroom Account
59 USD

Windows 10 & 11 Pro Key
36 USD

MidJourney Account
29 USD
How to Create Neon Glow Lines Effect Around a Person FAST EASY
Nội dung
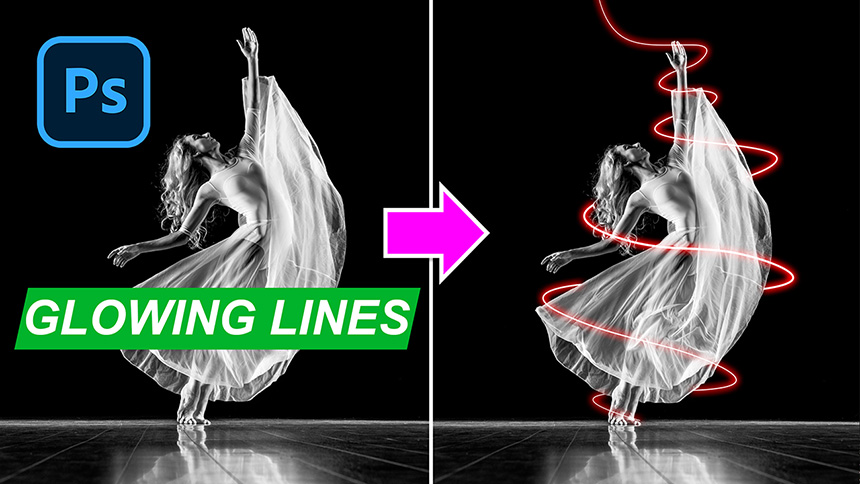
Hi guys, in this video, I’ll share with you how to create neon glow lines effect around person in Photoshop. Stay tuned!
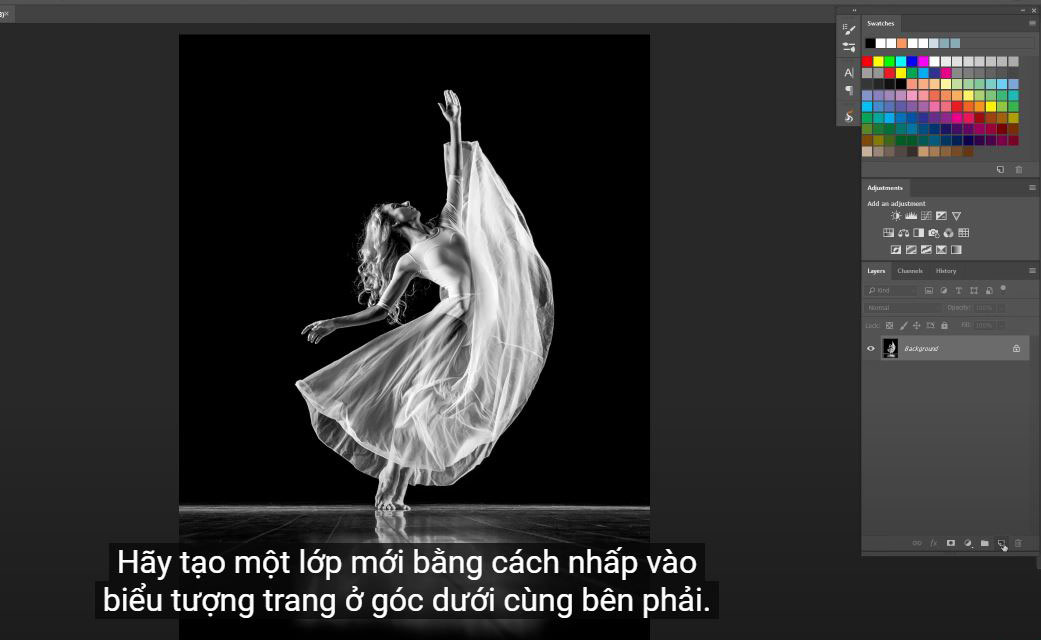
At first, open your image you want to create this effect. Let's create a new layer by clicking to the page icon in the bottom right corner.
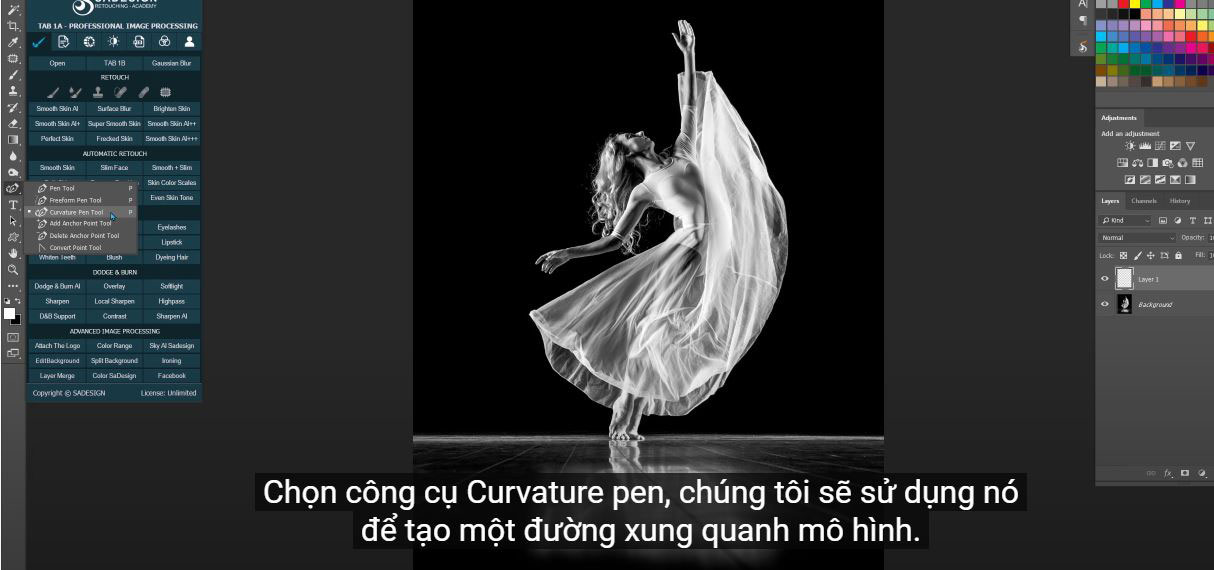
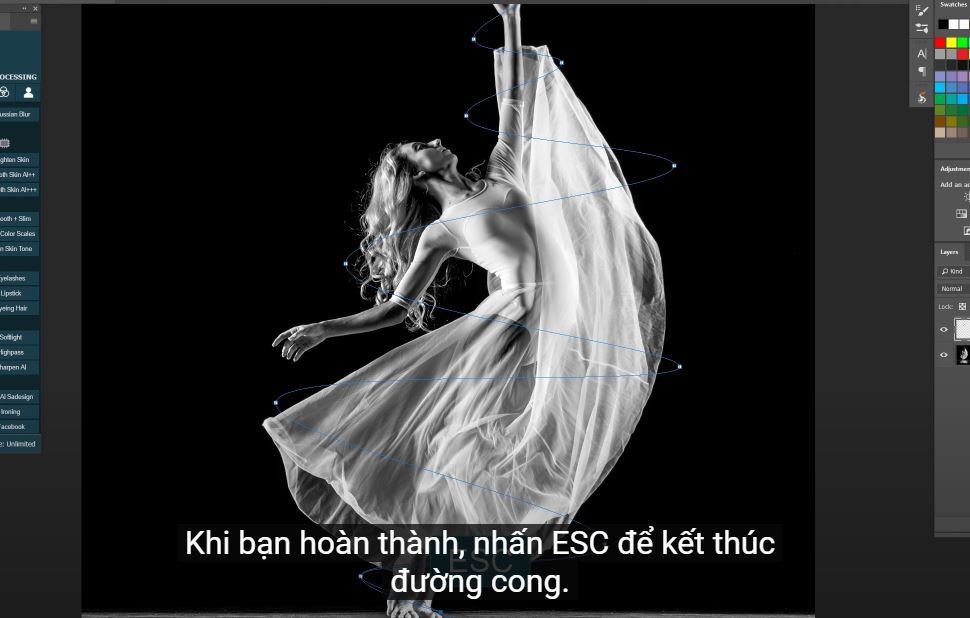
(2). Pick up Curvature pen tool, we will use it to make a line around the model. Make sure to set it to path. Click to make the start point and just click to another place to create new points. The line automatically curves for you. It’s best tool for you to create a curve. If you don’t see curvature pen tool in your Photoshop, it’s probably the old version and you should update it or you can use pen tool to create a curve. Instead of click to create another point, you have to drag it to make it curve.
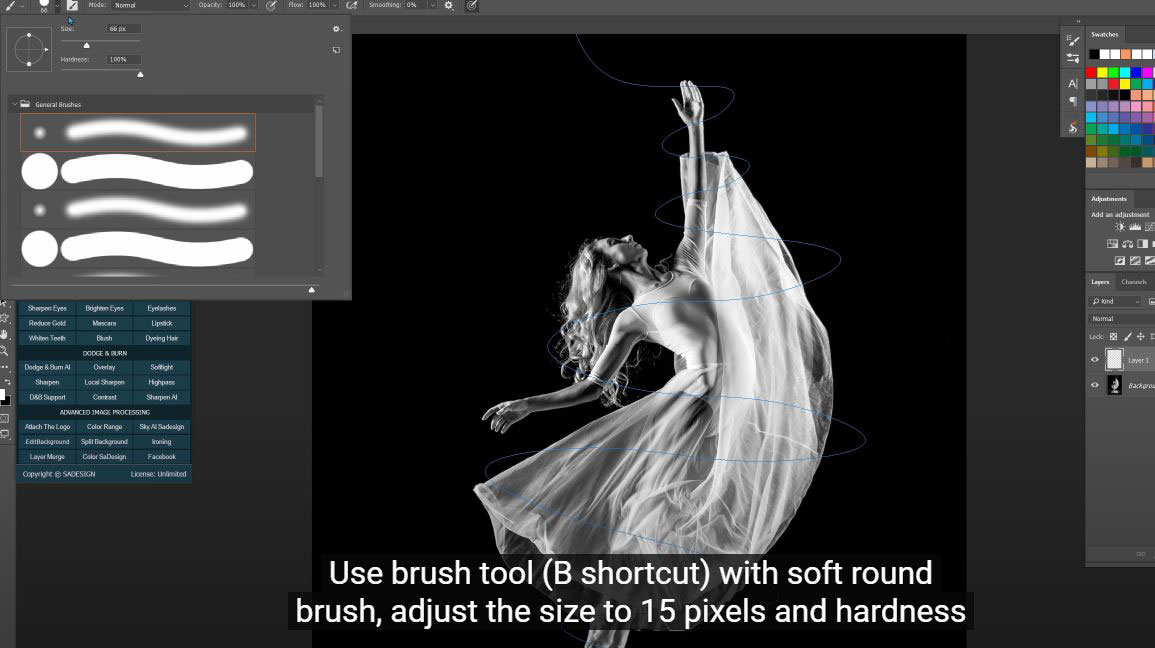
Use brush tool (B shortcut) with soft round brush, adjust the size to 15 pixels and hardness 80%. When you are done, press ESC to finish the curve. You can click to the curve to create another point to bend it, move it as you want.
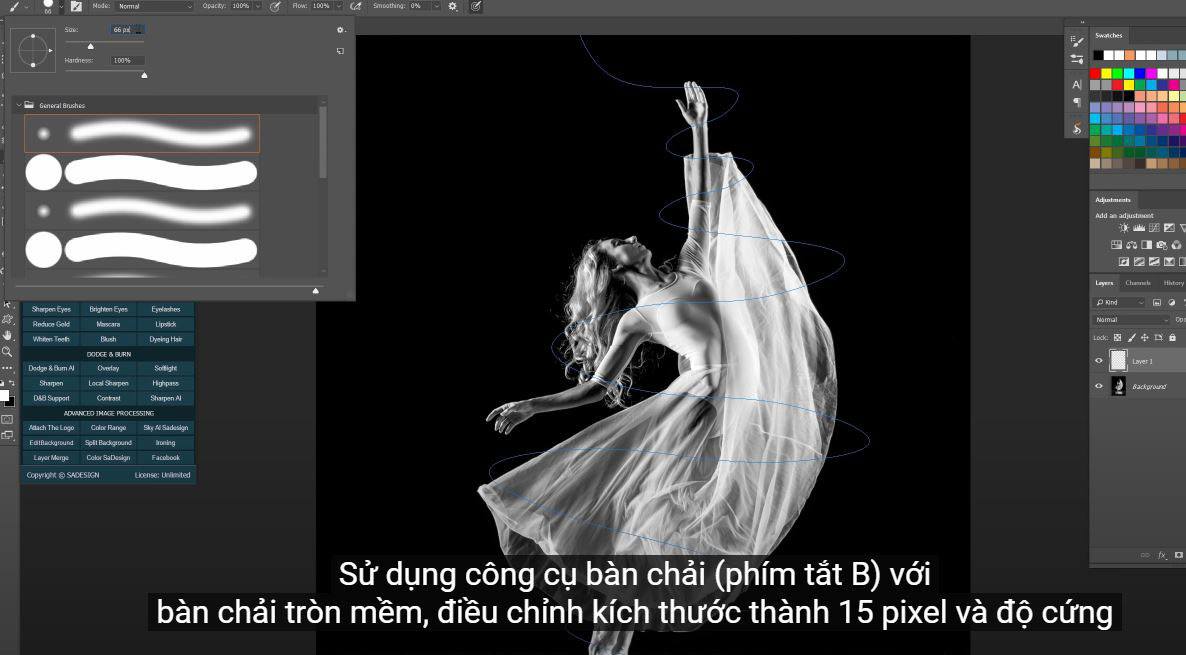
(3). Use brush tool (B shortcut) with soft round brush, adjust the size to 15 pixels and hardness 80%.
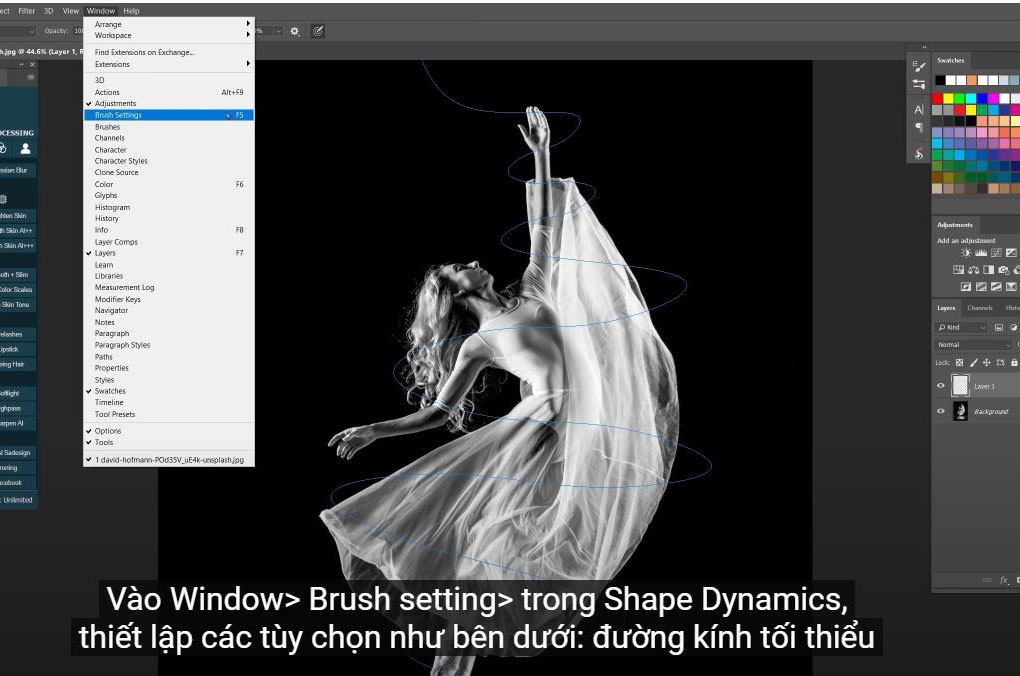
(4). Go to Window > Brush setting > in Shape Dynamics, set the options as below: minimum diameter 25, control: pen pressure (for those who use tablet), then OK.
(5). Select curvature pen tool again, right click to the curve and choose stroke path, the box pops up, make sure to select brush tool and OK.
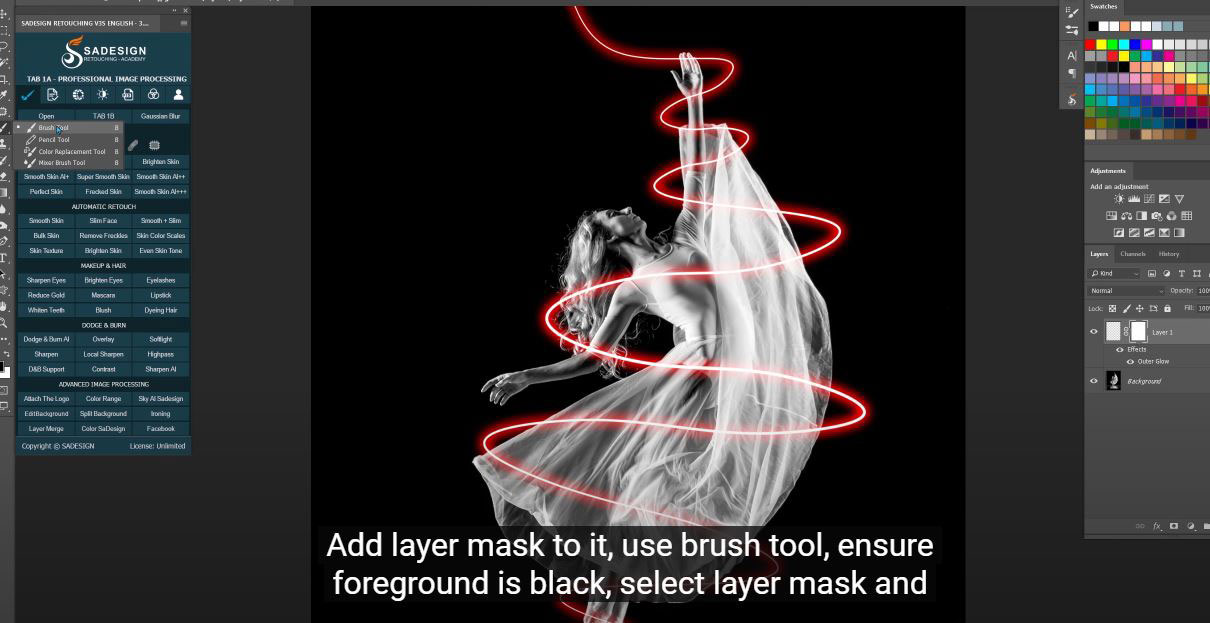
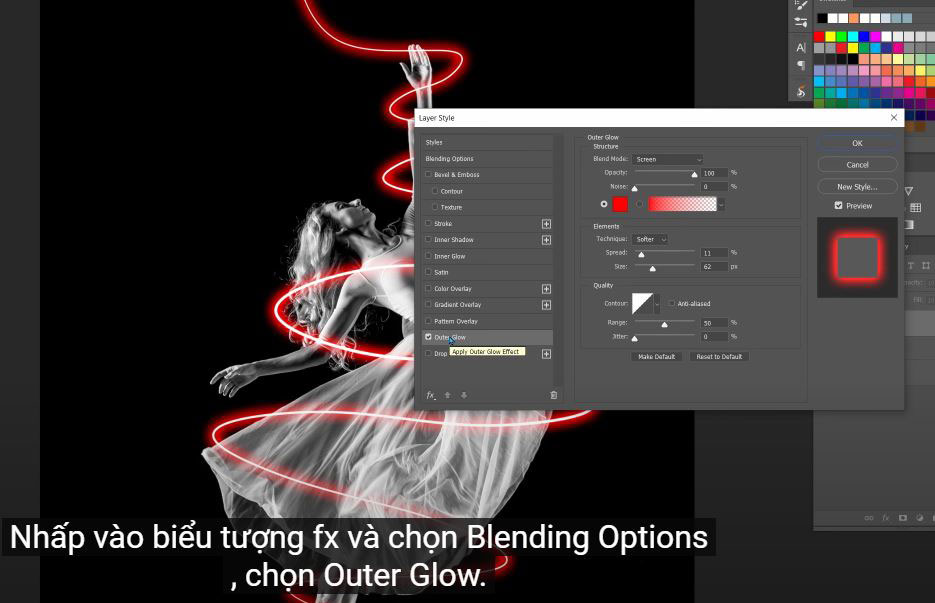
(6). Now, we are going to add color to it. Click to fx icon and choose Blending Options, check to Outer Glow. You can choose any colors that you prefer. I’ll go with red in this case. Adjust these options to bring the result that fit for you. I’ll spread it to 9%, size around 60 pixels.
(7). Next, we will make this curve warp around the model. Add layer mask to it, use brush tool, ensure foreground is black, select layer mask and paint to remove the line that cross above the subject. By this way, look like the line goes behind the model.
. 
(8).
Ensure one line above the subject and one line behind the subject.
You can also change the color by double click to the filter and change it.
That’s it! If you think this video is helpful, hit like, subscribe and ring the bell to get the notification for any tip, tutorials in the future. See ya!
Watch the video here:
REGISTER FOR FREE PHOTOSHOP LEARNING
============================
The most powerful Retouch tool processor
DOWNLOAD:
✅ SADESIGN PANEL ENGLISH: https://sadesign.ai/retouching/
✅ SADESIGN PANEL VIETNAM: https://www.retouching.vn/


VIP Products


Best Selling Products
Adobe Photoshop Copyright - Full App
120 USD
Freepik Premium Account
59 USD
Autodesk All App Account Copyright
120 USD
Genuine Adobe Illustrator account
99 USD
Adobe Premiere Pro Account
99 USD
ChatGPT Plus Account (GPT-4)
16 USD
Plugin Retouch4me
69 USD
Upgrade Genuine Office 365
49 USD
Capcut Pro 1 Year
39 USD
Upgrade Duolingo Super
29 USD
Genuine Cheap Canva Pro
39 USD
Upgrade genuine Capture One account
120 USD
Copyright Adobe Lightroom Account
59 USD
Windows 10 & 11 Pro Key
36 USD
MidJourney Account
29 USD