Best Selling Products
How to Create Basic Water Reflection Shading For Beginners
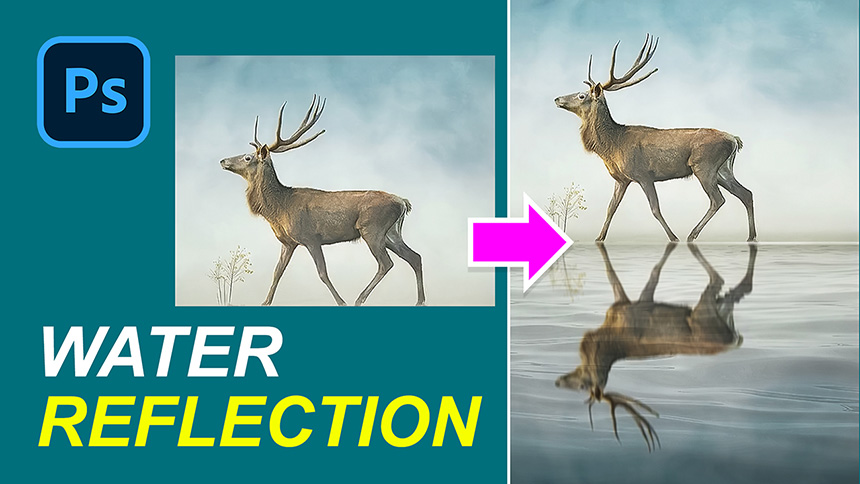
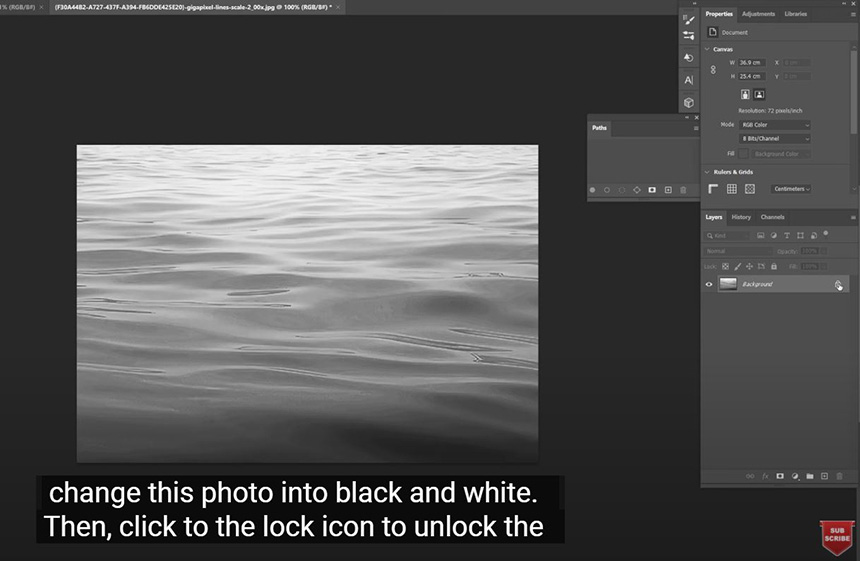
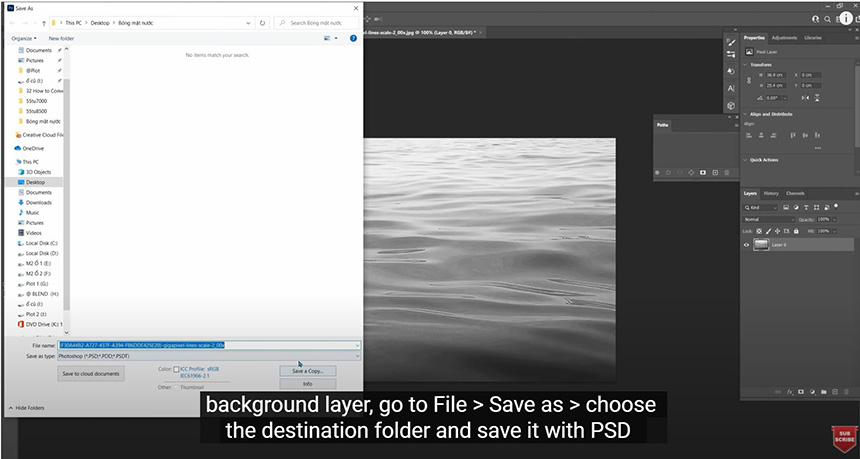
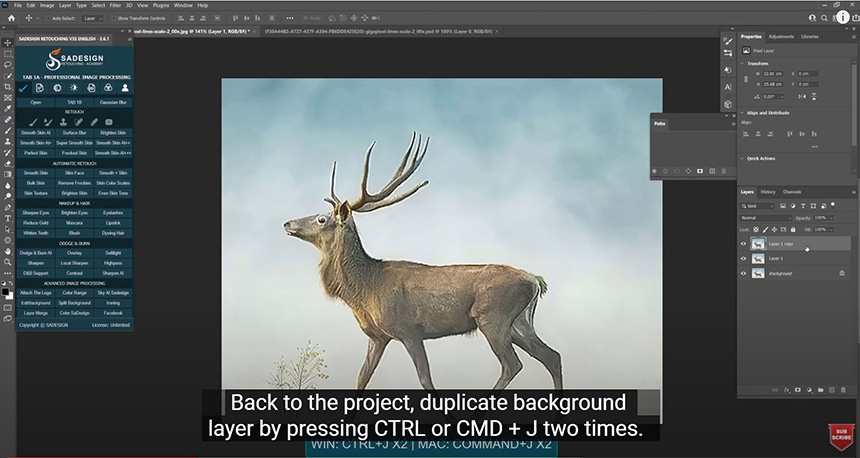
Then, click to the lock icon to unlock the background layer, go to File > Save as > choose the destination folder and save it with PSD format. Select the whole photo with CTRL or CMD + A and copy it with CTRL or CMD + C. Back to the project, duplicate background layer by pressing CTRL or CMD + J two times. Now we will double the height of photo, to do that, open the canvas size window with shortcut CTRL + ALT + C for Win or CMD + OPTION + C for MAC, you can also go to Image > Canvas size > change centimeters to percent for width and height boxes and set height to 200%, click OK.
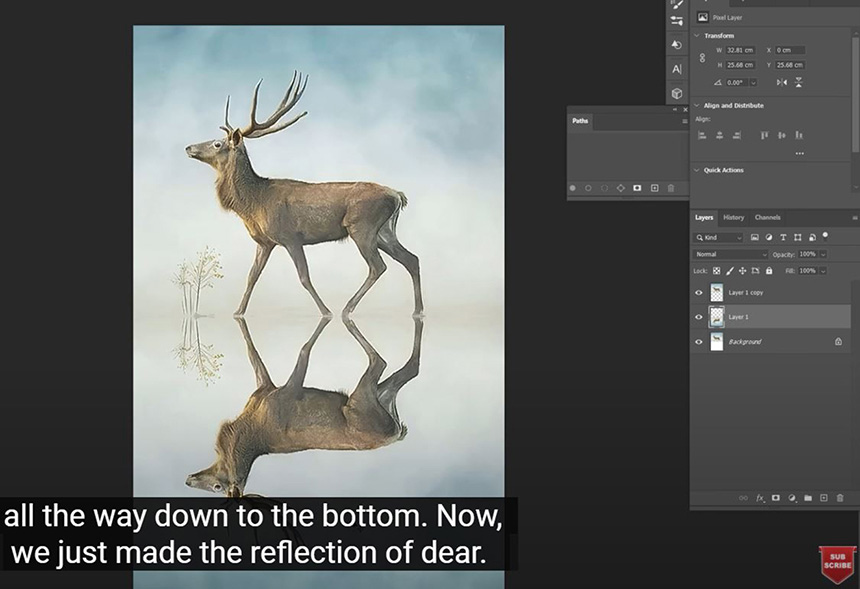
Select layer 1, flip it with CTRL or CMD + T, click to the top and drag all the way down to the bottom. Now, we just made the reflection of dear. Go to Filter > Distort > Displace > set horizontal scale and vertical scale at 10. Make sure to choose displacement map is “stretch to fit” and undefined areas is “repeat edge pixels”. OK > the window pops up, we will choose the PSD file that we’ve saved in the first step.
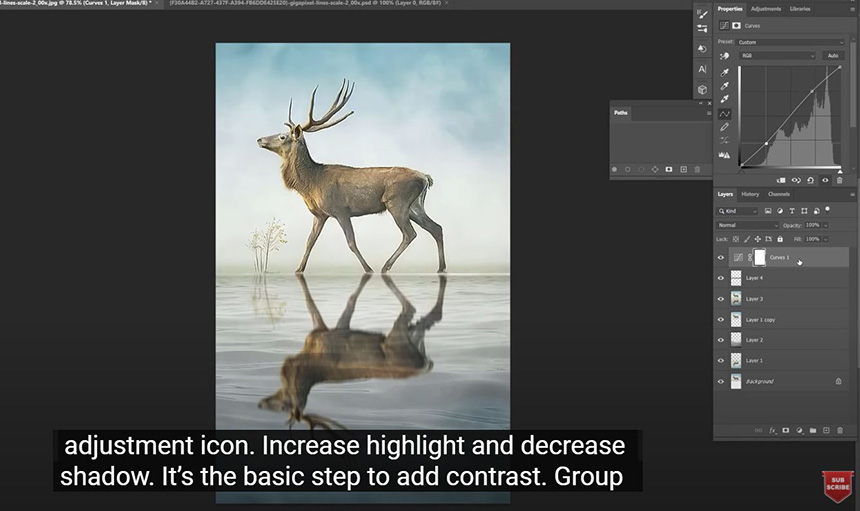
The water is now added to the reflection. Do you remember that we also copied the water surface picture at first? Now it’s time to paste it with CTRL or CMD + V, use CTRL or CMD + T to move it onto the water reflection. Change blend mode to Multiply and adjust the opacity to around 60% to make it softer.
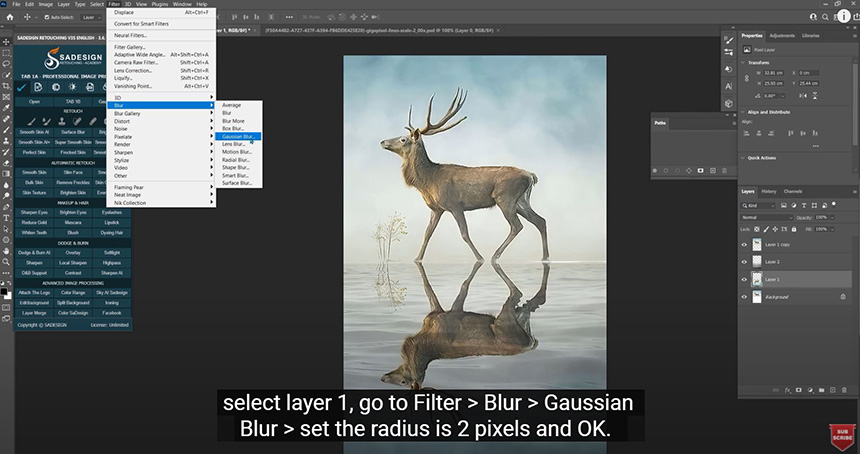
Next step is bluring, we will blur the reflection, select layer 1, go to Filter > Blur > Gaussian Blur > set the radius is 2 pixels and OK. Head back to Filter > Blur > Motion blur > to add motion to the water surface so it will look realistic. Set the angle to 90 degrees and distance is 12 pixels.
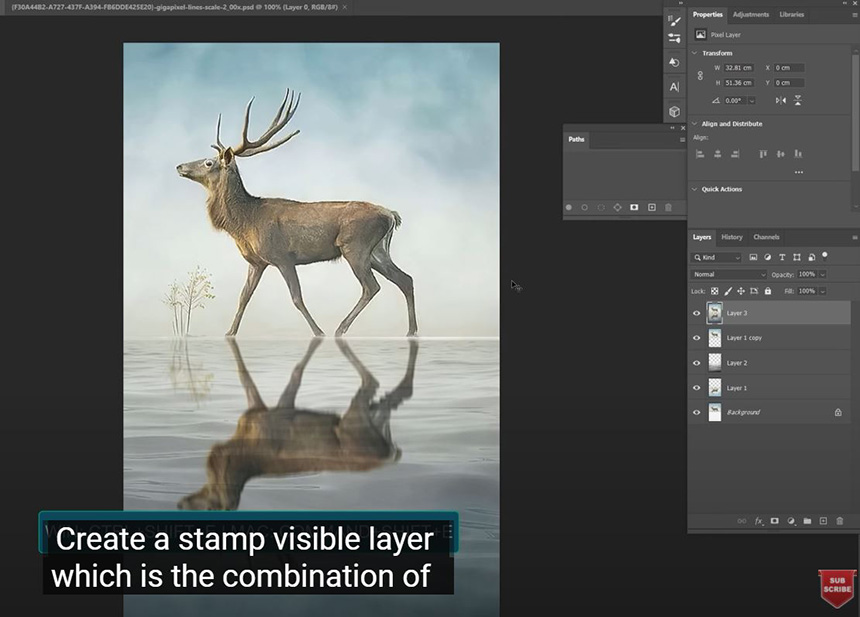
Create a stamp visible layer which is the combination of all layers into one so that you can modify the latest version of it. Pressing CTRL or CMD + SHIFT + E to create it.
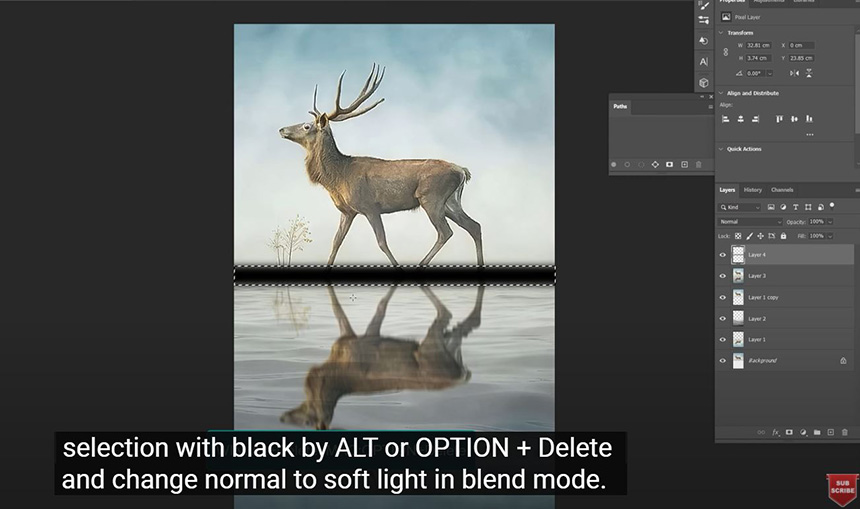
Click to page icon to create a new layer, select “rectangular marquee tool” M shortcut and draw a small line in the middle. Add feather to it by going to Select > Modify > Feather > 10 pixels is enough. Fill this selection with black by ALT or OPTION + Delete and change normal to soft light in blend mode. Now it looks natural. Set the opacity to 60%.
? DOWNLOADS Practical pictures: https://drive.google.com/file/d/1G2oVO1z7LFdoGR-0BNOz-pcCrTKLtOLk/view
REGISTER FOR FREE PHOTOSHOP LEARNING
Watch the video here:
REGISTER FOR FREE PHOTOSHOP LEARNING
============================
The most powerful Retouch tool processor
DOWNLOAD:
✅ SADESIGN PANEL ENGLISH: https://sadesign.ai/retouching/
✅ SADESIGN PANEL VIETNAM: https://www.retouching.vn/


