Best Selling Products

Windows 10 & 11 Pro Key
36 USD

Upgrade Genuine Office 365
49 USD

Genuine Cheap Canva Pro
39 USD

Copyright Adobe Lightroom Account
59 USD

ChatGPT Plus Account (GPT-4)
16 USD

Adobe Premiere Pro Account
99 USD

Genuine Adobe Illustrator account
99 USD

Capcut Pro 1 Year
39 USD

Plugin Retouch4me
69 USD

Upgrade genuine Capture One account
120 USD

Upgrade Duolingo Super
29 USD

Adobe Photoshop Copyright - Full App
120 USD

Freepik Premium Account
59 USD

Autodesk All App Account Copyright
120 USD

MidJourney Account
29 USD
How To Create Stunning Photo Mosaic Portraits
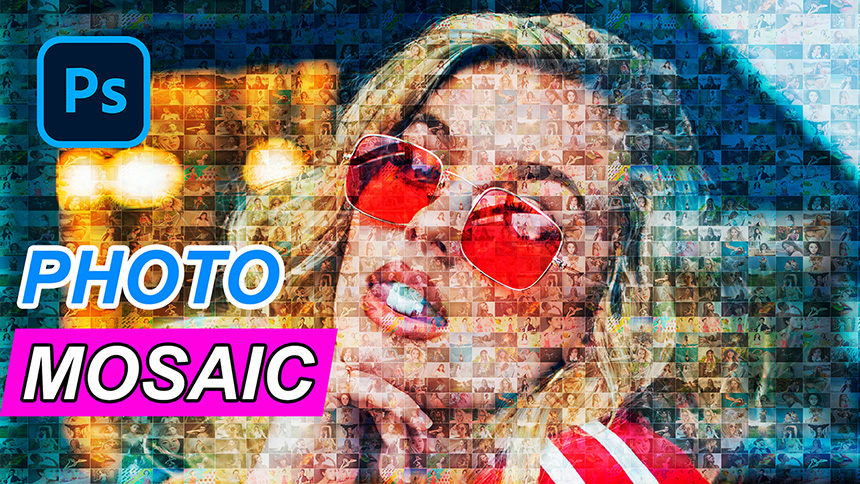
Hi, this is SaDesign channel, in this tutorial I’m going to show you how to create stunning photo mosaic portraits.

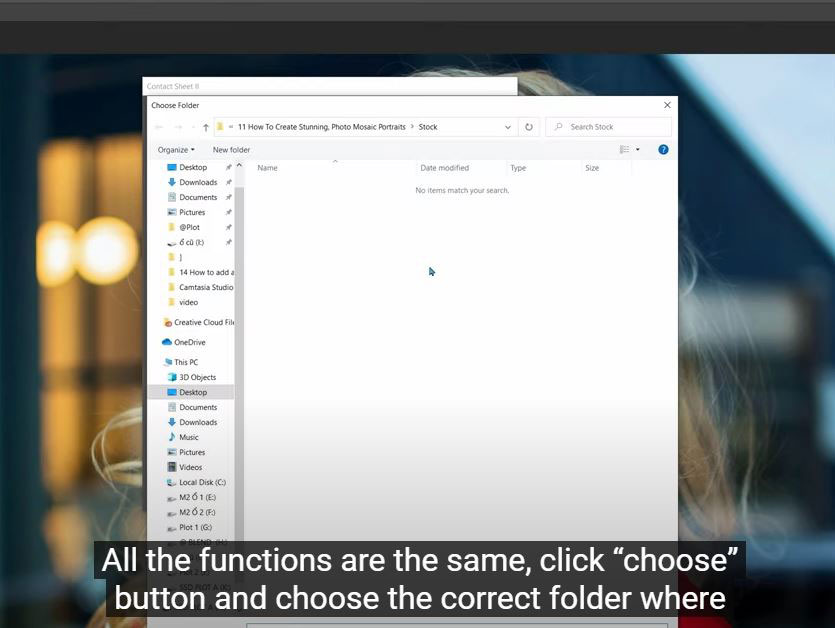
(1).Open the photo of the one you would like to use for this project. First thing first, we will place all photos that we want to use to create the mosaic pattern into a folder. I already did it and named it “Stock”, then go to File > Automate > Contact sheet 2 > since I use the latest version of Photoshop so if you are using the old versions, the context sheet window may a bit different than mine but don’t worry at all.

(2). All the functions are the same, click “choose” button and choose the correct folder where you put all stocks inside and OK. For units, select “Inches”, ensure that “flatten all layers” in unchecked.
(3). I'll be using 10 rows and 10 columns which totals 100 photos and check to “rotate for best fit” box, OK. Photoshop is now automatically positioning each photo from your folder. The reason why we didn’t choose to flatten the layers is that we can fill photos inside their respective layers mask. To fix that, select move tool with V shortcut on the keyboard and choose a specific photo on your mosaic photos, then unlink between the photo and its’ layer mask by remove the chain between them. After that you can resize the photo with CTRL + T without moving the layer mask of it.

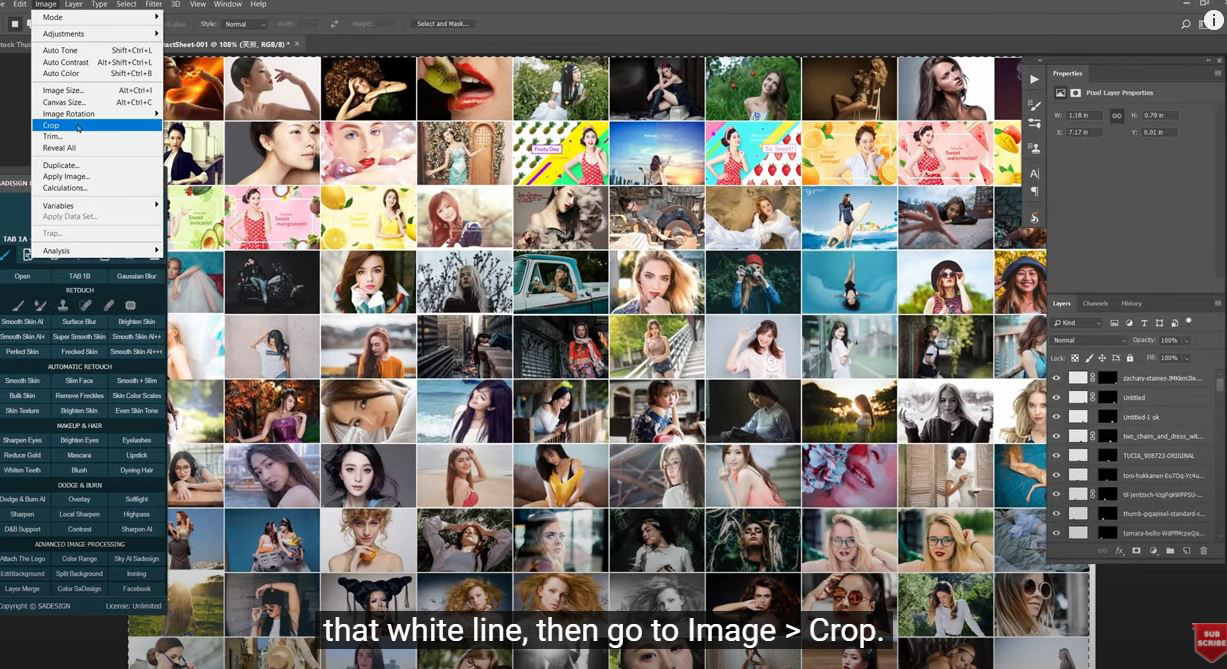
(4). Keep doing these steps for each photo till the whole mosaic is done. I’ll skip it to save your time. You may notice that there is the small white border along the photo on the right-hand side. To remove it, use “rectangular marquee tool and select the whole mosaic photos except that white line, then go to Image > Crop. Press CTRL or CMD + D to deselection.
(6). Next step, we will save this mosaic as a pattern by going to Edit > Define Pattern > name it whatever you’d like and click OK.

(7). Moving back to your photo, click to the adjustment layer icon and choose pattern, your mosaic will appear. Choose the percentage of scale depend on your style, I’ll scale it around 60%, you can change the scale later if you want. Change blending mode to “overlay”.

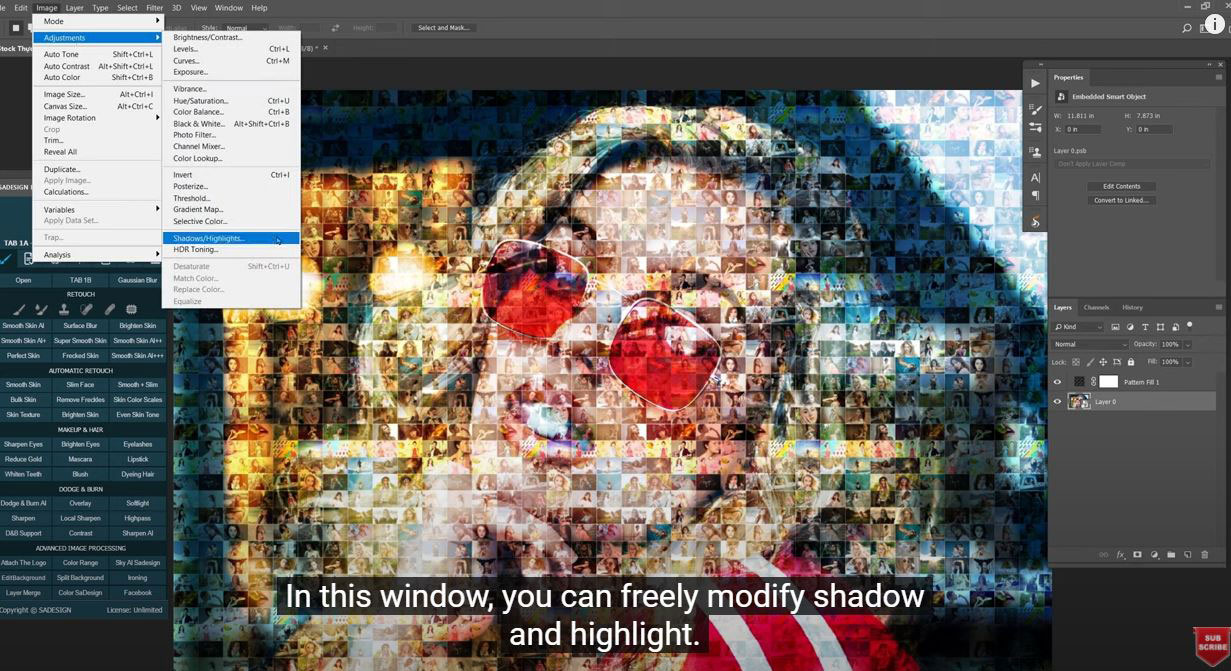
(8). if you'd like to make the pattern more visible in the darkest and lightest areas of your subject. First ensure to convert your subject to a smart object so it can be modified not destructively. Go to Image > Adjustments > Shadows/Highlights. In this window, you can freely modify shadow and highlight. You can also make the shadows highlight filter less intense by reducing the opacity with the icon next to “Shadow/highlights” below layer 0.
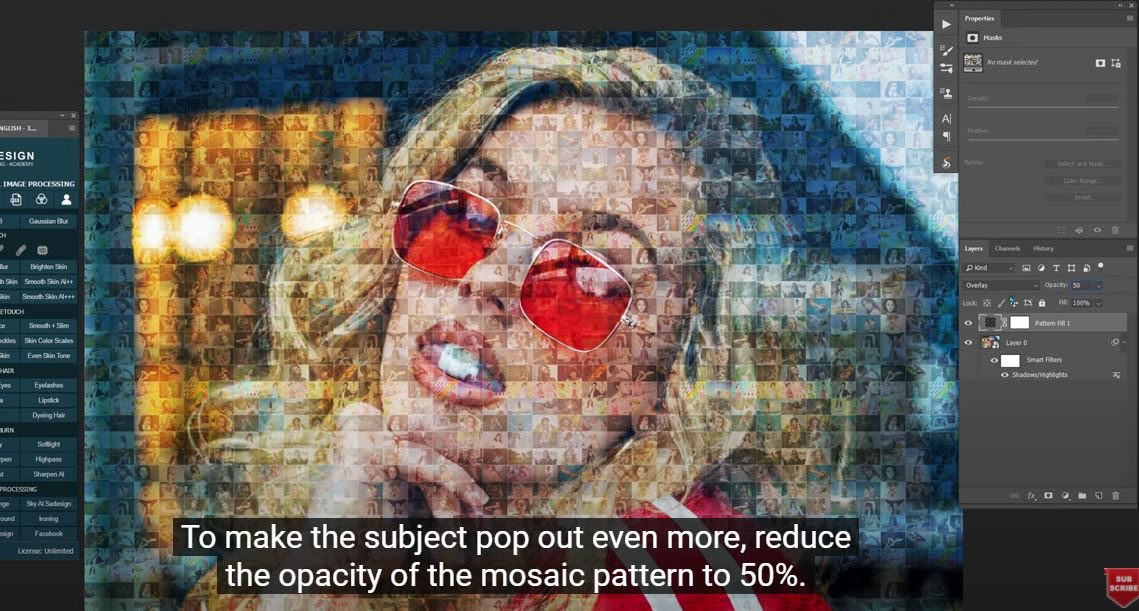
(9). To make the subject pop out even more, reduce the opacity of the mosaic pattern to 50%
(10). When you are done, add a little bit of contrast to it with “Curves” layer by decreasing shadows and increasing highlights. That’s it. Have fun!
If you like Photoshop and Photograph just like SaDesign and you want to get more and more tips, techniques, experience from us. Make sure to subscribe our channel by simply clicking the subscribe button and you will get tons of free tutorials that SaDesign share about Photoshop technique on a daily basic. See you guys in the following tutorials. Bye Bye!

Watch the video here:
REGISTER FOR FREE PHOTOSHOP LEARNING
============================
The most powerful Retouch tool processor
DOWNLOAD:
✅ SADESIGN PANEL ENGLISH: https://sadesign.ai/retouching/
✅ SADESIGN PANEL VIETNAM: https://www.retouching.vn/


VIP Products


Best Selling Products
Windows 10 & 11 Pro Key
36 USD
Upgrade Genuine Office 365
49 USD
Genuine Cheap Canva Pro
39 USD
Copyright Adobe Lightroom Account
59 USD
ChatGPT Plus Account (GPT-4)
16 USD
Adobe Premiere Pro Account
99 USD
Genuine Adobe Illustrator account
99 USD
Capcut Pro 1 Year
39 USD
Plugin Retouch4me
69 USD
Upgrade genuine Capture One account
120 USD
Upgrade Duolingo Super
29 USD
Adobe Photoshop Copyright - Full App
120 USD
Freepik Premium Account
59 USD
Autodesk All App Account Copyright
120 USD
MidJourney Account
29 USD