How to Create a Tentacle Effect Quickly and Easily
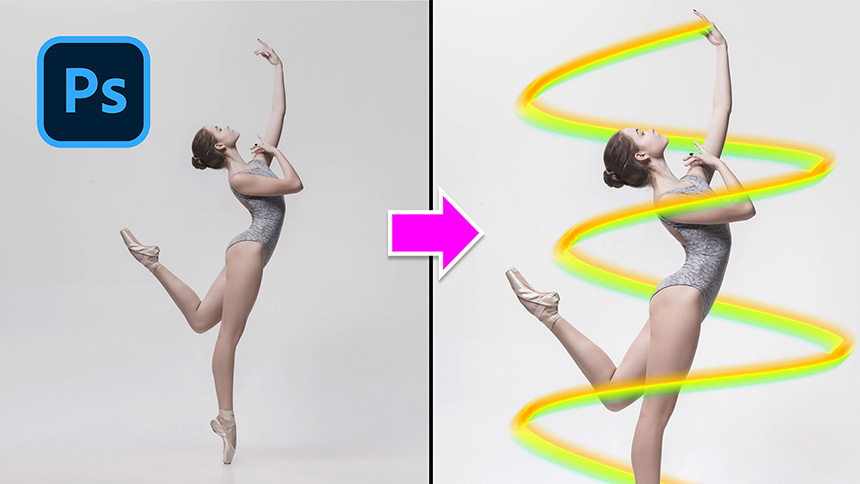
Hey hey! Welcome back to our channel, i'm going to show you create a tentacle effect in an easy and quick way in Photoshop. This effect is mostly used in all types of dance sports.
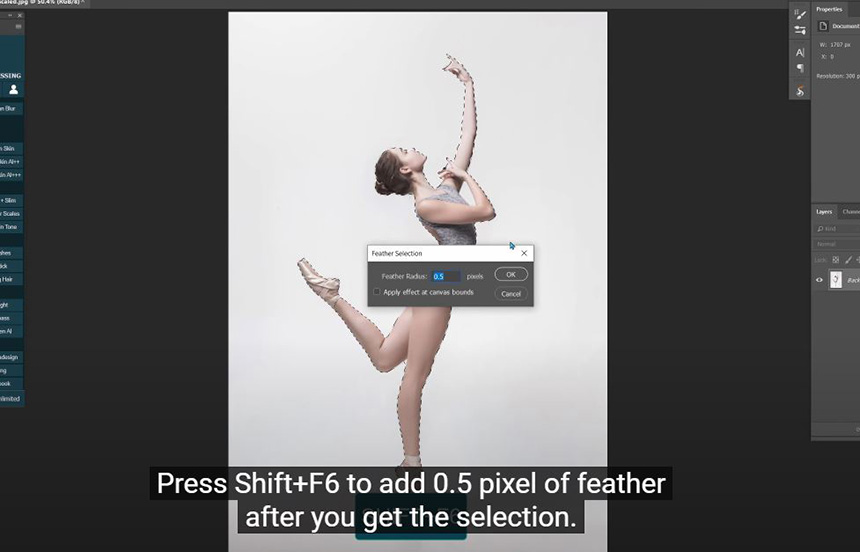
First thing first, cut the subject out of the background. You can use pen tool, quick selection tool or anything of your favorite tools to separate the subject. As for me, I tend to let Photoshop AI to select subject for me. It’s quite accurate in most of cases when it comes to uncomplicated background. Press Shift+F6 to add 0.5 pixels of feather after you get the selection.
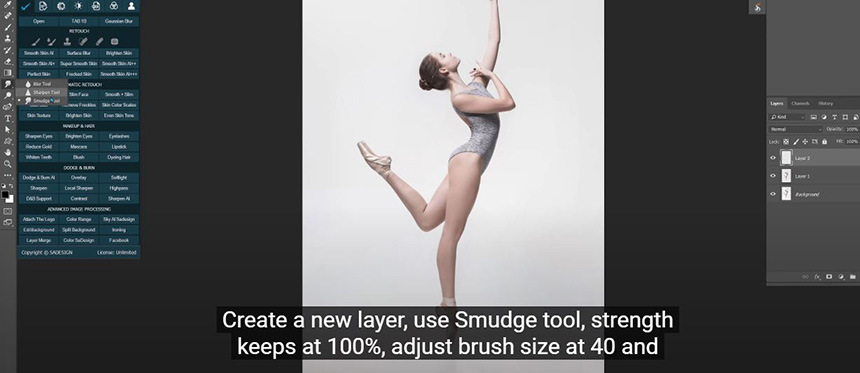
Cut the subject to new layer with CTRL or CMD + J Create a new layer, use Smudge tool, strength keeps at 100%, adjust brush size at 40 and 0 hardness Pick up Curvature pen tool which helps us to create a smooth wave line.
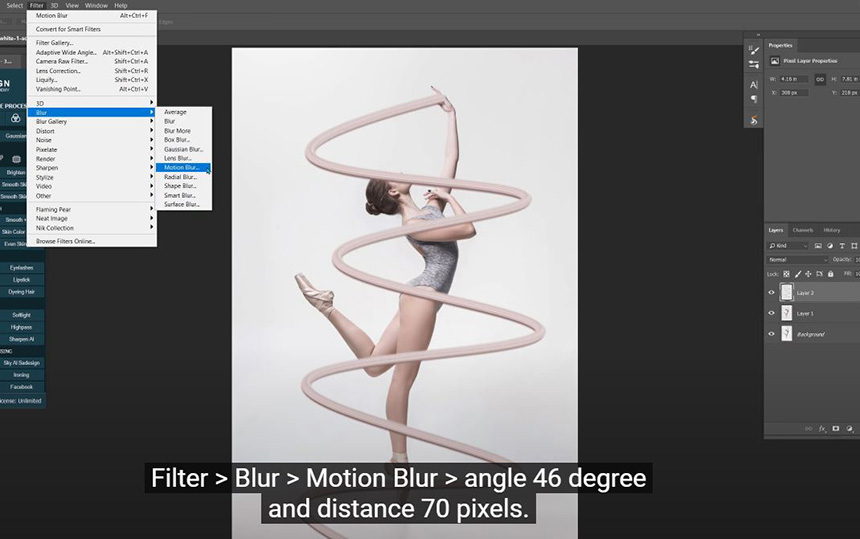
Right click to the line and select “Stroke Path”, drop down menu in tool box and choose Smudge, then confirm There you go! Next, we will add motion blur to it. Filter > Blur > Motion Blur > angle 46 degree and distance 70 pixels.
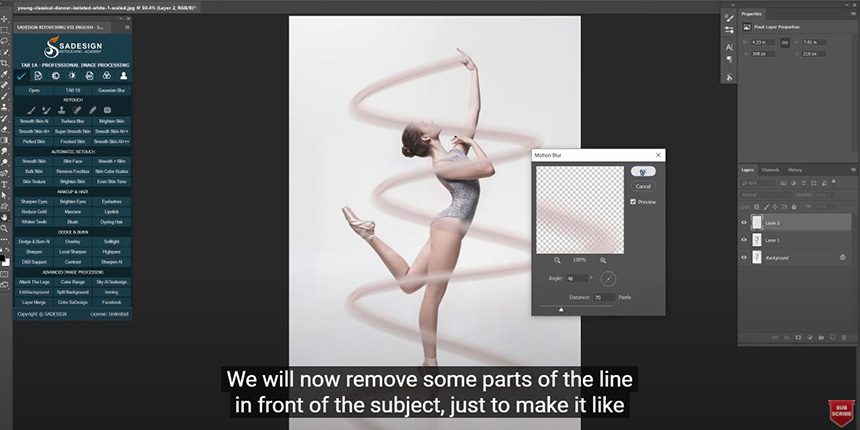
We will now remove some parts of the line in front of the subject, just to make it like surrounding her. Click to this icon to add white layer mask to it.
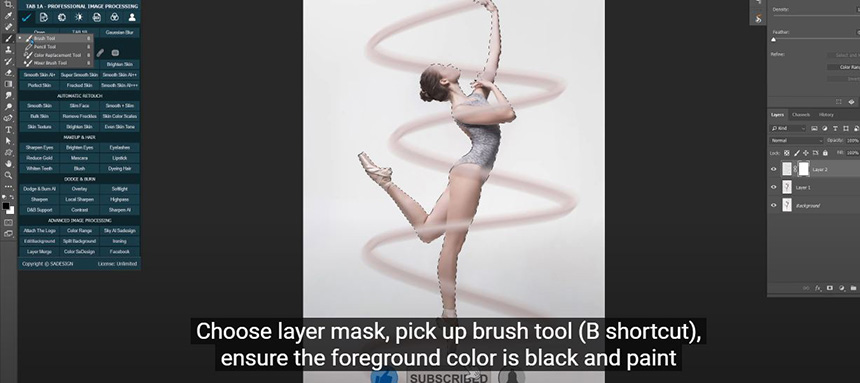
Hold CTRL and Click to layer 1 to take the selection of the model. Choose layer mask, pick up brush tool (B shortcut), ensure the foreground color is black and paint on the areas you want to remove the line just like I did.
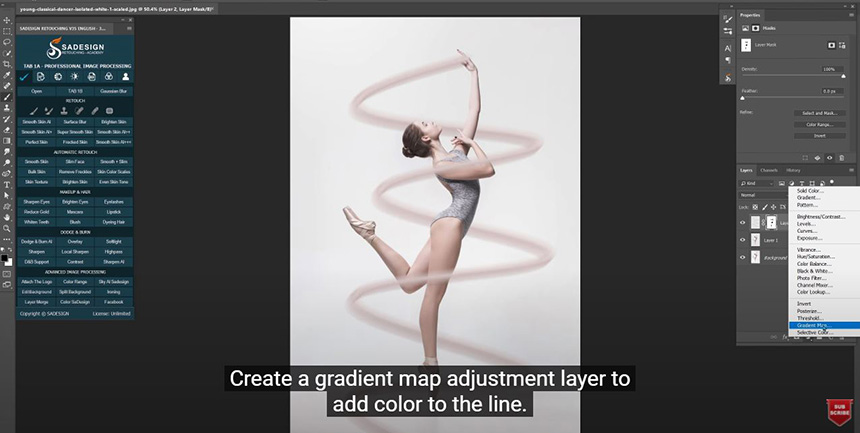
Create a gradient map adjustment layer to add color to the line. Click here to open Gradient editor window, print preset, choose Spectrum or any preset color that you like. Then OK
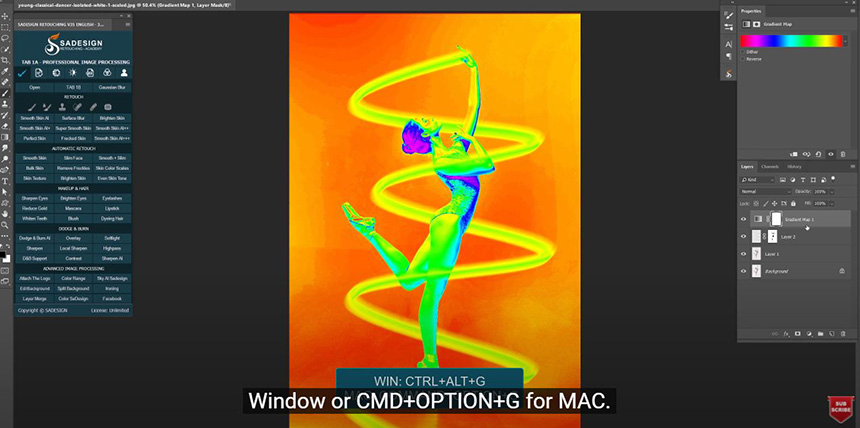
To make the gradient only apply to the line, you have to clipping mask it to the line layer which is layer 2 by pressing CTRL+ALT+G for Window or CMD+OPTION+G for MAC.
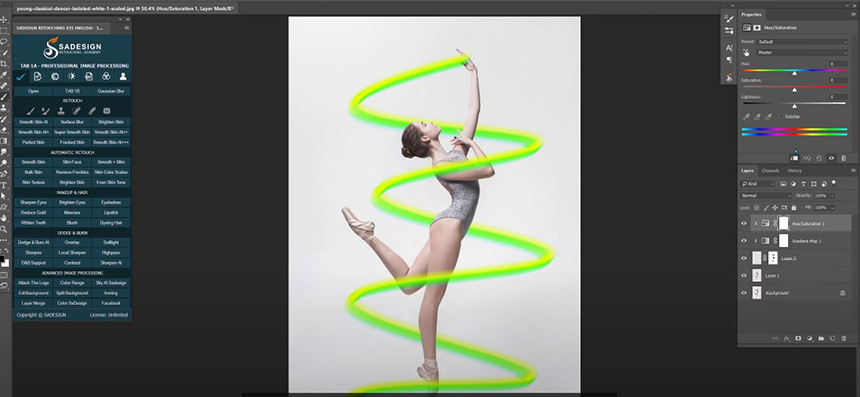
If you want to change color, create Hue/Saturation adjustment layer, and find the right color which suits yourself in hue tab. Remember to clipping mask it as well.
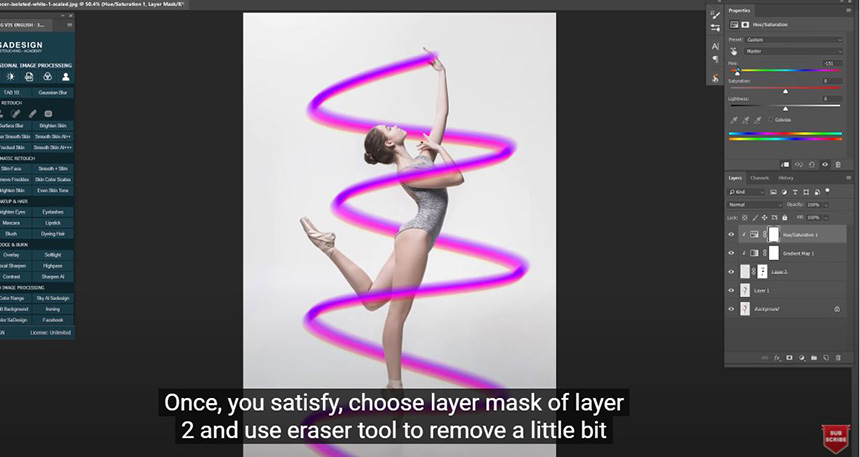
Once, you satisfy, choose layer mask of layer 2 and use eraser tool to remove a little bit of line that out of her hand.
Alright! Hope you like this tutorial, hit like and subscribe buttons so we will have more motivation for launching tutorials in the future. See ya!
Watch the video here:
REGISTER FOR FREE PHOTOSHOP LEARNING
============================
The most powerful Retouch tool processor
DOWNLOAD:
✅ SADESIGN PANEL ENGLISH: https://sadesign.ai/retouching/
✅ SADESIGN PANEL VIETNAM: https://www.retouching.vn/