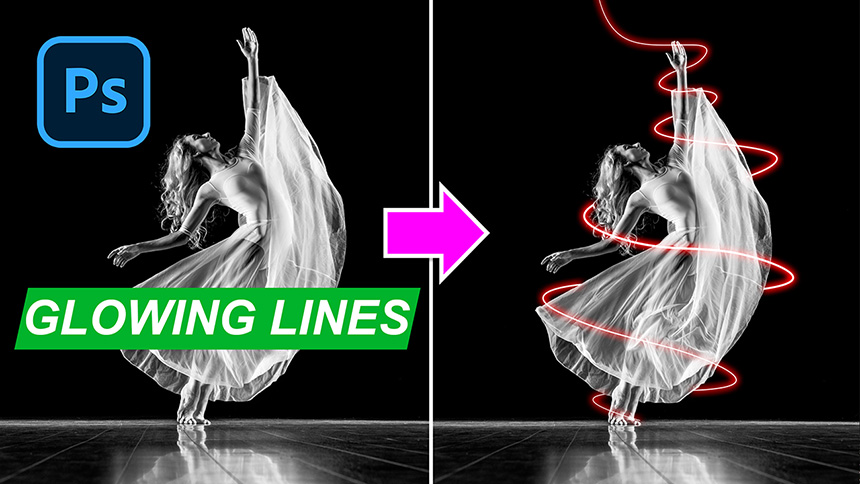
Create Brushes to Draw Chiffon Dress
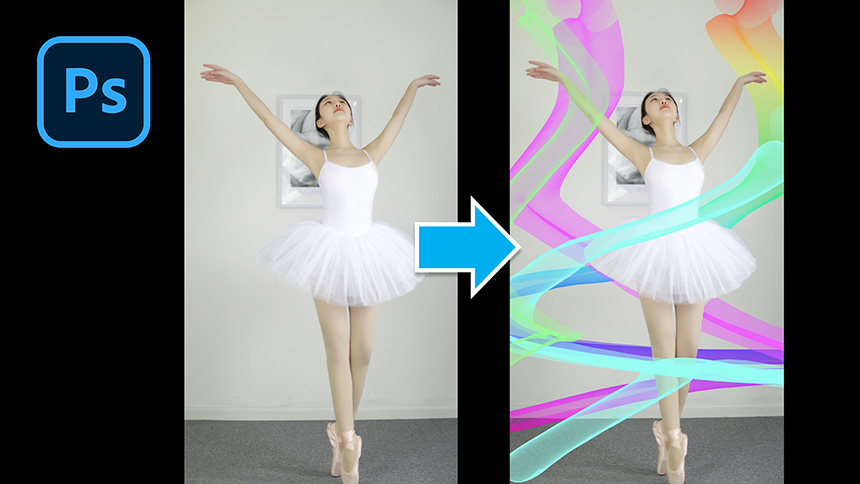
Hello everyone, today I will show you how to create a brush to draw chiffon skirts.
(1). First, create a new document (CTRL or CMD + N)

(2). Select brush tool (shortcut B), select soft round brush and size 3 pixels
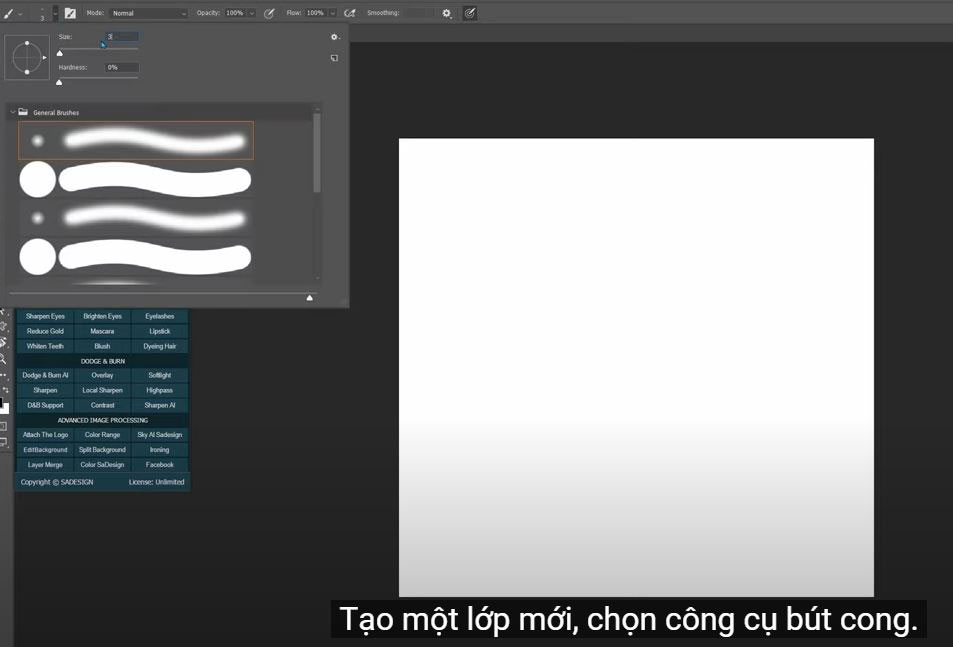
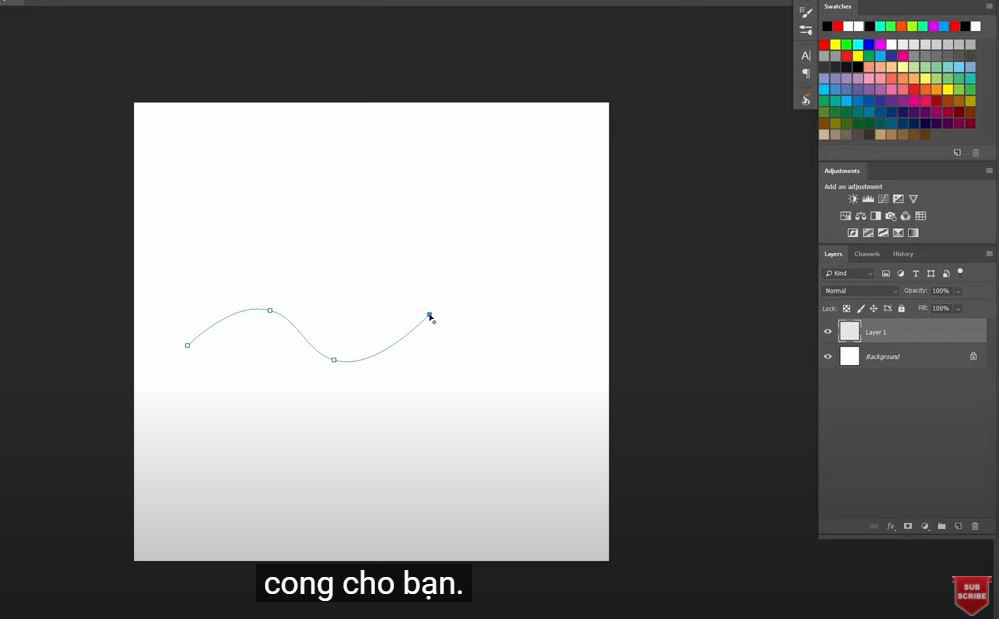
(3). Create a new layer, select the curved pen tool. Now we will draw a wave with this pen tool.
Click to create a starting point, for the next point just click and the line automatically curves for you. Easy isn't it? Press ESC when you're done.
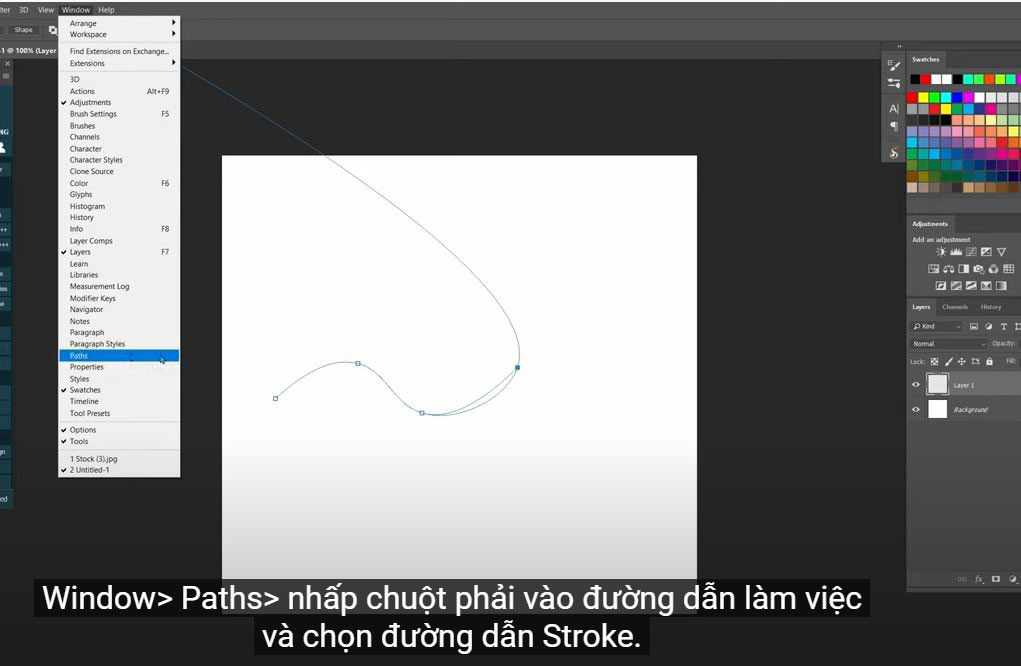
(4). Window > Paths > right click on the working path and select the Stroke path. Drop down the menu in the toolbox and select “brushes”, then confirm.
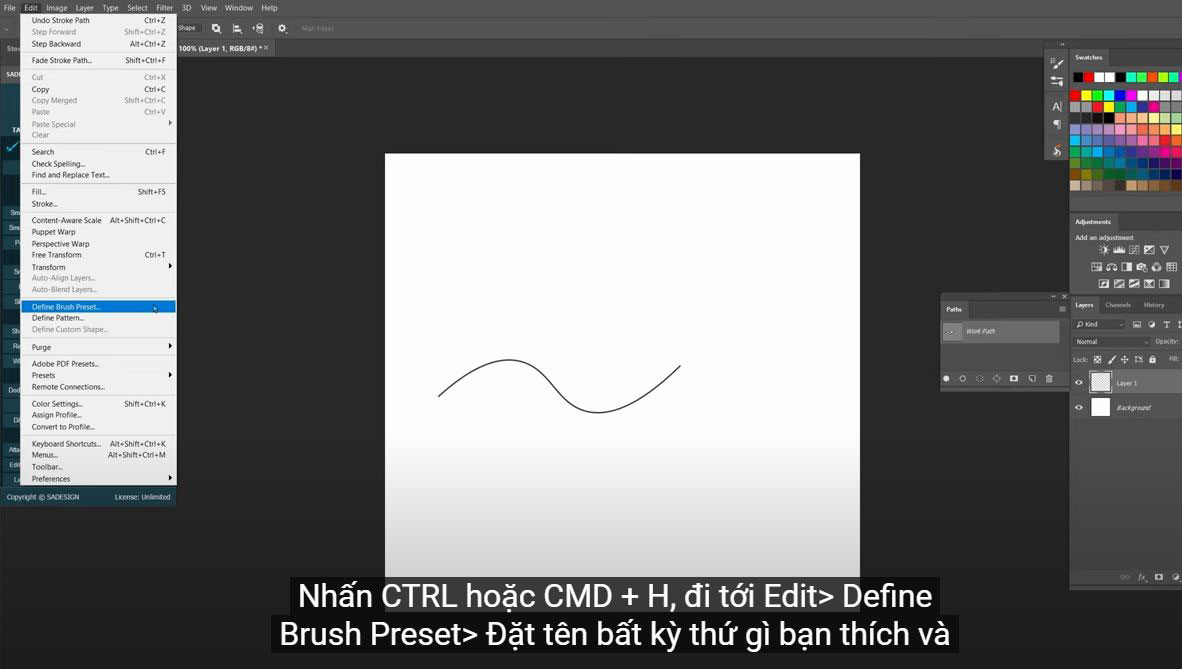
(5). Press CTRL or CMD + H, go to Edit > Define Brush Preset > Name anything you like and OK.
(6). Now we have created the brush curve. We will customize this brush by going to Window > Brush Settings > select “Brush Head Shape” > set Spacing to Minimum
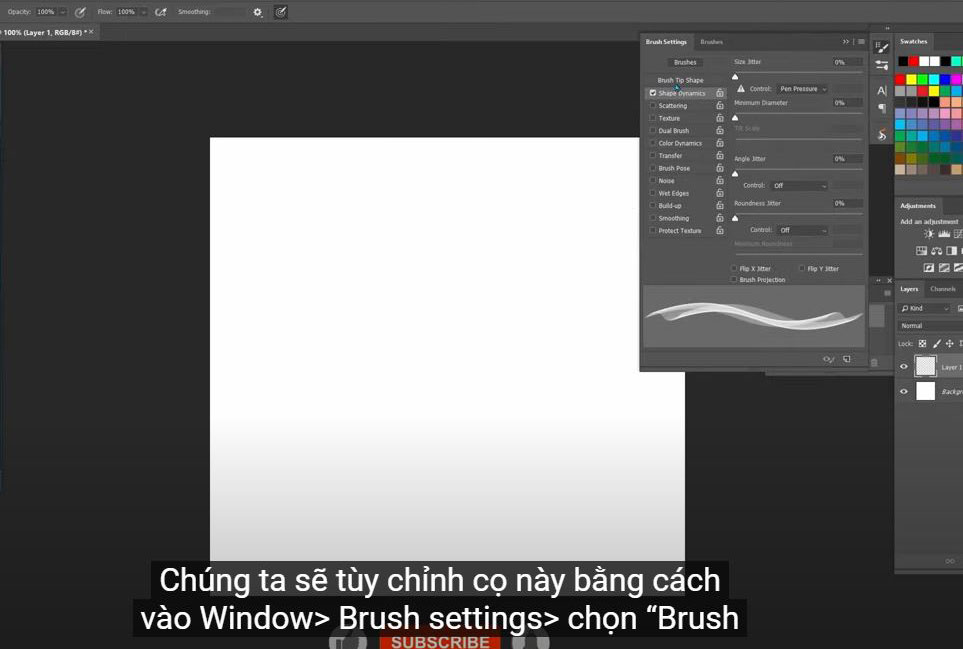
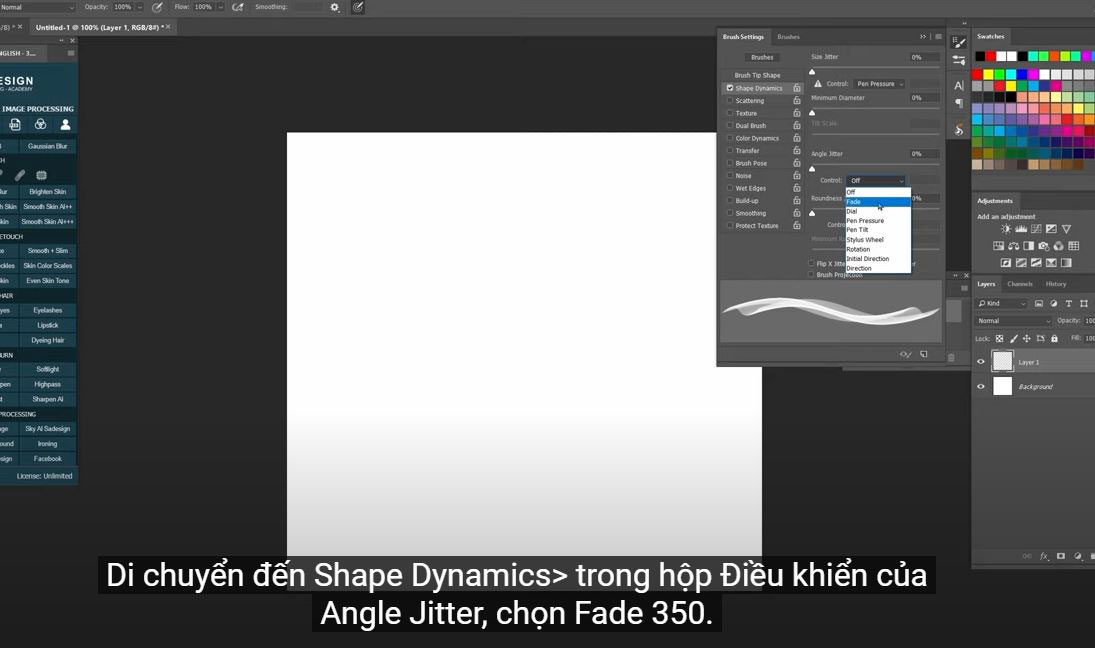
(7). Move to Shape Dynamics > in the Angle Jitter's Control box, select Fade 350. Click the small page icon to save this setting.
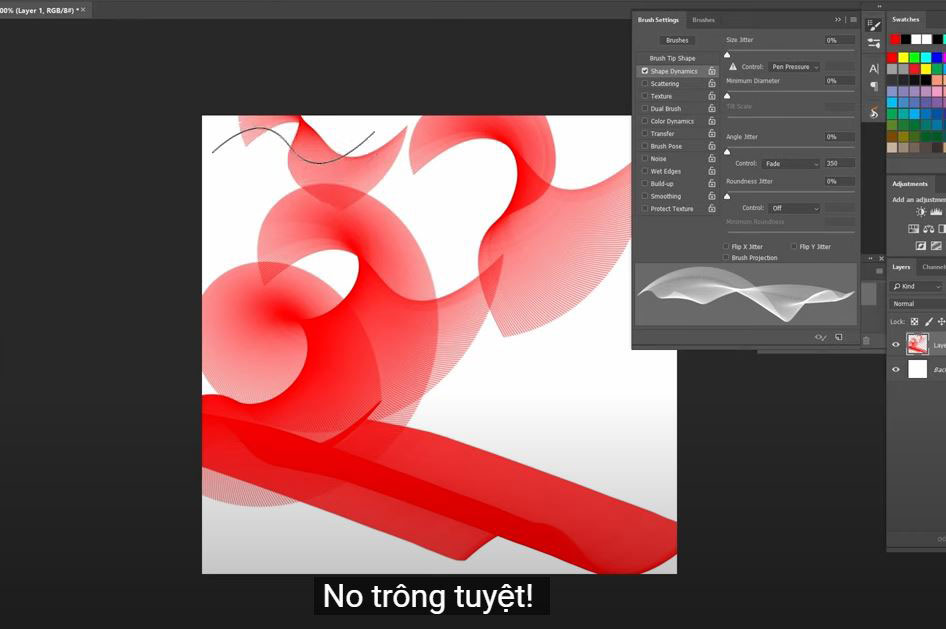
(8). Change the foreground to any color and try this brush. Adjust the flow to 50%. No looks great!
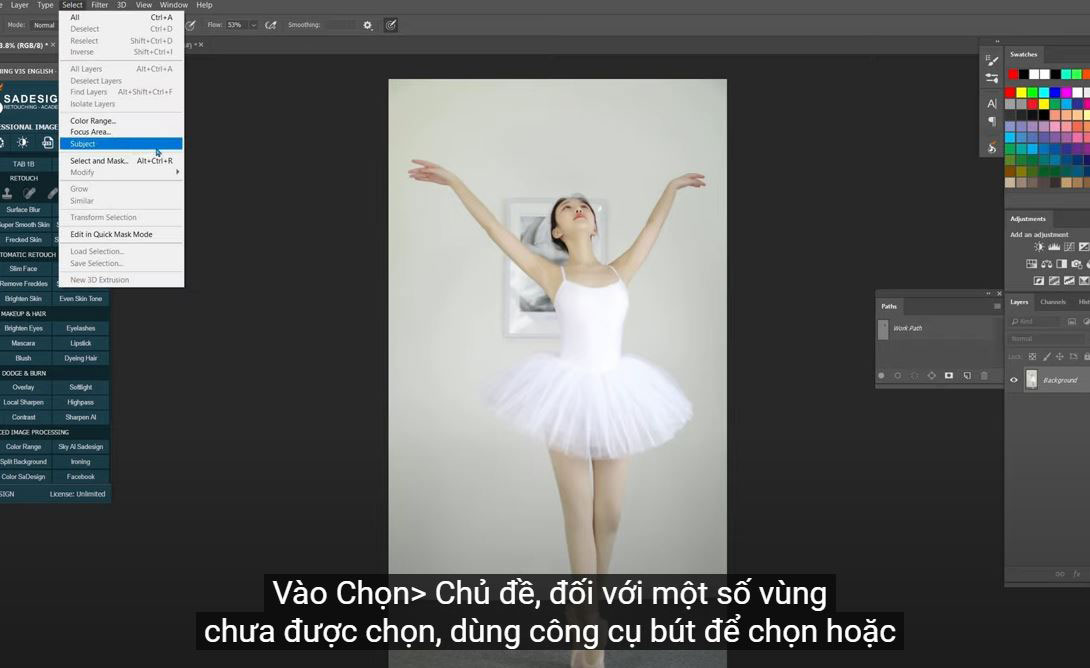
(9). Going back to our project, we will crop the model with the background. Go to Select> Theme, for some unselected areas, use the pen tool to select or we can also deselect the background.
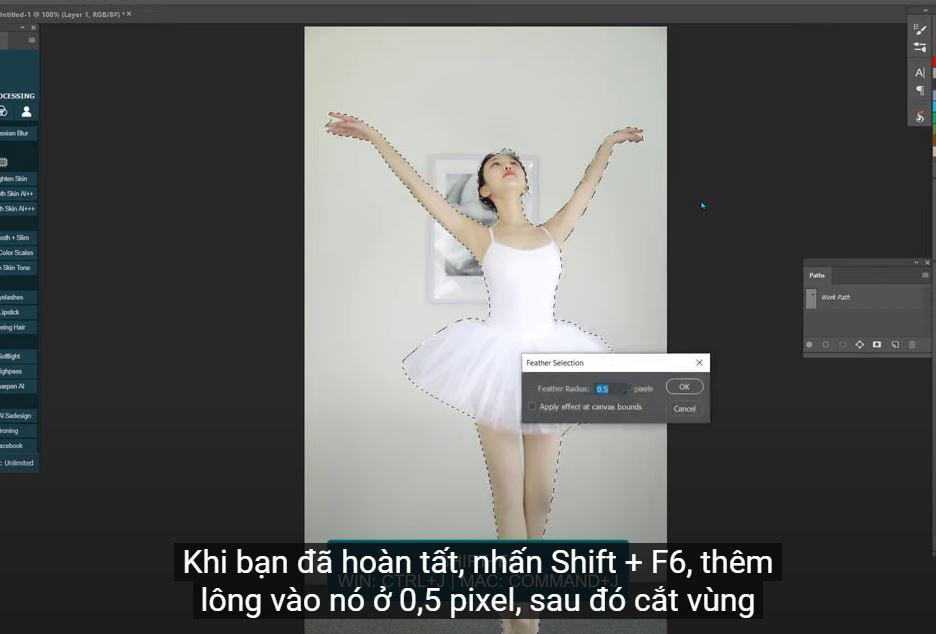
(10). Once you're done, press Shift + F6, add feathers to it at 0.5 pixels, then clip the selection to a new layer using CTRL or CMD + J.
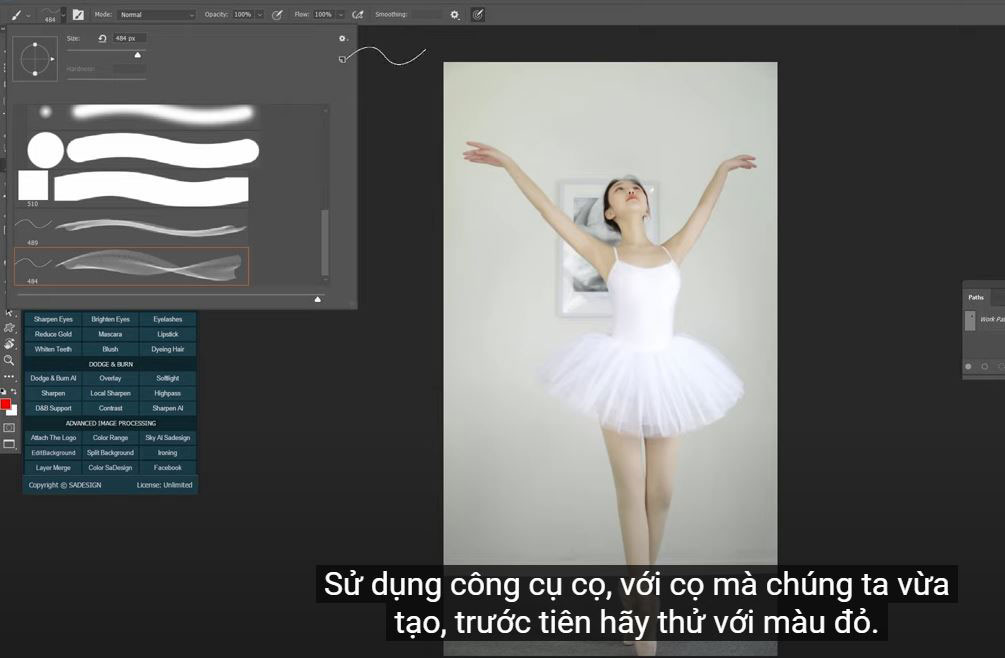
(11). Create a new layer under layer 1,
Using the Brush tool, with the brush we just created, let's try the red color first. Adjust the flow to 25% and it's time to create your own unique brush effect.
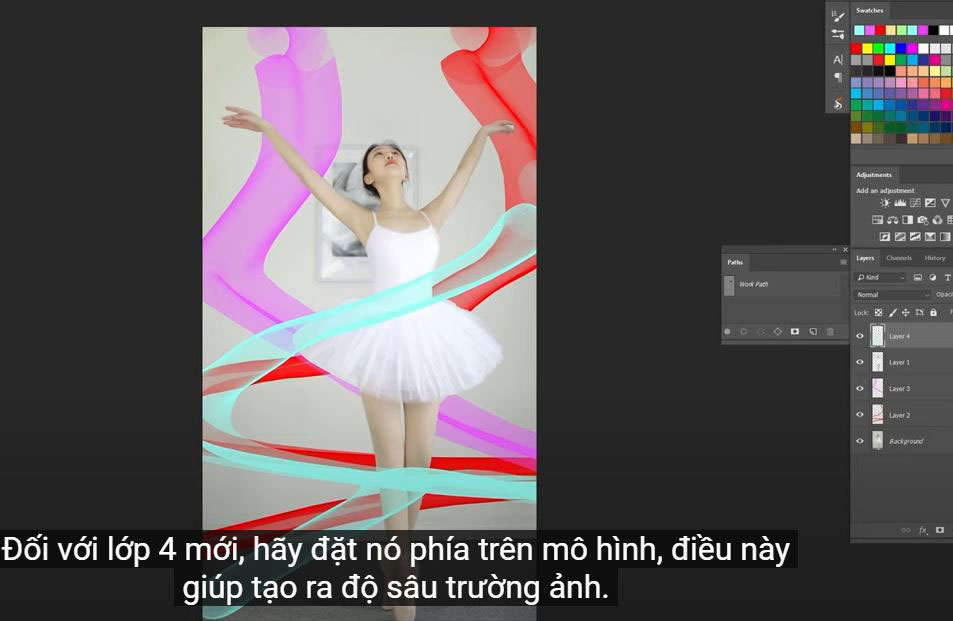
(12).Use a different color in another layer so we can easily manage it later.
For the new layer 4, place it above the model, this helps to create depth of field.
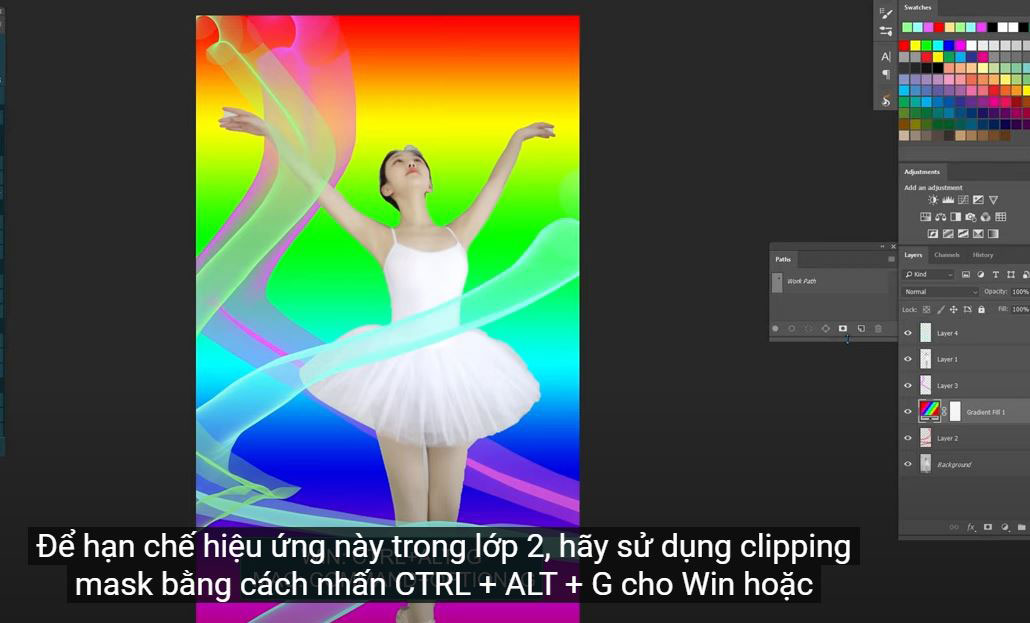
(13). Now we are going to convert the red line into multiple colors. Click the adjustment icon, select the gradient, print the preset, select “Spectrum” and ok. To limit this effect to layer 2, use clipping mask by pressing CTRL + ALT + G for Win or CMD + OPTION + G for MAC. Here you are.
Adjust the opacity and now you know the technique.
Hope you enjoy this tutorial, hit like and subscribe to our channel to update the latest tutorials daily. Please leave a comment in case you have any questions. Thank you and goodbye!
REGISTER FOR FREE PHOTOSHOP LEARNING
============================
The most powerful Retouch tool processor
DOWNLOAD:
✅ SADESIGN PANEL ENGLISH: https://sadesign.ai/retouching/
✅ SADESIGN PANEL VIETNAM: https://www.retouching.vn/