How To Create a Double Exposure Photography Effect
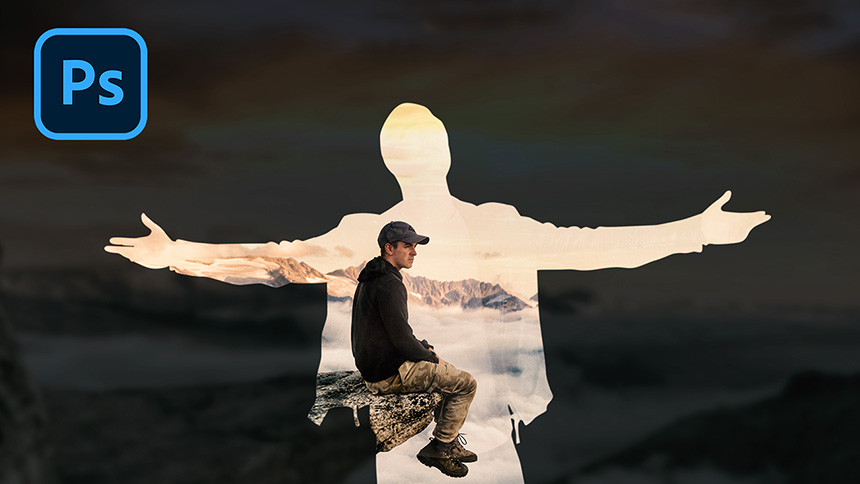
Hi, in this video, I’ll show you how to create a double exposure effect in Photoshop. All the photos in the description’s link, you can download it to go along with me.
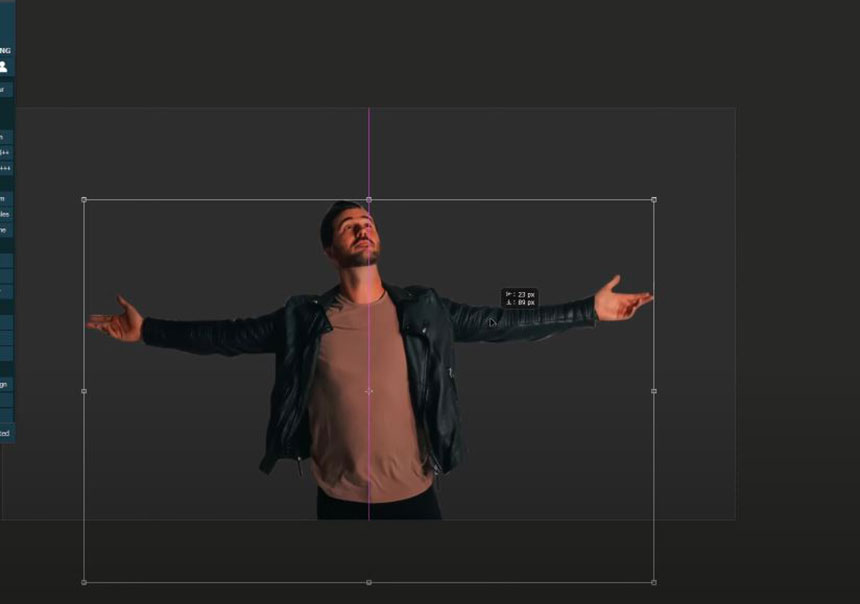
First, you have to separate the subject from background. Copy the subject layer with CTRL or CMD + C
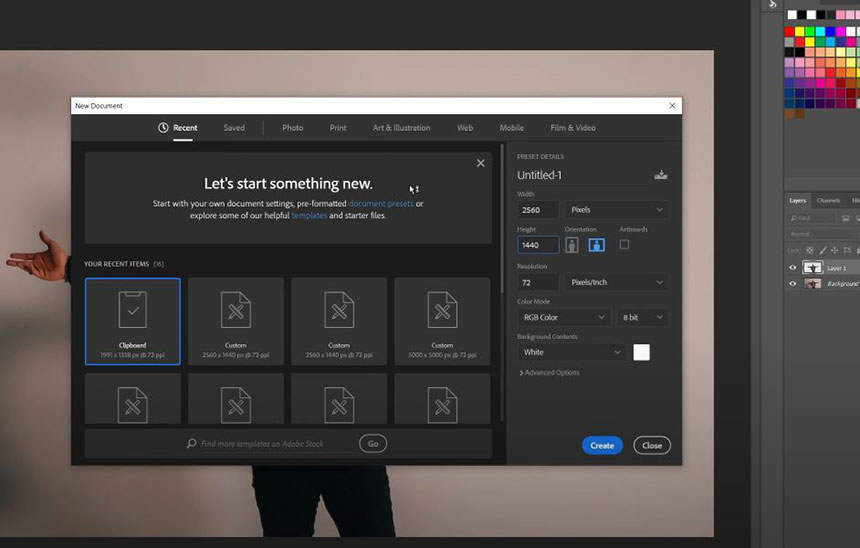
Press CTRL + N to create a new document. Width 2560 pixels Height 1440 pixels Resolution 72 Background contents: use this color code #2e2e2e
Create Paste the subject with CTRL or CMD + V Zoom out, use transform tool (CTRL+T) to scale down and adjust its position
Click to adjustment icon, select “Hue/Saturation”, click to this icon to clipping mask it to subject layer Decrease saturation to -79 and lightness to -62 CTRL+J to duplicate this background layer Click to this icon to unlock background.
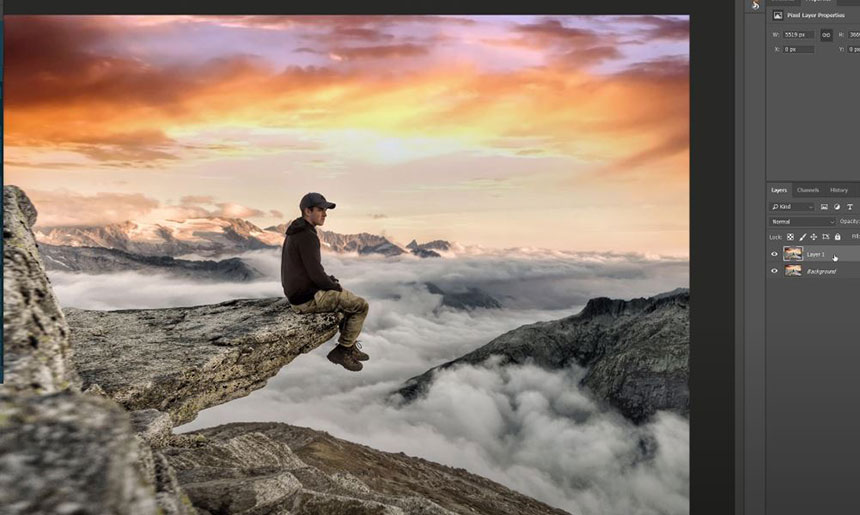
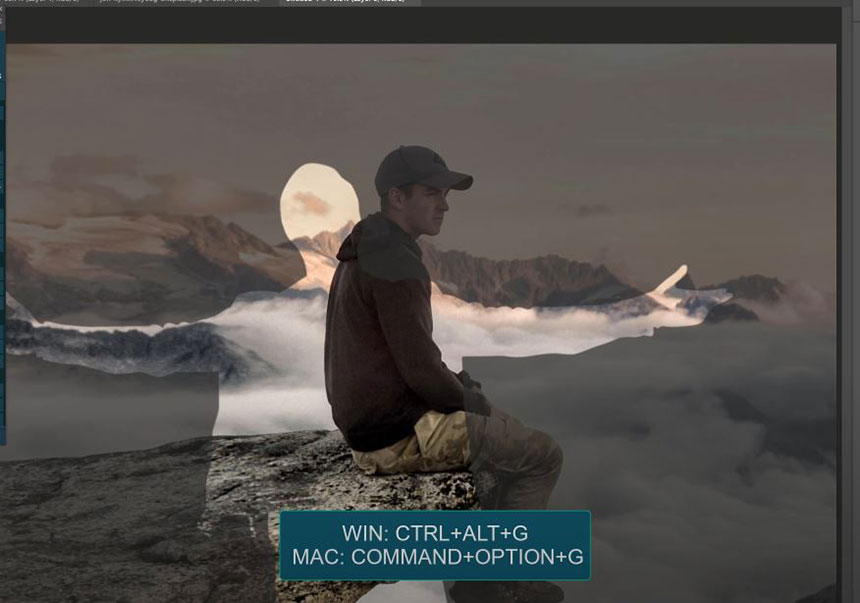
Use move tool and drag it to our project Take layer 2 below layer 1, decrease opacity to 30% In Layer 3, press CTRL+ALT+G or CMD+OPTION+G to clipping mask it
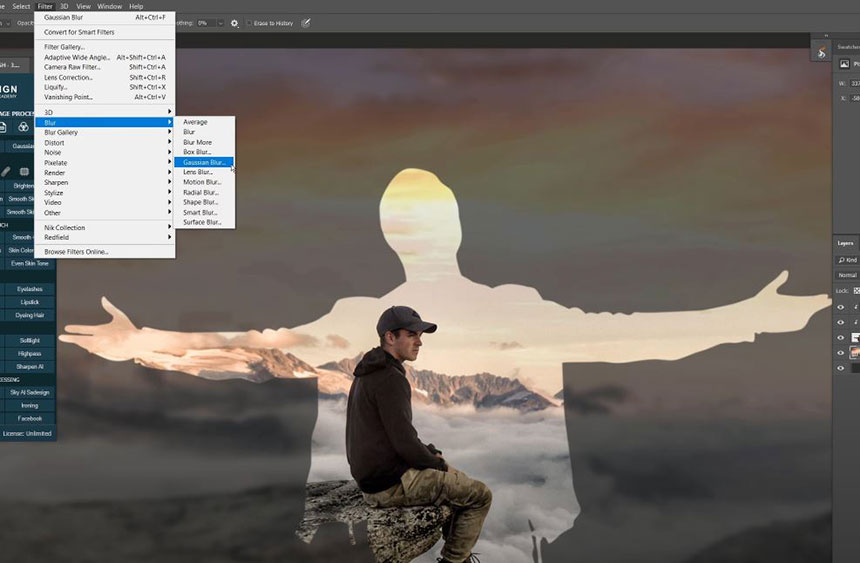
Hold CTRL and click to layer 2 to select layer 2,3. CTRL+T to scale down the size and adjust the position Select Layer 2, go to Filter > Blur > Gaussian Blur > 7 pixels. OK
Create another Hue/Saturation adjustment layer, Saturation -32, lightness -30 Change blend mode of layer 3 to “Screen”
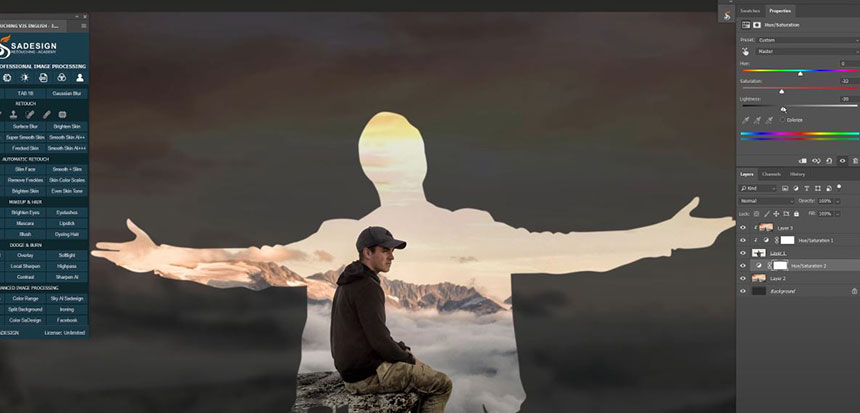
In the mask of Hue/Saturation 1, use brush tool, black in foreground color, opacity 30%, paint on the edges of layer 1 to make the transition smooth between highlights and shadows

Hold SHIFT and click to the mask to disable or enable for checking the before and after.
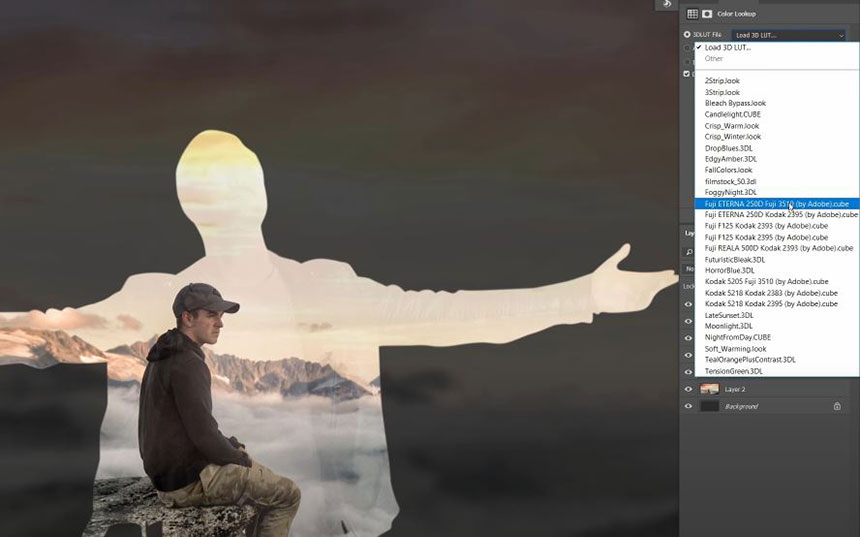
Create a color lookup adjustment to add color preset to the photo. Select Fuji Eterna in 3DLUT file
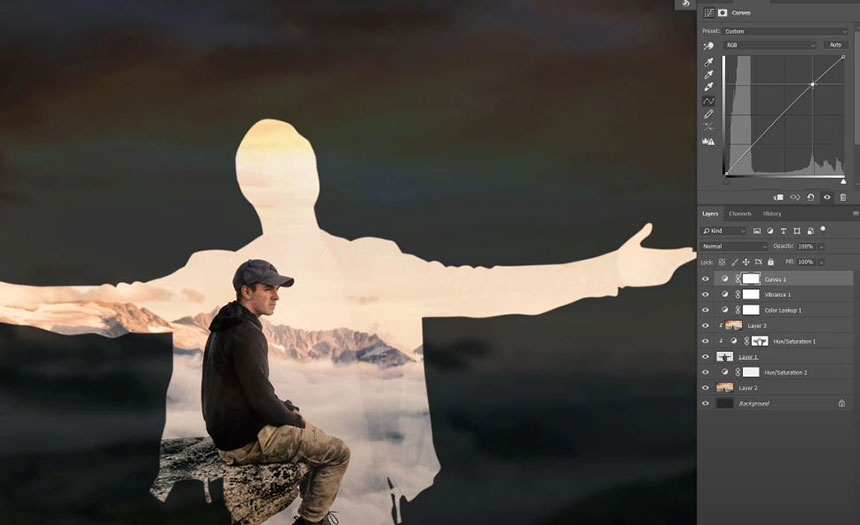
Create vibrance adjustment layer, increase vibrance to 37 to enhance colors Add contrast with Curves adjustment layer, increase highlight and decrease shadow to create S curve
That’s it! Hope that you like this tutorial, hit like and leave comments in case you want me to clarify something on this clip. Thanks for watching!
REGISTER FOR FREE PHOTOSHOP LEARNING
============================
The most powerful Retouch tool processor
DOWNLOAD:
✅ SADESIGN PANEL ENGLISH: https://sadesign.ai/retouching/
✅ SADESIGN PANEL VIETNAM: https://www.retouching.vn/