Improve skin tone with Gradient Maps in Photoshop
Gradient Maps is a flexible tool for color grading, especially when you want to change the color temperature of the skin. To help you understand more about how to improve skin tone with Gradient Maps in Photoshop, let's explore in the article below. Gradient Maps 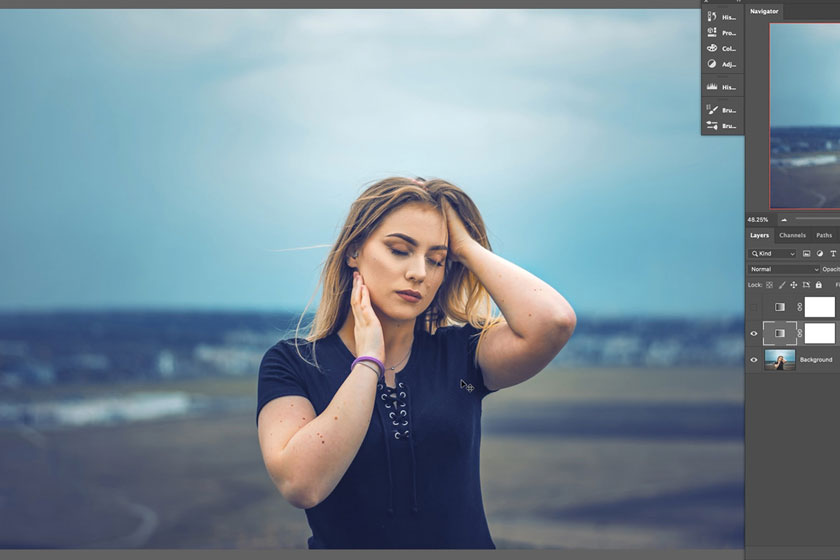 what is gradient maps Surely, you've heard of use of awesome Tuning-level compliments like Curves and Levels. While Curves and Levels are powerful for both grading colors and making exposure changes, there is sometimes a much easier and more effective way to get work done. This is especially true for moments when you just want to apply professional-grade color as quickly as possible. This is also where the Gradient Maps shine and promost the most effectively. Gradient maps allow users to easily assign the color of a gradient to highlights, midtone and shadows in images. However, when editing an image with Gradient Maps in Photoshop, the operator needs to know the characteristics of the image to plan the editing accordingly.
  How to edit skin tones with Gradient Maps Found in Layer Styles' Blending Options (or you can double-click on the layer), the Blend Slider allows users to blend their layer with specific tones in the current layer or below, minimize artifacts while creating a natural and aesthetically pleasing layer of images. For the present purpose the “Gray” Blending is usually a safe place, but you will also want to see how colors are affected by RGB channels. This is especially helpful if you are trying to reduce the appearance of reddened skin. While the technique using Gradient Maps has been judged by experts to be great for targeting skin tones to give them a warm, healthy glow. This method is also very effective for general color grading. Give it a try and see how you can incorporate this new trick into your editing workflow. Above is sharing on how to improve skin tone with Gradient Maps in Photoshop, SaDesign hopes to help you grasp useful information. Do not forget to click the Like and Share buttons to continue to support us in the following articles. See more: How to brighten the eyes naturally in Photoshop
Gradient MapsWhat is Gradient Maps in Photoshop?
The Gradient Map is one of the many useful Adjustment Layers that professional image editing tools Photoshop offers. These adjustment layers in Photoshop are very powerful, not only because they allow the user to precisely adjust things like color and exposure, but because they are also 100% indestructible. This means that users can use as many Adjustment Layers as they want while editing, then adjust, disable or delete them easily at any time without destroying the original image. what is gradient mapsHow to edit skin tones with Gradient Maps in Photoshop
Prince Meyson's tutorial video shows how to make the model's skin tone in an image look vivid using Gradient Maps and Blend If Sliders in Photoshop normally unused. Check out: https://youtu.be/iacxabBJk-I With your portrait image opened in Photoshop, the first step is adding an Adjustment Layer, which will be the Gradient Map. The default harmonic colors tend to be displayed very saturatedly, so you'll want to go to the gear in the corner of the Gradient Editor and choose Image Tone. Once there, click on the gradient that gives you the range of colors you want, usually in the neutral range, and click OK. With the Gradient Map applied, it's time to change the blending mode. This tutorial recommends using Soft Light, the next step is reducing the opacity of the Gradient Map. However, the colors can still be a bit too saturated, so one of the Layer Styles' secret weapons is the Blend If slider. How to edit skin tones with Gradient Maps