Best Selling Products
How to clean studio background in Photoshop fastest
Nội dung

Studio photography is very popular today, but there is a problem that the common ekip has is that the background image may be wrinkled, blurred not as expected. This will make the photo lose its aesthetics and professionalism.
 How to clean studio background in Photoshop
Therefore, you need to apply the cleaning studio background in Photoshop as shown in the tutorial below.
How to deal with a paper background in Photoshop
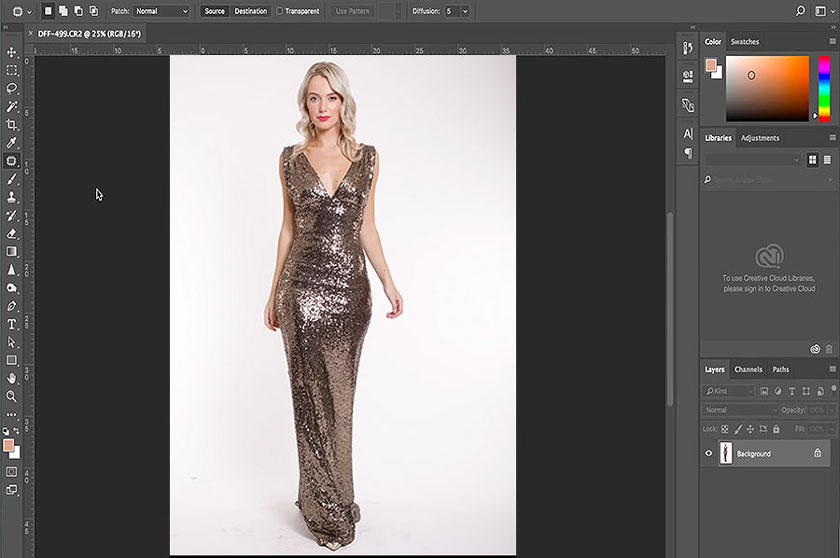
 clean studio background in Photoshop
Paper backdrop is the material commonly used for post-production setup in studios. The reason is because they offer a wide variety of colors at a reasonable price. The downside, however, is that the paper is easily dirty, manifested by scratches, smudges, dirt, and other distracting things that will be captured by the camera.
For simple cleaning of your backdrop, this helpful guide by Anita Sadowska will help your paper backdrop get polished immediately. Check out the video below:
[embed]https://youtu.be/iTrvKR7fA2M[/embed]Steps in video
1) With your edited image which is being opened in Photoshop, duplicate the Layer using the keyboard shortcut Command + J (Ctrl + J on a PC).
2) Choose your wallpaper. In this example, the Magic Wand tool is used, set to Add to Selection, Pattern Point, Tolerance at 29, Anti-Alias and Contiguous. Click around your subject. Then switch to the Lasso Tool, also set to Add to Selection, to quickly select any rest of the background.
3) Go to Filter, Noise, and choose Median. Select the Radius to show the dust disappearing, which is 25 in the instructions, click the OK button. Finally, the photo with the processed paper background becomes much more beautiful and professional.
How to treat a wrinkled studio background in Photoshop
In addition to treating a studio background that is wrinkled in Photoshop as instructed above, you can also refer to the methods of correcting a wrinkled studio background by one of them. The 3 methods below:
 How to treat a wrinkled studio background in Photoshop
Cut out the subject and fill the outer area with white
This is the most time-consuming but best results approach. You can remove unwanted objects or fill the background as you like. This method will help you get rid of the shadows that cause the subject to touch the ground (they will look like they're floating in the air). Hair is very problematic, so you should pay attention to correct hair.
Increase the luminance contrast until the background turns pure white
Most of the time the brightness of the background will change over your image (due to drop shadows / light drops). So the level of brightness to dim it will change. Work environment around the subject with a selection along the edge of the subject, gently fading into the subject and adjusting the curves until the background turns local white. Then move the selection to the next part of the edge.
The downside of this method is that it is still time-consuming, can produce a color shift on the edges of the subject, and it only works if the background is quite bright / even starts.
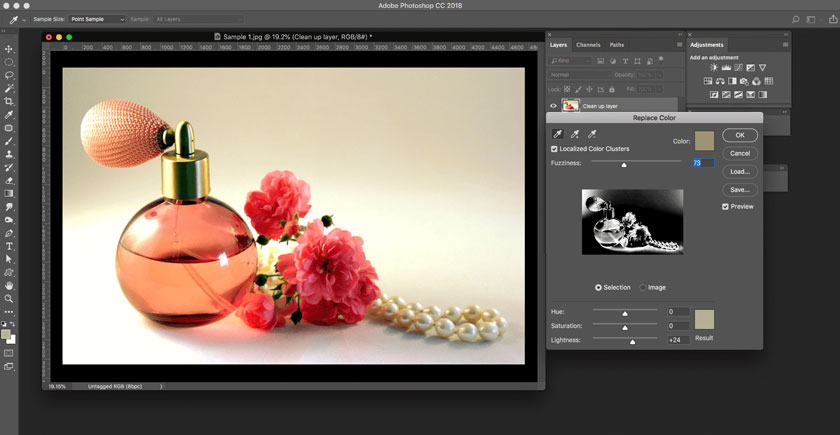
Blurring background
Blurring is also a very effective method of treating wrinkles on studio panels. The problem with the method of blurring the background is that you cannot get too close to your subject without blurring them. So you can blur large areas but then you usually need to do some manual correction around the edges of the object.
 Blurring background
Above is sharing about how to clean studio background in Photoshop quickly, SaDesign Retouching hopes to help you grasp useful information. If you still have any questions, please contact us for the fastest support.
See more: How to change background color in Photoshop the fastest


