Best Selling Products

Upgrade Duolingo Super
29 USD

Freepik Premium Account
59 USD

Windows 10 & 11 Pro Key
36 USD

Genuine Cheap Canva Pro
39 USD

Genuine Adobe Illustrator account
99 USD

Copyright Adobe Lightroom Account
59 USD

Upgrade genuine Capture One account
120 USD

Capcut Pro 1 Year
39 USD

Upgrade Genuine Office 365
49 USD

ChatGPT Plus Account (GPT-4)
16 USD

Plugin Retouch4me
69 USD

Autodesk All App Account Copyright
120 USD

Adobe Photoshop Copyright - Full App
120 USD

Adobe Premiere Pro Account
99 USD

MidJourney Account
29 USD
Tips for separating frequencies to editing skins on Photoshop for beginners
Nội dung
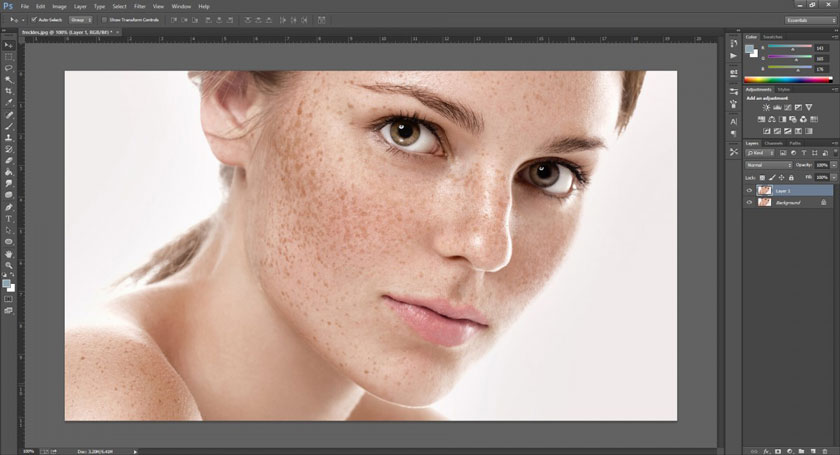
Taking advantage of the great power of quick frequency separation in Photoshop will help you edit portraits to become more professional, impressive. Getting smoother skin, removing defects, removing fluffy and beards with photoshop manipulations that separate the frequency are also very simple. Please refer to the article tips for separating frequencies to edit skins on Photoshop for beginners to understand more about this issue.
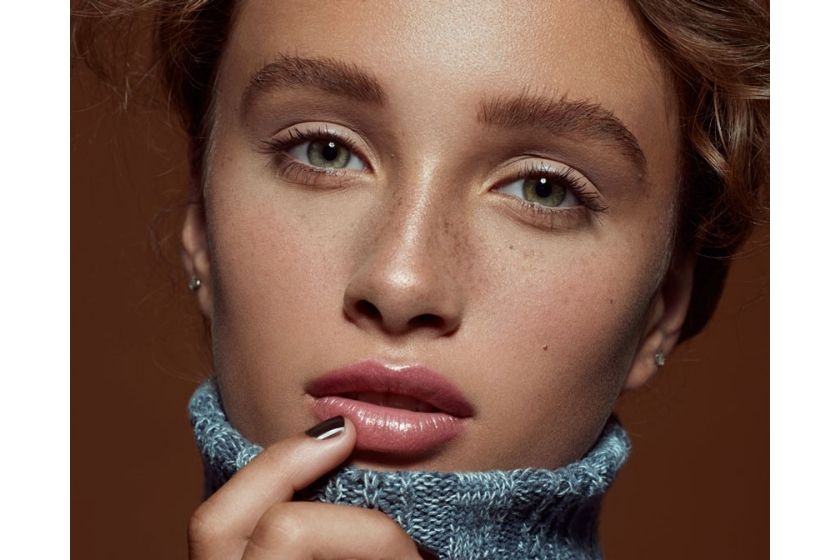
separating frequencies to edit skinsWhy edit the skin color of the photo?
Practicing photo editing skills will create perfection, which is especially true for the editor. It is important to practice different techniques for different applications so that you can start training your image editing skills. For those who are new to makeup, it may not be easy to notice distractions, uneven tones or rough skin textures. This can make it difficult to edit portraits.
 edit the skin color of the photo
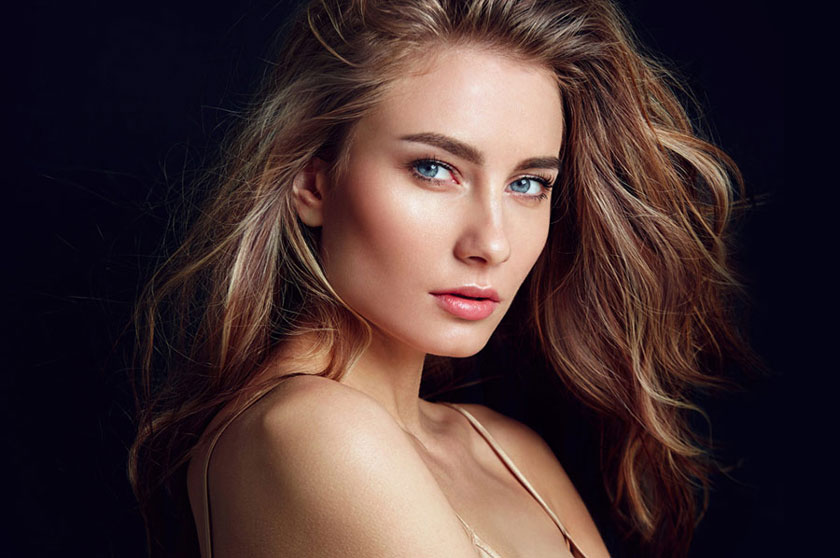
Skin retouching is one of the most challenging aspects of photoshop, as there's no need to use the magic button but with just one click and each photo is responsive to different editing standards. From there, the model in the picture will have the best skin color.
Skin color correction techniques in photos
To retouch skin in Photoshop two main techniques are used: avoid combustive burn, and frequency separation.
 Skin color correction techniques in photos
- Blurring and burning involves in lightening or darkening the pixels of an image, an old method like darkroom.
- Frequency separation includes dividing the image data of the image into different frequencies, usually a layer that is a "high frequency" layer, containing the fine details of the image such as skin texture, hair, eyelashes , ..... In addition, a "low frequency" layer contains the primary colors and tones. Some photo editors take even further distances and divide their image into more than two frequencies.
The second technique typically requires high precision and is rarely used because it is easy to misuse, blur the skin, or cause a significant loss of the texture and perceived quality of the edits, especially for those who are just starting to edit. A tool is only good when the artist is able to use it suitably and achieve quality results.
Skin Correction Frequency Separation
The following video tutorial by an image editing expert below is considered as a great starting point for those who want to see active frequency separation. For editing an image taken with sunlight like in the example image, or if you want to correct your skin to look gentle and “natural”, this video will guide to complete that. Reference video:
[embed]https://youtu.be/En60tErTNZ4[/embed]You will learn the steps to create layers for use in frequency separation, how to make skin texture look more even, and how to use the Healing Brush incorporating this technique.
For those of you already using the Beauty Dashboard, you have built-in shortcuts to create layers needed for frequency separation, making this method of skin retouching much more accessible. If you prefer to use a blank layer to adjust the color and tone between the High and Low Frequency layers, rather than add a copy of the background layer in your PSD stack.
Above are the sharing of frequency separation for skin retouching in Photoshop for beginners, SaDesign Retouching hopes to help you grasp the useful information. If you see a good article, don't forget to click the Like and Share buttons.
See more How to remove dark circles in Photoshop using the Patch tool and Curves


VIP Products


Best Selling Products
Upgrade Duolingo Super
29 USD
Freepik Premium Account
59 USD
Windows 10 & 11 Pro Key
36 USD
Genuine Cheap Canva Pro
39 USD
Genuine Adobe Illustrator account
99 USD
Copyright Adobe Lightroom Account
59 USD
Upgrade genuine Capture One account
120 USD
Capcut Pro 1 Year
39 USD
Upgrade Genuine Office 365
49 USD
ChatGPT Plus Account (GPT-4)
16 USD
Plugin Retouch4me
69 USD
Autodesk All App Account Copyright
120 USD
Adobe Photoshop Copyright - Full App
120 USD
Adobe Premiere Pro Account
99 USD
MidJourney Account
29 USD