Best Selling Products

ChatGPT Plus Account (GPT-4)
16 USD

Upgrade Genuine Office 365
49 USD

Plugin Retouch4me
69 USD

Windows 10 & 11 Pro Key
36 USD

Upgrade Duolingo Super
29 USD

Adobe Premiere Pro Account
99 USD

Adobe Photoshop Copyright - Full App
120 USD

Genuine Adobe Illustrator account
99 USD

Freepik Premium Account
59 USD

Genuine Cheap Canva Pro
39 USD

Capcut Pro 1 Year
39 USD

MidJourney Account
29 USD

Autodesk All App Account Copyright
120 USD

Upgrade genuine Capture One account
120 USD

Copyright Adobe Lightroom Account
59 USD
7 Basic Steps to Easily Blur Photos Professionally in Photoshop
Nội dung
Discover how to blur photos in Photoshop in 7 easy steps. A step-by-step guide to easily blur parts of your photos for artistic, professional effects.
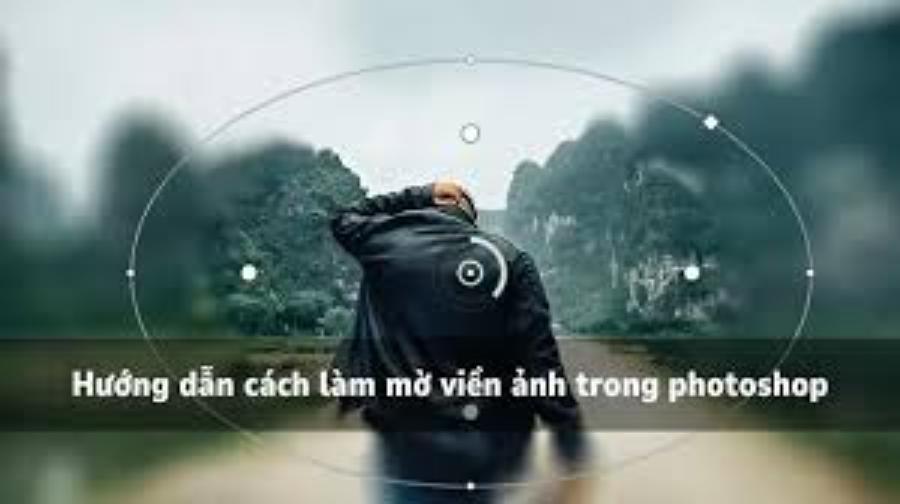
Blurring photos is a popular design technique in Photoshop, helping to create impressive effects and enhance the quality of images. Whether you want to blur the entire image or just a specific part, the steps are quite simple and easy to apply. In this article, we will guide you through 7 basic steps to blur photos in Photoshop, from using the Gaussian Blur tool to more professional techniques. You are sure to have beautiful and creative photos after practicing these steps.
1. Prepare the Image in Photoshop
To prepare your images effectively in Photoshop, you need to follow a few basic steps to ensure the quality and professionalism of your final product. First, check the resolution and size of your images to make sure they are suitable for their intended use, such as printing or posting online.
.jpg)
Next, use tools like Crop to crop the image to the desired proportions, and adjust the lighting, contrast, and color using features like Levels, Curves, or Color Balance. If you need to remove unwanted details, you can use the Spot Healing Brush or Clone Stamp tool. Finally, don't forget to save the image in the appropriate format and quality, ensuring that the file is optimized for your specific use. Careful image preparation in Photoshop will help you achieve professional and impressive results.
Notes When Choosing Photos:
Choose a photo with a high enough resolution so that the blur results are clear and smooth.
If you blur too much, you may lose detail in the photo, so be careful in choosing what to blur.
2. Create New Layer
To blur an image professionally in Photoshop, the second step you need to take is to create a new layer. This will allow you to work on a separate layer, ensuring that the original image is not affected and allowing you to easily edit or undo if necessary. To create a new layer, you can use the shortcut "Ctrl + J" (or "Cmd + J" on Mac) after selecting the original layer, or go to the "Layer" menu and select "Duplicate Layer". This is an important step to ensure that the editing process is done flexibly and efficiently.
3. Select the Blur Tool
Photoshop offers a variety of blur tools, but the most popular is Gaussian Blur . It is easy to use and highly effective. To use Gaussian Blur , follow these steps:
.jpg)
Select the layer you want to blur.
Go to the Filter menu at the top of the screen and select Blur > Gaussian Blur .
A window will appear with a slider that allows you to adjust the amount of blur. You can drag the slider to the right for more blur and to the left for less blur.
Choosing the right tool will not only give you more control over the amount of blur, but will also ensure that the overall quality of your photo is maintained. Be thoughtful and experiment to get the best results!
4. Adjust Blur Level
When the Gaussian Blur window opens, you will see a slider called Radius . This is the main tool for adjusting the amount of blur in your photo. The further to the right you drag the slider, the stronger the blur will be.
Blur Level Limit : If the blur is too strong, the image may become blurry and lose detail. Try adjusting from low to high to see the results.
Strong blur effect : For artistic effects, you can choose a high level of blur, but you need to check the result after each change.
5. Use Layer Mask to Select the Part to Blur
If you don't want to blur the entire image but only a specific part, you can use a Layer Mask to adjust the area you want to blur. Layer Masks allow you to flexibly control the level and range of blur, ensuring that important parts of the image remain clear. You can apply the Brush tool to paint black or white on the Layer Mask, thereby adjusting the visible or blurred area as desired. This is an important technique to help images become more sophisticated and professional, while also providing unlimited creativity in the editing process.
.jpg)
To do this, follow these steps:
Select the copy layer you created earlier.
Click the Layer Mask icon at the bottom of the Layers panel (the rectangle icon with a transparent circle).
Use the Brush Tool to paint over the part you want to keep or blur. Black will hide the part of the image, while white will reveal it.
6. Use Advanced Blur Tools
In addition to Gaussian Blur , Photoshop also offers a number of other advanced blur tools, such as Motion Blur and Lens Blur . These tools will create different blur effects, suitable for specific purposes.
.jpg)
Motion Blur : This is a tool that creates a motion blur effect, making your photo look like it is moving or moving at high speed.
Lens Blur : This tool simulates a blur effect similar to that seen when shooting with a camera lens. For photos with a shallow depth of field, this is ideal.
Both tools are accessible via the Filter > Blur menu , and you can adjust the amount of blur just as you would with Gaussian Blur . For best results, adjust the settings to suit each part of the image, making sure the blur effect doesn't detract from the overall balance. Mastering these tools will help you improve the quality of your work and bring out the professional look in every detail.
7. Save Image After Editing
Once you are satisfied with the blur effect, you can save your edited photo. This is the last but not least important step in editing and saving the photo you want. To save the photo, simply select File > Save As and choose the image format you want to save (JPEG, PNG, TIFF…). If you want to keep the edited file in Photoshop so you can continue working on it later, save it in PSD format.
You should choose a file format that is appropriate for your intended use, such as JPEG for online sharing or PNG for high quality and a transparent background. Be sure to double-check parameters like size, resolution, and quality before saving to ensure that the final product meets your needs. Saving your images carefully not only preserves your editing efforts, but also makes them easier to use later.
8. Conclusion
Blurring photos in Photoshop is an easy and useful technique that can help you create artistic effects, focus on a subject, or simply create a unique style. With these 7 simple steps, you can blur your photos quickly and effectively. From using the Gaussian Blur tool to advanced tools like Motion Blur or Lens Blur , each technique will bring interesting and unique effects.


VIP Products


Best Selling Products
ChatGPT Plus Account (GPT-4)
16 USD
Upgrade Genuine Office 365
49 USD
Plugin Retouch4me
69 USD
Windows 10 & 11 Pro Key
36 USD
Upgrade Duolingo Super
29 USD
Adobe Premiere Pro Account
99 USD
Adobe Photoshop Copyright - Full App
120 USD
Genuine Adobe Illustrator account
99 USD
Freepik Premium Account
59 USD
Genuine Cheap Canva Pro
39 USD
Capcut Pro 1 Year
39 USD
MidJourney Account
29 USD
Autodesk All App Account Copyright
120 USD
Upgrade genuine Capture One account
120 USD
Copyright Adobe Lightroom Account
59 USD