Best Selling Products

MidJourney Account
29 USD

Upgrade genuine Capture One account
120 USD

Copyright Adobe Lightroom Account
59 USD

Genuine Adobe Illustrator account
99 USD

Adobe Photoshop Copyright - Full App
120 USD

Freepik Premium Account
59 USD

Adobe Premiere Pro Account
99 USD

Autodesk All App Account Copyright
120 USD

Windows 10 & 11 Pro Key
36 USD

Genuine Cheap Canva Pro
39 USD

Upgrade Duolingo Super
29 USD

ChatGPT Plus Account (GPT-4)
16 USD

Capcut Pro 1 Year
39 USD

Plugin Retouch4me
69 USD

Upgrade Genuine Office 365
49 USD
Create Color Grid Effects For Images | SaDesign
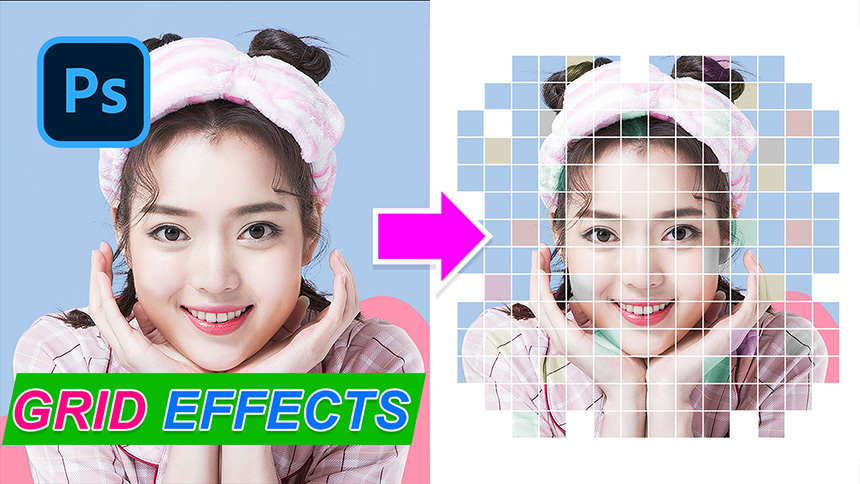
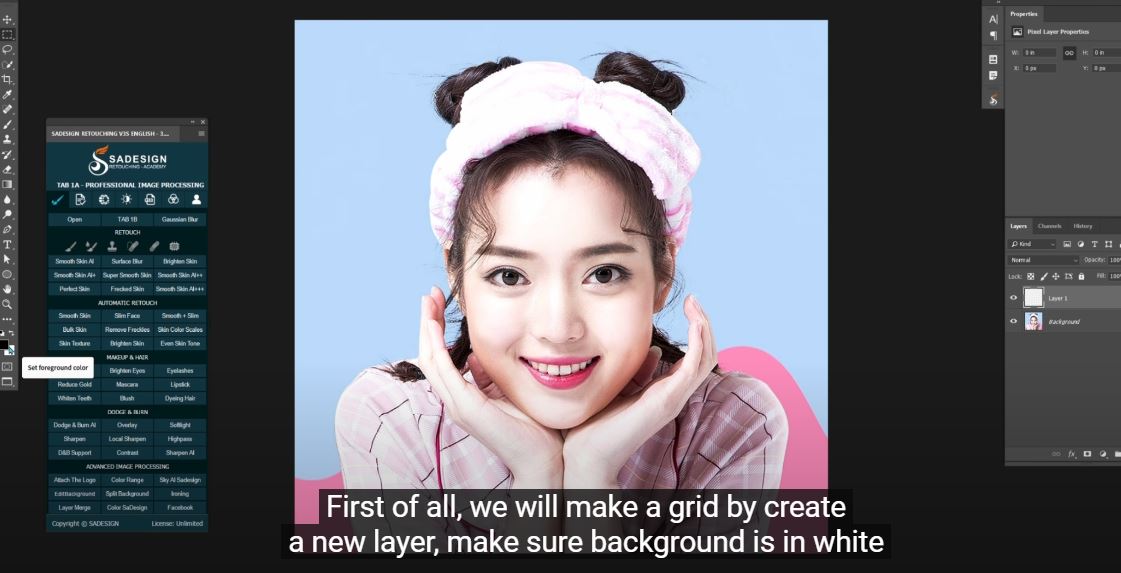
Hi everyone, today I’ll show you how to create colorful grid effect in Photoshop. Let’s jump right into it!
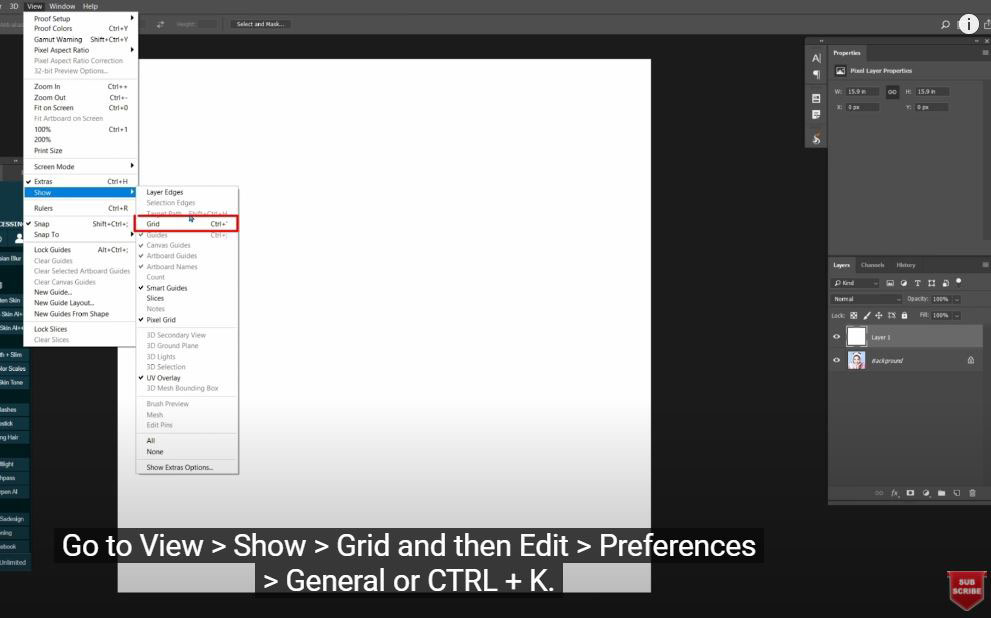
First of all, we will make a grid by create a new layer, make sure background is in white and press CTRL or CMD + Delete to turn the new layer in white background. Go to View > Show > Grid and then Edit > Preferences > General or CTRL + K. The box of Preferences appears, choose Guides, Grid & Slices tab. In Grid box, choose the Gridline every 100 pixels with subdivisions about 1.
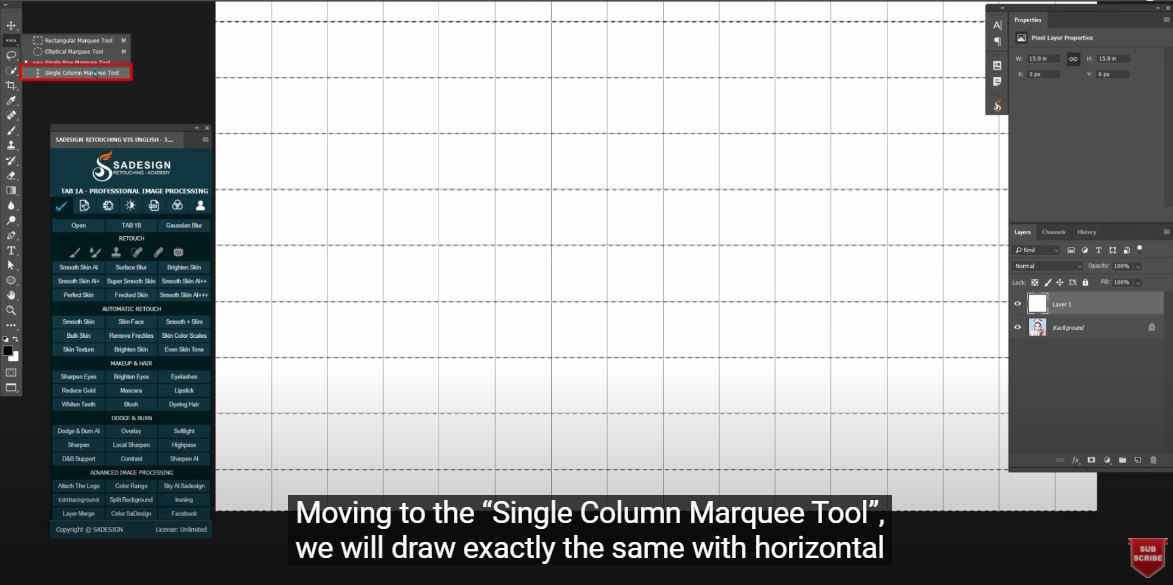
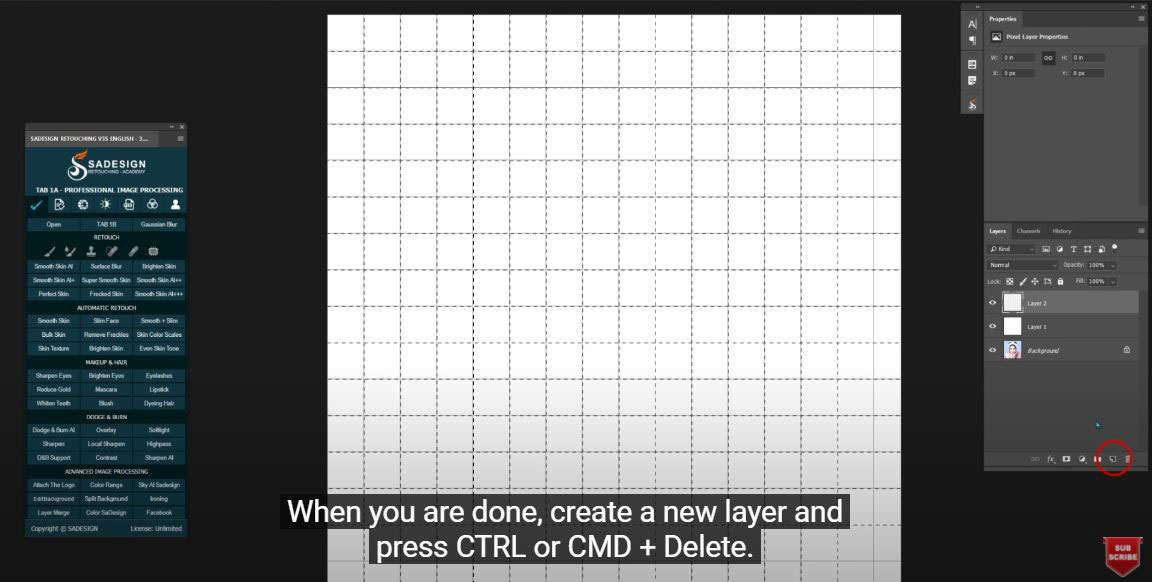
Next, choose “Single Row Marquee Tool” and go to View > Snap to > Grid. Draw the first horizontal line that match to the grid and hold Shift for the next other horizontal lines until all the line are matched. Moving to the “Single Column Marquee Tool”, we will draw exactly the same with horizontal but now it will be vertical. When you are done, create a new layer and press CTRL or CMD + Delete. Then, turn off layer 1, background. Now you can see the grid. Delete the layer 1 and turn back on the background.
Next step, we will delete the first outline of grid just like to make the border of photo. Use “Rectangular marquee tool” with M shortcut and since we already turn on snap tool, rectangular marquee tool automatically snaps on the outside border of grid when we draw. Hold SHIFT + click and drag to add another one until 4 edges of photo are selected. Create new layer and press CTRL or CMD + Delete to fill these border selections with white.
I’ll remove some small squares of each corner of photo to make it unique. Just using “Rectangular Marquee Tool” click and drag to the square that you want to remove. Hold SHIFT to add more squares. When you are done, just fill them all with white by CTRL or CMD + Delete. Repeat these steps until the photo just like you wanted.
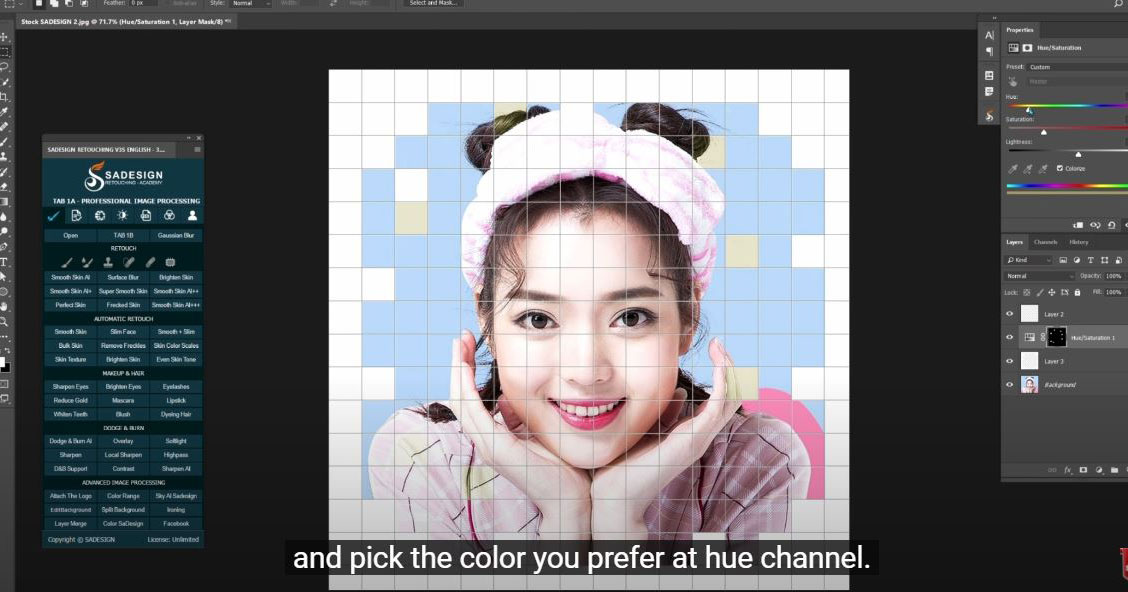
If you want to fill the selection with another color, when you are done with the selection, right click to the adjustment icon and choose “Hue/Saturation”, check the colorize box and pick the color you prefer at hue channel.
Repeat these steps again for another color you want to apply.
You can turn it to black & white with “Black & White” in adjustment.
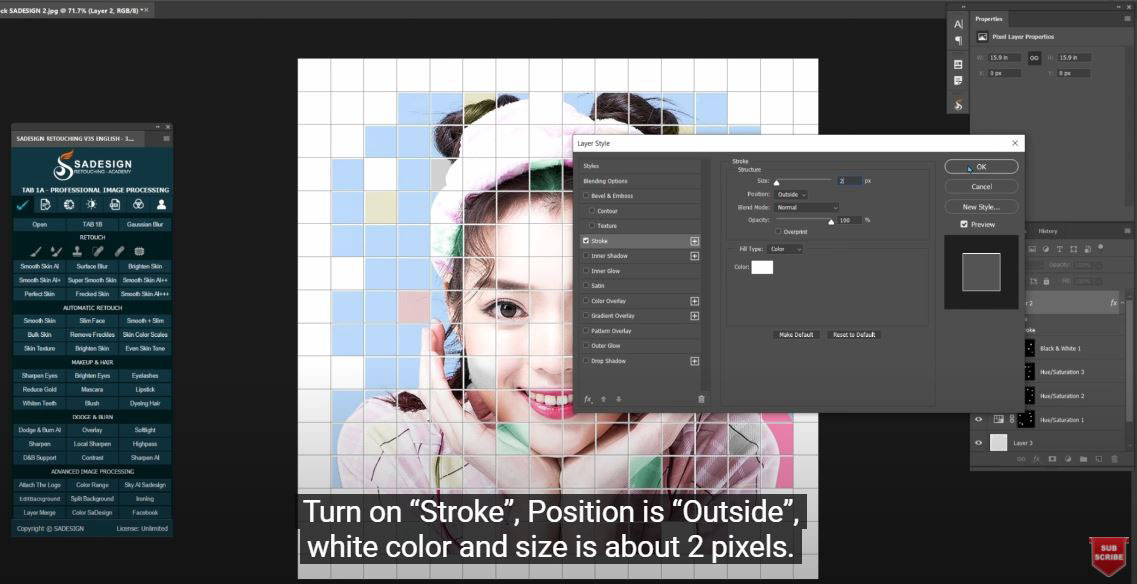
Choose Layer 2 and go to blending option. Turn on “Stroke”, Position is “Outside”, white color and size is about 2 pixels.

Finally, turn off grid by going to View > Show > Grid. That’s all for this tutorial, hope that you guys loving it.
REGISTER FOR FREE PHOTOSHOP LEARNING
============================
The most powerful Retouch tool processor
? DOWNLOADS Practical pictures: https://drive.google.com/file/d/1JB67jseyjnvrI27uxF0HxHmocZBMdSDr/view
REGISTER FOR FREE PHOTOSHOP LEARNING


VIP Products


Best Selling Products
MidJourney Account
29 USD
Upgrade genuine Capture One account
120 USD
Copyright Adobe Lightroom Account
59 USD
Genuine Adobe Illustrator account
99 USD
Adobe Photoshop Copyright - Full App
120 USD
Freepik Premium Account
59 USD
Adobe Premiere Pro Account
99 USD
Autodesk All App Account Copyright
120 USD
Windows 10 & 11 Pro Key
36 USD
Genuine Cheap Canva Pro
39 USD
Upgrade Duolingo Super
29 USD
ChatGPT Plus Account (GPT-4)
16 USD
Capcut Pro 1 Year
39 USD
Plugin Retouch4me
69 USD
Upgrade Genuine Office 365
49 USD