Best Selling Products

Upgrade genuine Capture One account
120 USD

Freepik Premium Account
59 USD

Adobe Premiere Pro Account
99 USD

Upgrade Genuine Office 365
49 USD

Genuine Adobe Illustrator account
99 USD

Genuine Cheap Canva Pro
39 USD

Windows 10 & 11 Pro Key
36 USD

Autodesk All App Account Copyright
120 USD

Copyright Adobe Lightroom Account
59 USD

Capcut Pro 1 Year
39 USD

MidJourney Account
29 USD

Plugin Retouch4me
69 USD

Adobe Photoshop Copyright - Full App
120 USD

ChatGPT Plus Account (GPT-4)
16 USD

Upgrade Duolingo Super
29 USD
Discover 8 Nikon camera adjustment tips to help you capture every moment
Nội dung
Once you have mastered these basic skills, you can confidently step out and experiment in a variety of settings, from portraits, landscapes, events to everyday moments. Remember, photography is not just a technique, it is an art.
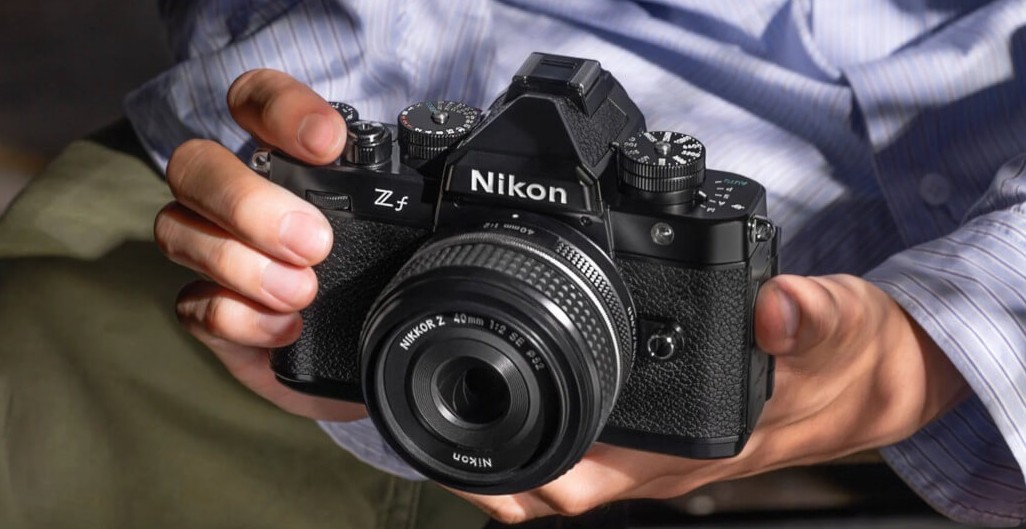
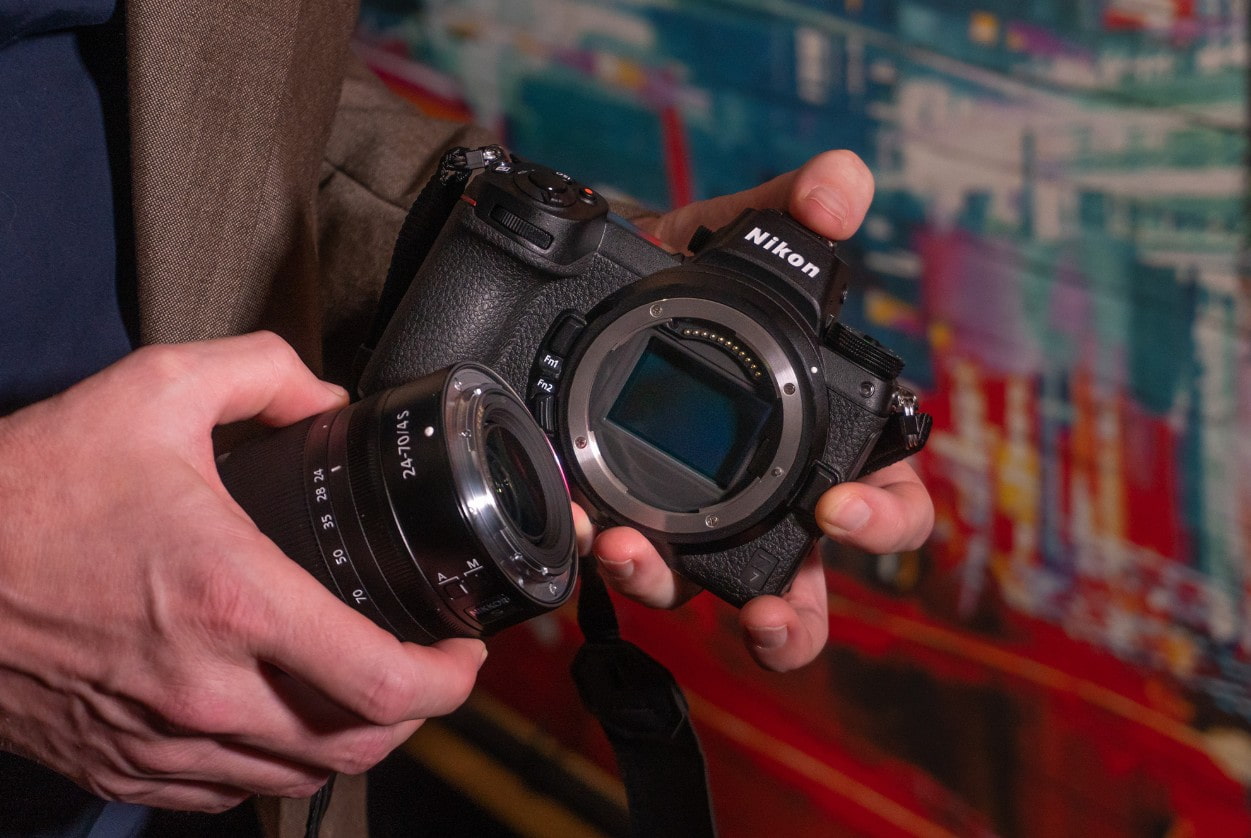
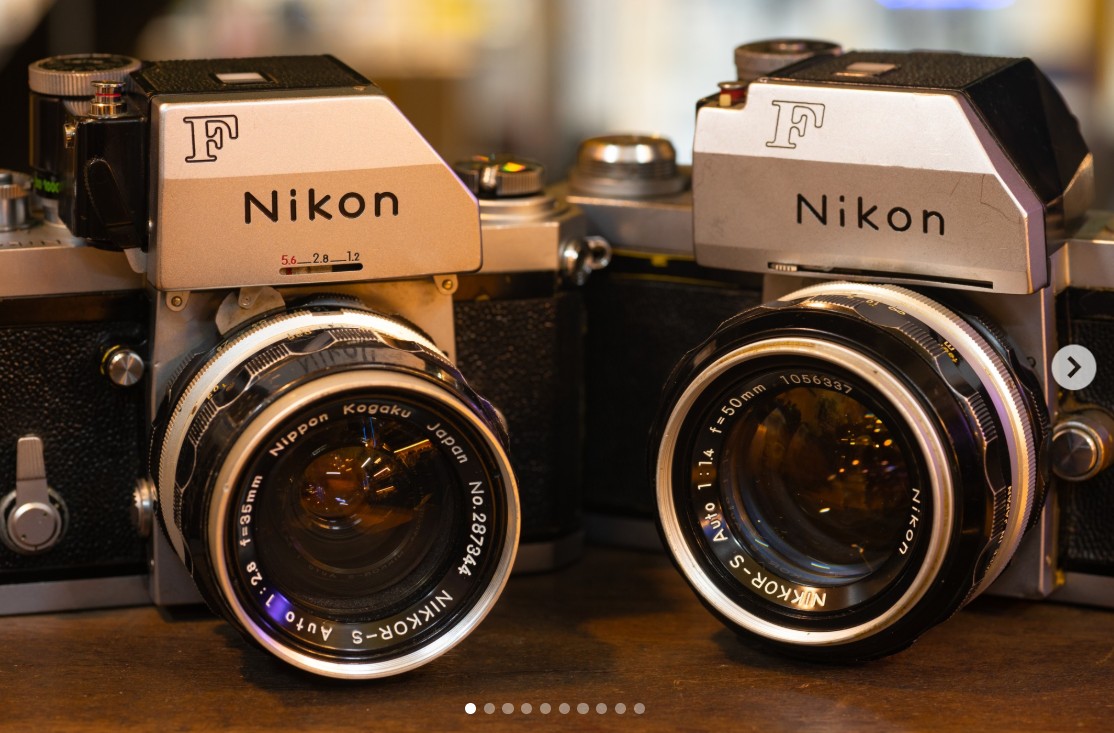
Nikon cameras have long been considered the top choice of many photographers, from beginners to experienced professionals. The reason is that Nikon always brings a great balance between image quality, durability of equipment and unlimited creativity. With a diverse line of DSLR and Mirrorless, Nikon has built a large and long-term user community.
However, even if you own a high-end camera, not everyone can take full advantage of its potential. In fact, many people still have difficulty focusing, controlling light, limiting blur or processing colors. This not only reduces the quality of the photo but also makes the photography experience less complete. This article will guide you in detail on 8 ways to adjust your Nikon camera to take beautiful, sharp photos . If you are wondering how to optimize your device, let's explore step by step with SaDesign to master your Nikon camera.
1. Set up Focus Lock
One of the things that confuses many Nikon newbies is focusing. Sometimes you want your subject to be at the edge of the frame instead of the center, but the camera defaults to focusing on the center. This is where Focus Lock comes in handy.
Focus Lock locks the focus point on your desired subject, even if you change the composition later. This allows you to get creative with the rule of thirds or create striking asymmetrical compositions without worrying about losing focus.
Focus Lock is very simple to use. Just switch your camera to AF-S (Auto Focus – Single) mode , place your subject in the center of the frame, and press the shutter halfway to focus. Then, keep your finger halfway down the shutter button while moving the frame to the desired composition. When you are satisfied, press the shutter all the way to take the photo.
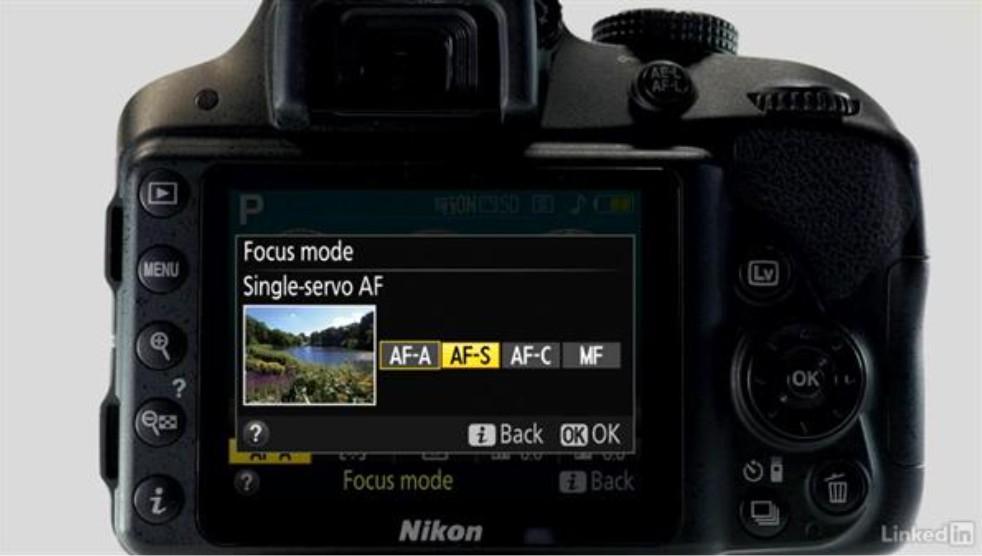
For example, when shooting a portrait, you can lock focus on the subject’s eyes, then shift the frame to create a dramatic composition with the background. This way, the photo is sharp on important details while still maintaining a high aesthetic.
2. Set up Focus Tracking
There’s nothing more challenging than capturing a fast-moving object. If you’ve ever tried to capture a bird in flight or a player on the field, you’ve probably encountered blurry or out-of-focus images. Nikon solves this problem with Focus Tracking .
When AF-C (Continuous Auto Focus) is enabled , the camera will continuously adjust its focus according to the subject in the frame. This means that as long as you hold the shutter release halfway, the camera will “track” and continuously focus on the subject, even if it is moving towards or away from you.
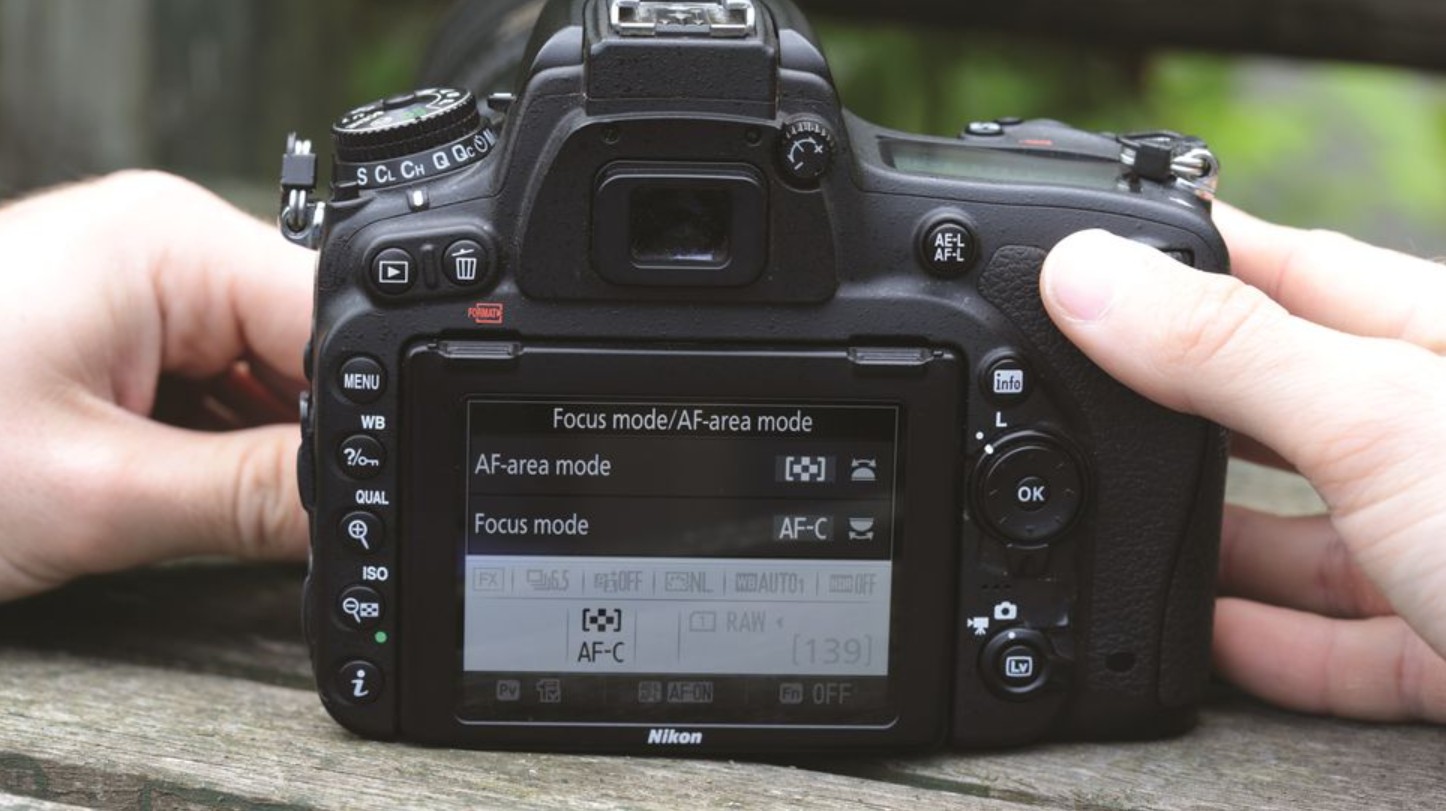
For best results, combine Focus Tracking with continuous shooting. This is especially useful for sports, wildlife, or street photography. A continuous series of shots will help you choose the best moment, instead of just one opportunity.
The key to using Focus Tracking is to keep the frame steady. If you let the camera slide to another object, the system may misfocus. Therefore, practicing the ability to follow the subject with your eyes and hands is essential to get the most out of this feature.
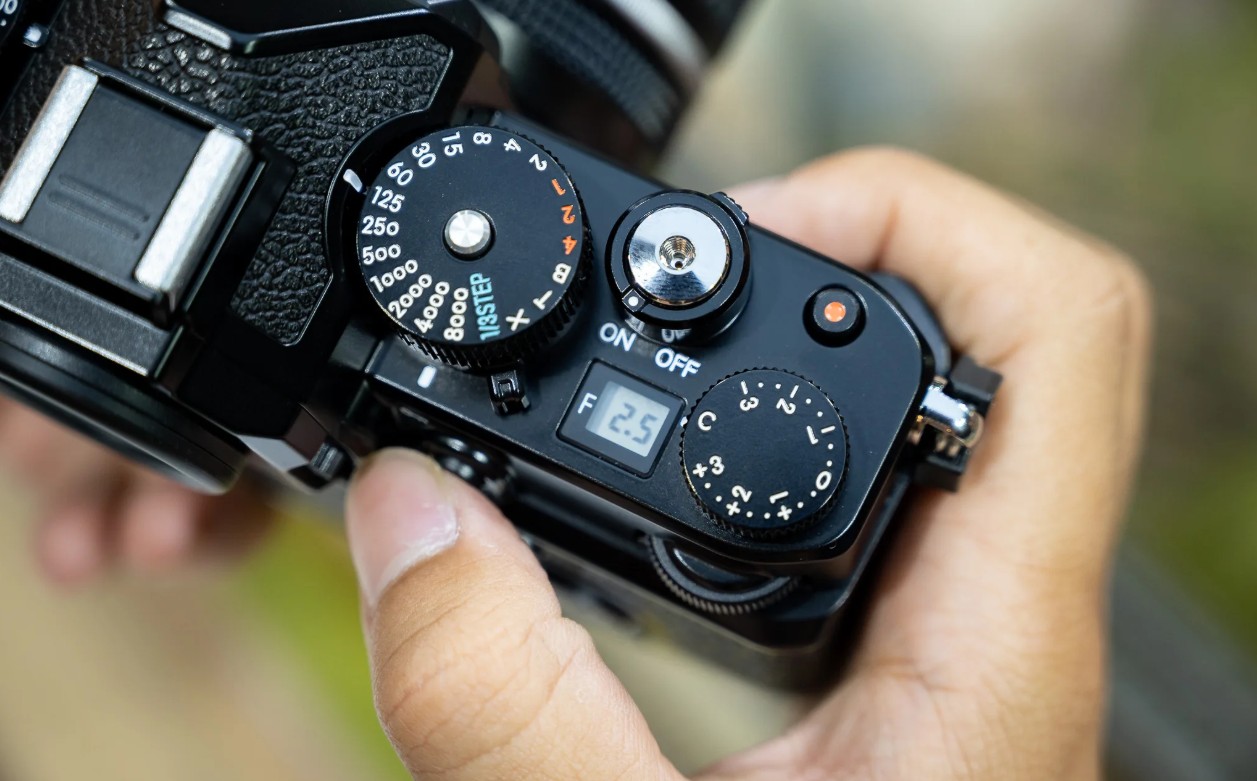
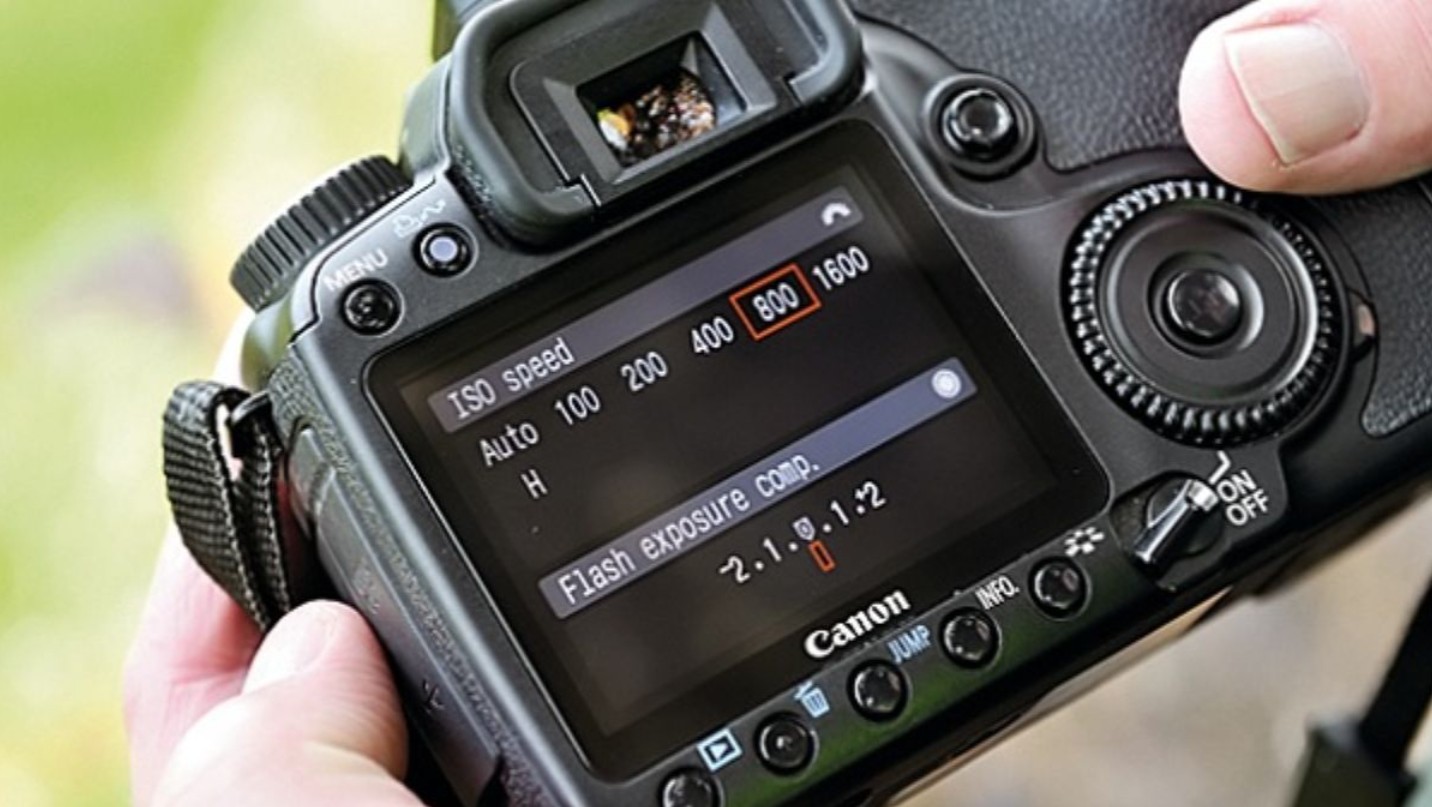
3. Control camera exposure
Exposure is a key factor in photography. A photo that is too bright will lose detail in the highlights, while one that is too dark will make the shadows look flat and hard to see. Nikon offers a variety of modes to control exposure, from Manual (M) , Aperture Priority (A) , Shutter Priority (S) to Program (P) .
Simply put, exposure is a combination of three factors: aperture, shutter speed, and ISO. By adjusting them properly, you can convey the mood and emotion of the photo. For example, a portrait shot in window light can be romantic if exposed softly, while a sunset scene needs to be exposed correctly to retain the rich color range.
Nikon supports users with the Exposure Compensation (+/-) button , allowing for quick compensation. When the image is a bit dark, you can increase the exposure compensation by +0.3 or +0.7 EV. Conversely, if the image is too bright, reducing it to -0.3 EV will help balance it. This is a useful tool for you to control the light without having to change all the complicated settings.
4. Display Histogram
Many professional photographers don't just look at the LCD screen to evaluate photos, because ambient light can trick the eye. Instead, they use the Histogram : a graph that shows the distribution of light in the photo.
The histogram displays from blacks on the left to whites on the right. If the histogram is too far to the left, the photo is likely underexposed. If it is too far to the right, the photo is likely overexposed. Ideally, the histogram should be evenly distributed, not too far to one side.
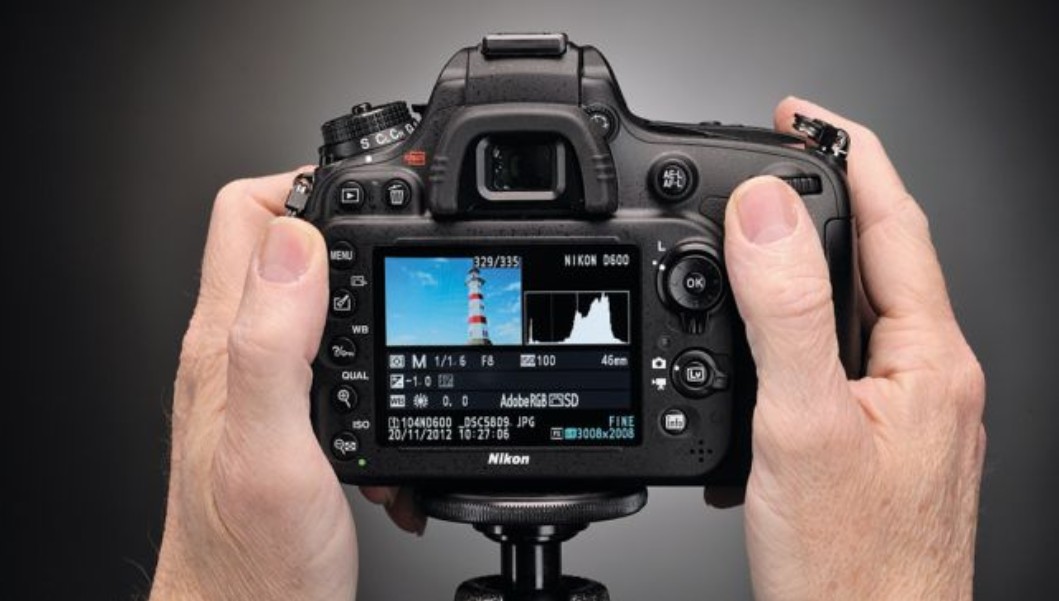
On Nikon cameras, you can view the Histogram by pressing the Play button after taking a shot and navigating with the arrows. This is an extremely useful tool for ensuring that your photos are properly exposed, especially when shooting landscapes, architecture, or other high-contrast scenes.
Reading the Histogram helps you not miss valuable details. For example, when taking a photo of a blue sky with a field of flowers, the Histogram will show you whether the sky is overexposed or not, so you can make timely adjustments.
5. Burst Mode Settings
Beautiful moments in photography often pass very quickly. To not miss them, Nikon equipped Burst Mode (continuous shooting). When this mode is turned on, just hold the shutter, the camera will record many consecutive frames in a split second.
This is perfect for capturing fast-moving action like sports, events, or animals. For example, you can capture every frame of a soccer kick, a high jump, or a cat pouncing on its prey.
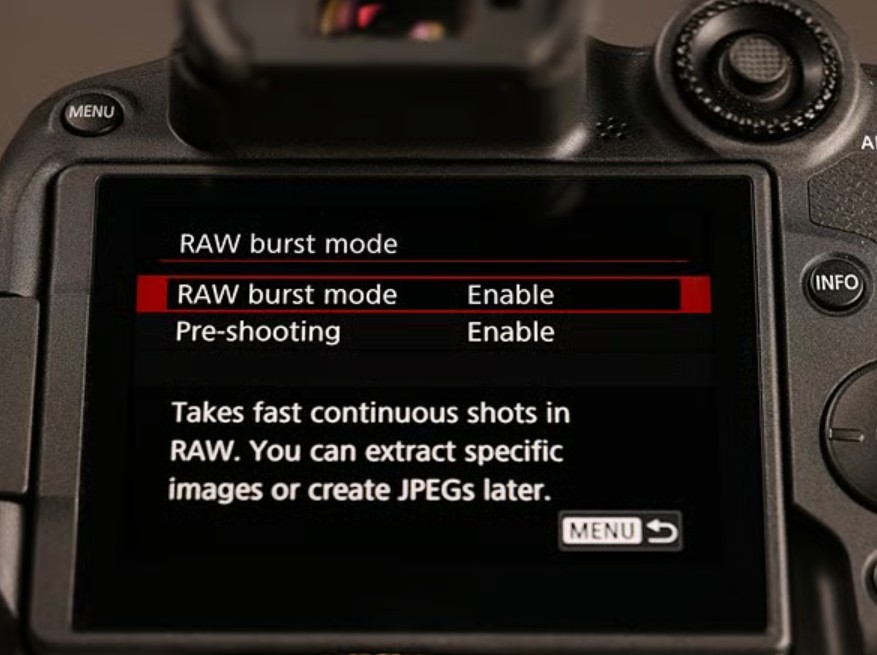
It’s important to keep your memory card and battery in check when using Burst Mode, as continuous shooting can quickly fill up your buffer. Nikon allows you to choose the appropriate burst shooting speed, from 3 to 10 frames per second depending on the camera model. Practice to find the speed that best suits your needs.
6. Reduce vibration
One of the most common causes of blurry photos is camera shake. This happens especially when shooting at slow shutter speeds or when using long telephoto lenses. Nikon incorporates VR (Vibration Reduction) technology to help reduce this.
VR works by compensating for small movements of your hand, resulting in sharper images even with slow shutter speeds. However, in low light conditions, you should still use a tripod for best results.
For example, when shooting night scenes at 1/30 second, turning on VR will help reduce blur. But if you want to expose for longer, say 10 seconds, a tripod is almost a must. A clever combination of anti-shake and accessories will help you improve the quality of your photos significantly.
7. Control and adjust color tones
Every photographer wants to add a personal touch to their work. Nikon caters to this with its Picture Control system , which allows for in-camera color adjustments.
You can choose Standard for neutral colors, Vivid for highlights, Portrait for soft skin tones, or Monochrome for a classic black-and-white look. Picture Controls also let you tweak contrast, saturation, and sharpness.
For example, when shooting landscapes, Vivid mode will make the sky and trees more vibrant. Conversely, when shooting portraits, you should choose Portrait for natural and soft skin tones. This is a tool that helps you save time in post-production while still maintaining creativity.
8. Adjust the aperture
Aperture is one of the most important factors in the exposure triangle. It not only controls the amount of light entering the camera, but also directly affects the depth of field .
When using a large aperture (f/1.8, f/2.8), the background will be blurred and the subject will be separated. On the contrary, a small aperture (f/11, f/16) will help the entire scene to be clear, suitable for landscape or architectural photography.
For example, a flower shot shot with an aperture of f/2.8 will create a beautiful bokeh effect behind the flower, making it stand out. Meanwhile, a large mountain scene will need f/11 to keep the foreground and horizon in focus.
The 8 ways to adjust Nikon cameras shared in the article not only help you fix common errors but also open the door to wider creativity. Once you have mastered these basic skills, you can confidently step out and experiment in many different contexts, from portraits, landscapes, events to everyday moments. Remember, photography is not only about technique but also about art. The camera is just a tool, but your eyes and emotions are the deciding factors in creating valuable works. Nikon has equipped you with advanced technology, but how you apply them is what makes the difference.


VIP Products


Best Selling Products
Upgrade genuine Capture One account
120 USD
Freepik Premium Account
59 USD
Adobe Premiere Pro Account
99 USD
Upgrade Genuine Office 365
49 USD
Genuine Adobe Illustrator account
99 USD
Genuine Cheap Canva Pro
39 USD
Windows 10 & 11 Pro Key
36 USD
Autodesk All App Account Copyright
120 USD
Copyright Adobe Lightroom Account
59 USD
Capcut Pro 1 Year
39 USD
MidJourney Account
29 USD
Plugin Retouch4me
69 USD
Adobe Photoshop Copyright - Full App
120 USD
ChatGPT Plus Account (GPT-4)
16 USD
Upgrade Duolingo Super
29 USD