Best Selling Products
Information from A-Z about Smart Objects in Photoshop for beginners
Nội dung
- 1. Introduction to Smart Objects in Photoshop
- 2. Benefits of Smart Objects in Photoshop
- 3. How to turn a Layer into a Smart Object and vice versa
- 3.1. Convert a Layer into a Smart Object
- 3.2. Turn Smart Object back into a regular Layer
- 4. Applications of Smart Objects in Photoshop
- 4.1. Easily change images without losing quality
- 4.2. Applying non-destructive filters
- 4.3. Integrating Illustrator files
- 4.4. Managing multiple objects in the same file
- 4.5. Using Smart Objects in mockups
- 5. Common problems with Smart Objects in Photoshop
- 6. Advantages of Smart Objects in Photoshop
- 6.1. Non-destructive editing capabilities
- 6.2. Flexibility in change and reuse
- 6.3. Feature of linking to external files
- 6.4. Create effects and filters without affecting the original
- Conclude
Detailed information about Smart Objects in Photoshop - a useful feature that helps beginners easily edit images without worrying about losing quality will be updated in the following article.
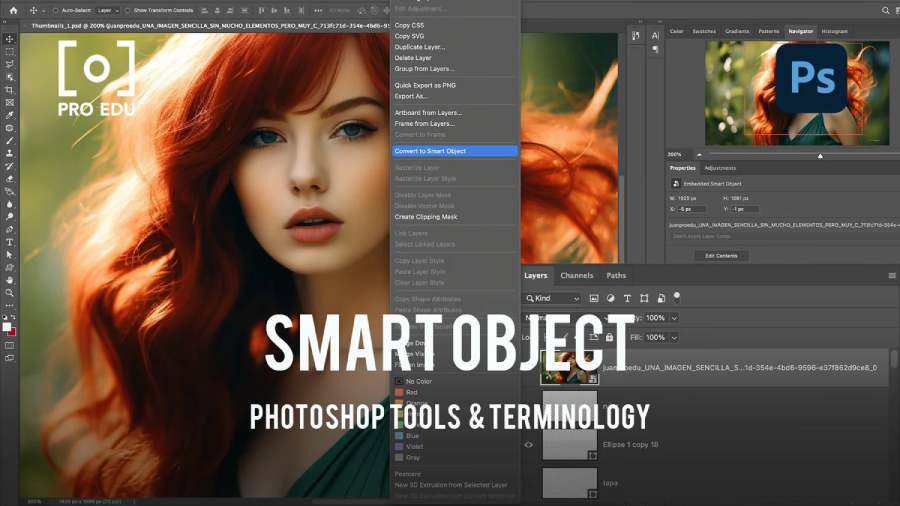
Photoshop is always the leading graphic design software, with countless powerful tools to support designers in creating impressive images. One of the important and very useful features in Photoshop that beginners need to grasp is Smart Object . This feature helps you edit images flexibly without affecting the quality of the original. The following article by Sadesign will help you understand what Smart Object is, how to use it and the great applications that this feature brings to graphic design work.
1. Introduction to Smart Objects in Photoshop
Smart Objects are an incredibly powerful feature in Photoshop that allows you to manage graphic elements with ease and flexibility. A Smart Object is a special layer in which you can retain information about an original image or vector object without losing quality when editing.
When you work with a Smart Object, Photoshop preserves the original quality of the image or object inside. This means you can resize, apply filters, or otherwise modify the image without losing its original quality, because Photoshop doesn't directly modify the pixels of the original image, it just creates a link to it.
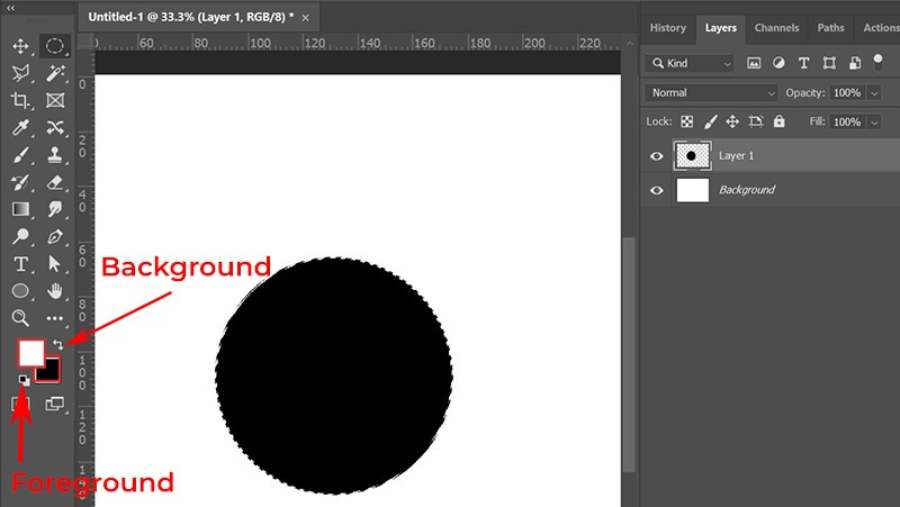
Smart Objects can contain many different types of objects, from raster (bitmap) images to vector graphics, and even Adobe Illustrator files. You can even work with Smart Objects that contain multiple layers or multiple files without worrying about losing quality during editing.
2. Benefits of Smart Objects in Photoshop
When editing photos, the ability to maintain high image quality without losing sharpness or detail is an important factor for every designer. Smart Object in Photoshop is the optimal solution for this. With this feature, users can make changes flexibly without affecting the original image. Whether it is deforming, resizing or applying filters, Smart Object makes editing easy and without worrying about losing the original quality. In addition, managing complex objects in large projects is also simpler and more efficient than ever. Here are the benefits that Smart Object brings.
- Preserve image quality: When you use Smart Objects, enlarging, shrinking, or resizing an image won't reduce the resolution, which helps preserve the original quality of the image.
- Easy non-destructive editing: Instead of manipulating the image's pixels directly, you can apply filters without changing the image's original information.
- Working with vector files: Smart Object supports vector files, allowing you to edit them without worrying about losing quality when resizing.
3. How to turn a Layer into a Smart Object and vice versa
3.1. Convert a Layer into a Smart Object
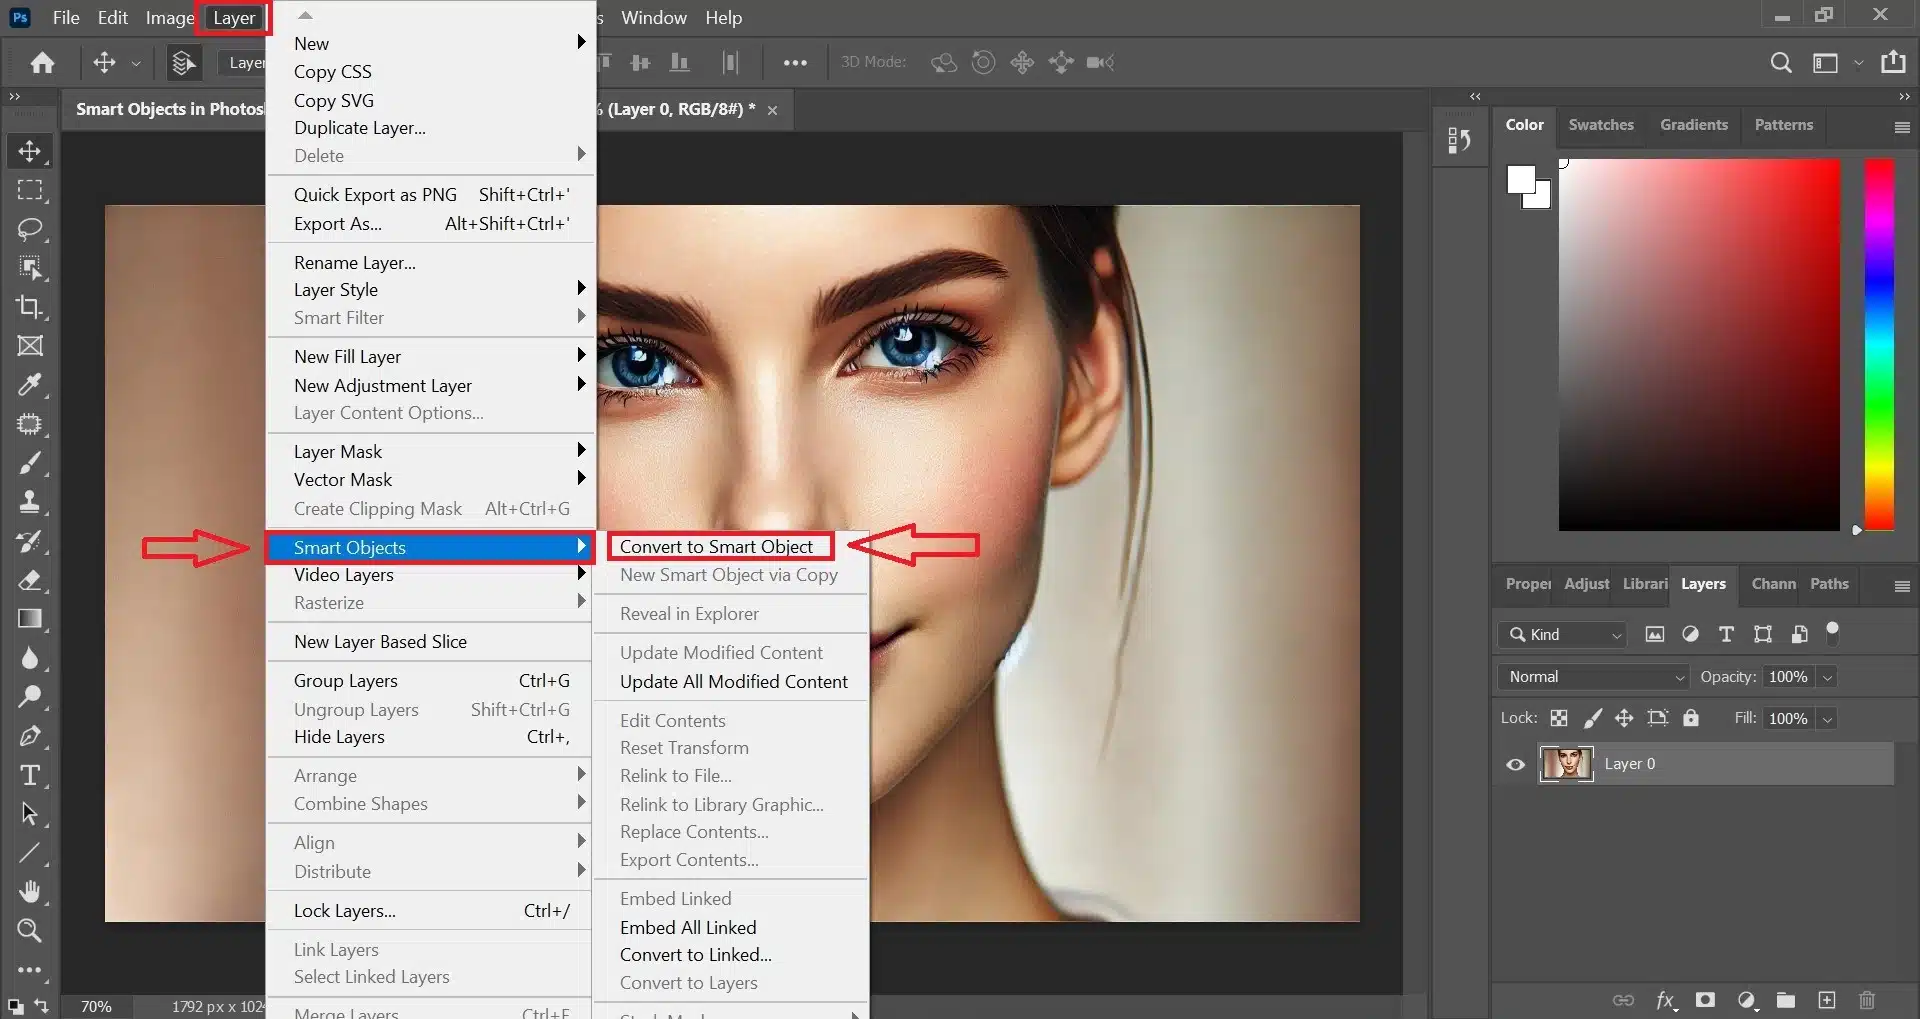
Converting a layer to a Smart Object in Photoshop is very simple. Just follow the steps below:
- Select the layer to convert : Open your Photoshop file and select the layer you want to turn into a Smart Object in the Layers panel.
- Convert to Smart Object : Right-click on the layer and select "Convert to Smart Object" .
- Confirm the conversion process : After performing the above step, you will see a small square icon in the lower right corner of the layer. This is a sign that the layer has been successfully converted to a Smart Object.
3.2. Turn Smart Object back into a regular Layer
If you want to convert a Smart Object back to a normal layer, the process is also quite simple:
- Select Smart Object : Select the Smart Object you want to re-convert in the Layers panel.
- Convert back to a regular layer : Right-click on the Smart Object and select "Rasterize Layer" . This will remove all editing capabilities via the Smart Object and turn the layer into a regular image.
Note that when you rasterize a Smart Object, you won't be able to change properties like filters or effects that you've previously applied, so be sure you want to do this before converting.
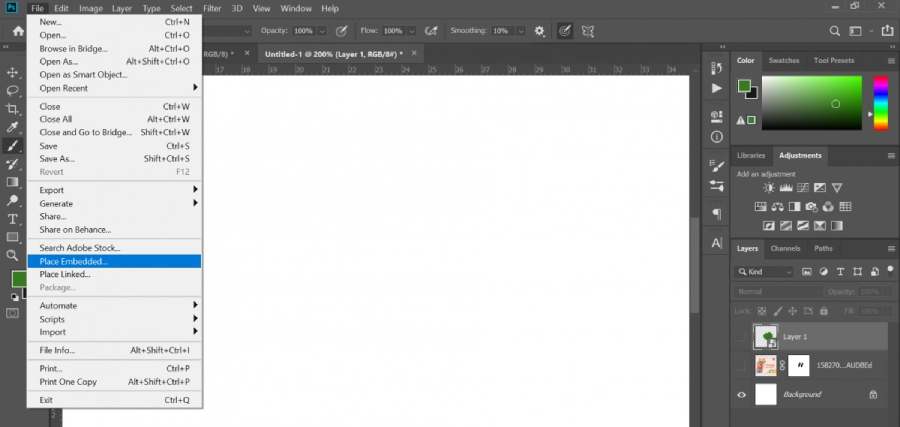
4. Applications of Smart Objects in Photoshop
Smart Object brings many benefits and applications in graphic design work. Below are some outstanding applications that you can refer to when using this feature:
4.1. Easily change images without losing quality
One of the most important uses of Smart Objects is the ability to resize images without losing their original quality. If you have a photo or vector object that needs to be resized multiple times during the design process, using Smart Objects will help you ensure that the image quality is not degraded.
4.2. Applying non-destructive filters
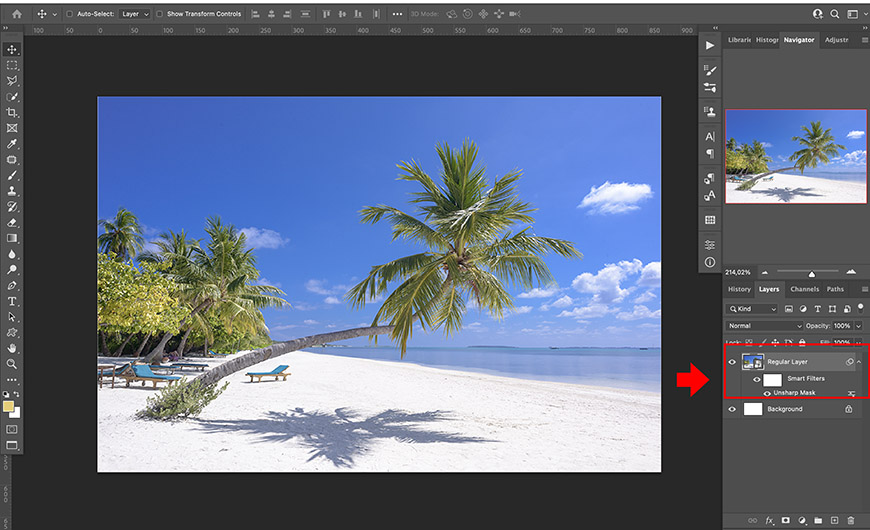
When working with filters in Photoshop, if you apply them directly to a layer, it can be difficult to edit them later. However, when you use a Smart Object, the filter becomes a non-destructive effect layer. You can easily edit or remove the filter at any time without affecting the original image.
For example, if you apply a Gaussian Blur filter to a regular layer, you won't be able to adjust the strength of the filter after it's been applied. But if it's a Smart Object, you can change the strength, or even remove the filter altogether.

4.3. Integrating Illustrator files
One of the strengths of Smart Object is the ability to integrate vector files from Adobe Illustrator without losing quality. This makes it easy to use logos, vector graphics, or any design element from Illustrator without worrying about resolution when converting to Photoshop.
4.4. Managing multiple objects in the same file
When working on complex projects, you can use Smart Objects to combine multiple layers into a single object. This not only saves space, but also makes it easier to manage design elements without losing the ability to edit individual components.
4.5. Using Smart Objects in mockups
Smart Objects are a great tool when you are creating mockups, especially in packaging or advertising design. You simply replace the image inside the Smart Object and it will automatically update all the related elements without changing the original layout.
5. Common problems with Smart Objects in Photoshop
When using Smart Objects in Photoshop, users may encounter some common problems. Below are situations that often appear, especially for those who are new to this feature.
- Cannot edit the original object directly : One of the characteristics of Smart Object is that it protects the original object from direct changes. This sometimes makes it difficult for users to make quick edits without reopening the original document.
- Large file size : Another issue is that Smart Objects can increase the size of files, especially when containing high-resolution images or objects. This can affect Photoshop's performance and processing speed.
- Display errors or loss of quality when opening files on other software : If you share a file containing a Smart Object with others or open it on another editing software, sometimes the image quality may be degraded or some features may not be supported.
- Difficulty in managing multiple Smart Objects : When working with multiple Smart Objects in the same project, tracking and managing layers can become confusing, especially when they are hidden or have different versions.
- Problems with image scaling : If you resize a Smart Object without maintaining the aspect ratio, the image may appear blurry or distorted, causing a decrease in image quality.
6. Advantages of Smart Objects in Photoshop
Smart Object in Photoshop is a powerful feature that helps users optimize their workflow and improve the quality of their design work. With the ability to not destroy the original and the flexibility to change, Smart Object has become an indispensable tool in creative work. Below are the outstanding advantages that Smart Object brings to users.
6.1. Non-destructive editing capabilities
One of the biggest advantages of Smart Objects is the ability to edit non-destructively. When you use a Smart Object, you don’t change the original image, but instead create a layer that contains the object’s information and properties. This means that any editing, resizing, rotating, cropping, or color changes only affect the copy of the object, without damaging or distorting the original data.
When editing a Smart Object, you can always go back and make changes without losing the original image quality. This is especially useful when working on large projects or images that need to be edited repeatedly while maintaining the original quality.
6.2. Flexibility in change and reuse
Smart Objects not only help you preserve the original image, but also increase the ability to reuse assets. Once an object has been converted to a Smart Object, you can change its properties, such as color, size, or shape, without changing the original object. This is useful when you want to experiment with styles or change your design without starting from scratch.
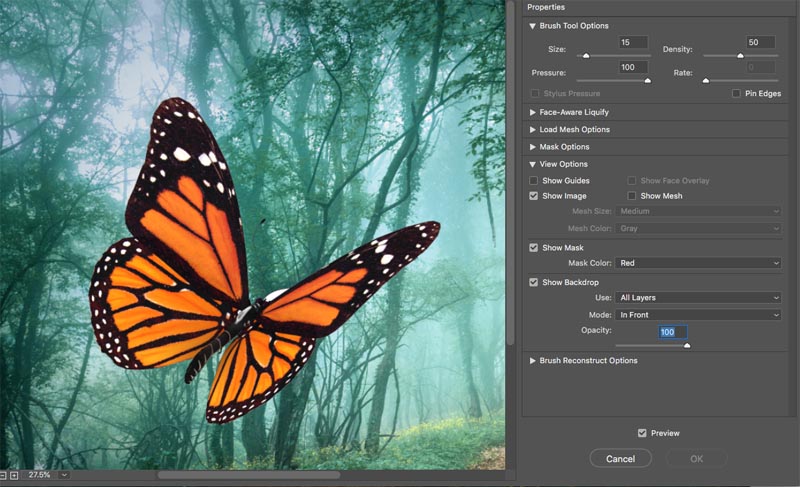
Plus, you can use Smart Objects in multiple projects without having to recreate the object from scratch. If you have a design template and want to reuse it for other products, using Smart Objects allows you to simply change the content inside the object without affecting other places where you've used it.
6.3. Feature of linking to external files
Another strength of Smart Objects in Photoshop is the ability to link to external files. Instead of embedding a file directly into your Photoshop project, you can create links to other files, such as images from external documents or folders. This reduces the size of your Photoshop file and makes it easier to manage your assets as you work.
If external files are updated or changed, you can simply update the link in Photoshop without having to manually change each object. This saves time and increases flexibility in your workflow.
6.4. Create effects and filters without affecting the original
Another great feature of Smart Objects is the ability to apply effects and filters without affecting the original image. Once you apply a filter or effect to a Smart Object, you can change or turn off those effects at any time without damaging the original image.
This creates a greater room for experimentation in design, as you can apply different effects like Blur, Sharpen, Noise, or artistic filters while preserving the original image. Furthermore, you can re-edit these filters after they have been applied, creating a flexible and easily adjustable workflow throughout the design process.
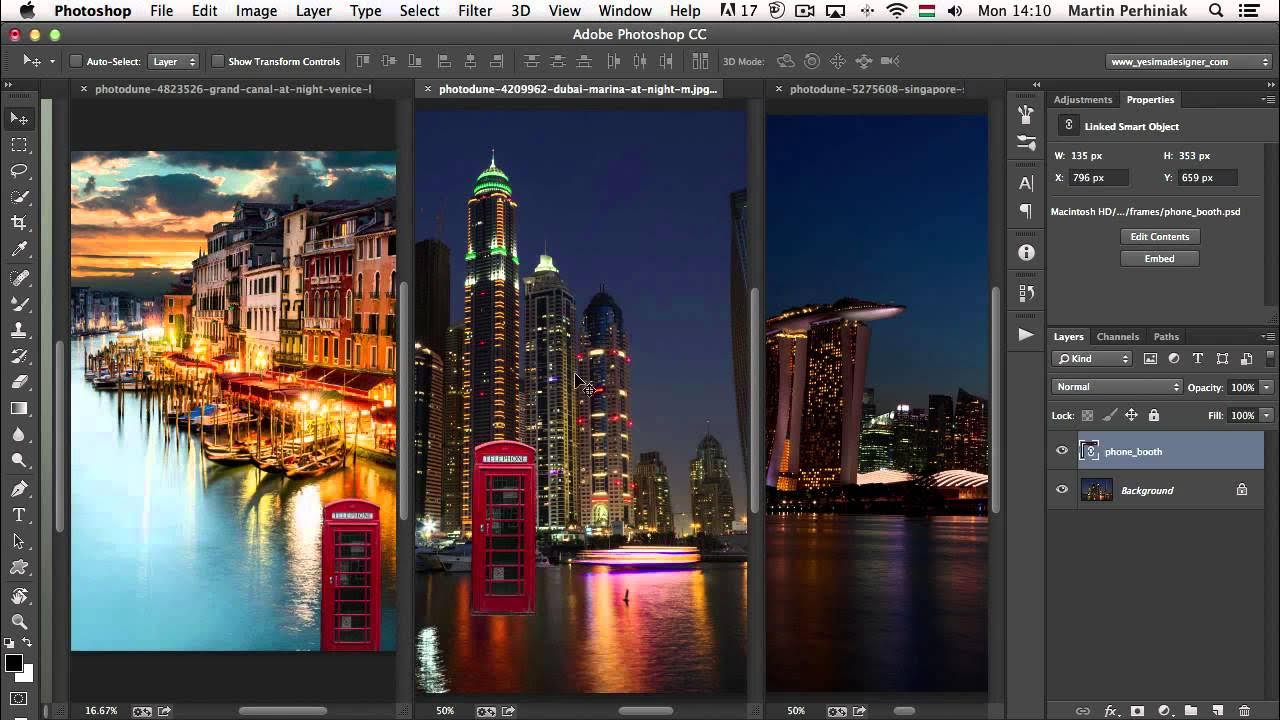
Smart Objects in Photoshop offer a number of important benefits, from allowing you to edit your original image non-destructively to the ability to reuse assets and work more flexibly with effects. With the ability to link external files and apply filters without affecting the original, Smart Objects are an essential tool for anyone working with Photoshop at a professional level.
Conclude
Above, Sadesign has introduced you to Smart Objects and their applications as well as how to solve common problems. Hopefully, this article has helped you better understand Smart Objects and how to use them in Photoshop. If you want to find a reputable online graphic design learning address with a clear roadmap, diverse skills, and reasonable prices, do not hesitate to refer to the information on Sadesign's website.


