Best Selling Products

Genuine Adobe Illustrator account
99 USD

Plugin Retouch4me
69 USD

MidJourney Account
29 USD

Windows 10 & 11 Pro Key
36 USD

Copyright Adobe Lightroom Account
59 USD

Capcut Pro 1 Year
39 USD

Adobe Photoshop Copyright - Full App
120 USD

Genuine Cheap Canva Pro
39 USD

Freepik Premium Account
59 USD

Upgrade genuine Capture One account
120 USD

Upgrade Duolingo Super
29 USD

ChatGPT Plus Account (GPT-4)
16 USD

Adobe Premiere Pro Account
99 USD

Autodesk All App Account Copyright
120 USD

Upgrade Genuine Office 365
49 USD
Photography and Design – Two Indispensable “Pictures” of Modern Creativity
Nội dung
- 1. Photography – Capture the light, tell the story
- 1.1. Basic elements in photography
- 1.2. Applications of photography for designers
- 2. . Design software – The “right arm” of modern photography
- 2.1. Classification of popular design software
- 2.2. How does software help photography?
- 2.3. Use design software for photographers.
- 3. The mutually supportive relationship between photography and design software
- 4. Which software is best for photo processing?
In every visual communication product, photography and design always go hand in hand. Find out why this is the “perfect couple” that is indispensable in content creation.
In today's design world, where images play a major role in conveying information, emotions and brand messages, photography and graphic design cannot exist independently. They are two important links in a creative chain - supporting, enriching and enhancing each other's value. With the constant development of technology, especially design software, the relationship between photography and design is becoming increasingly close and inseparable. In this article, SaDesign will explore with you the close connection between these two factors, and at the same time show you how to optimize the creative process to bring professional, attractive and artistic visual products.
1. Photography – Capture the light, tell the story
Before getting into software, every visual design starts from one starting point, photography.
Photography helps capture moments, evoke emotions and build brand recognition through real-life images. Especially in fields such as fashion, food, travel or e-commerce, high-quality images are vital.
(1).jpg)
1.1. Basic elements in photography
Lighting: Determines the depth, contrast and emotion of a photo
Composition: Lead the viewer's eye to the focal point
Angle: Create a fresh look or highlight the product
Message: Photos should not only be beautiful but also “say something”
Buy Genuine Licensed Software at Cheap Prices
1.2. Applications of photography for designers
1.2.1. Design postcards/calendars/greetings
Wall calendars/desk calendars will look boring and strange without pictures taken with the same theme.
(1).jpg)
For example, calendars given by bank X or university Y must have "flashy" pictures of these organizations... Even desk calendars now have many "personalized" printing services, meaning you just need to send pictures, and the printing company will design the entire calendar for you.
Similar to postcards or greeting cards, instead of using graphics or drawings, in recent years designers have used a lot of photos as gifts, echoing the Polaroid photos that were extremely popular in the 90s and 00s.
The method is also much “easier” than using pure graphics or drawing: just put in the photo, crop + adjust the color if you want, then arrange the layout and find additional decorative motifs, insert text if needed.
1.2.2. Make stock illustrations for textbooks/slides
Speaking of Slides, students or working people will be most “aware” of them because they have to do it regularly. Every time they make a slide, they have to search the Internet, “lie in” on familiar sites like Unsplash to find images to insert. When they find something they like, everyone must secretly thank the photographer for “saving” them from a clear defeat.
(1).png)
Now with powerful tools like Adobe InDesign, Powerpoint, everyone can take advantage of photos for design.
1.2.3. Make motion pictures
In simple terms, you use a photo to create an animated image (GIF) or video. There are the following types:
Time-lapse video: created by stitching together multiple photos taken a few seconds apart of the same frame. Have you ever seen a street video with a line of cars moving in a continuous “jerk” motion as the city lights come on? That’s it.
The reason for using the technique of combining multiple photos instead of recording a continuous video is because in the same format, the quality of the video combined from photos will be much higher than that of the video recorded (by the same camera).
.jpg)
Some modern cameras have a built-in Time-lapse mode. For those that don’t, you have to do it manually by setting up a tripod, taking a few seconds of continuous shots, then putting them into video editing software like Premiere to combine them. It’s a bit of work, but the results are impressive!
GIF (animated image): similar to the principle of time-lapse video but the combined images do not need to be fixed in frame. You put a series of images into Photoshop, arrange the order of appearance and export to GIF file format and you have an animated image to comment on.
3D: This style is inspired by the Reto 3D film camera. This is also a type of GIF but the effect is very unique. You take 3/5/7 photos of a subject, including 1 photo in the middle, the photos are slightly offset to the left and right of the subject. After creating the GIF, the product will be a very lively and "3D" image of the subject "shaking" and no longer a normal flat photo.
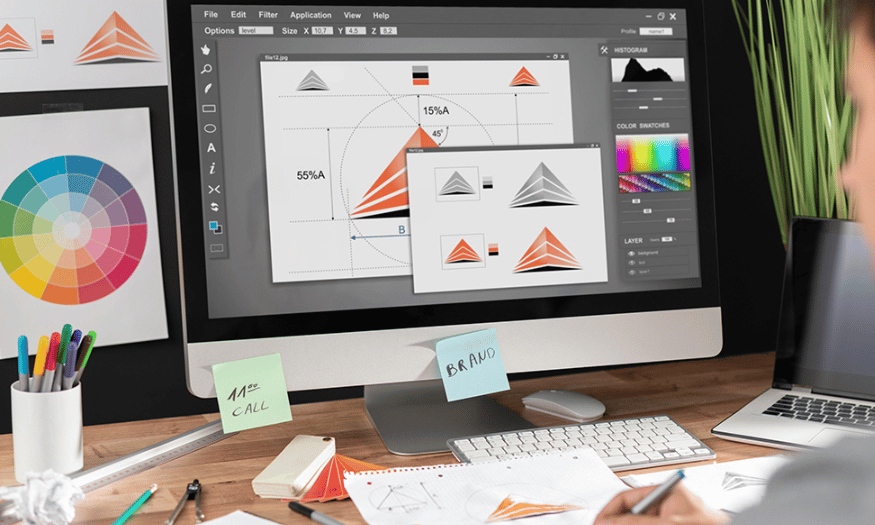
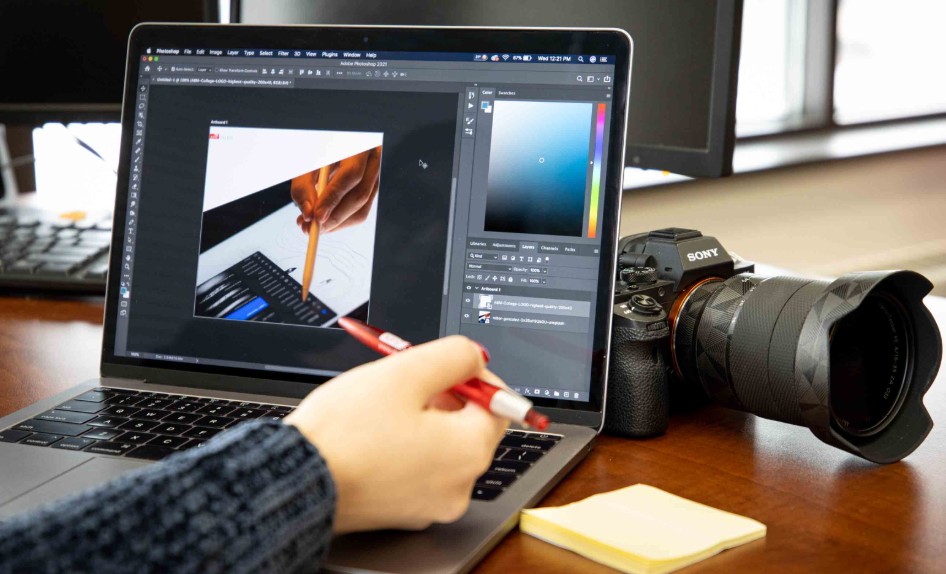
2. . Design software – The “right arm” of modern photography
The advent of design software has changed the way we process and present images. No longer limited by what our cameras capture, designers can now edit, transform, and even restructure images to serve their creative purposes.
(2).png)
2.1. Classification of popular design software
Raster image editing: Adobe Photoshop, Lightroom, Capture One
Vector design: Adobe Illustrator, CorelDRAW
Layout and Publishing: Adobe InDesign, Affinity Publisher
Multimedia design: Canva, Figma, Procreate (for digital drawing)
2.2. How does software help photography?
Increase image quality (sharpness, color, light)
Create artistic effects (vintage, cinematic, glitch…)
Separate background, mask, blend multiple images into one layout
Integrate images into brand design: banners, posters, catalogs...
2.3. Use design software for photographers.
2.3.1. Delete and clean the background
Imagine that when you travel, you take a photo in a place where there are too many people, so you need to delete some of the people to make the photo "clearer" and focus more on the subject.
(2).png)
There are moments that don't happen twice, so sometimes you can't measure everything perfectly, including the background (when shooting street, outdoor), so you just capture the moment with your camera. Then you bring it back to post-process, maybe erase a few plastic bags on the ground in the background or some unwanted objects. The photo will still be valuable!
To do this, Photoshop is the most effective tool with the ability to "clean" the background conveniently and not too difficult to get used to.
2.3.2. Concealer & makeup
For portraits, photographers have the responsibility to capture the best image of the subject at that moment. So if the subject accidentally sleeps late and has dark circles under their eyes or suddenly gets a pimple, it doesn’t matter because the photographer can do post-production to maximize the subject’s “beauty” at the time of shooting! This application is called Retouch - for those who want to learn more.
Removing acne, covering blemishes or applying light makeup (lipstick, blush) can be handled very well by Photoshop. However, if you can fix something before taking the photo, it is still the best and most realistic!
.png)
2.3.3. Photo restoration
Old war photos, thanks to skillful restoration, have become clearer, removing traces of time, and can even be converted from black and white to color. This is an extremely wonderful application of design software, elevating photos of historical value.
However, to restore a photo requires relatively high skills. If it is simply adding color to a black and white photo, Photoshop version 2021 already has an automatic feature (using artificial intelligence to add color).
.png)
2.3.4. Color correction & file management
Photographers are no stranger to Adobe Lightroom. This brother of Photoshop allows us to manage and filter large numbers of image files, process raw files and color correct on an industrial scale!
Wedding photoshoots, studio photoshoots for documentation, etc. have in common similar lighting and concepts. Therefore, you can carefully edit 1-2 photos and then apply the preset to all the remaining photos, extremely productive! It is no exaggeration to say that this design software becomes the left hand of photographers! (the right hand is the camera set).
2.3.5. Portfolio design
If you are serious about the profession of “making a living by taking photos”, you must also prepare a portfolio, roughly understood as a CV. The portfolio includes the projects you have participated in with specific products.
.png)
At this point, if you know how to design, you will turn your portfolio into a miniature exhibition of yourself with the arrangement of products according to the project in your own style, impressing the "customer". Preparing a portfolio carefully will also save time introducing yourself, presenting your capabilities and also showing customers whether the price of the service you offer is appropriate or not!
Therefore, a photographer who is proficient in Lightroom, Photoshop, even Illustrator, InDesign is not rare nowadays, although he/she can hire a team to do post-production and only take care of taking pictures. However, doing it yourself will be more to your liking and express your personality the most, right?
3. The mutually supportive relationship between photography and design software
If photography is the “fabric”, then design is the “needle and thread” to create a complete work. The relationship between them is not only inheritance, but also interaction and mutual support in every step of the creative process.
Original photos are indispensable materials.
No matter how advanced software gets, starting with a well-composed, well-lit, and clearly conceptualized photo is always a huge advantage. A designer can’t create an impressive poster if the photo is blurry or lacking in focus.
Design to enhance the image
A beautiful photo will stand out even more when placed in a harmonious layout, combining appropriate typography and colors. Design is the bridge between the image and the communication goal.
.png)
Consistent workflow
Nowadays, the workflow between photographer and designer is often seamless: from shooting → importing photos → editing → layout → printing or publishing online.
4. Which software is best for photo processing?
Depending on the purpose of use, you can choose specialized software to process photos before bringing them into the overall design.
Adobe Lightroom: adjust white balance, color tones and export photos in batches quickly. This is a “must-have” software for professional photographers.
Adobe Photoshop: Photoshop is strong in detailed retouching (removing blemishes, smoothing, merging photos) and complex effects such as double exposure, composite... This is an indispensable tool for professional designers and photographers.
.png)
Plugins & Presets: Tools like Nik Collection, VSCO Presets, or Retouch4Me help save editing time while creating a consistent photo style for the entire project.
Edited photos need to be included in printed designs such as catalogs, brochures, lookbooks... At this point, page layout software becomes extremely important.
InDesign: InDesign helps create multi-page layouts, manage grid alignment, format text and images effectively, especially with products such as fashion lookbooks, photo books or magazines.
Illustrator: Not only used to draw logos or icons, Illustrator is also an ideal tool to create backgrounds, borders or patterns combined with photos, creating vivid and flexible designs.
In the journey of content creation, photography and design always go hand in hand, complementing and supporting each other. Start with a clear workflow, choose the right tools, and keep learning to turn each image into an inspiring work. If you are working in the field of media, advertising, or visual content creation, now is the time to fully exploit the power of combining photography and design.


VIP Products


Best Selling Products
Genuine Adobe Illustrator account
99 USD
Plugin Retouch4me
69 USD
MidJourney Account
29 USD
Windows 10 & 11 Pro Key
36 USD
Copyright Adobe Lightroom Account
59 USD
Capcut Pro 1 Year
39 USD
Adobe Photoshop Copyright - Full App
120 USD
Genuine Cheap Canva Pro
39 USD
Freepik Premium Account
59 USD
Upgrade genuine Capture One account
120 USD
Upgrade Duolingo Super
29 USD
ChatGPT Plus Account (GPT-4)
16 USD
Adobe Premiere Pro Account
99 USD
Autodesk All App Account Copyright
120 USD
Upgrade Genuine Office 365
49 USD