Best Selling Products

Capcut Pro 1 Year
39 USD

Upgrade Genuine Office 365
49 USD

Plugin Retouch4me
69 USD

Upgrade Duolingo Super
29 USD

Copyright Adobe Lightroom Account
59 USD

Windows 10 & 11 Pro Key
36 USD

MidJourney Account
29 USD

ChatGPT Plus Account (GPT-4)
16 USD

Genuine Cheap Canva Pro
39 USD

Autodesk All App Account Copyright
120 USD

Freepik Premium Account
59 USD

Adobe Premiere Pro Account
99 USD

Upgrade genuine Capture One account
120 USD

Genuine Adobe Illustrator account
99 USD

Adobe Photoshop Copyright - Full App
120 USD
Secrets to Editing Your ID Photo to International Standards at Home in Just 5 Minutes
Nội dung
- 1. Understand the Regulations and Standards When Editing ID Photos
- 1.1. Common sizes of ID photos today
- 1.2. Regulations regarding backdrops and costumes
- 1.3. Sitting posture and facial expressions
- 2. Prepare the Equipment and Original Shooting Space
- 2.1. Choosing the right imaging equipment
- 2.2. Ensure adequate and even lighting.
- 2.3. Choose a suitable shooting angle and distance.
- 3. Professional Photo Editing Process for ID Photos Using Photoshop
- 3.1. Step 1: Crop the image to the correct aspect ratio.
- 3.2. Step 2: Separate and change the background color
- 3.3. Step 3: Addressing skin imperfections
- 3.4. Step 4: Adjust lighting and color
- 3.5. Step 5: Arrange the photos on the printing paper.
- 4. Convenient Mobile Software and Application Alternatives
- 4.1. Photo editing apps for ID cards on mobile phones
- 4.2. Specialized computer software for passports
- 5. Experience Breakthrough Photo Editing Technology at Appvip.ai
- 6. Common Mistakes When Editing ID Photos Yourself
- 6.1. Overuse of skin-smoothing filters
- 6.2. Cropping photos with incorrect facial proportions.
- 6.3. Blurring an unclean background
- 7. Little Tips for Taking a Beautiful and Natural-Looking ID Photo
- 8. Conclusion
Learn how to edit your ID photos to international standards at home. Discover software for changing backgrounds, brightening skin, cropping, and creating professional 3x4 and 4x6 ID photos in just 5 minutes.
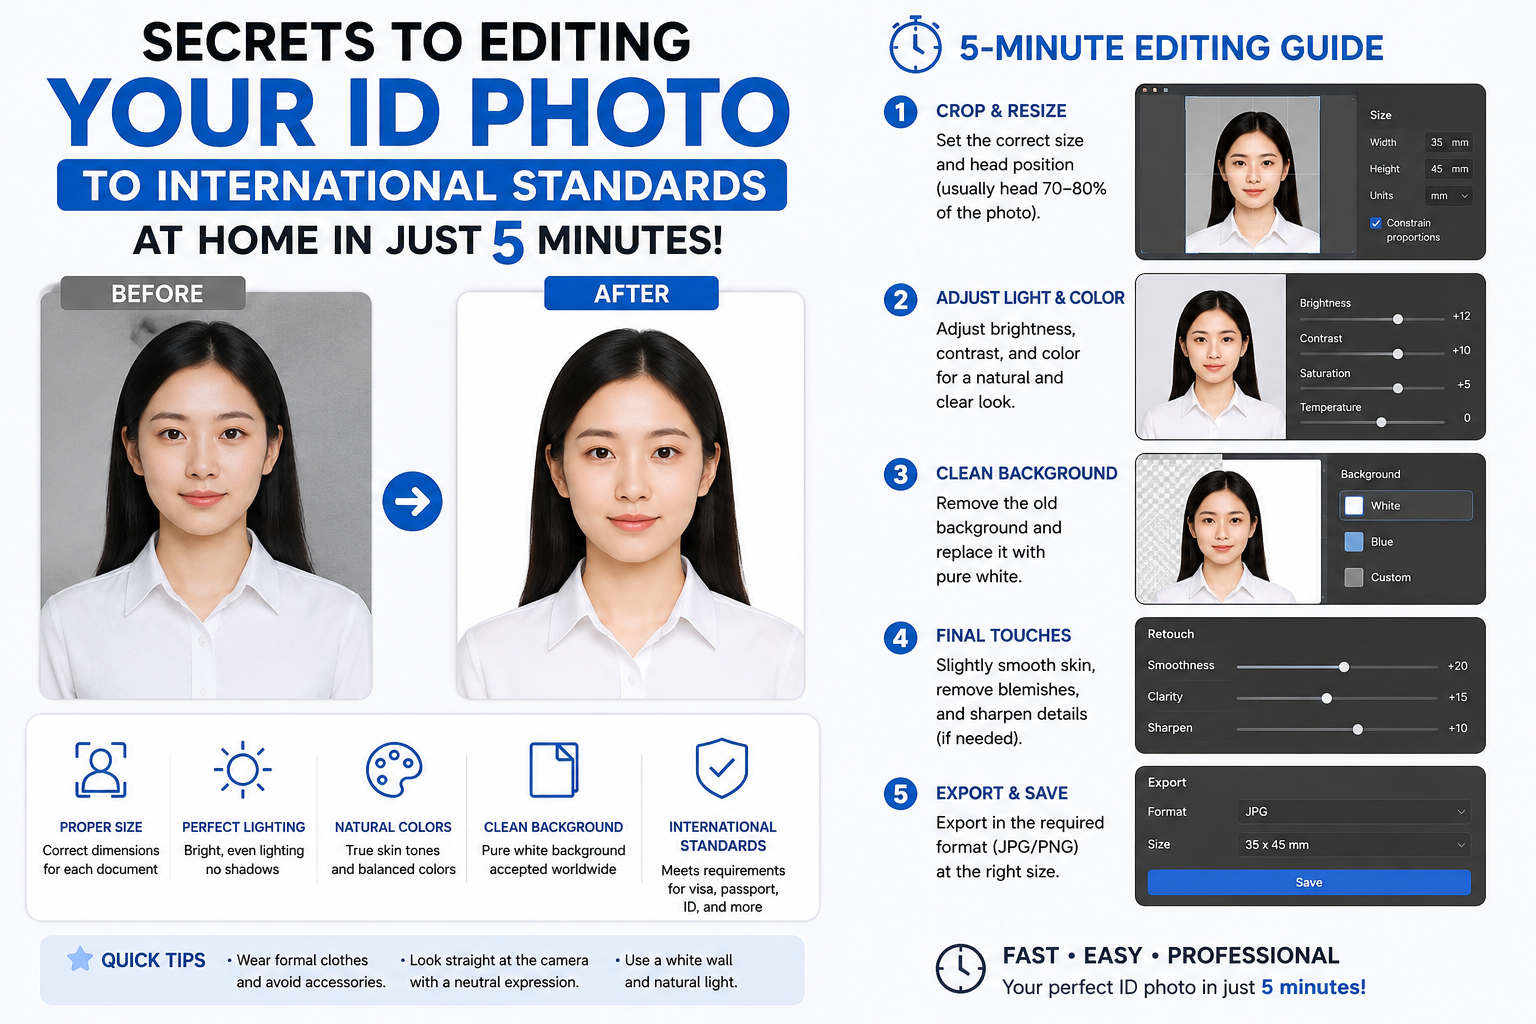
1. Understand the Regulations and Standards When Editing ID Photos
Before starting the editing process, a thorough understanding of legal and technical regulations is mandatory. Even the most beautiful photo will be rejected during the application process if it has the wrong size or background.
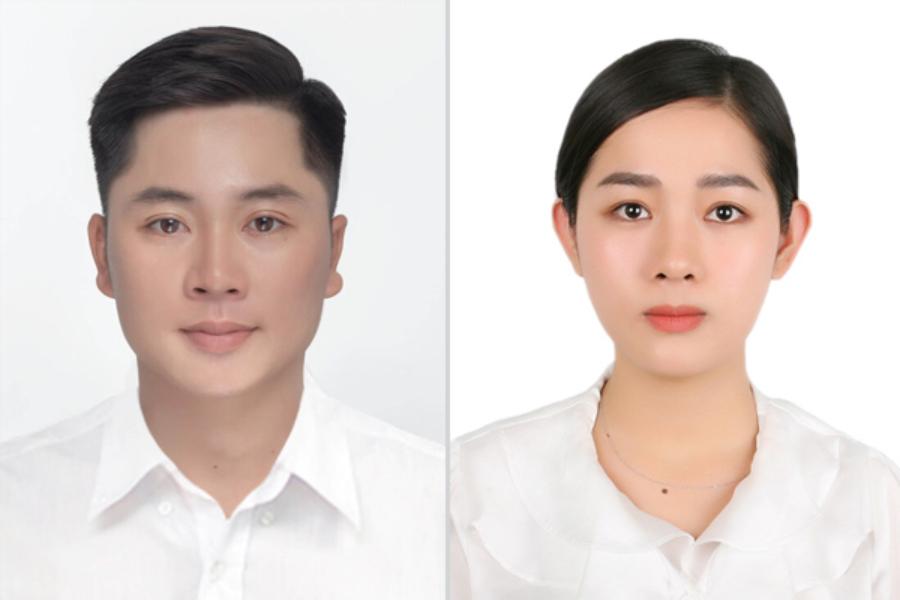
1.1. Common sizes of ID photos today
In Vietnam and internationally, the two most commonly used passport photo sizes are 3x4 cm and 4x6 cm. Additionally, some specific visa types, such as US visas, require a 5x5 cm square photo. You need to clearly define the purpose of your photo to determine the correct cropping area from the outset.
1.2. Regulations regarding backdrops and costumes
The background for passport photos typically has two main colors: blue and white. Passport and national identity card photos nowadays are mostly required to use a white background. Regarding attire, the person being photographed should wear a collared shirt in a subtle color, avoiding overly flashy patterns that detract from the formality of the photo.
1.3. Sitting posture and facial expressions
Your face should be straight, looking directly into the camera, without tilting your head or shoulders. Your head should be bare, clearly showing your forehead and ears. Your facial expression should be serious but not overly tense; a gentle, toothless smile is encouraged to make the photo look more friendly.
2. Prepare the Equipment and Original Shooting Space
The quality of the original image determines 70% of the success of the post-processing. Thorough preparation at this stage will save you a lot of editing time later.
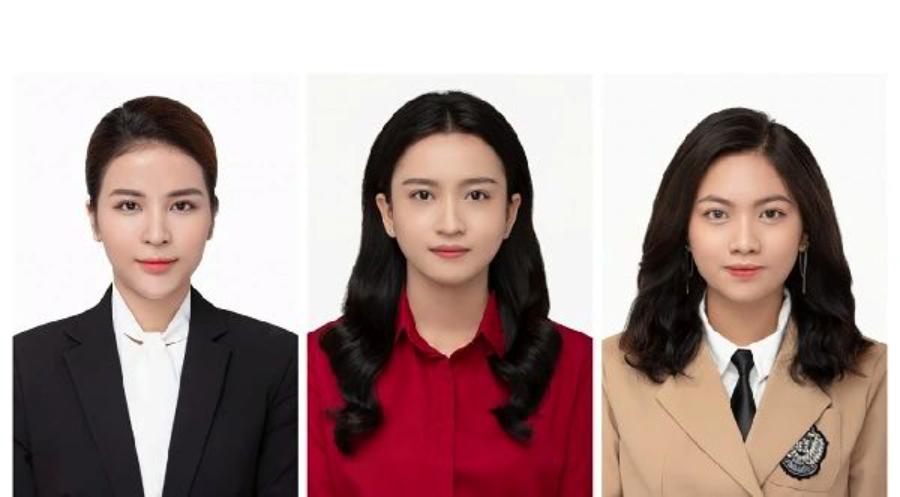
2.1. Choosing the right imaging equipment
You don't necessarily need an expensive DSLR camera. Modern smartphones can easily provide the necessary resolution. Remember to clean your camera lens before taking photos to avoid blurring caused by fingerprints.
2.2. Ensure adequate and even lighting.
Lighting is a crucial element in portrait photography. You should take advantage of natural light from a window or use two light sources on either side to evenly illuminate the face. This completely eliminates shadows on the neck or back of the head, making it easier to separate the background later.
2.3. Choose a suitable shooting angle and distance.
The photographer should position the camera at eye level with the subject, approximately 1.5 to 2 meters away. This distance ensures that the lens does not distort facial details such as the nose or cheeks.
3. Professional Photo Editing Process for ID Photos Using Photoshop
Adobe Photoshop remains the most powerful tool for those who want a pixel-perfect ID photo. Below are the steps to standardize a portrait photo into a proper ID photo.
3.1. Step 1: Crop the image to the correct aspect ratio.
After importing the original image into the software, select the Crop Tool (shortcut key C) . In the properties bar, enter the desired dimensions, for example: Width = 3cm, Height = 4cm, with a minimum resolution of 300 pixels/inch to ensure good print quality without image distortion. Adjust the image so that the face is centered in the frame, and the shoulders are evenly displayed on both sides.

3.2. Step 2: Separate and change the background color
In modern versions of Photoshop, you can easily remove the background using the Select Subject feature in the Properties menu . After the software automatically creates a selection around the person, press Ctrl + J to duplicate the portrait onto a new layer. Next, create a solid color layer below the person layer with the color code blue or white, depending on your needs.
3.3. Step 3: Addressing skin imperfections
The Healing Brush Tool or Clone Stamp Tool will help you naturally remove temporary blemishes, dark spots, or unruly sideburns. The core principle is to avoid altering natural identifying features such as moles or congenital scars on the face.
3.4. Step 4: Adjust lighting and color
Use the Curves (Ctrl + M) or Levels (Ctrl + L) tools to adjust the brightness of the photo. Pay attention to brightening the eye area and evening out the skin tone on both cheeks. If your skin has a yellowish or reddish tint due to lighting, the Selective Color tool will help restore a natural, rosy complexion.
3.5. Step 5: Arrange the photos on the printing paper.
After completing the editing, create a new file with the dimensions of standard photo paper (e.g., 10x15 cm). Drag the finished ID photo into this file, duplicate it into multiple copies using the shortcut Ctrl + Alt + drag the mouse to fill the pages, ready to be taken to the printing shop.
4. Convenient Mobile Software and Application Alternatives
If you're not proficient in Photoshop, specialized software and mobile apps will be a great lifesaver thanks to their integrated automation technology.
4.1. Photo editing apps for ID cards on mobile phones
Modern mobile apps have very intelligent facial recognition capabilities. Simply upload a photo, and the app will automatically measure the distance from the top of your head to your chin to crop it to the correct proportions for passports or ID cards. You can change the background color from blue to white with just a tap.
4.2. Specialized computer software for passports
For strict immigration and customs documents, specialized computer software offers templates for over 100 countries. This tool automatically checks whether your photo is valid based on criteria such as contrast, eye position, and headspace.
5. Experience Breakthrough Photo Editing Technology at Appvip.ai
The rapid development of artificial intelligence has ushered in a new era for image processing, simplifying many complex traditional processes. The online system at appvip.ai offers a superior smart photo editing solution for ID photos, where users can automatically change backgrounds, smooth skin, and adjust clothing perfectly in seconds without installing any software. With continuously optimized AI algorithms, this platform automatically and accurately identifies each strand of hair for smooth background separation, while also suggesting suitable business suits for different body types, helping you get a high-quality, professional ID photo right at home.
6. Common Mistakes When Editing ID Photos Yourself
Attempting to edit your own photos can sometimes lead to elementary mistakes that might disqualify your application. Recognizing these errors beforehand will help you avoid them effectively.
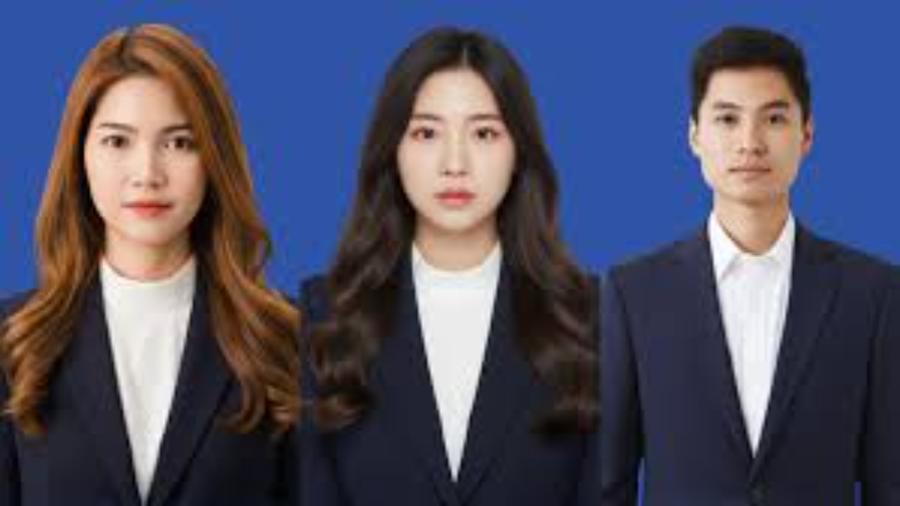
6.1. Overuse of skin-smoothing filters
Many people have a habit of erasing facial details, making the skin appear shiny and losing its natural texture. This makes the photo look like a painting or cartoon, violating the legal requirement for authentic portrait photography.
6.2. Cropping photos with incorrect facial proportions.
The regulations for ID photos are not only about the outer border size (3x4 or 4x6) but also about the percentage of the photo's area occupied by the face. Having the face too small or too large compared to the overall frame will render the photo invalid.
6.3. Blurring an unclean background
When manually removing the background using low-quality tools, the edges around the hair and clothing often become smudged or leave streaks of the old background color. This error makes the photo look very unprofessional and is easily noticeable when printed on paper.
7. Little Tips for Taking a Beautiful and Natural-Looking ID Photo
A few simple tips on makeup and facial expressions can significantly enhance the aesthetic appeal of your ID photo while still maintaining its natural look.
-
Light makeup: Women should opt for a natural makeup style with a touch of earthy pink or coral lipstick, and a layer of oil-controlling powder to prevent the face from looking shiny under the lights.
-
Tip for creating a V-line chin: When taking photos, slightly push your chin forward and tilt your head down a little. This trick helps to stretch the skin around your neck, creating the effect of a slimmer face without needing to use face-shaping software.
-
Keep your eyes looking expressive: Focus your gaze on a point about 2 cm above the camera lens; this will help your eyes appear wider, brighter, and prevent a wide-eyed stare.
8. Conclusion
Editing your ID photo at home is no longer difficult when you master the technical standards and have the right tools at your disposal. From preparing a well-lit original photo, applying the correct cropping and background replacement procedures, to leveraging the power of modern technology platforms, everything contributes to creating a perfect ID photo. Investing a little time and effort in perfecting your ID photo will give you absolute confidence in all administrative procedures and future career opportunities.





















VIP Products








Best Selling Products
Capcut Pro 1 Year
39 USD
Upgrade Genuine Office 365
49 USD
Plugin Retouch4me
69 USD
Upgrade Duolingo Super
29 USD
Copyright Adobe Lightroom Account
59 USD
Windows 10 & 11 Pro Key
36 USD
MidJourney Account
29 USD
ChatGPT Plus Account (GPT-4)
16 USD
Genuine Cheap Canva Pro
39 USD
Autodesk All App Account Copyright
120 USD
Freepik Premium Account
59 USD
Adobe Premiere Pro Account
99 USD
Upgrade genuine Capture One account
120 USD
Genuine Adobe Illustrator account
99 USD
Adobe Photoshop Copyright - Full App
120 USD