Best Selling Products

Genuine Cheap Canva Pro
39 USD

ChatGPT Plus Account (GPT-4)
16 USD

Adobe Premiere Pro Account
99 USD

MidJourney Account
29 USD

Freepik Premium Account
59 USD

Capcut Pro 1 Year
39 USD

Autodesk All App Account Copyright
120 USD

Plugin Retouch4me
69 USD

Genuine Adobe Illustrator account
99 USD

Upgrade genuine Capture One account
120 USD

Adobe Photoshop Copyright - Full App
120 USD

Upgrade Duolingo Super
29 USD

Windows 10 & 11 Pro Key
36 USD

Copyright Adobe Lightroom Account
59 USD

Upgrade Genuine Office 365
49 USD
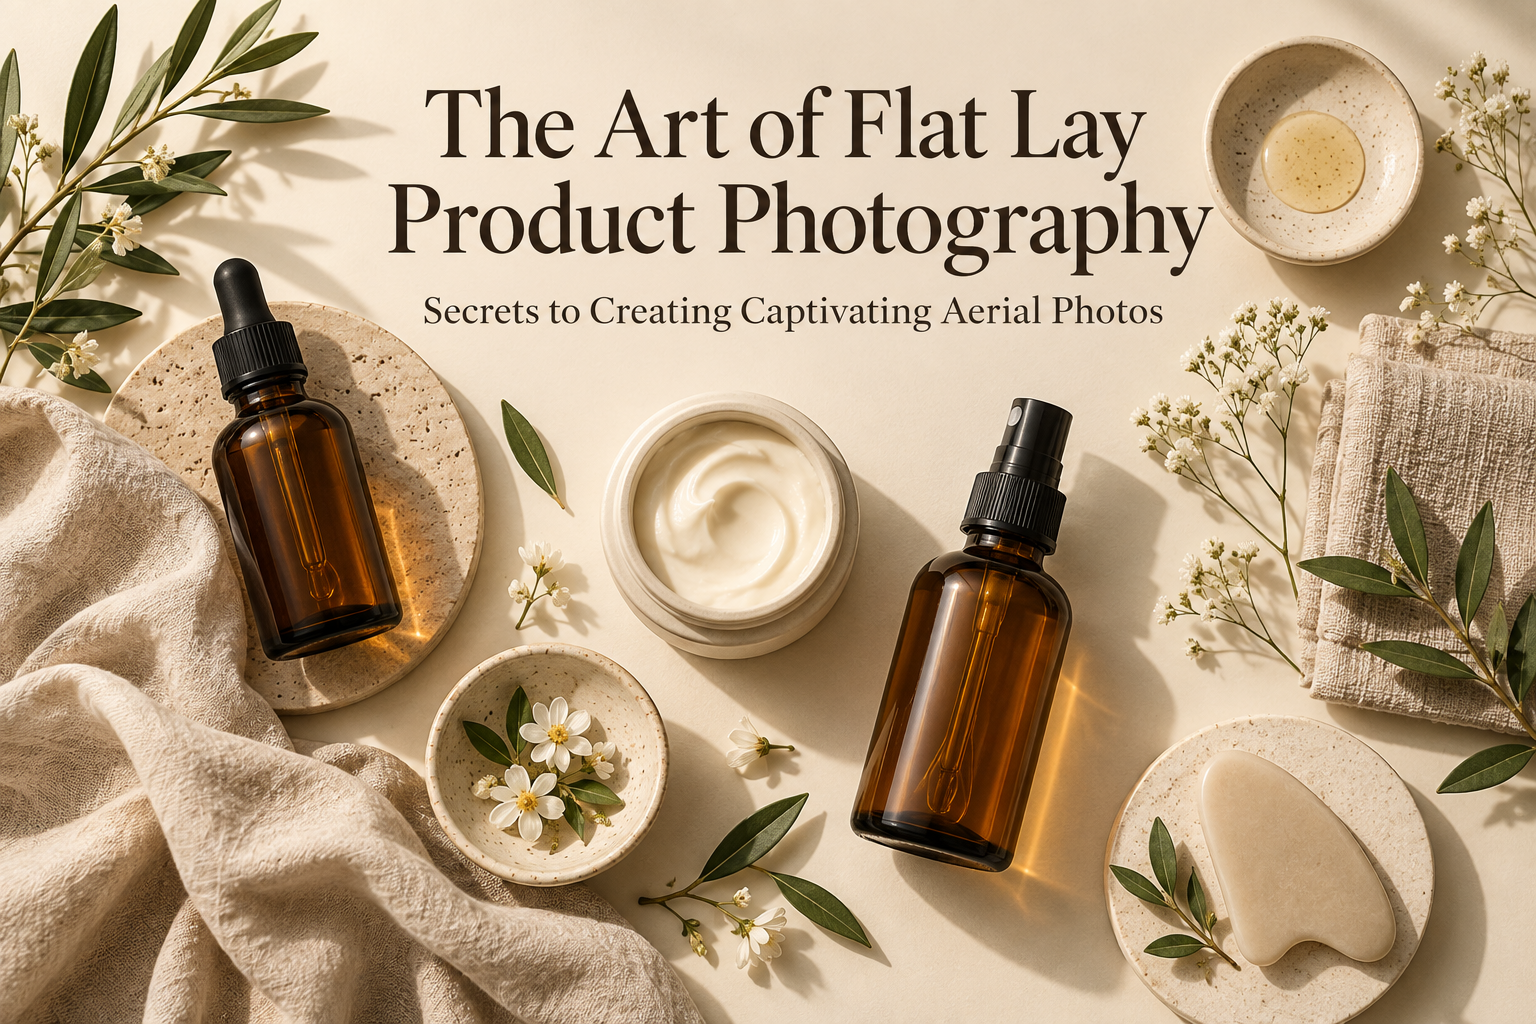
The Art of Flat Lay Product Photography: Secrets to Creating Captivating Aerial Photos
Nội dung
- 1. Mastering Camera Angles: The Secret to a Perfect Flat Lay
- 2. Choosing the Background: The Starting Canvas for Every Work of Art
- 3. Controlling Lighting to Guide the Viewer's Emotions
- 4. Layout Arrangement: When Orderliness and Spontaneity Both Have Their Own Appeal
- 5. Tell a Story Through Small Details
- 6. Identify the Main Character and Master the Frame Composition
- 7. Conclusion
Flat lay photography has long been one of the most popular product photography styles, especially in online business and social media. With just an overhead angle, photographers can transform simple objects into artistic compositions, telling a story and conveying emotion to the viewer. However, to achieve a truly professional flat lay photo, it''s not simply a matter of placing the product on a table and snapping a picture. Below are some important tips to help you elevate your flat lay product photography skills.
1. Mastering Camera Angles: The Secret to a Perfect Flat Lay
The first and most crucial element defining the flat lay genre is the camera angle. Technically, a photograph is only considered a true flat lay when the camera is positioned perfectly perpendicular to the plane, that is, at a ninety-degree angle pointing straight down. If you shoot at a forty-five-degree or even seventy-five-degree angle, the photograph still cannot be called a standard flat lay.
So how do you know if you've positioned your camera correctly, especially when shooting handheld without a tripod? The simplest way is to observe the edges of the object in the frame. If you can still see the side edge of the product, it means your camera isn't perfectly perpendicular to the table. At this point, you need to adjust by observing the lens barrel, ensuring it's pointing straight down, and paying attention to the corners of the object until the side edge completely disappears from view.

For more accurate and consistent results, many photographers choose to use a tripod with a horizontal arm, allowing the camera to be positioned for overhead shooting without having to hold it while setting up and adjusting the composition. When using this device, you can rely on the bubble level on the tripod—a small detail containing air bubbles inside a transparent plastic tube—to check the accuracy of the shooting angle. Tripods usually have multiple bubbles corresponding to different horizontal and vertical axes. When the camera is in a vertical position, the air bubble will be off to one side of the tube. But when you move the camera to a horizontal position to shoot from above, the air bubble needs to be in the center of the tube for the shooting angle to be truly correct.
2. Choosing the Background: The Starting Canvas for Every Work of Art
An impressive flat lay photograph always starts with a suitable background. Think of the background as a blank canvas where you can unleash your creativity, and on which all the details of the picture will be built.
Essentially, the ideal background for a flat lay photo is a flat, even surface. However, you can certainly experiment with textured or layered backgrounds to create depth and visual impact. In fact, using layered backgrounds is a fairly common technique in flat lay photography, making the photo look more dynamic and have more depth instead of just a monotonous flat surface.
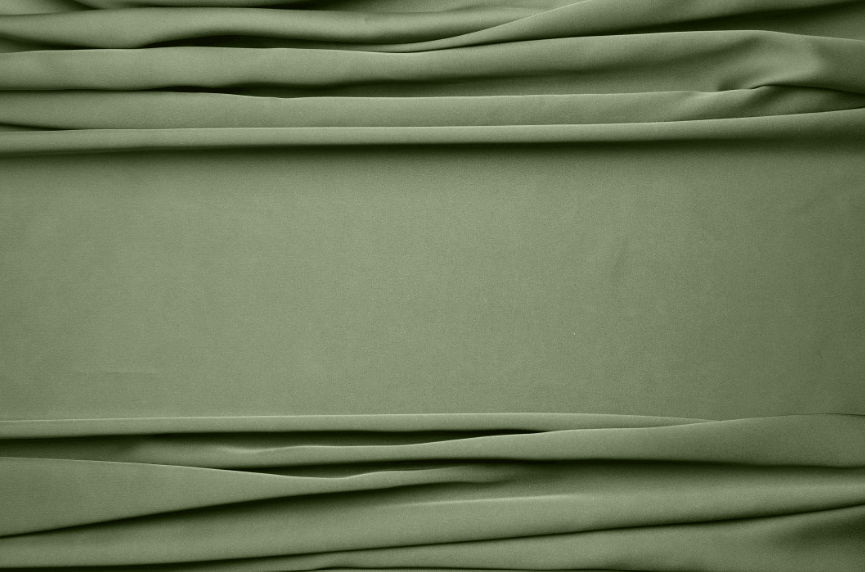
In addition, prioritizing a plain background with minimal patterns is also worth noting. This is because cluttered patterns easily distract the viewer's attention. When you have a clean, tidy background, the main product in the frame will be highlighted more clearly, helping viewers focus on what is truly important instead of being drawn to unnecessary details.
3. Controlling Lighting to Guide the Viewer's Emotions
Whether you use natural or artificial light, understanding which type of light suits each shooting style is key in flat lay product photography. Light doesn't just illuminate the subject; it determines the overall atmosphere of the photograph and creates a realistic and vibrant feel for the product.
If you want to create a bold, distinctive flat lay photograph, direct sunlight is the perfect choice. This harsh light helps highlight the vibrant, sharp colors of the product. At the same time, the hard light creates bold shadows, contributing to the depth and impressive texture of the photograph.
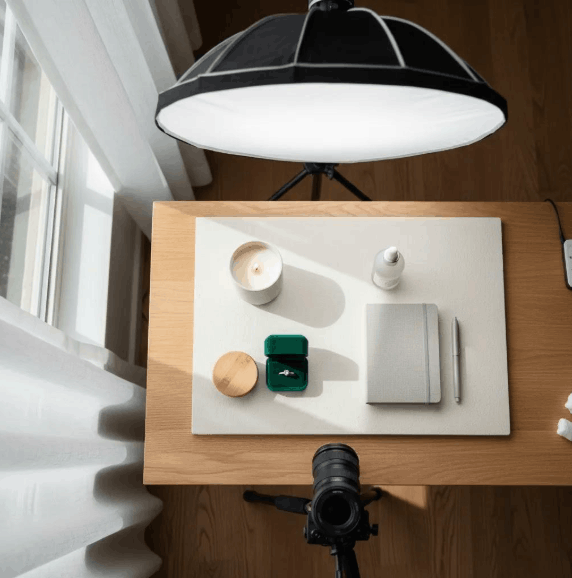
Of course, the mood of the photo will also change depending on the time of day you shoot. If you shoot at midday, the shadows will be shorter, resulting in bright, vibrant, and lively photos. Conversely, when shooting at sunset, the shadows will be longer, adding emotional depth to the image. In addition, the light at this time is softer, bringing a gentle, warm tone to the entire frame.
If you want to create a more artistic and refined look for your photo, consider shooting near a window. Because the light isn't direct, your photo will have soft, diffused shadows and a more even, gentle lighting, perfect for products that require a luxurious and sophisticated appearance.
4. Layout Arrangement: When Orderliness and Spontaneity Both Have Their Own Appeal
There are many ways to arrange a flat lay photo set; you can keep it intentionally messy or create neat, sophisticated patterns. Whichever style you choose, the most important thing is that you have complete control over how the product is presented in the frame.
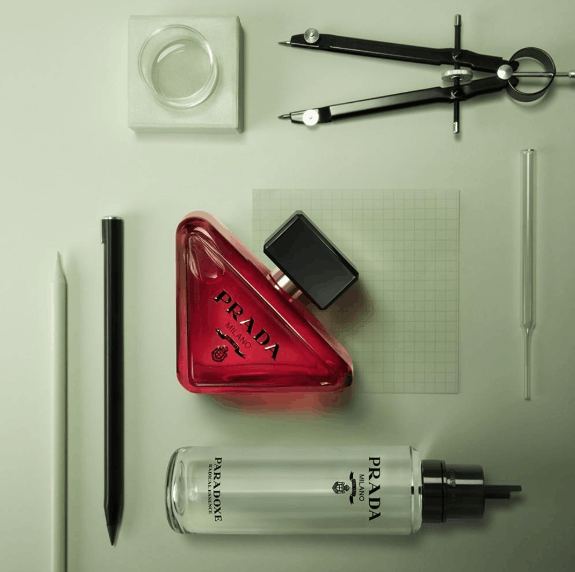
One of the most popular arrangement methods today is the knolling technique, a style of arranging objects in clearly defined patterns. This technique requires meticulous placement of each item to create a neat and coherent pattern. The basic principle when applying knolling is to arrange objects at the same angle or direction, while maintaining equal spacing between them. Of course, you can break these rules as long as the final arrangement still creates an easily recognizable pattern.

While knolling offers visual beauty through its intricate patterns, the chaotic style also possesses its own unique appeal. Interestingly, it is precisely this deliberate disorder that creates the special charm of the photograph. In fact, creating a chaotic yet harmonious composition is far more difficult than knolling, as you need the subtlety to find the hidden order within that chaos.
The key here is to choose one or two objects to act as anchors for the entire story of the photograph. You can arrange the items freely and spontaneously, but place the main object in the most prominent position in the frame. Then, the viewer's gaze will automatically be drawn to this main object first, before spreading to the surrounding details, helping the viewer easily connect everything in the photograph to the central subject.
5. Tell a Story Through Small Details
A perfect flat lay product photograph isn't just about aesthetically pleasing arrangement; it must also tell a story. So how do you construct a narrative within a single still image?
The secret lies in surrounding the frame with small objects that act as clues to the story. For example, if the main product is a type of drink commonly enjoyed at the beach, you can create a miniature beach setting around it using sand, seashells, or related accessories. Even using only small props, the photo can still convey the emotions and atmosphere you want the viewer to feel, making them feel as if they are actually stepping into that scene.

Building a story through supporting details not only makes the photo more vibrant but also creates an emotional connection between the product and potential customers, a crucial element in modern commercial photography and marketing.
6. Identify the Main Character and Master the Frame Composition
In product photography, the term "main subject" usually refers to the most important product you want to highlight in the image. A common mistake is cramming too many objects into a flat lay shot, causing the main product to be inadvertently lost amidst a multitude of cluttered details.
So how do you ensure the main subject is always the focal point of the photo? The answer lies in proper composition. The simplest and most direct solution is to place the main product right in the center of the frame. This method helps viewers immediately recognize which object they need to pay attention to first.
However, placing the product in the center isn't always the most feasible or aesthetically pleasing option. In such cases, you can use the camera's built-in grid and apply the rule of thirds. This principle divides the frame into equal sections both horizontally and vertically, suggesting that the main subject should be placed at the intersections of these lines. This composition often provides a more natural and harmonious visual balance compared to rigidly placing the object in the exact center.
Whether you choose to place the product in the center of the frame or apply the rule of thirds, the key is to ensure the main subject always stands out and is clearly visible in the photo. This way, viewers won't have to search for the product amidst a multitude of other details, and can immediately identify what they should be interested in.
7. Conclusion
Many people think that flat lay photography is simply a matter of placing the camera on top and shooting straight down, but it's actually much more complex than it seems. This genre of photography demands meticulous attention to detail in every step, from precisely adjusting the camera angle and choosing the right background to skillfully controlling the lighting and arranging the composition to tell a story through the image. Without mastering these fundamental principles, it's very difficult to create truly professional and captivating flat lay photographs.
By remembering and applying the above tips—from precise camera angles, subtle backgrounds, purposeful lighting, creative staging, emotionally rich storytelling, to compositions that highlight the main product—you can elevate your product photos. Be persistent in practicing and experimenting with different styles, because every product and every story deserves a truly impressive and professional flat lay photograph.





















VIP Products








Best Selling Products
Genuine Cheap Canva Pro
39 USD
ChatGPT Plus Account (GPT-4)
16 USD
Adobe Premiere Pro Account
99 USD
MidJourney Account
29 USD
Freepik Premium Account
59 USD
Capcut Pro 1 Year
39 USD
Autodesk All App Account Copyright
120 USD
Plugin Retouch4me
69 USD
Genuine Adobe Illustrator account
99 USD
Upgrade genuine Capture One account
120 USD
Adobe Photoshop Copyright - Full App
120 USD
Upgrade Duolingo Super
29 USD
Windows 10 & 11 Pro Key
36 USD
Copyright Adobe Lightroom Account
59 USD
Upgrade Genuine Office 365
49 USD