Best Selling Products
Turn Anything into GOLD Simple in Photoshop!
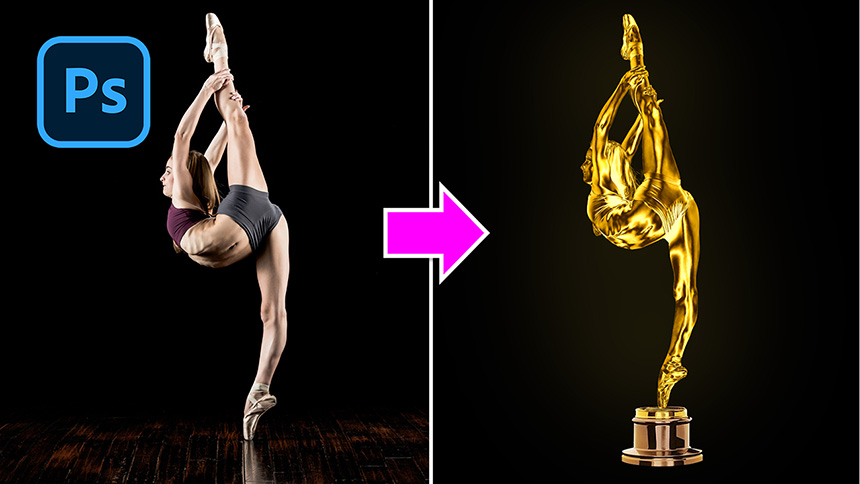
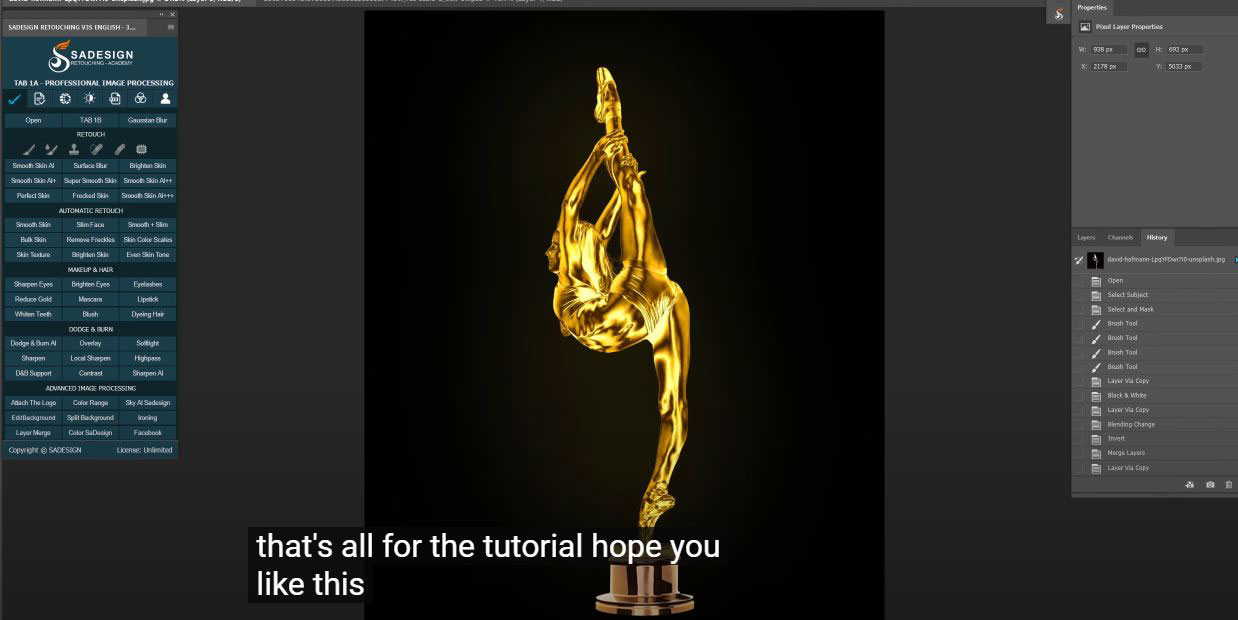
Hi there, this is SaDesign channel, today I'll show you how to create a Gold medal or cup from your photo. This technique is a combination of Photoshop filter and tools.
After opening your image, first thing you have to do is separating subject from background.
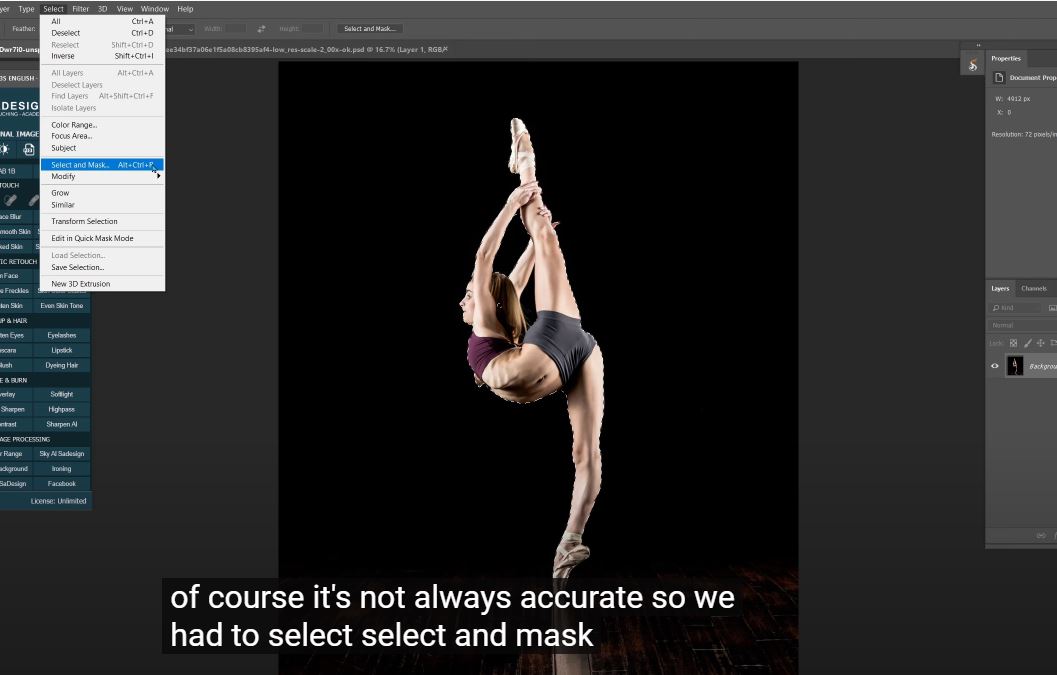
(1). To do that, go to Select > Subject, instead of using pen tool, Photoshop will help us to make the selection. Of course, it's not always accurate so we head to Select > Select and Mask > use Refine Edges Brush Tool to remove unnecessary areas on the edges but keep details intact
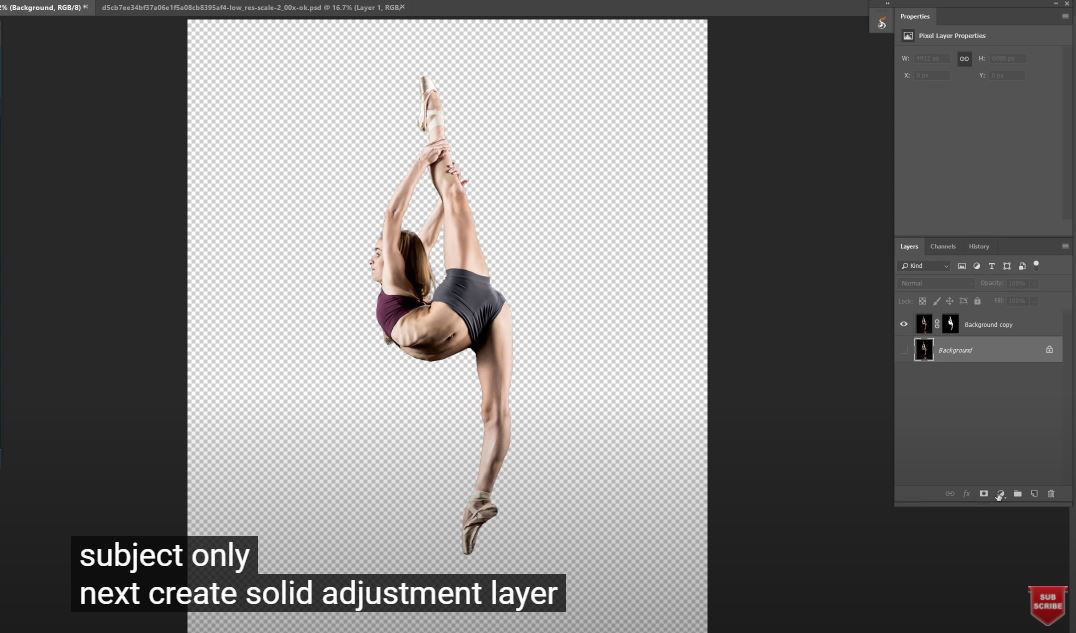
(2).Make sure the output should be “New layer with layer mask”
There you go! Turn off background so you can see the subject only.
Next, create a solid adjustment layer in black color.
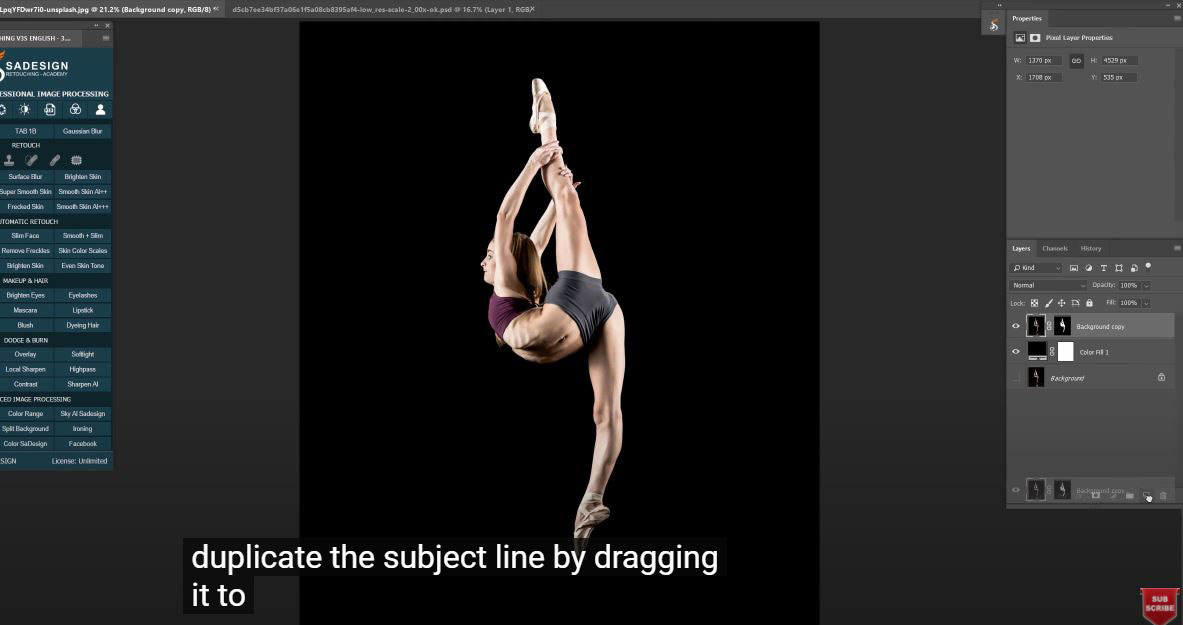
Ensure this solid color below the subject layer.
(3). Duplicate the subject layer by dragging it to the below icon or you can use shortcut CTRL or CMD + J
Remove all colors of this layer, Go to Image > Adjustment > Black and White > OK
(4). Duplicate this black and white layer with CTRL+J for Window or CMD + J for MAC
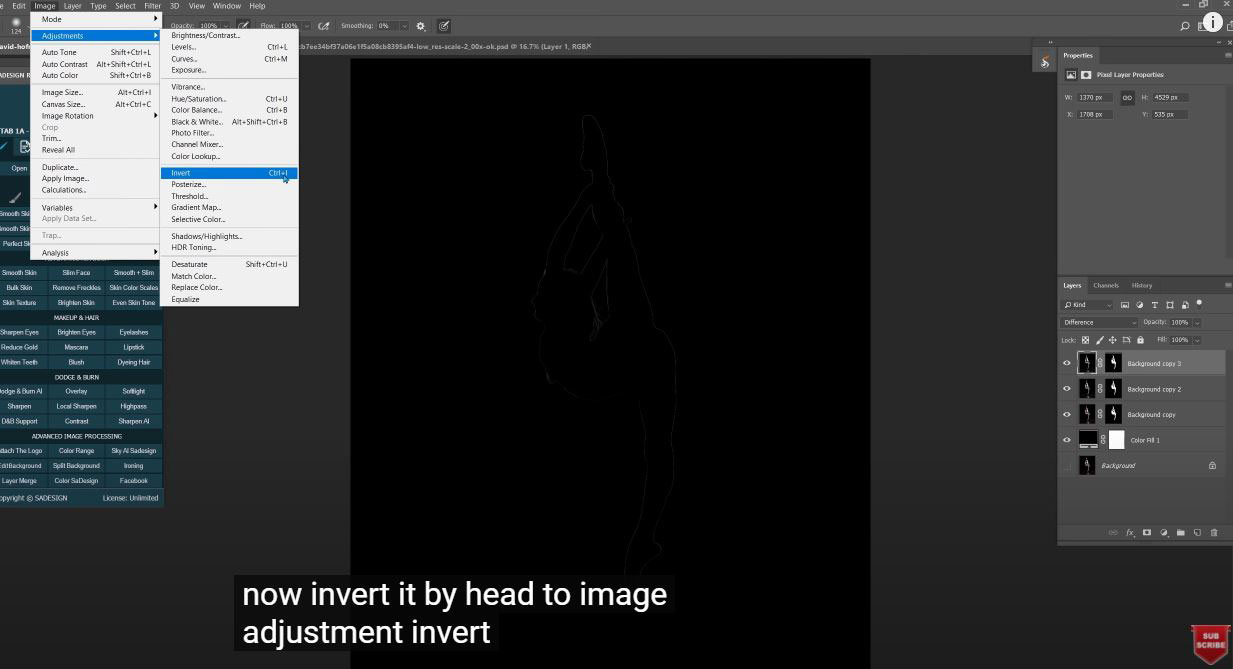
Change blend mode from normal to difference. Now invert it by head to Image > Adjustment > Invert.
The subject just like silver for now.
Merge both top layers into one with CTRL or CMD + E or go to Layer and select Merge Layer.
CTRL+J to duplicate it
Change to difference in blend mode and invert again. This time you can see the stronger effect.
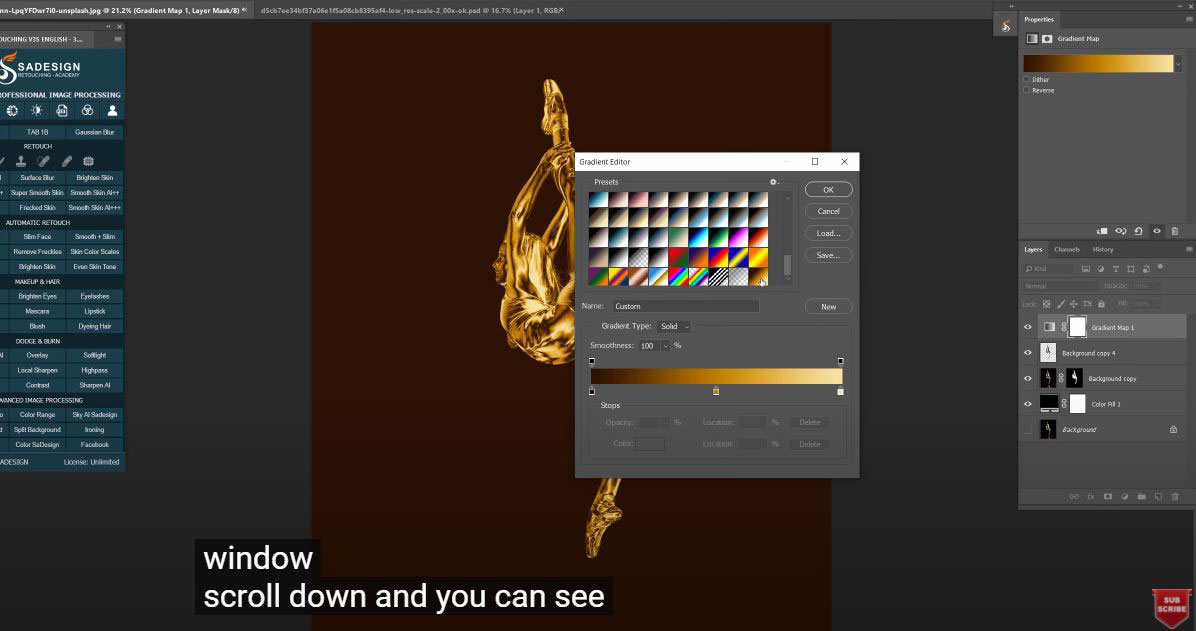
(5). Merge 2 top layers and create a gradient map adjustment layer to add gold color to it.
Click here to open Gradient editor window,
Scroll down and you can see custom preset
Set the colors as below
(6). From left to right, the color codes will be: #2d1203 – middle: #c07e00 – last one #f7e4a3, then confirm
Clipping mask this effect only to the subject with CTRL+ALT+G for window user or CMD+OPTION+G for Mac lovers
It's good but not really as gold as I wanted
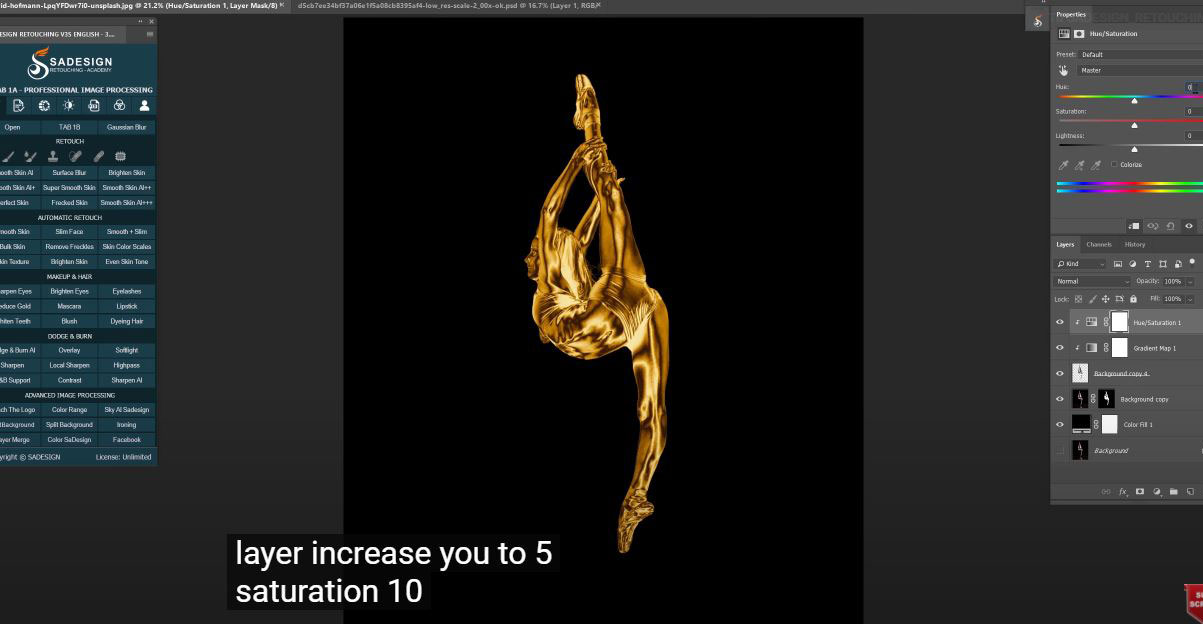
Let's adjust color a little bit, create Hue/Saturation adjustment layer, increase Hue to 5, saturation 10
Remember to clipping mask it as well, so it won't affect to the other layers.
(7).Choose 3 first layers, right click and select convert to smart object, this is just a combination steps of merge layers and convert to smart object.
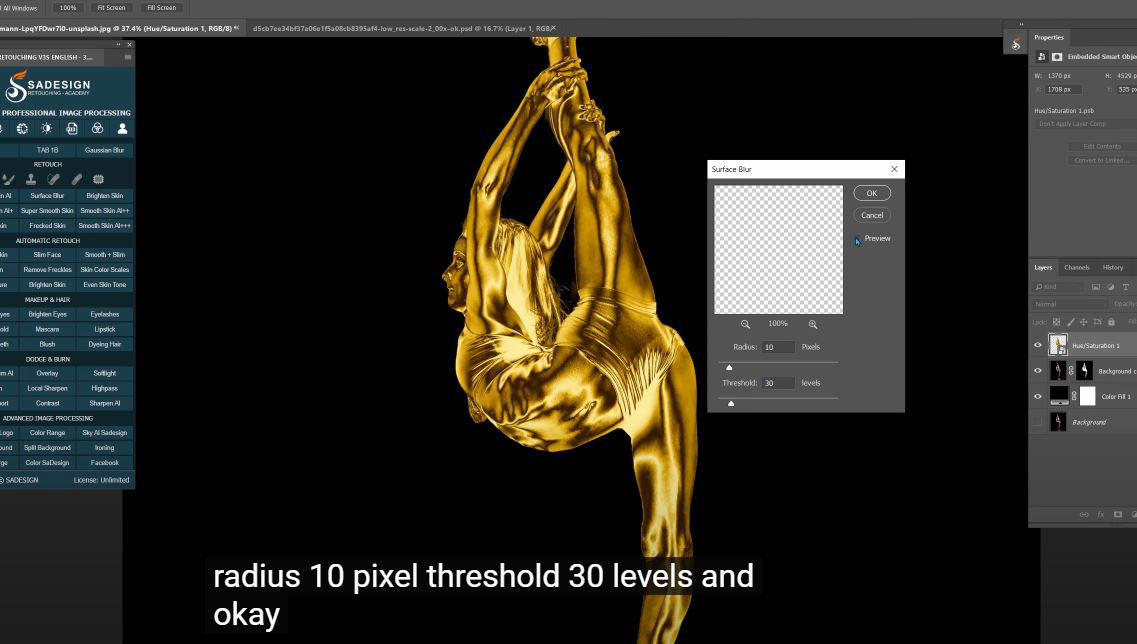
The surface is quite sharp, let add some blur to it. Head to Filter > Blur > Surface Blur > radius 10 pixels – Threshold 30 levels and OK
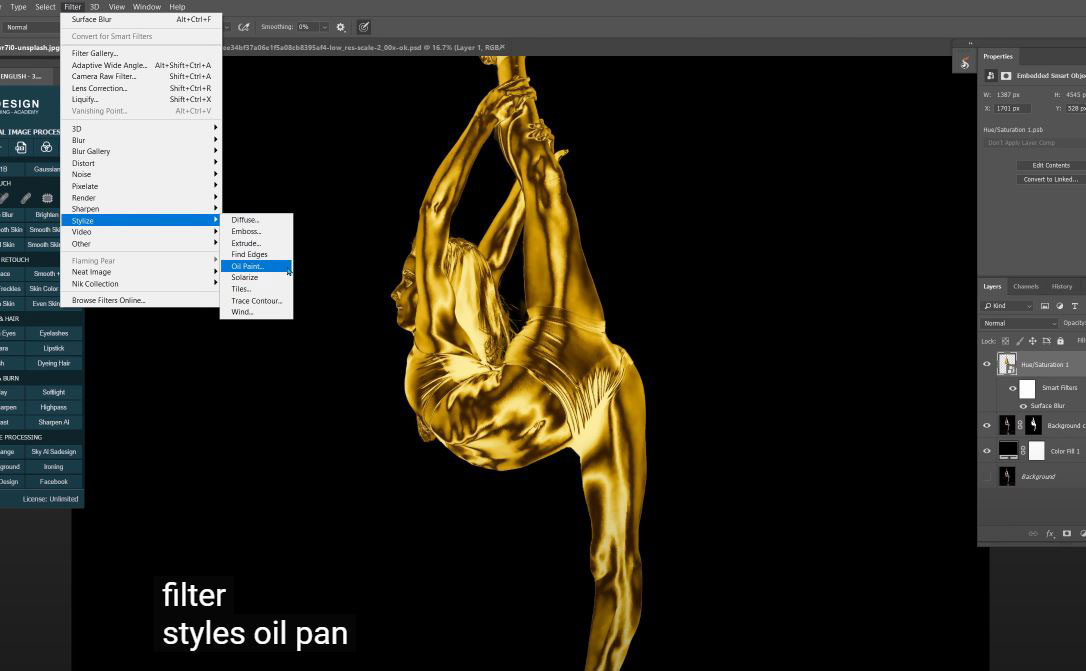
(8). Filter > Stylize > Oil Paint > following these settings:
Stylization 4
Cleanliness 1.5
Scale 0.1
Bristle Detail 0.1
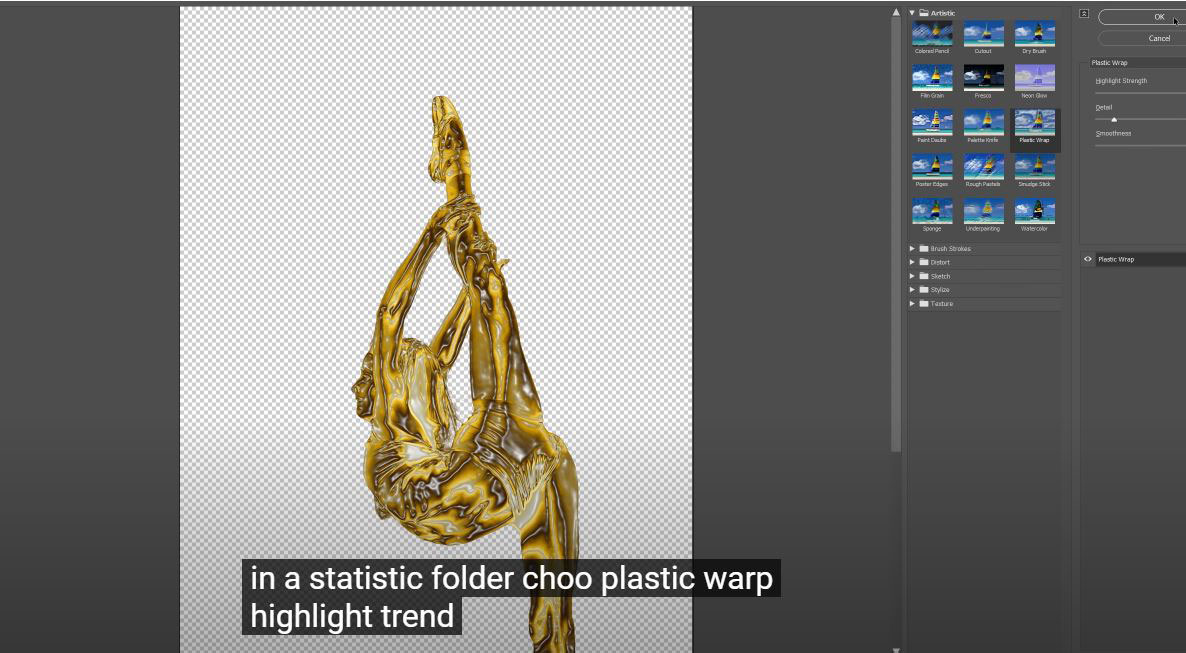
(9).Now, we will add filter to it. Filter > Filter Gallery > in Artistic folder, choose Plastic Warp
Highlight strength 20
Detail 3
Smoothness 15
OK
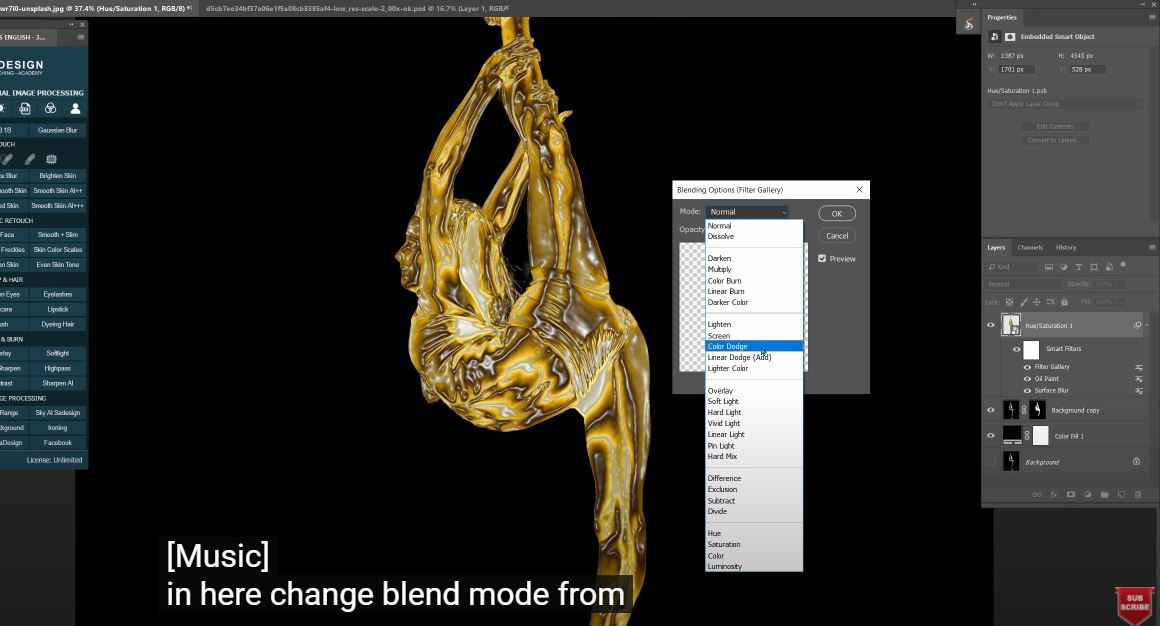
Click to the icon next to filter gallery to open its blending options, in here change blend mode from normal to color dodge and lower the opacity to 20%
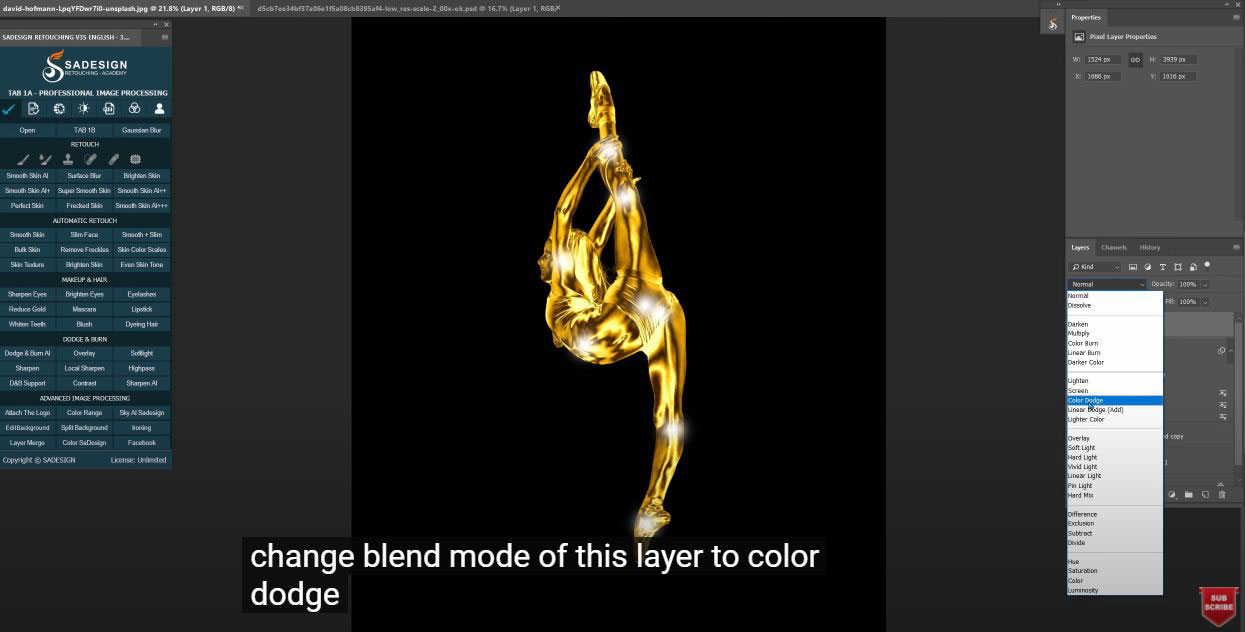
We will add some highlight, create a new layer, pick up brush tool, make sure foreground is white and dab in the areas around the subject that you want to add highlight.
Change blend mode of this layer to color dodge after that. It's too bright so let's reduce the fill to 10%.
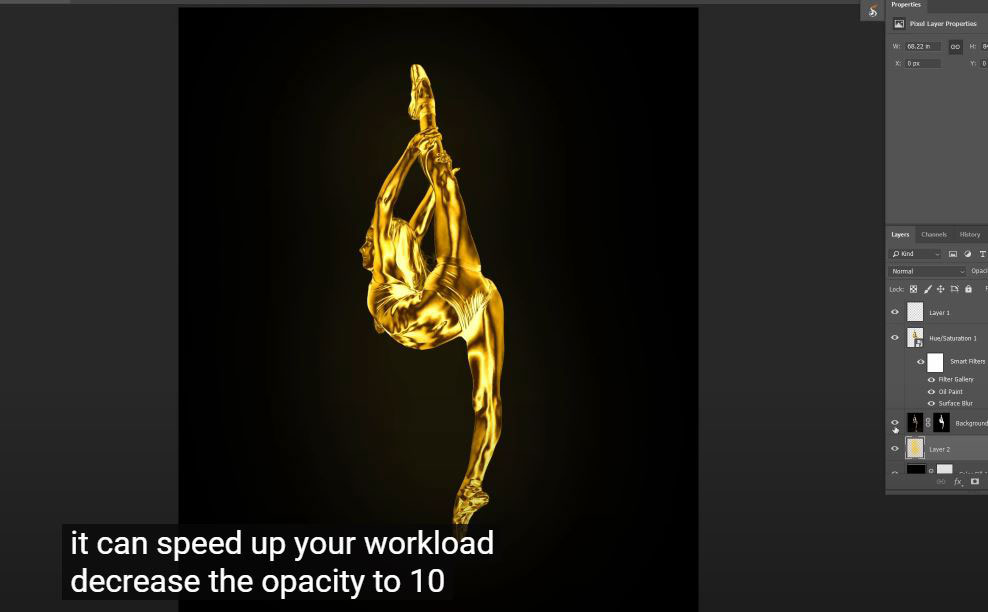
Add a new layer above black background, sample the gold hue to add a subtle color cast with brush. Increase brush size with bracket shortcut ] can speed up your workflow.
Decrease the opacity to 10%,
Finally, let's add this base to the trophy.
Move it to our project, CTRL+T to scale it down, place below her feet.
Now, create a new layer, use black brush to add a black point right on her feet to create the shadow.
CTRL+T to resize and move it right on the surface.
Add blur to it by using Gaussian blur, the amount is around 5 pixels. You can adjust the opacity if you want to.
REGISTER FOR FREE PHOTOSHOP LEARNING
============================
The most powerful Retouch tool processor
DOWNLOAD:
✅ SADESIGN PANEL ENGLISH: https://sadesign.ai/retouching/
✅ SADESIGN PANEL VIETNAM: https://www.retouching.vn/


