Best Selling Products
Turn every drop of water into a macro masterpiece with 5 magical steps
Nội dung
Macro photography is a genre of photography that captures small objects at sizes larger than or equal to real size, often at a magnification ratio of 1:1 or higher.
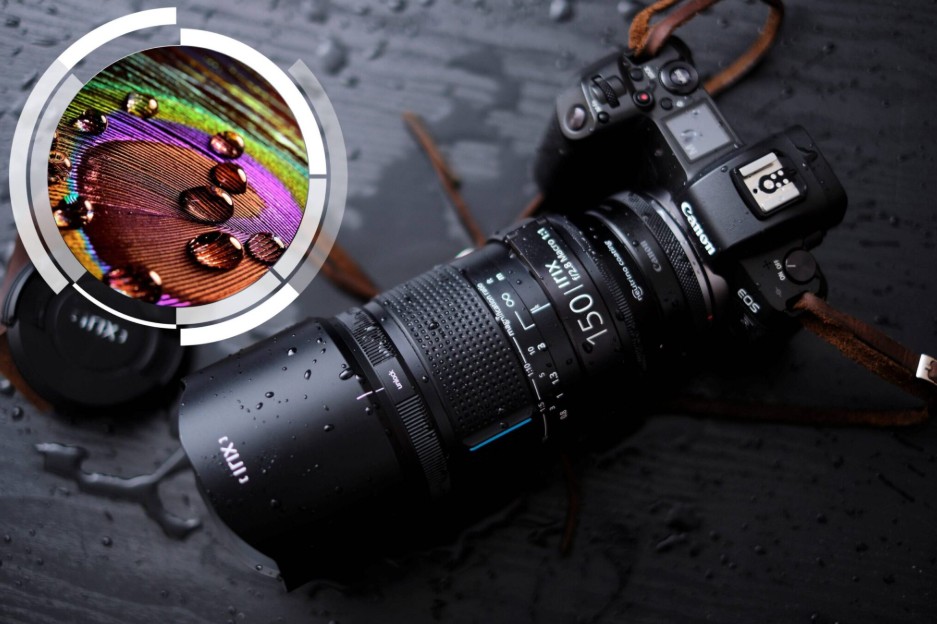
Small, seemingly simple water droplets contain a whole magical world inside. When a ray of light gently touches the transparent surface, the water drop can reflect colors, images and create a shimmering effect like a crystal. Many photographers consider macro photography of water droplets to be an attractive challenge, requiring both precise techniques and opening up endless creative opportunities.
This genre brings viewers closer to details that the naked eye cannot observe, and at the same time gives the feeling of entering a miniature universe, where each water droplet and each air bubble becomes a separate planet. To create a truly impressive water drop macro photo, you not only need an artistic eye but also careful preparation from equipment, lighting to each shooting and post-editing operation.
1. Learn a little about Macro photography
Macro photography is a genre of photography that captures small objects at a size larger than or equivalent to real size, usually at a magnification ratio of 1:1 or higher. At this level of magnification, seemingly invisible details such as tiny veins on flower petals, air bubbles inside water droplets, or crystalline structures on rock surfaces become clearer, sharper, and more vivid than ever.
This is not an easy technique. Even the slightest movement or misalignment can ruin the entire image. Therefore, macro photography requires patience, intense concentration, control of the equipment, and a deep understanding of light. Those who step into the world of macro often share that this is a journey that is both challenging and fascinating, where technique and art must blend perfectly.
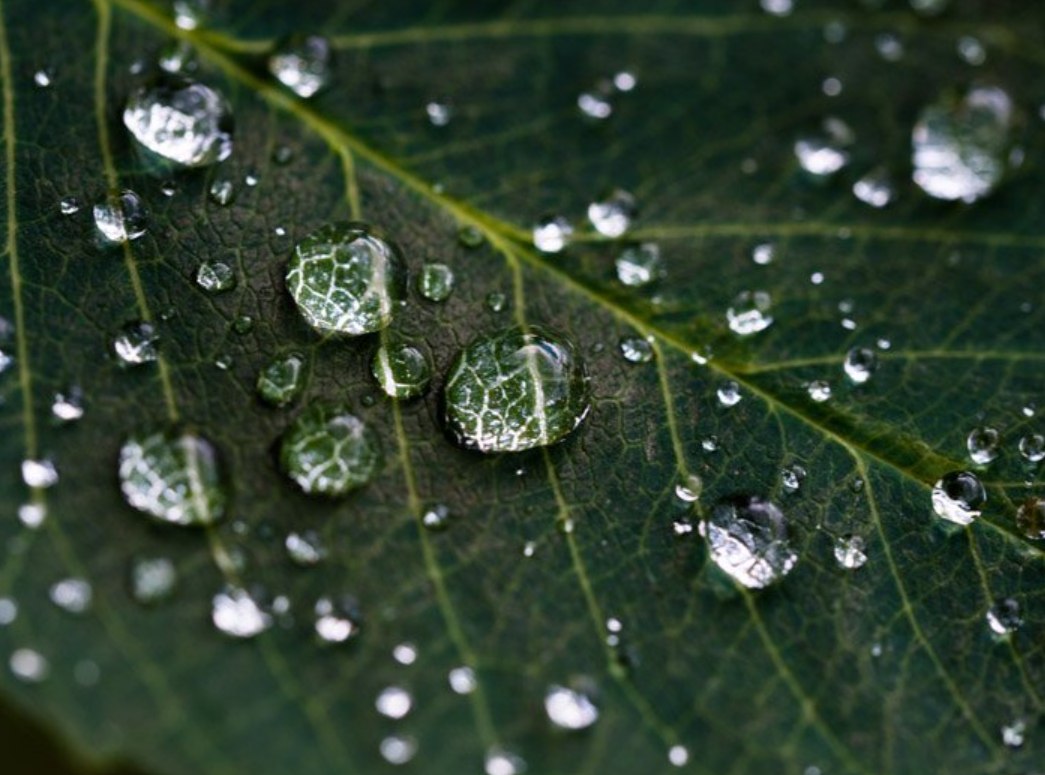
In water drop macro photography, lens selection is key. A dedicated macro lens is the ideal choice as it is designed to achieve high magnification and faithfully reproduce details. Common focal lengths often preferred by photographers are 60mm, 90mm, 100mm or 105mm. With this focal length, you can approach the subject at a close enough distance while still maintaining a safe working area, limiting the risk of casting shadows or accidentally dropping water drops.
If you want to create photos with a separate background, limit distortion and create a sense of depth, lenses with long focal lengths such as 90mm or 105mm will be a great choice. In addition, a lens with a large aperture will also help exploit the soft bokeh effect, making the water drop stand out more in the frame, while creating artistic depth.
2. Steps to take beautiful macro water drop photos
Successful water drop macro photography requires careful execution in several steps. Each step plays an important role in ensuring that the final image is both technically sharp and artistically appealing.
Step 1: Choose the right device
A great water drop macro photo starts with choosing the right equipment. A DSLR or Mirrorless camera with manual mode is a must, as you need full control over parameters like shutter speed, aperture, and ISO. A dedicated macro lens with the right magnification will help you get the sharpest details.
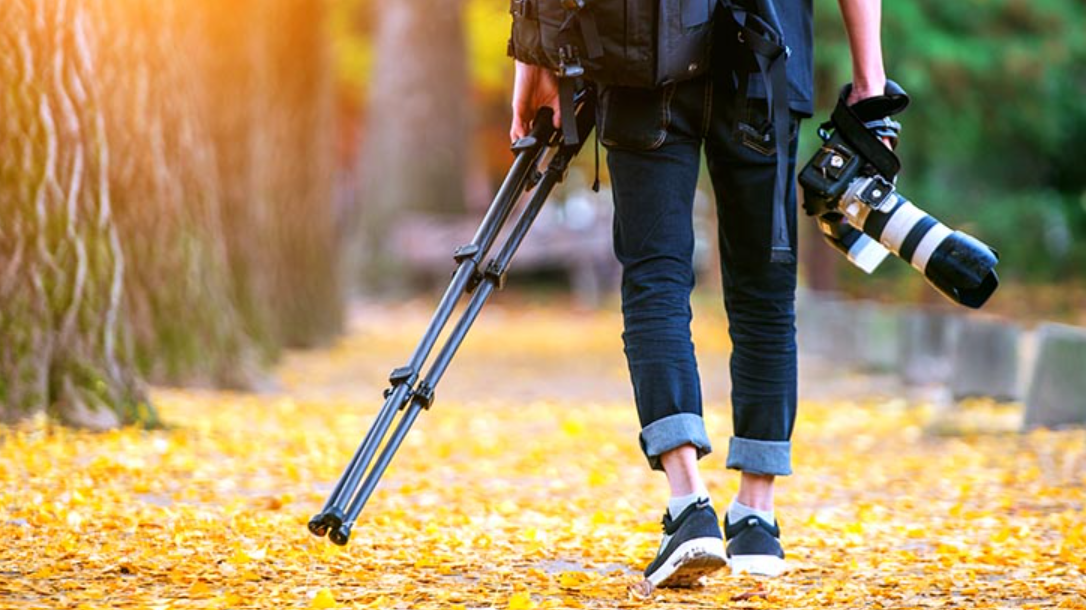
A tripod is an indispensable tool in macro photography. Because when shooting at high magnification, even a small shake can cause the image to blur. Using a tripod helps to stabilize the frame, allowing you to focus on adjusting the light and composition. In addition, a continuous LED light or a separate flash combined with a diffuser will help create a soft light source, avoiding harsh reflections on the surface of the water drop.
If you want to experiment with more creative styles, you can use an extension tube or macro filter. These accessories increase the magnification and allow you to get closer to the water drop, opening up the opportunity to explore unique details.
Step 2: Create and prepare the water drop
Without a perfect water drop, there is no perfect water drop macro photograph. You can create your own water drops by dropping them from a pipette or syringe onto surfaces such as leaves, flower petals or a clean glass plate. The ideal drop shape is round and the surface is transparent to reflect the image behind it.
The background also plays a very important role in creating the beauty of the water drop. The background can be a colorful flower, a photo with a striking pattern, or even a screen displaying a gradient color. It is important that the background is placed at a reasonable distance so that the drop can reflect without blurring or losing detail.
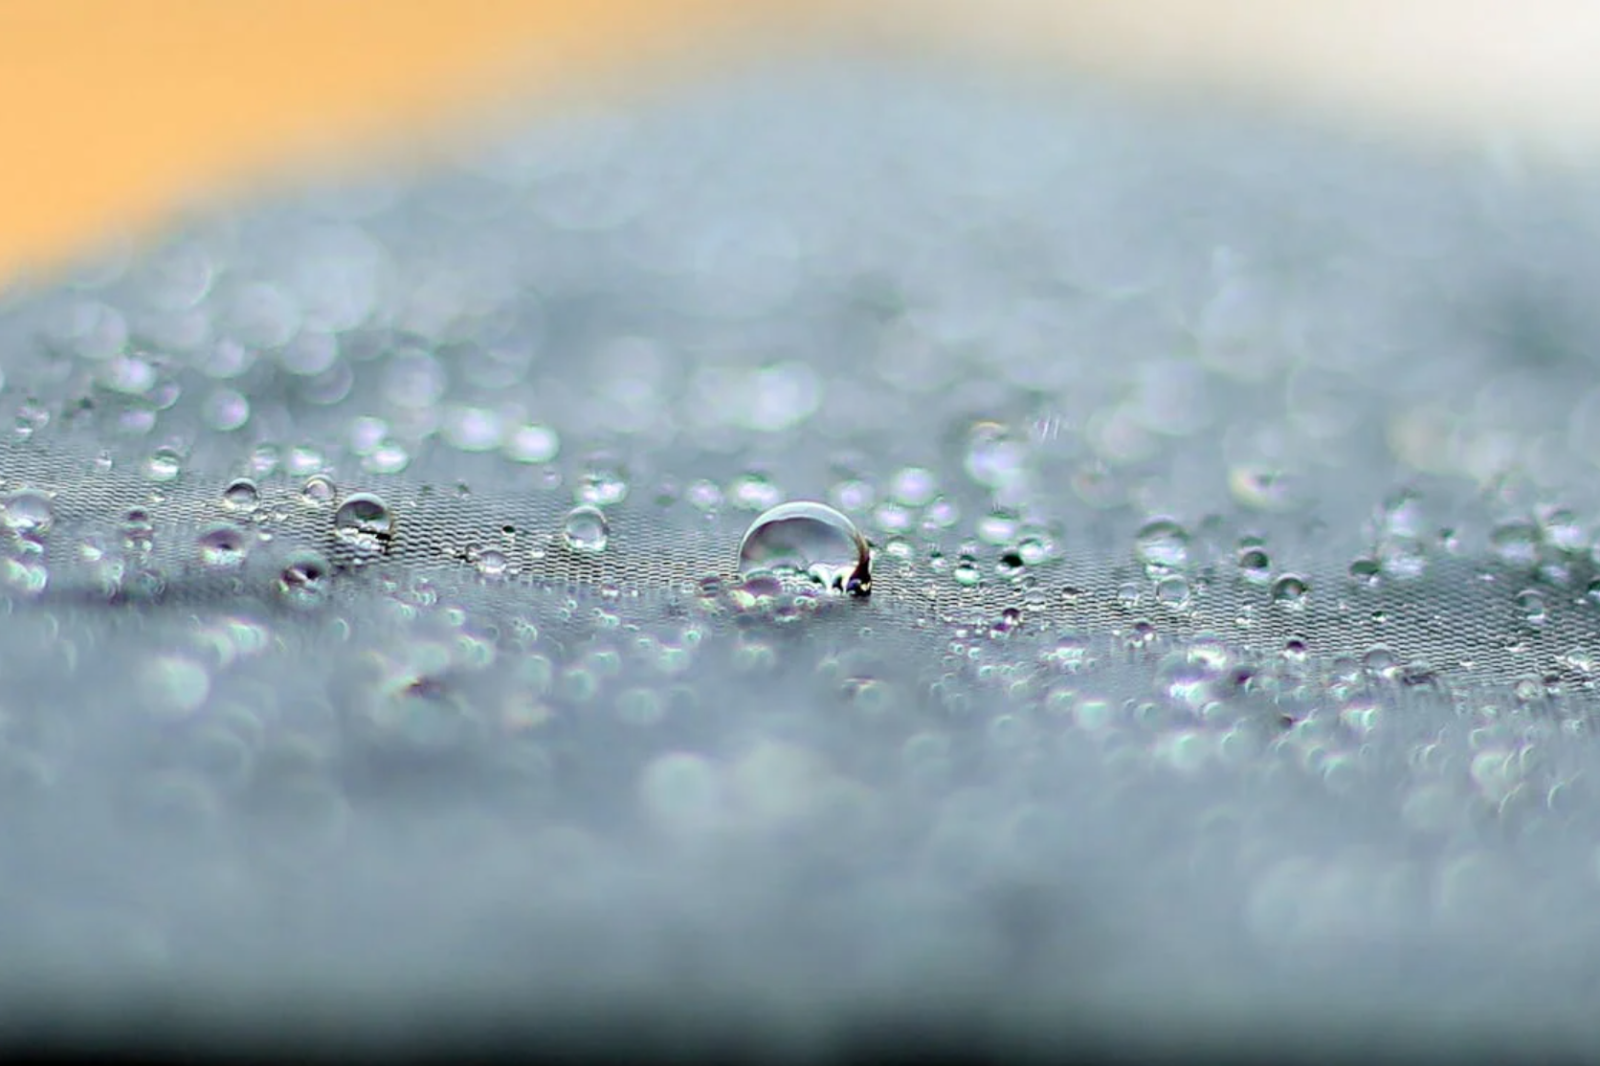
If you are shooting outdoors, the ideal time is right after a rainstorm or early in the morning when the dew is still on the leaves. Natural water droplets are often clear and adhere well, creating a realistic and vibrant feel. However, the shooting environment must be stable, avoiding strong winds or vibrations as these can distort or float the droplets.
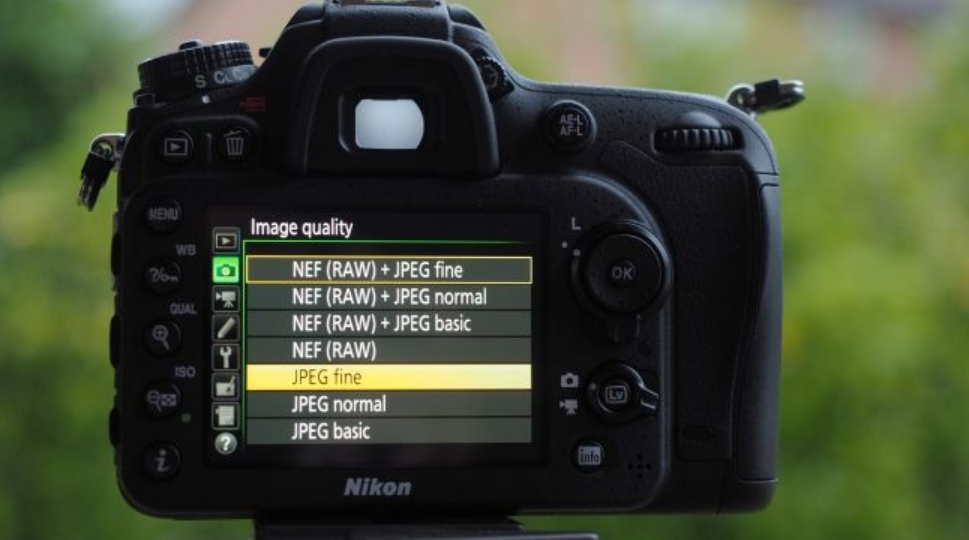
Step 3: Set camera parameters
Macro photography requires careful adjustment of camera settings. Small apertures from f/8 to f/16 increase depth of field, ensuring that the water droplet and surrounding details are in focus. ISO should be kept between 100–400 to reduce noise and maintain true colors.
Shutter speed depends on lighting conditions but should be set above 1/125 second to limit blur. If lighting conditions are low, compensate with LED or external flash instead of increasing the ISO too high. To minimize hand shake, you should use a tripod combined with timer mode or remote control.
A particularly important element in water drop macro photography is manual focus. The camera's autofocus system sometimes doesn't work well with small, transparent objects like water drops. Manual focus allows you to actively adjust the focus point precisely on the surface or inside the drop.
Step 4: Creative lighting and angles
Lighting is a factor that directly determines the sparkling beauty of a water drop macro photo. In a studio environment, you can use a softbox or diffused LED light to create even lighting and avoid harsh lighting. Adjusting the position of the light source can bring unique reflection effects inside the drop.
The angle of the shot also has a strong influence on how the viewer perceives the image. Shooting from above allows the viewer to see the “miniature world” reflected inside the droplet, creating a sense of discovery. Conversely, shooting from above emphasizes the shape, tension, and how the drop interacts with the surface. You can experiment with different angles to find the most interesting and unique composition.
Step 5: Refine and Test
Macro water drop photography is not a rigid process. After each shot, review your images and evaluate the composition, lighting, and how well the drop stands out. If the drop isn’t striking enough, adjust the background or bring it closer to enhance the reflection.
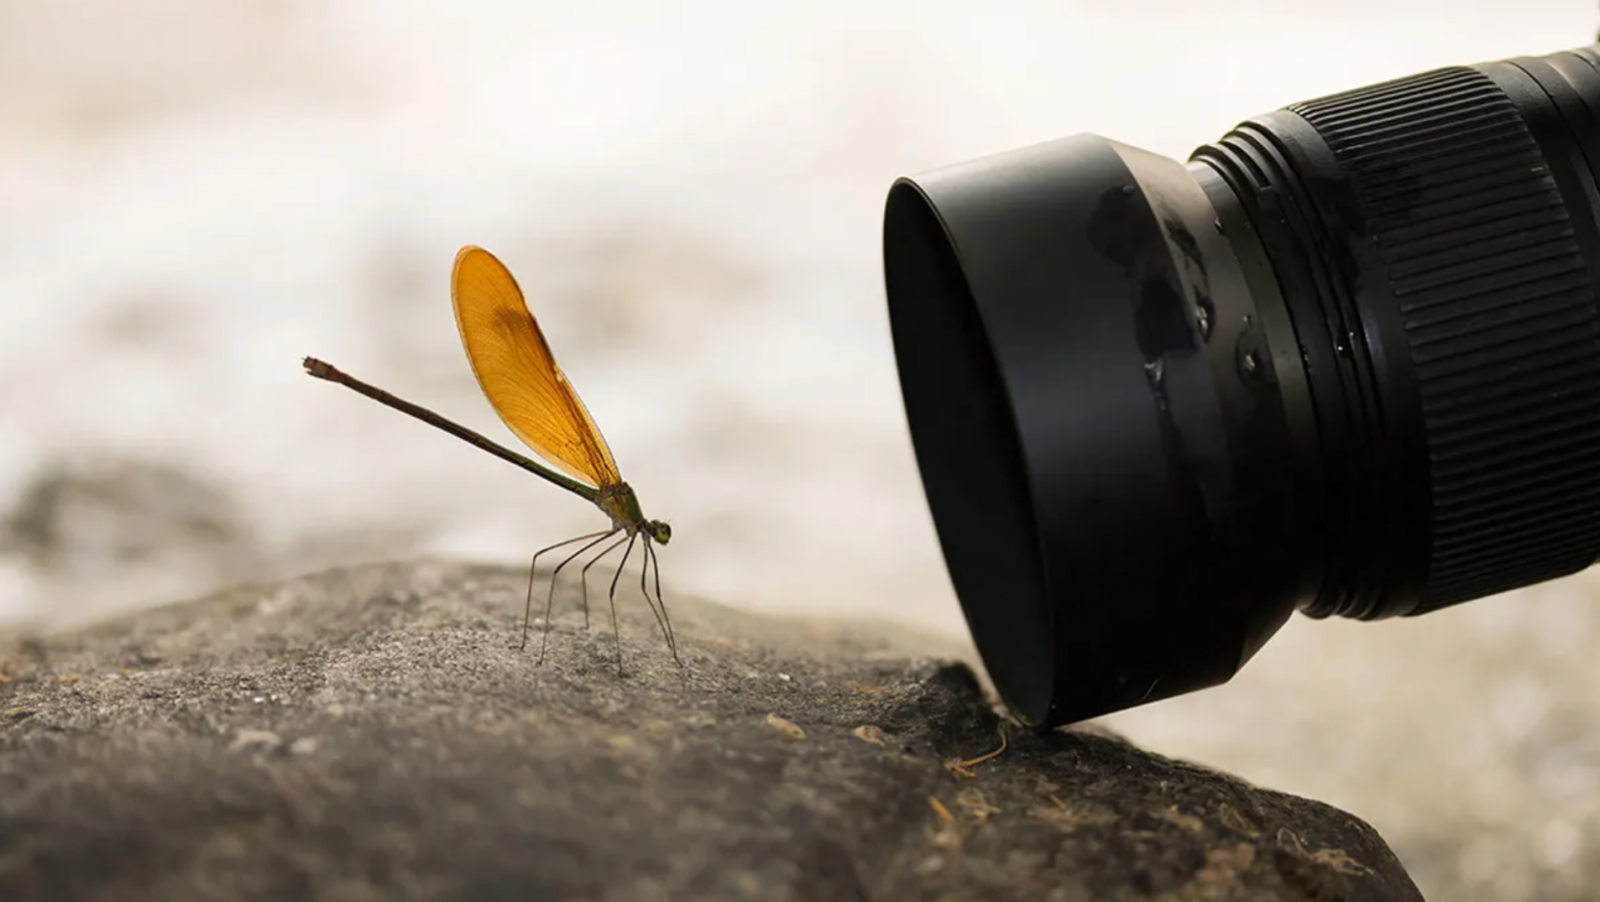
If you lack detail, you can increase the light or change the aperture to increase the depth of field. You can also experiment with creative ideas such as placing multiple droplets close together to create a reflection effect, or using a floral background so that the water droplets become a small “mirror” reflecting the world. Each small change has the potential to create a unique and surprising photo.
3. Important notes when taking macro photos of water drops
To get the perfect shot, there are some important things you should not ignore. First of all, make sure your equipment is always clean, especially the lens surface and filters. In macro photography, every detail is magnified and even the smallest speck of dust can become very obvious, losing the subtlety of the photo.
Also, be careful to avoid vibrations from the surrounding environment. When working at high magnifications, even a small vibration from the ground or a light wind can cause the droplet to deform. Keep a reasonable working distance so that the droplet is not affected by your breath or shadow.

Ultimately, the most important element of macro photography is patience. You can spend hours waiting for the right light to hit the right spot, or adjust the camera angle to get the perfect composition. But when that perfect moment comes, the results will be worth all the effort.
Macro photography of water droplets is not only a technical challenge but also a game of creativity, finesse and patience. When you master the principles of equipment, lighting, composition and carefully execute each step, you will transform tiny water droplets into captivating works of art. This is the magic of photography, where seemingly trivial details can become a fascinating world when viewed through a creative lens.


