Best Selling Products

Adobe Photoshop Copyright - Full App
120 USD

Genuine Adobe Illustrator account
99 USD

Capcut Pro 1 Year
39 USD

Adobe Premiere Pro Account
99 USD

Copyright Adobe Lightroom Account
59 USD

Freepik Premium Account
59 USD

Plugin Retouch4me
69 USD

Upgrade Genuine Office 365
49 USD

Upgrade Duolingo Super
29 USD

MidJourney Account
29 USD

Windows 10 & 11 Pro Key
36 USD

ChatGPT Plus Account (GPT-4)
16 USD

Upgrade genuine Capture One account
120 USD

Genuine Cheap Canva Pro
39 USD

Autodesk All App Account Copyright
120 USD
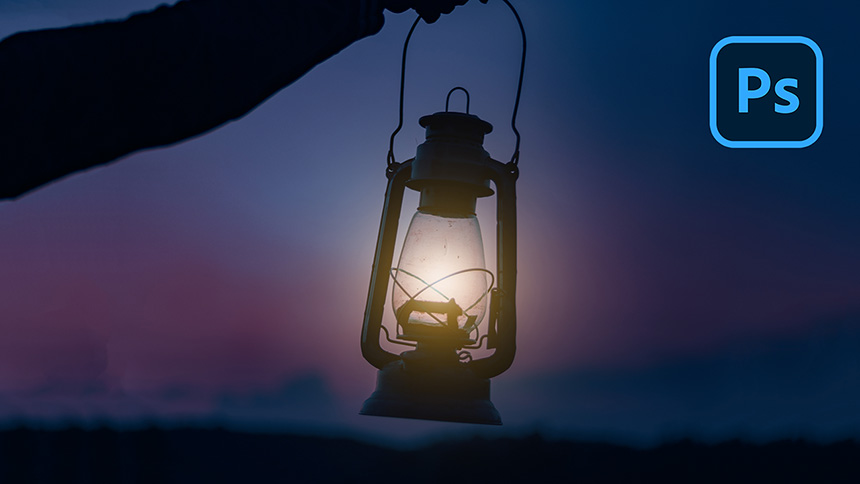
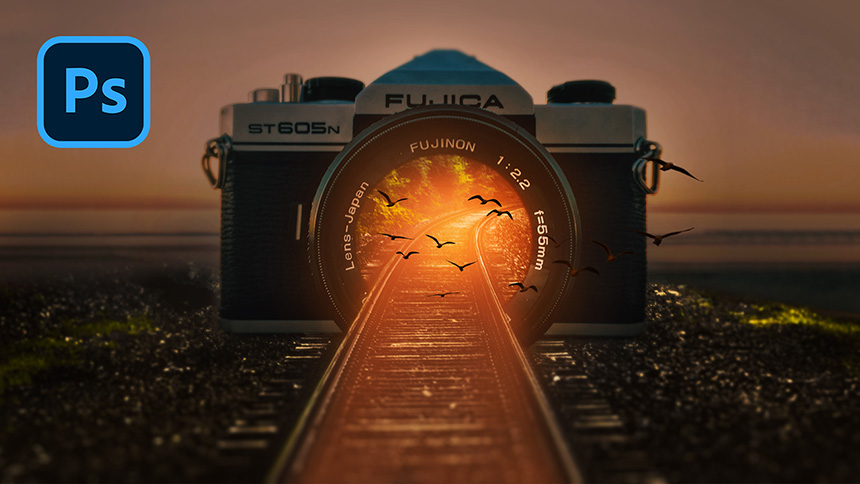
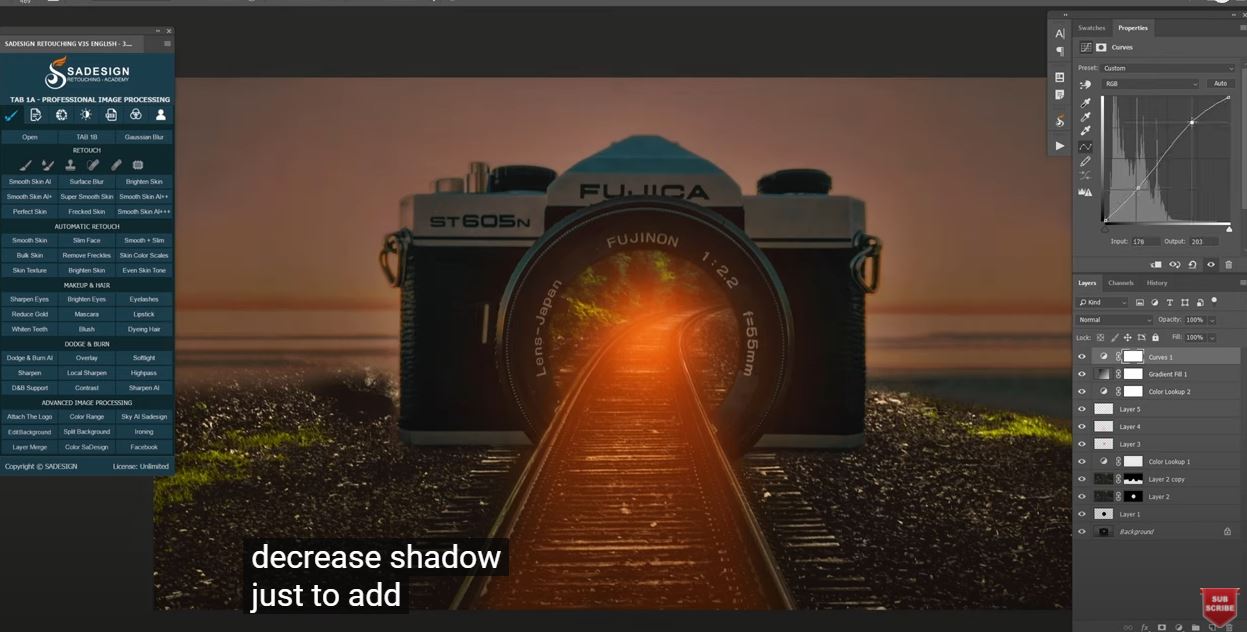
3D Scene Life Pop Out Effect | Photoshop Manipulation Tutorial
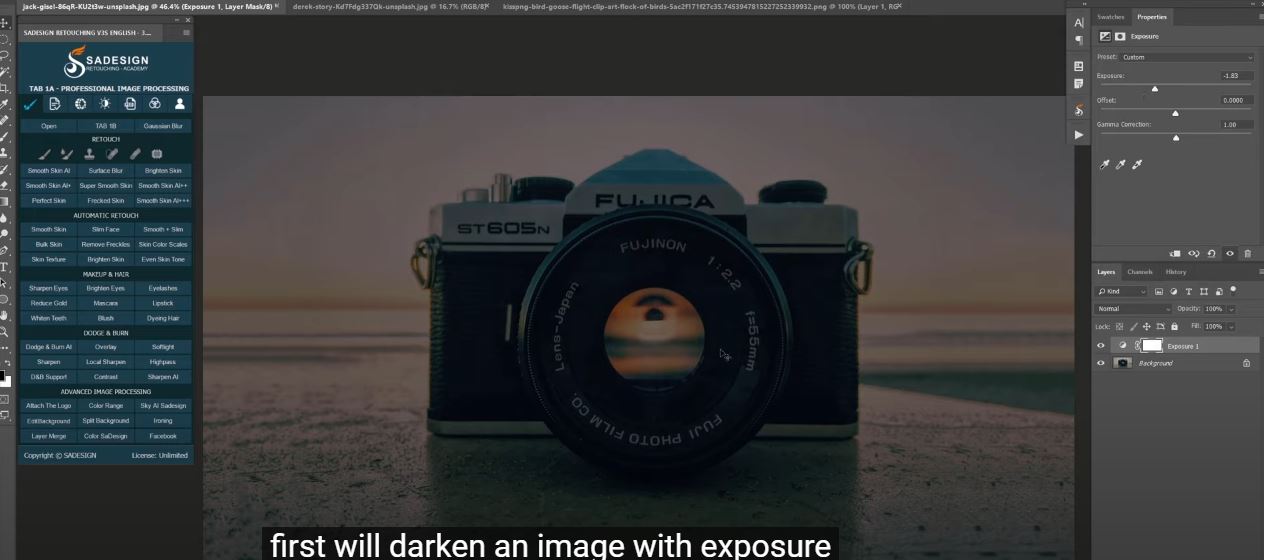
Hi there, let’s me show you how to create 3D Manipulation scene life in Photoshop. First, we will darken the image with exposure adjustment layer, decrease it to nearly -2, . Use brush tool (black in foreground color) and paint over the lens to bring back the brightness in this area.
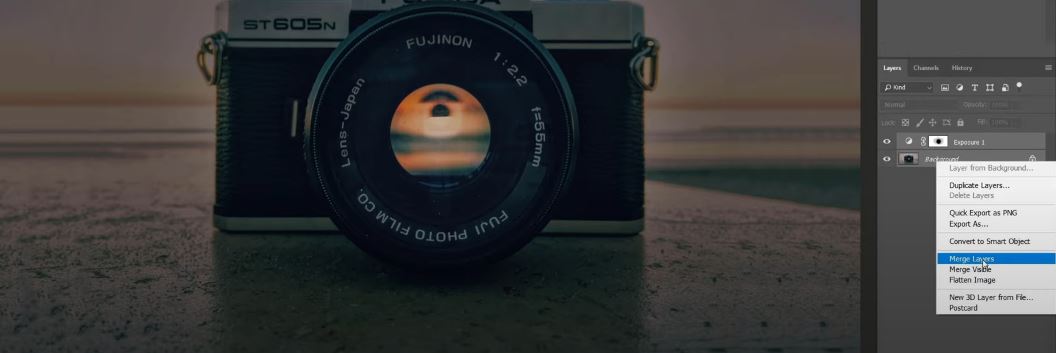
Merge these layers into one with this way, or you can use shortcut CTRL or CMD + E
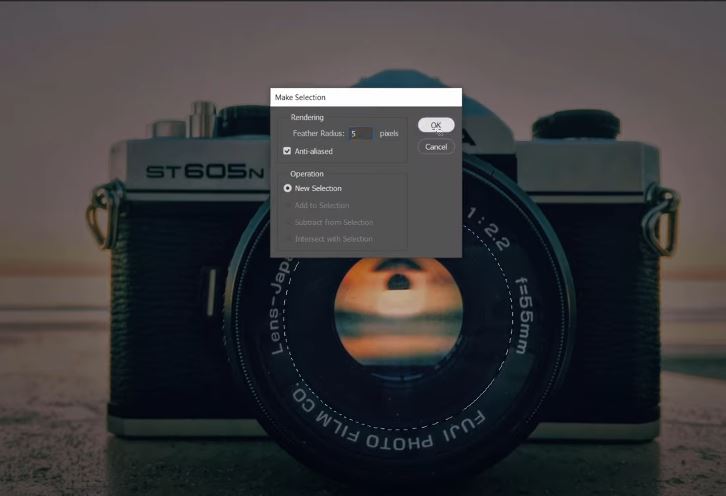
Next, we will select the inner lens to make the manipulation effect. Pick up Ellipse tool, choose “path” type and draw a selection to cover the area inside the lens. Freely to adjust each edges of the shape. Hit enter to complete Right click to the shape, choose make selection, feather 5 pixels and OK
Create a new layer, press SHIFT+F5 to fill this selection with Black Now, take this railroad photo to our project by using CTRL+A and CTRL+C Paste it with CTRL+V, reduce opacity to 50% so we can see the camera behind, then press CTRL+T to move the railroad in the middle of the lens, just like the railroad goes through it. Bring back opacity to 100%. Duplicate it with CTRL or CMD + J

Hold ALT and click to this icon to create black layer mask to the top layer. In layer 2, hold CTRL and click to layer 1 to take the selection of the lens and create layer mask to it.
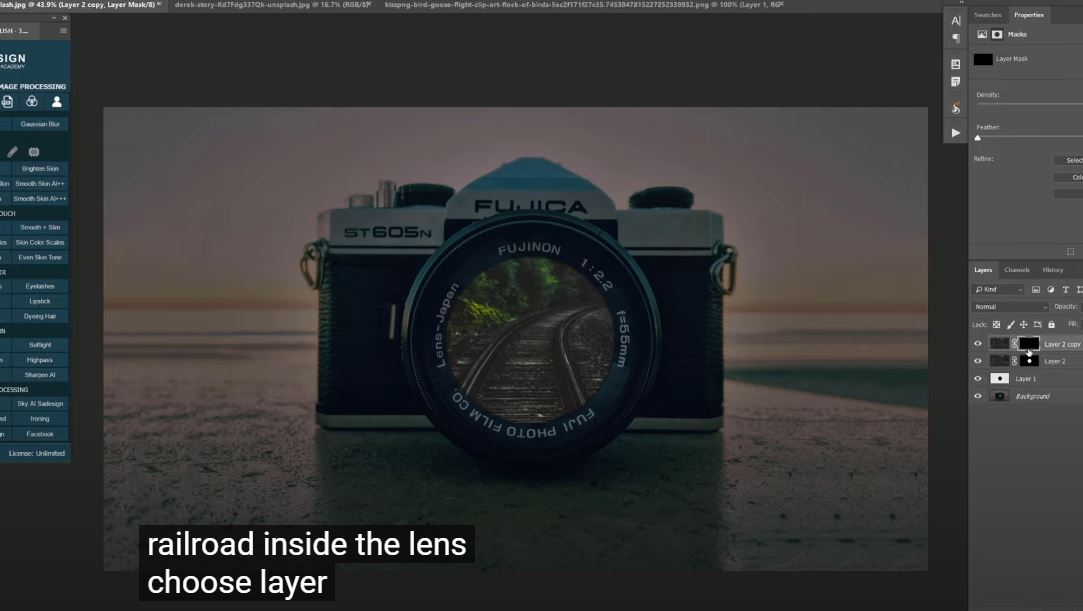
There you go! Now you can see the railroad inside the lens. Choose layer mask on top layer, use polygonal lasso tool and make the selection just like this, then press CTRL+Delete to reveal the rail in front of the lens. Before that, make sure the background color is white. If not, press D to reset the foreground and background color as default. CTRL+D to deselection.

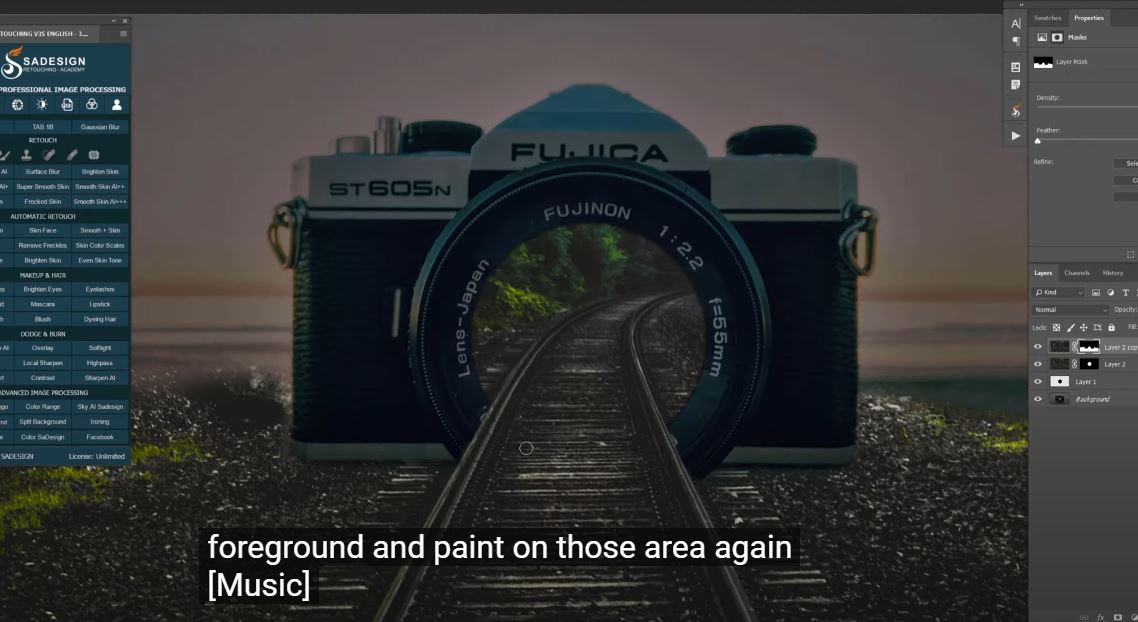
Pick up Brush tool, white in foreground, paint along the rail and the areas around the camera to bring the details back. Make sure not to paint the camera. In case you accidentally paint on unwanted areas. Press X to switch black color to foreground and paint on those areas again.
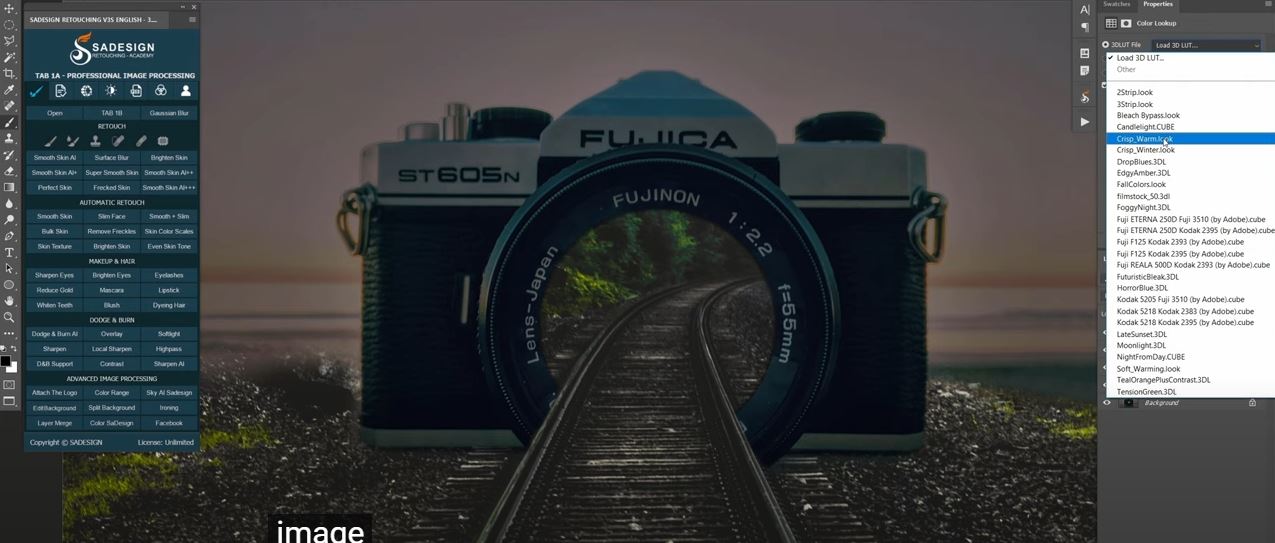
Once, you are done, create a color lookup adjustment layer to add color preset to the image. Drop down menu in 3DLut file and select “Crisp_Warm.look”. Adjust the opacity to 40%
Next we add color of sunset to the railroad, just to create a sunset atmosphere inside the lens. Create a new layer with this icon. Choose orange color in the foreground. Use brush and add color inside the lens, on the railroad. Adjust opacity to 70%, Change blend mode to screen, it’s quite bright so i’ll reduce it to 60% in opacity.
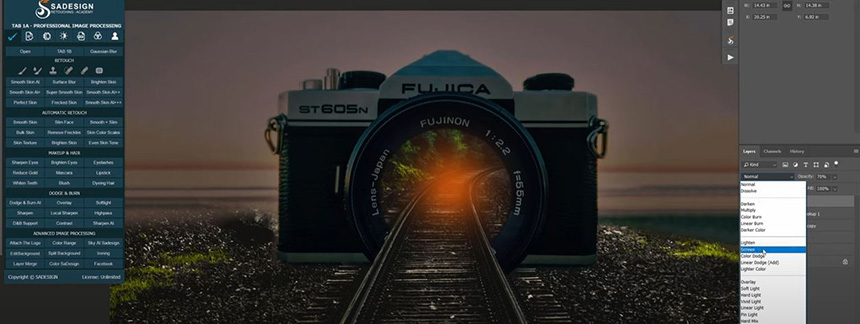
Create another layer, use brush with 20% of opacity, now we will paint along the rail to fill it with foreground color. Create new layer, Opacity 70%, dab right there to create a strong focus point to the viewers.
Change blend mode from normal to soft light, reduce opacity to 50% Create another color lookup, select “Fall color” in 3DLut file. Choose layer, switch orange to foreground with this icon. Click to adjustment icon and select Gradient. In style: select Radial, Angle: 90 degree Scale 80%. OK
Watch the video here:
REGISTER FOR FREE PHOTOSHOP LEARNING
============================
The most powerful Retouch tool processor
DOWNLOAD:
✅ SADESIGN PANEL ENGLISH: https://sadesign.ai/retouching/
✅ SADESIGN PANEL VIETNAM: https://www.retouching.vn/


VIP Products


Best Selling Products
Adobe Photoshop Copyright - Full App
120 USD
Genuine Adobe Illustrator account
99 USD
Capcut Pro 1 Year
39 USD
Adobe Premiere Pro Account
99 USD
Copyright Adobe Lightroom Account
59 USD
Freepik Premium Account
59 USD
Plugin Retouch4me
69 USD
Upgrade Genuine Office 365
49 USD
Upgrade Duolingo Super
29 USD
MidJourney Account
29 USD
Windows 10 & 11 Pro Key
36 USD
ChatGPT Plus Account (GPT-4)
16 USD
Upgrade genuine Capture One account
120 USD
Genuine Cheap Canva Pro
39 USD
Autodesk All App Account Copyright
120 USD