Best Selling Products
How to Bend 3D Perspective in Photoshop
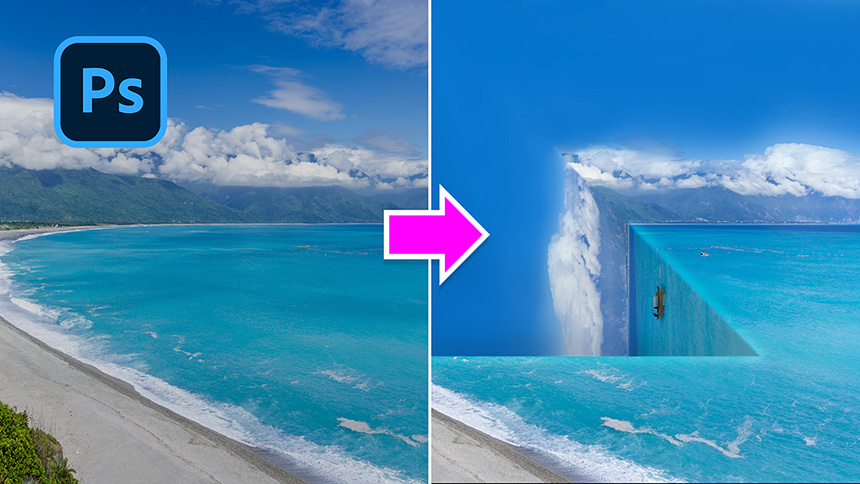
Hello everyone, today I will show you how to create perspective bending 3D images in Photoshop
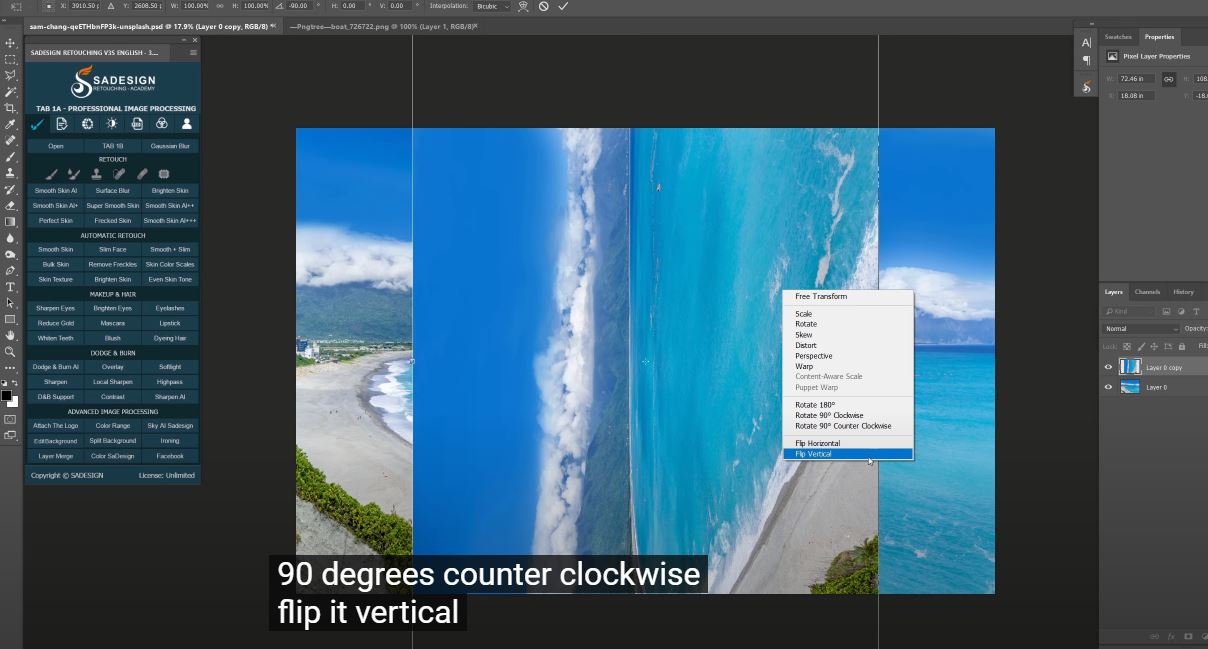
Duplicate the layer with CTRL or CMD + J Press CTRL + T, right click on the image and select “Rotate 90 degrees counterclockwise” Flip it vertically, align to match the bottom right corner, then press Enter Use the crop tool to crop the image to a square canvas Pick up pen tool, to make the upper right part selection.
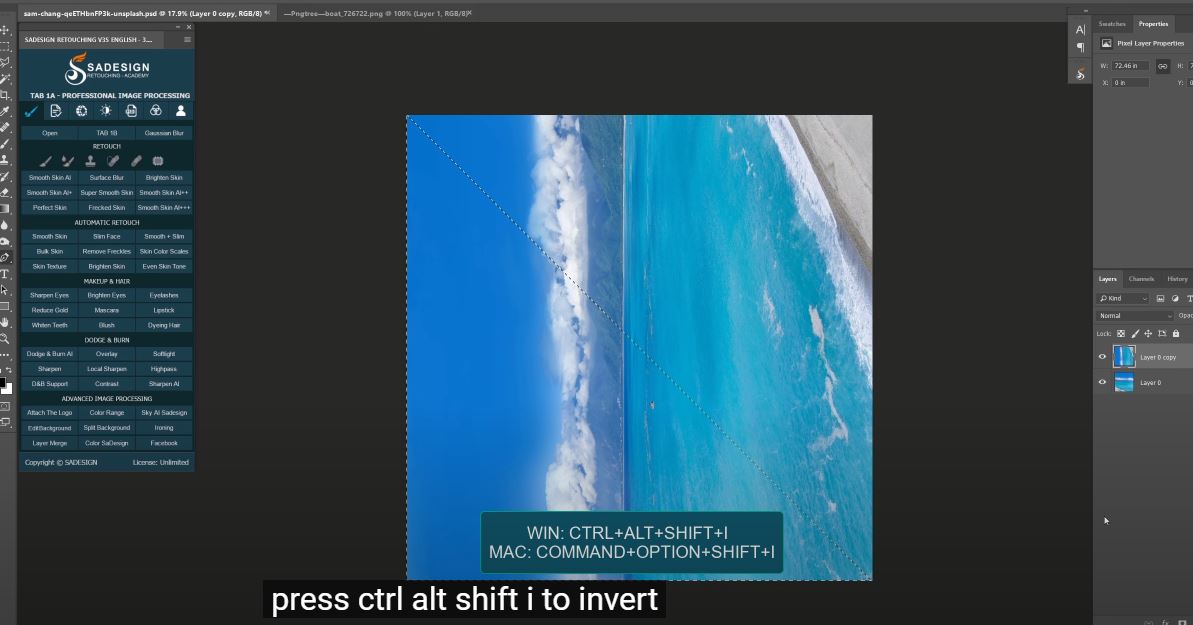
Press CTRL + ALT + SHIFT + I to invert the selection, click this icon to create a layer mask Here it is, now we can see the ocean bending.
Click on the chain icon to unlink between them, so we can move the layer without binding to the mask.
Move it up almost halfway to create an angle.
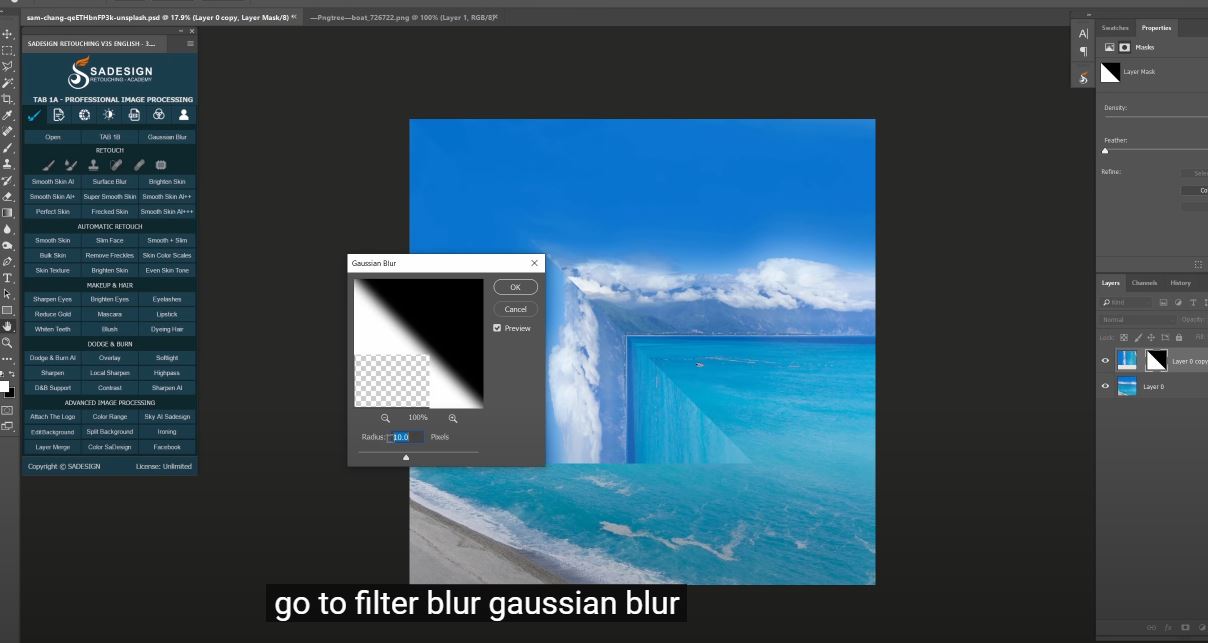
Select the mask, go to Filter > Blur > Gaussian Blur > 10 pixels, OK Using the copy stamp tool, make sure to select “All Layers” in the template box.
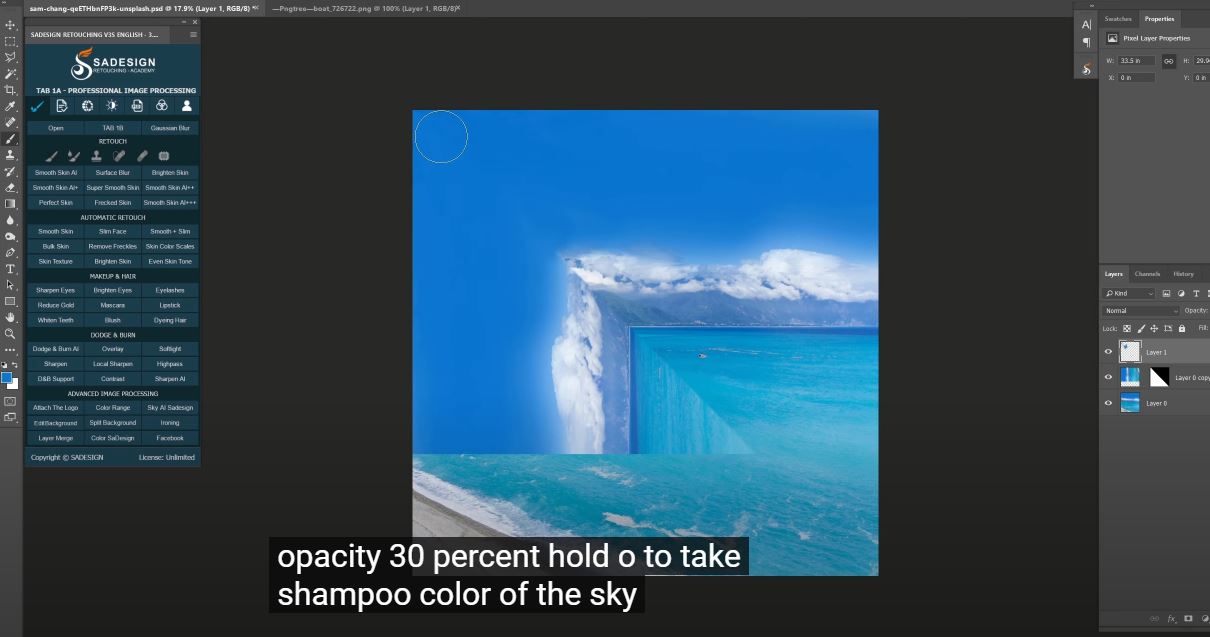
Create a new layer, hold Alt to sample and fill to replace the destination with the pattern we took Change to Brush tool, 30% opacity, hold ALT to get the sample color of the sky and paint to erase the middle line.
Use Brush, 5% opacity, black in foreground, paint along the edge to add shadow Next, keeping the selection still, create a new layer, then press CTRL + SHIFT + I to invert the selection.
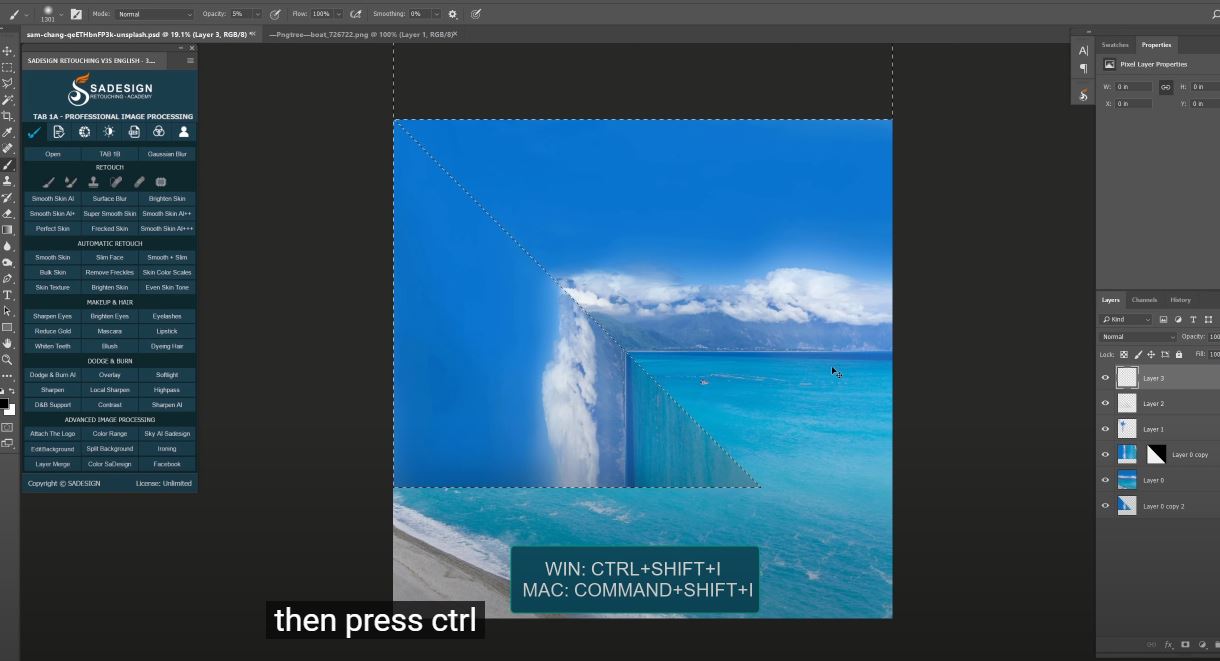
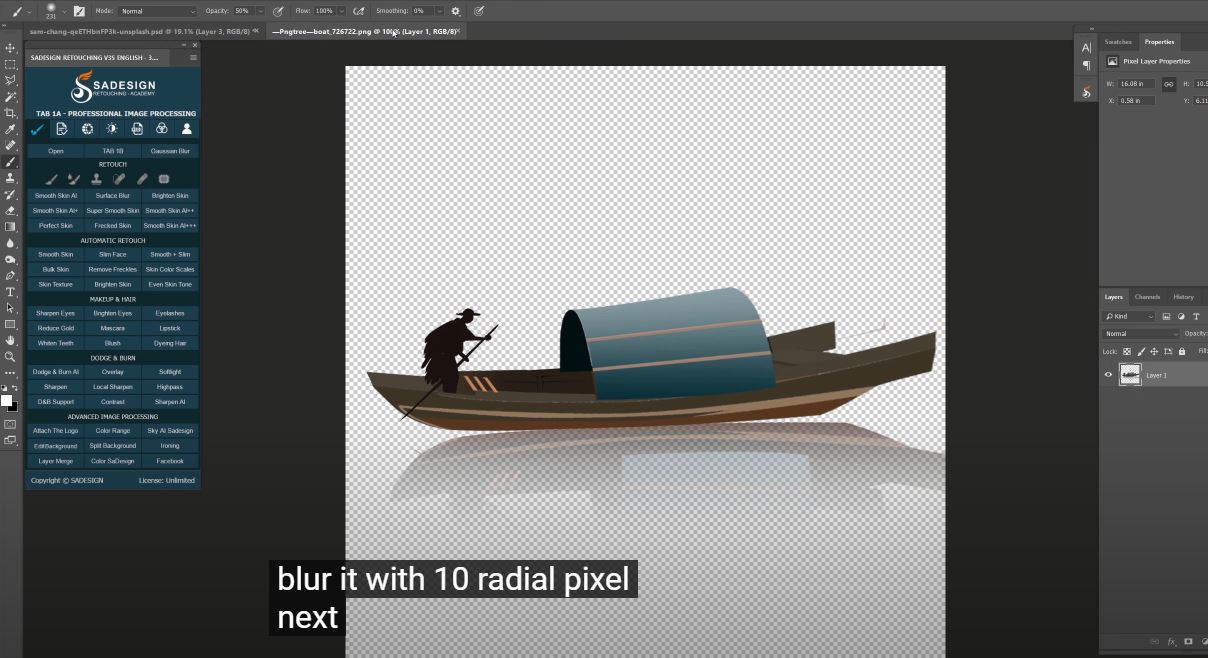
We will add highlight to the corner, using Brush tool, white in foreground, 50% opacity, dot this position, hold SHIFT and dot the corner to make a line, then dot to the left. Change to overlay in blend mode. Reduce opacity to 50% Go to Filter > Blur > Gaussian Blur to blur it with 10 pixels radius Next, we will decorate this boat image.
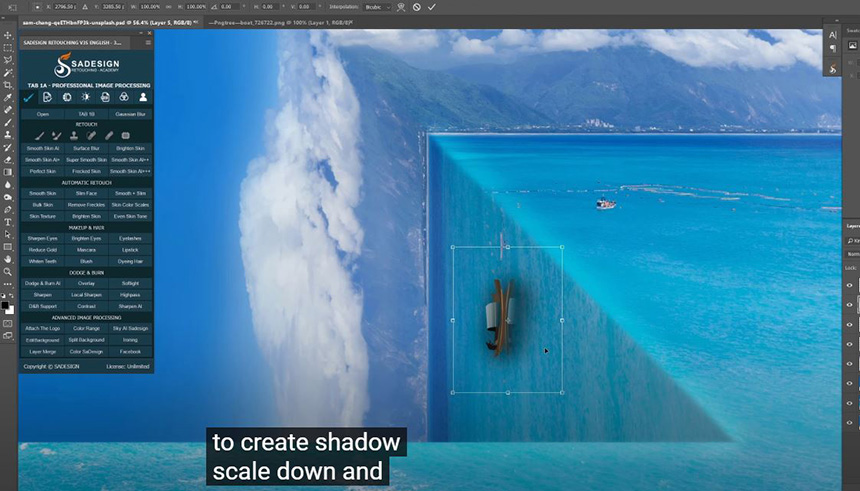
CTRL + T, right click on it and choose rotate 90 degrees. Zoom out and move it like on the ocean Create new layer below layer 4, use Brush tool, black color in foreground, dot lightly to create shadow, zoom out and move it below boat.
Use Gaussian blur to blur it with 10 pixels Do it! Hope you guys enjoy this video, you can download the stock by following the link in the description to follow along with me through the process. Thanks for watching!
Watch the video here
REGISTER FOR FREE PHOTOSHOP LEARNING
============================
The most powerful Retouch tool processor
DOWNLOAD:
✅ SADESIGN PANEL ENGLISH: https://sadesign.ai/retouching/
✅ SADESIGN PANEL VIETNAM: https://www.retouching.vn/


