Best Selling Products

Upgrade genuine Capture One account
120 USD

Plugin Retouch4me
69 USD

Genuine Cheap Canva Pro
39 USD

Windows 10 & 11 Pro Key
36 USD

Adobe Photoshop Copyright - Full App
120 USD

Genuine Adobe Illustrator account
99 USD

ChatGPT Plus Account (GPT-4)
16 USD

Adobe Premiere Pro Account
99 USD

Upgrade Genuine Office 365
49 USD

Freepik Premium Account
59 USD

Copyright Adobe Lightroom Account
59 USD

MidJourney Account
29 USD

Upgrade Duolingo Super
29 USD

Autodesk All App Account Copyright
120 USD

Capcut Pro 1 Year
39 USD
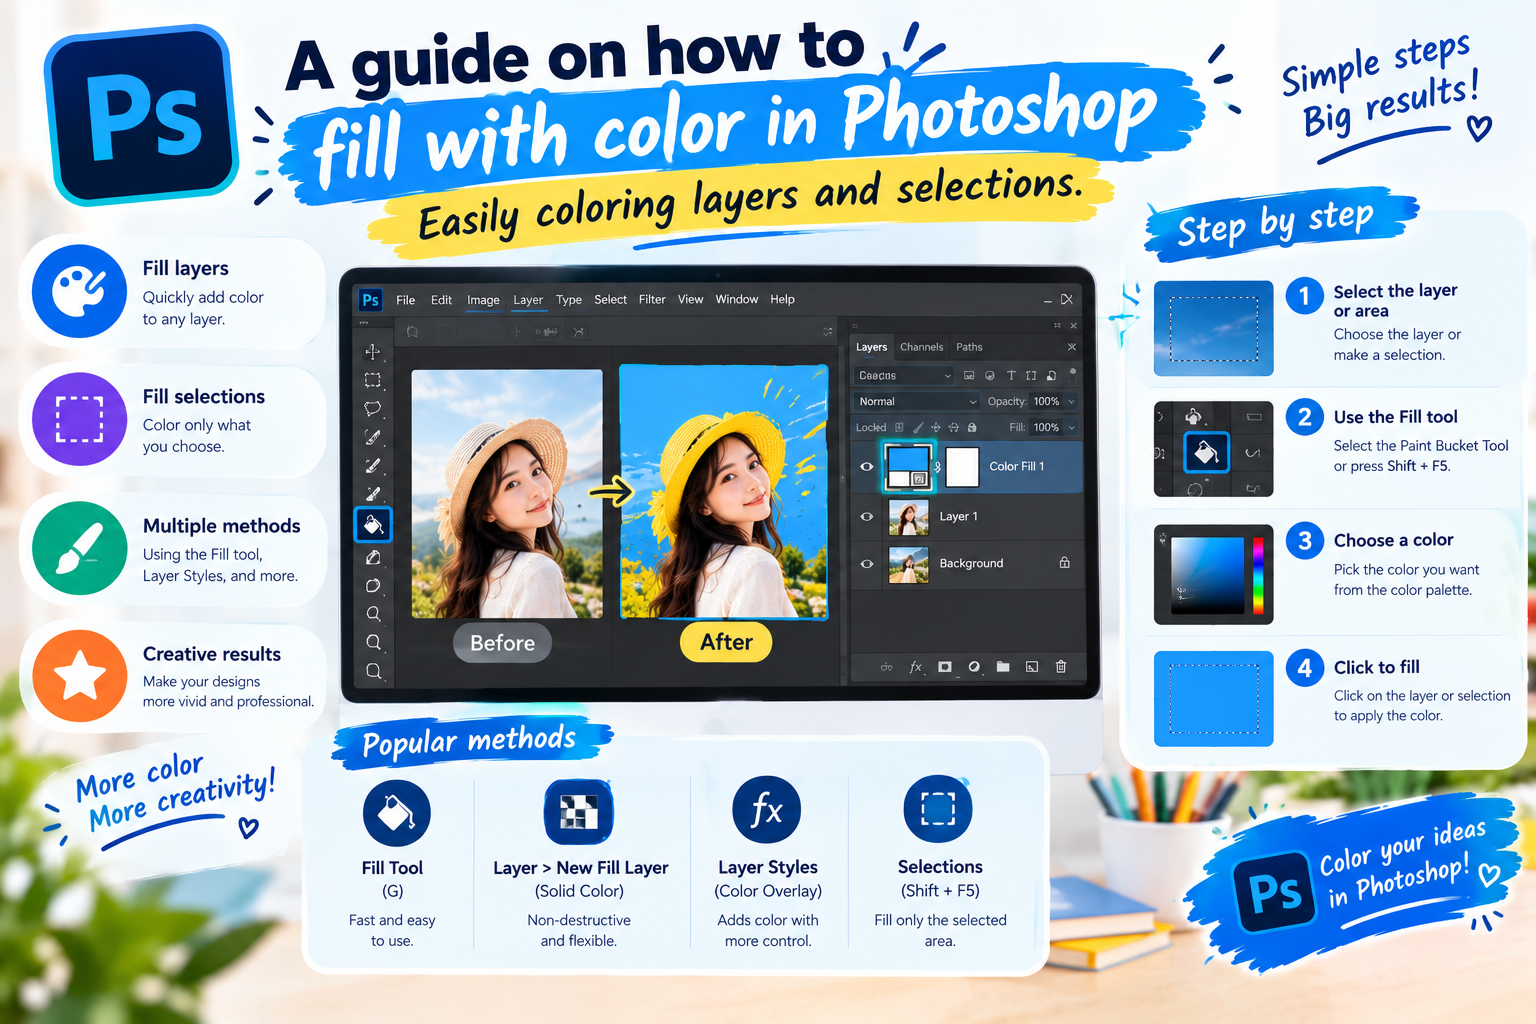
A guide on how to fill with color in Photoshop, easily coloring layers and selections.
Nội dung
- 1. What is color filling in Photoshop?
- 2. What is the difference between Foreground and Background in Photoshop?
- 3. How to choose colors before filling in Photoshop
- 4. How to fill an entire layer with color in Photoshop
- 5. Some tips to help you fill colors in Photoshop faster and more accurately.
- 6. Why should you upgrade your Photoshop at Sadesign?
- 7. Conclusion
Photoshop is a familiar software for anyone who frequently edits images, designs banners and posters, or creates content on a computer. Besides complex operations like background removal, image merging, or color correction, color filling in Photoshop is a fundamental skill that is used very often. With just a few simple steps, you can fill an entire layer with color, fill a selection, or change the color of individual areas in your design. Simply understanding the difference between foreground and background, knowing how to choose colors, and remembering a few important keyboard shortcuts will allow you to work much faster.
1. What is color filling in Photoshop?
In Photoshop, color fill is the process of applying a selected color to an entire layer or a specific area within an image. Depending on your design goals, you can fill a background with a single color, create color gradients for a product, change the color of a selection, or combine multiple layers for a more visually appealing effect. This is a fundamental yet frequently used operation in image editing. The advantage of Photoshop is that you don't necessarily need to manually apply paint to each area using brushes. With the right keyboard shortcuts, color can be applied to a layer in just seconds. Once you get the hang of it, this operation significantly saves time, especially when you frequently design many images with similar layouts.
-
Foreground: The foreground color, often used as the primary color when painting or filling.
-
Background: The background color, located behind the Foreground, and can be used to overlay with a specific keyboard shortcut.
-
Layer: The image or design layer to which you want to apply the color.
-
Selection: The area that has been marked out using the Selection tools to limit the range of the fill.
-
X key: Quickly switch between Foreground and Background positions.
2. What is the difference between Foreground and Background in Photoshop?
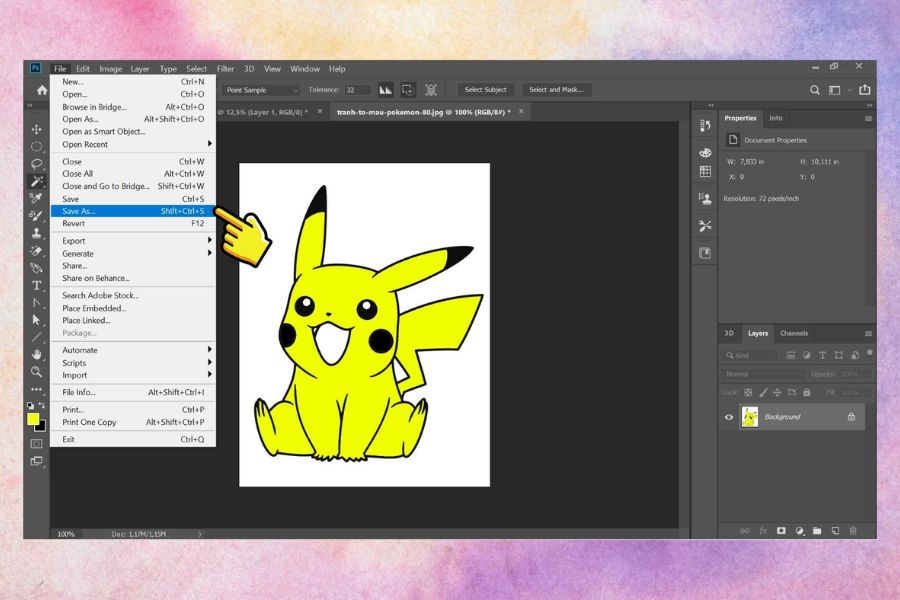
When you open Photoshop, you'll see two overlapping color boxes in the toolbar. These are the Foreground and Background colors . These two colors play a crucial role in many editing operations, from filling colors and using brushes to creating gradients. Understanding these two concepts will help you avoid selecting the wrong color during editing. The Foreground color is in the foreground and is usually prioritized by Photoshop for quick coloring operations. The Background color is in the background and is used when you want to apply a background color. Both colors can be changed at any time, so you don't need to spend time resetting them from scratch.
-
Foreground: The top colored square, usually the color used for direct painting.
-
Background: The colored box at the bottom represents the background color.
-
X key: Press once to switch the Foreground and Background positions.
-
Key D: Resets the Foreground and Background colors to their default black and white settings.
-
Alt + Delete: Fills the layer or selection with the foreground color.
-
Ctrl + Delete: Fills the layer or selection with background color.
A helpful tip is to quickly glance at the two color swatches in the toolbar before filling with color. Just a split-second check can help avoid situations where you intend to fill with blue but Photoshop mistakenly fills with white or black because you've selected the wrong background. With regular use, this check will almost become a reflex.
Upgrade your licensed version of Photoshop.
3. How to choose colors before filling in Photoshop
Before you begin filling with color, you need to determine the color you want to use. Photoshop provides a Color Picker panel, allowing users to select colors visually or enter precise color parameters. This is especially useful when designing and using brand colors, identity colors, or a specific color code. To select a foreground color, simply click on the foreground color swatch in the toolbar. A color selection window will appear, allowing you to adjust the color as desired. Once finished, click OK to confirm. The selected color will become the foreground color and is ready to be used for the fill.
-
Click on the Foreground box in the toolbar.
-
Choose a color directly from the color palette.
-
Adjust brightness and color saturation as needed.
-
Enter the HEX color code once you have a specific color.
-
Press OK to confirm your selection.
-
Check the Foreground cell before filling it with color.
If you're working on a design that requires color consistency, entering color codes is more convenient than selecting colors visually. For example, when brand colors are provided as HEX codes, you simply enter the correct code into the Color Picker to get a color that's nearly identical to the original design. This is also a way to achieve visual consistency in many publications.
4. How to fill an entire layer with color in Photoshop
Step 1: Determine the Foreground or Background color
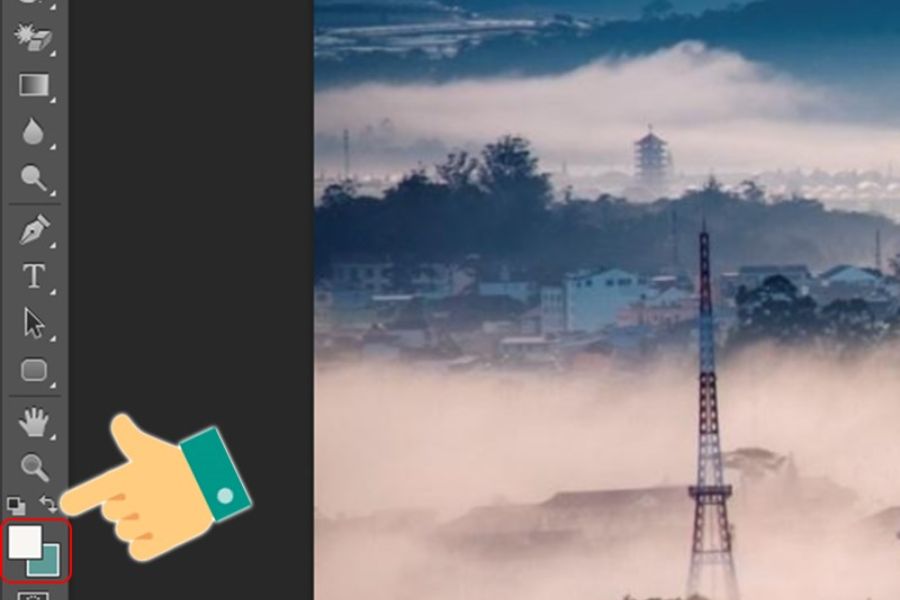
Looking at the left-hand toolbar in Photoshop, you'll see two overlapping color swatches. The top swatch is for the Foreground, and the bottom swatch is for the Background. If you want to use the Foreground color, click on this swatch and select your desired color.
You can also press the X key to quickly switch between Foreground and Background colors. This is a very useful shortcut if you have already set up two colors and want to switch between them continuously during the design process.
Step 2: Choose the color you want to use.
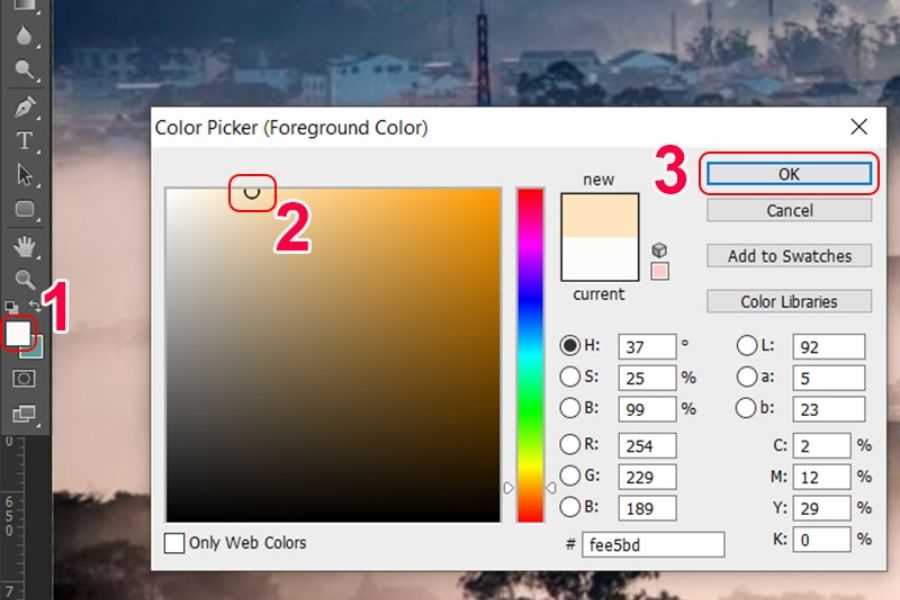
After clicking on Foreground or Background, a color selection panel will appear. Here, you can choose a color directly or enter a color code if you already have specific parameters.
After making your selection, click OK . Observe the two color boxes on the toolbar to ensure the desired color is positioned correctly before moving on to the next step.
Step 3: Select the layer you want to fill with color.
Next, look at the Layers panel and left-click on the layer you want to apply the color to. The selected layer will usually be highlighted in the Layers panel.
If your Photoshop file has multiple layers, check the name or content of each layer before proceeding. This is especially important for complex design files, as a single fill operation can alter the entire selected layer.
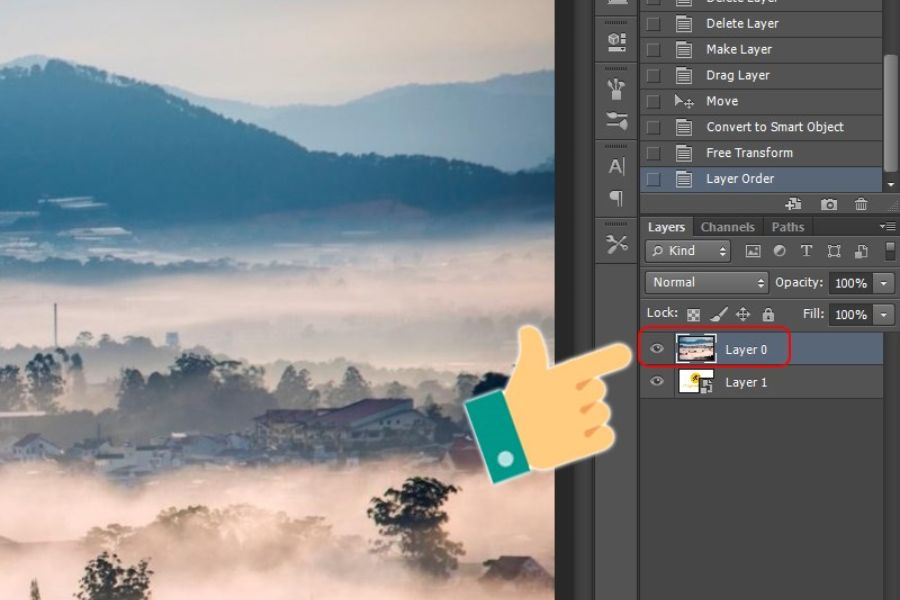
Step 4: Fill the Layer with Color
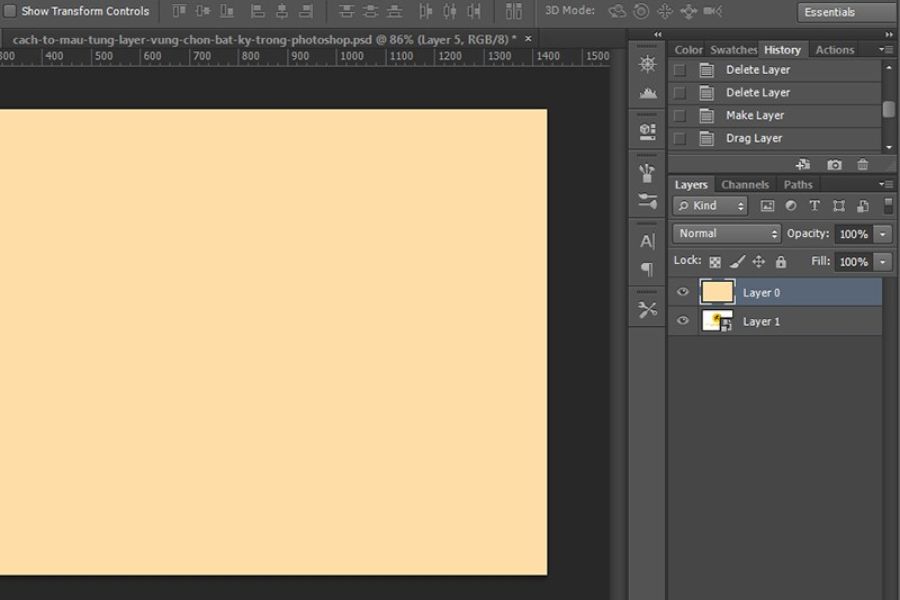
Once you've selected the correct layer, you can use keyboard shortcuts to complete the operation. To fill with the Foreground color, press Alt + Delete . To use the Background color, press Ctrl + Delete on Windows.
After pressing the key combination, Photoshop will quickly fill the selected layer with color. This is a very fast and convenient way to fill layers, especially when you have to work with many layers in a row.
-
Alt + Delete: Fill with foreground color.
-
Ctrl + Delete: Fill the background with color.
-
X: Swap the positions of the Foreground and Background elements.
-
D: Reset to the default black and white colors.
5. Some tips to help you fill colors in Photoshop faster and more accurately.
When you're first learning Photoshop, you might often use the mouse to find tools and perform each operation. This isn't wrong, but it's time-consuming if you need to edit images continuously. Remembering a few basic keyboard shortcuts will make your workflow much faster and more efficient. Additionally, directly filling the original layer with color can sometimes make it difficult to go back and edit. For important designs, consider creating separate layers or using non-destructive editing methods to easily change colors later.
-
Alt + Delete: Fill with foreground color.
-
Ctrl + Delete: Fill the background with color.
-
X: Change the Foreground and Background.
-
D: Restore default black and white colors.
-
Ctrl + D: Deselect the area.
-
Ctrl + Z: Undo the last action performed.
-
Create a new layer before painting if you want to preserve the original image.
-
Give your layers clear names to make it easier to manage your design files.
-
Check the selection before filling it with color to avoid accidentally coloring the wrong area.
-
Use HEX codes if color consistency is required.
A very useful tip is to avoid rushing to fill the color as soon as you open the file. Check the layer, identify the area that needs adjusting, and see if the current color is in the Foreground or Background. Just a few seconds of preparation can save you from having to redo many steps later. If you are working on a design with multiple color versions, you should also duplicate the layer before making changes. This allows you to retain the original and create multiple versions for comparison. When the client or you want to revert to the original color, you can simply switch to the original layer instead of starting over.
Upgrade your licensed version of Photoshop.
6. Why should you upgrade your Photoshop at Sadesign?
When frequently editing photos, designing banners and posters, or creating content, using all the necessary tools will make the workflow more convenient. Operations such as filling colors, creating selections, and adjusting layers are just a small part of Photoshop's feature system. When combined with other tools, you can build complete designs without switching between too many software programs. If you use Photoshop frequently, you can consider upgrading at Sadesign to have more suitable options for your design work. Besides supporting the upgrade process, Sadesign also aims for a convenient user experience so that users can focus more on their creative work.
-
Providing support to users during the upgrade and usage process.
-
Suitable for design, image editing, and content creation needs.
-
Photoshop can be used for many different tasks.
-
We provide support and assistance when you encounter difficulties during the operation process.
-
It helps you access more features to support your design work.
7. Conclusion
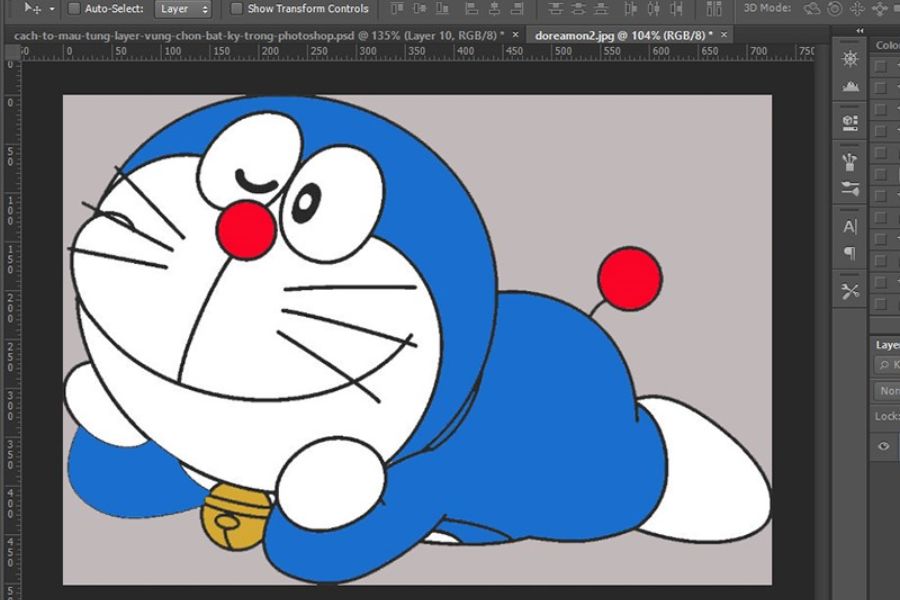
If you're just starting to learn Photoshop, try practicing with simple operations like creating a new layer, selecting a color, filling the entire layer with color, and then filling individual selected areas. Once you're familiar with this process, you'll easily be able to combine brushes, gradients, layer masks, and other tools to create more visually appealing and versatile designs.





















VIP Products








Best Selling Products
Upgrade genuine Capture One account
120 USD
Plugin Retouch4me
69 USD
Genuine Cheap Canva Pro
39 USD
Windows 10 & 11 Pro Key
36 USD
Adobe Photoshop Copyright - Full App
120 USD
Genuine Adobe Illustrator account
99 USD
ChatGPT Plus Account (GPT-4)
16 USD
Adobe Premiere Pro Account
99 USD
Upgrade Genuine Office 365
49 USD
Freepik Premium Account
59 USD
Copyright Adobe Lightroom Account
59 USD
MidJourney Account
29 USD
Upgrade Duolingo Super
29 USD
Autodesk All App Account Copyright
120 USD
Capcut Pro 1 Year
39 USD