Best Selling Products

Capcut Pro 1 Year
39 USD

Autodesk All App Account Copyright
120 USD

Upgrade Genuine Office 365
49 USD

Genuine Adobe Illustrator account
99 USD

Copyright Adobe Lightroom Account
59 USD

Upgrade genuine Capture One account
120 USD

Genuine Cheap Canva Pro
39 USD

Plugin Retouch4me
69 USD

Upgrade Duolingo Super
29 USD

Freepik Premium Account
59 USD

Windows 10 & 11 Pro Key
36 USD

Adobe Premiere Pro Account
99 USD

ChatGPT Plus Account (GPT-4)
16 USD

Adobe Photoshop Copyright - Full App
120 USD

MidJourney Account
29 USD
A Guide to Mastering Photoshop CS6 Image Editing Techniques from Basic to Advanced
Nội dung
- 1. Setting up the system and optimizing the initial working interface.
- 1.1 Managing Cache Memory and Computer Hardware Performance
- 1.2 Arrange the function control panels to optimize space.
- 1.3 Managing shortcuts for quick operations
- 2. Techniques for Coordinating Light and Balancing Tones Comprehensively
- 2.1 Adjusting the light spectrum using the rating control panel
- 2.2 Controlling contrast in detail through graphical curves
- 2.3 Restoring detail in bright and dark areas
- 3. The Art of Image Cutting, Pasteling, Background Separation, and Edge Processing
- 3.1 Using a curved brush for absolute precision
- 3.2 Techniques for separating hair and intricate ultrafine fiber details
- 3.3 Synchronize the perspective and lighting direction of the new background.
- 4. Discover the Top-Tier Graphics Resource Platform at Appvip.ai
- 5. Professional Portrait Post-Processing and Skin Beautification Process
- 5.1 Remove surface imperfections using a manual sampling brush.
- 5.2 Frequency band separation technique preserves the natural grain structure of the skin.
- 5.3 Light sculpting creates a more refined and sculpted face.
- 6. The Power of Effect Filters and Block Transformation Tools
- 6.1 Shaping body shape and expression using body distortion filters
- 6.2 Blurring the background creates a simulated bokeh effect similar to that of a DSLR camera.
- 6.3 Enhancing detail sharpness with a high-pass filter
- 7. Methods for Managing Color and Setting Up Cinematic Color Filters
- 7.1 Accurate white balance using specialized color picker tools
- 7.2 Safe and selective enhancement of color vibrancy
- 7.3 Setting up color overlays to create an impressive vintage style
- 8. Conclusion
A comprehensive guide to Photoshop CS6 photo editing for beginners and professional designers.
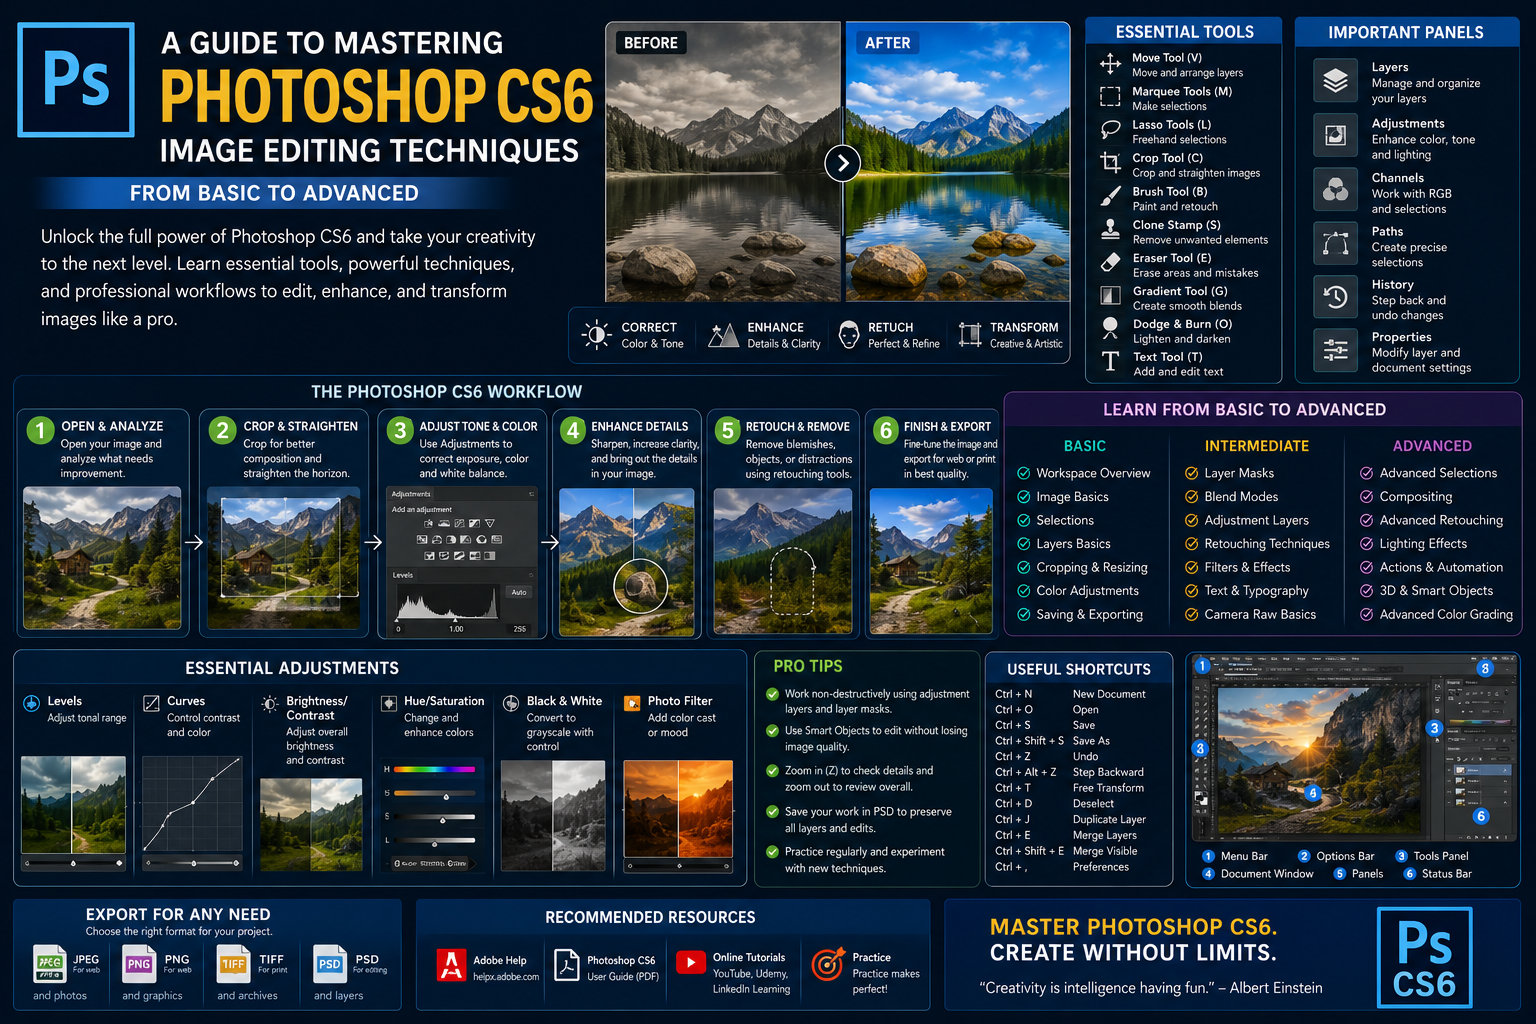
1. Setting up the system and optimizing the initial working interface.
A designer's productivity depends heavily on optimal workspace layout and software configuration. Correct settings ensure smooth computer operation, minimizing interruptions or lag when processing large files.
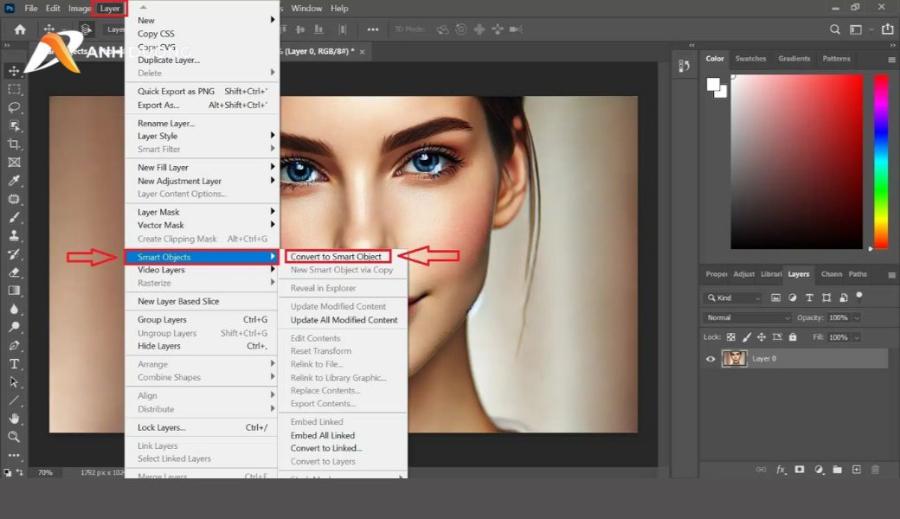
1.1 Managing Cache Memory and Computer Hardware Performance
Users need to access system settings to allocate RAM appropriately for applications. Designating empty drives as auxiliary cache (Scratch Disks) will help reduce the load on the operating system drive, speeding up the processing of heavy filters.
1.2 Arrange the function control panels to optimize space.
The display space should be maximized to allow the user to easily observe the overall picture. Essential tool panels such as Layers, Channels, History, and Adjustments should be securely pinned to the right corner of the screen in a logical order.
1.3 Managing shortcuts for quick operations
Keyboard shortcuts are the ultimate weapon that can halve the working time of graphic designers. You should get into the habit of using your left hand to press key combinations to switch tools and your right hand to control the mouse or technical drawing tool.
2. Techniques for Coordinating Light and Balancing Tones Comprehensively
A beautiful photograph must first and foremost have harmonious lighting and clear contrast between different areas of space. Mastering the tools of the tonal chart allows you to completely control the atmosphere of the work.
2.1 Adjusting the light spectrum using the rating control panel
The Levels tool provides a visual representation of pixel density from the darkest to the brightest areas. Dragging the boundary markers completely removes haze, restoring natural clarity to landscape or portrait photos.
2.2 Controlling contrast in detail through graphical curves
The classic S-shaped graph is key to creating a profound sense of spatial depth in an image. Manipulating the midtones helps to make facial features, clothing folds, and architectural lines appear sharper and more vibrant.
2.3 Restoring detail in bright and dark areas
The Shadows/Highlights adjustment feature is the perfect solution for backlit photos. The system automatically compensates for light in dark areas without affecting the color saturation of surrounding areas.
3. The Art of Image Cutting, Pasteling, Background Separation, and Edge Processing
The ability to smoothly separate an object from its background is the most accurate measure of a graphic technician's skill.
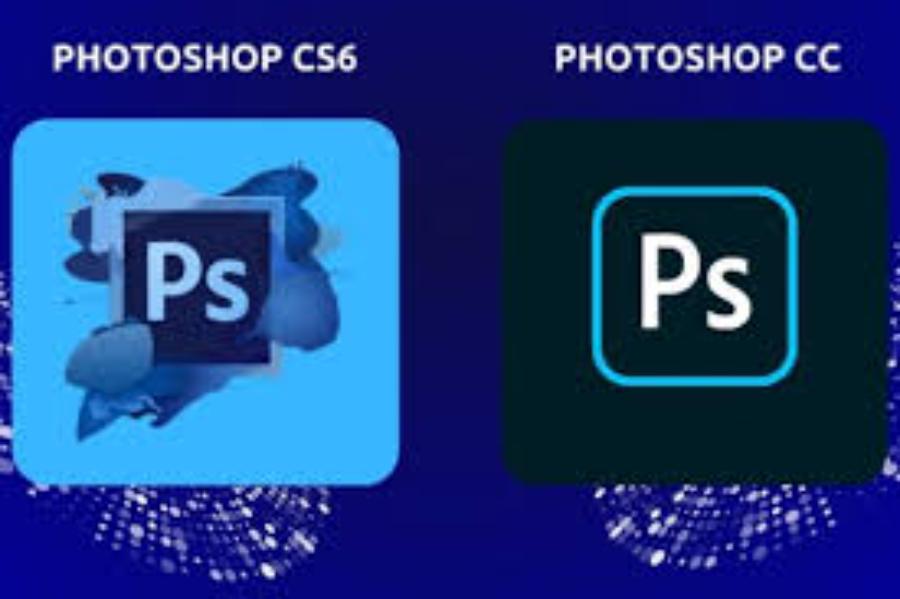
3.1 Using a curved brush for absolute precision
The Pen Tool is the default choice when working with objects that have rigid outlines, such as fashion items, vehicles, or architecture. Carefully placed anchor points help create sharp, clean lines without jagged edges or rough edges.
3.2 Techniques for separating hair and intricate ultrafine fiber details
For delicate areas like human hair or animal fur, using conventional selection tools is impossible. The combination of the Channels panel and the Refine Edge brush helps to preserve even the finest, most delicate hairs naturally.
3.3 Synchronize the perspective and lighting direction of the new background.
A common mistake when compositing images is that the subject looks out of place because the viewing angle and sunlight direction don't match the new background. Photoshop CS6 editors need to clearly identify the main light source to proactively add shadows and create light borders around the object.
4. Discover the Top-Tier Graphics Resource Platform at Appvip.ai
Appvip.ai is a leading and reputable professional technology and digital account service portal in the Vietnamese market. This website provides a comprehensive solution, enabling the design community to easily access licensed graphic design software, a wealth of supporting plugins, and a next-generation AI-powered account system. With its ultra-fast automated transaction process and transparent one-to-one warranty policy, the platform is a powerful partner for designers in optimizing productivity, enhancing the quality of media publications, and fostering creative artistic thinking.
5. Professional Portrait Post-Processing and Skin Beautification Process
Portrait image processing requires a seamless combination of software techniques and a thorough understanding of the anatomical structure of the human face.
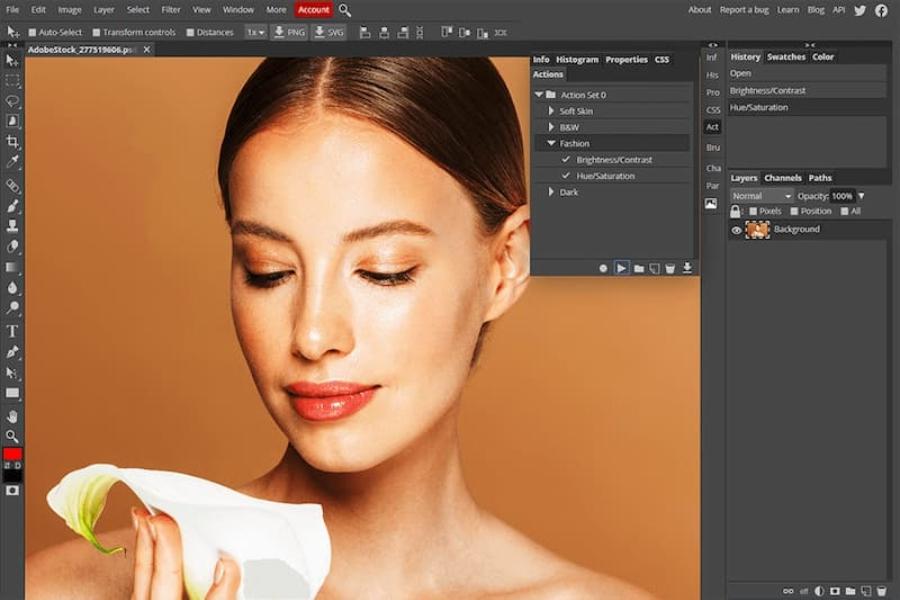
5.1 Remove surface imperfections using a manual sampling brush.
Fine blemishes, scars, and wrinkles will be thoroughly cleaned up using the intelligent spot healing brush. The automatic calculation and compensation mechanism for surface textures from surrounding areas ensures clean skin without leaving any streaks.
5.2 Frequency band separation technique preserves the natural grain structure of the skin.
Advanced portrait image processing (Frequency Separation) separates the image into two independent layers: one for color management and one for skin detail management. The technician can smooth out skin tone while preserving the realistic texture of pores, avoiding the appearance of a waxy, patchy face.
5.3 Light sculpting creates a more refined and sculpted face.
The Dodge and Burn tools act as a comprehensive digital makeup brush set. Highlighting the bridge of the nose, cheekbones, and chin, while creating subtle shadows on the jawline, helps to slim the face, add depth, and create an attractive, eye-catching look.
6. The Power of Effect Filters and Block Transformation Tools
The built-in filters offer the ability to flexibly manipulate the geometric structure and texture of the image.
6.1 Shaping body shape and expression using body distortion filters
The Liquify tool is a powerful weapon for reshaping body contours, slimming the waist, or subtly adjusting facial features. The user needs to adjust the brush size to a large size and apply moderate pressure so that the surrounding background lines are not distorted by the subject.
6.2 Blurring the background creates a simulated bokeh effect similar to that of a DSLR camera.
The Lens Blur filter accurately simulates the bokeh effect of large-aperture lenses on professional cameras. The combination of color banding masks allows for a smooth transition of blur from the foreground to the background, creating absolute emphasis on the main subject.
6.3 Enhancing detail sharpness with a high-pass filter
To make photos look sharper and clearer when displayed on digital devices, a high-pass filter is the optimal solution. This tool only retains the detailed edges of the object, and when combined with the overlay mode, it helps the image become naturally sharper.
7. Methods for Managing Color and Setting Up Cinematic Color Filters
Color is the most powerful means of conveying emotion in a photograph, shaping the unique artistic style of the author.
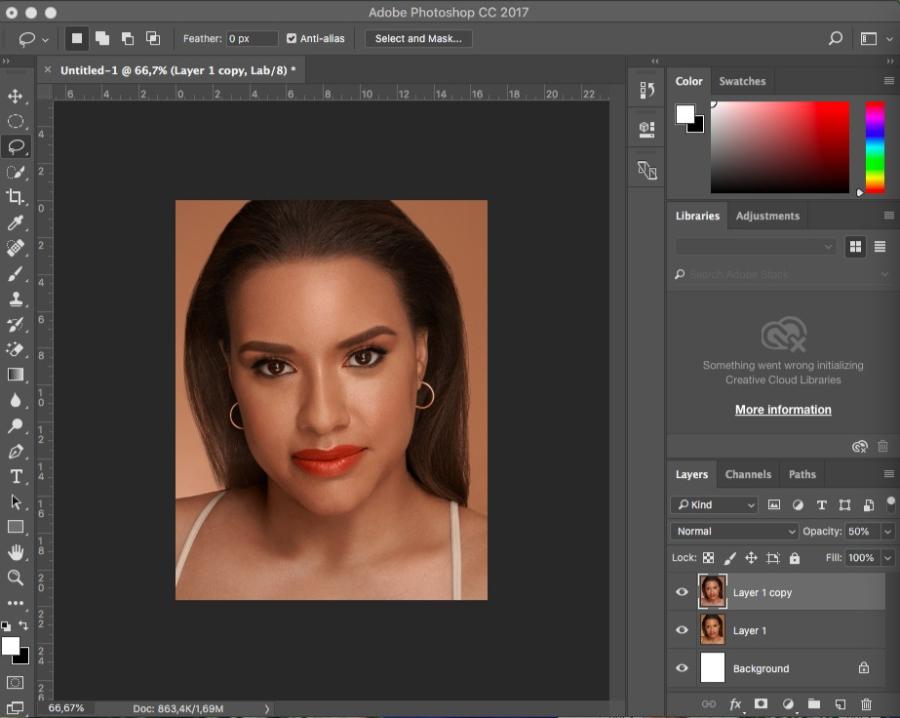
7.1 Accurate white balance using specialized color picker tools
Color distortion caused by artificial lighting or bad weather will be completely resolved through the Color Balance adjustment panel. Accurately identifying the neutral gray areas allows the system to automatically restore the original, true colors of objects.
7.2 Safe and selective enhancement of color vibrancy
Instead of using the harsh color enhancement tool that can easily cause color burn-out, artists should prioritize the intelligent color enhancement tool (Vibrance). This feature only saturates pale colors and actively protects the skin tone from being excessively altered to an orange-yellow hue.
7.3 Setting up color overlays to create an impressive vintage style
Applying gradient color maps combined with reduced layer opacity gives the image a luxurious cinematic color palette. The combination of light mossy green tones in the dark areas and warm yellow hues in the bright areas is a classic formula favored by many photographers.
8. Conclusion
The journey to mastering Photoshop CS6 image editing skills isn't just about memorizing button positions or dry technical operations. It's a process of training your visual perception, nurturing your aesthetic sense, and developing a deep understanding of the language of light and color. Even with the rapid advancements in technology and the support of artificial intelligence, the skillful hands and creative minds of humans remain the decisive factors in creating the soul of a work of art.





















VIP Products








Best Selling Products
Capcut Pro 1 Year
39 USD
Autodesk All App Account Copyright
120 USD
Upgrade Genuine Office 365
49 USD
Genuine Adobe Illustrator account
99 USD
Copyright Adobe Lightroom Account
59 USD
Upgrade genuine Capture One account
120 USD
Genuine Cheap Canva Pro
39 USD
Plugin Retouch4me
69 USD
Upgrade Duolingo Super
29 USD
Freepik Premium Account
59 USD
Windows 10 & 11 Pro Key
36 USD
Adobe Premiere Pro Account
99 USD
ChatGPT Plus Account (GPT-4)
16 USD
Adobe Photoshop Copyright - Full App
120 USD
MidJourney Account
29 USD