Best Selling Products
A very simple way to merge photos in Photoshop CS6 that not everyone knows.
Nội dung
A detailed guide on how to merge images in Photoshop CS6 for beginners. Simple yet effective tips for professional photo editing that not everyone knows.
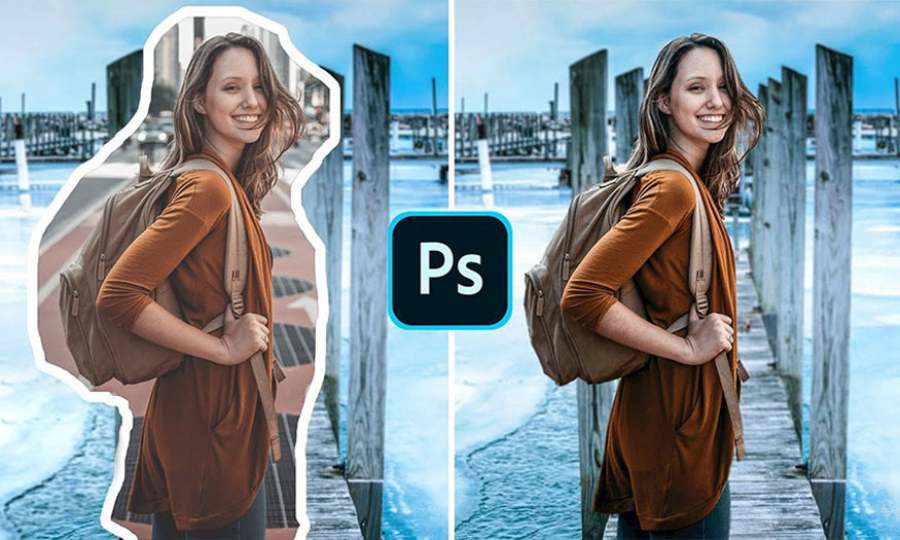
Photoshop CS6 is a powerful tool that many people use for editing and graphic design. One of the basic but extremely useful techniques in Photoshop is photo collage. If you are new to this software, photo collage may be difficult. In the article below, Sadesign guides you in detail on how to collage photos in Photoshop CS6, from basic knowledge to small tips to help you improve your photo editing skills.
1. Is it difficult to combine photos in Photoshop CS6?
Photoshop CS6 is not a difficult software to use, but if you are a beginner, some of its features may confuse you. Photo compositing is one of the basic but very important techniques when working with Photoshop. You may have thought that photo compositing is only for those who have experience in graphic design. However, in fact, this process can be done easily if you understand the tools and techniques used in Photoshop CS6.
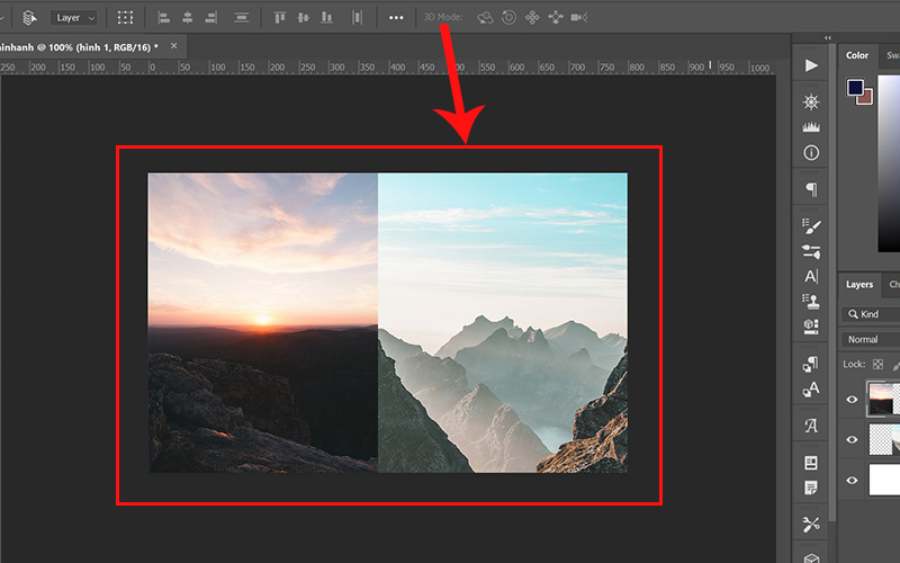
With Photoshop CS6, you'll have all the tools you need to create beautiful photo collages, from selection tools to blending modes, and of course, the ability to use layers. It's important to get familiar with these features and practice regularly to get the best results.
Some beginners may have difficulty in cutting out objects naturally, but with just a few basic techniques, you can do it. In the next section, we will go into specific steps to combine photos in Photoshop CS6, helping you master this work most effectively.
@old
2. Steps to combine photos in Photoshop CS6
Step 1: Prepare the image
Before you start merging your photos, you need to prepare the photos you want to combine. Photoshop CS6 supports a wide variety of image formats, so you can work with a variety of file types, such as JPEG, PNG, TIFF, and more. Once you have them ready, open all of them in Photoshop. If you want to combine multiple photos into a single file, you will need to create a new document and open the remaining photos in separate tabs.
Step 2: Create a new document
Next, you need to create a New Document to serve as the background for your collage. To create a new document, simply go to File > New and choose the size that best suits your intended use. If you want to create your collage for print, choose a high resolution (300 dpi). If you are only using it for the web, you can choose a lower resolution, around 72 dpi.
When creating a new document, make sure your background is transparent if you want to stitch the images together without a distracting background.
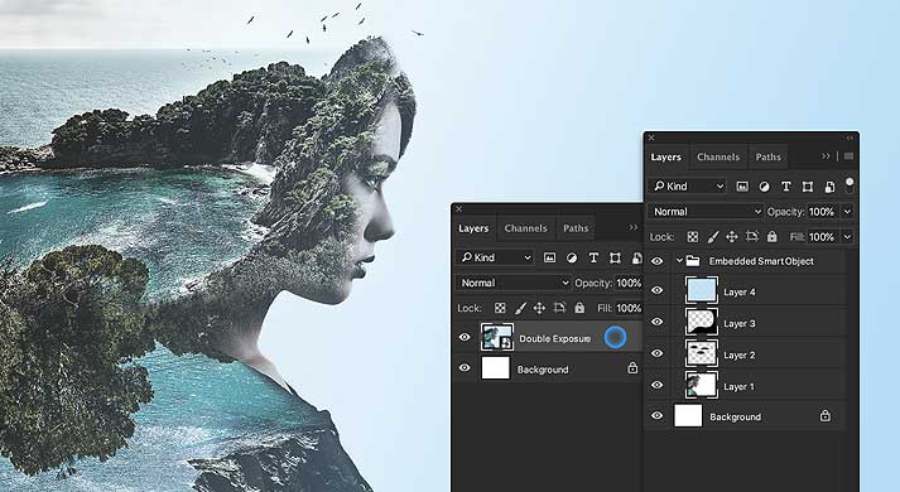
Step 3: Use the Selection Tool
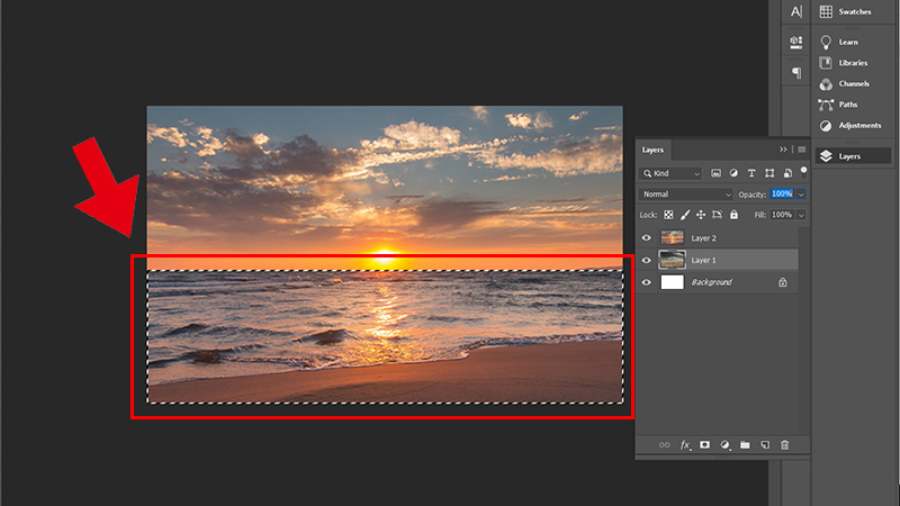
To stitch photos together, you will need to select objects in each photo accurately. Photoshop provides a number of selection tools such as the Rectangular Marquee Tool, Lasso Tool, Magic Wand Tool, etc. Depending on the shape and characteristics of the object you want to select, choose the appropriate tool.
For example, if you want to cut a person out of the background and blend it into another photo, the Quick Selection Tool or Magic Wand Tool would be a good choice, as they make it easy to select areas with a clear distinction between the subject and the background.
Step 4: Cut and paste the object
Once you have selected the object in your photo, the next thing to do is to cut it out of the original photo and paste it into a new document. To do this, you can press Ctrl + C to copy the object and Ctrl + V to paste it into a new document.
The object will now appear as a new layer in your document. To move this object, you can use the Move Tool (shortcut V). You can also resize the object by using Ctrl + T to activate the Transform tool.
Step 5: Edit and smooth the edges

After pasting the object into the new document, you will need to edit the edges of the object to blend with the new background. One important technique is to smooth the edges, which helps the collage look more natural.
To do this, you can use tools like Feather, or use the Layer Mask mode combined with the Brush Tool to erase unwanted areas. You can also adjust the brightness and contrast of the objects to blend them with the background and the rest of the photo.
Step 6: Use Blending Modes
Blending modes are a powerful tool in Photoshop that let you control how layers interact with each other. Blending modes can help you create unique lighting and color effects and make your photo collages look more natural.
Common blending modes include Normal, Multiply, Screen, Overlay, and Soft Light. Each mode will have a different effect, so you'll need to experiment to find the one that works best for your photo.
Step 7: Complete the collage
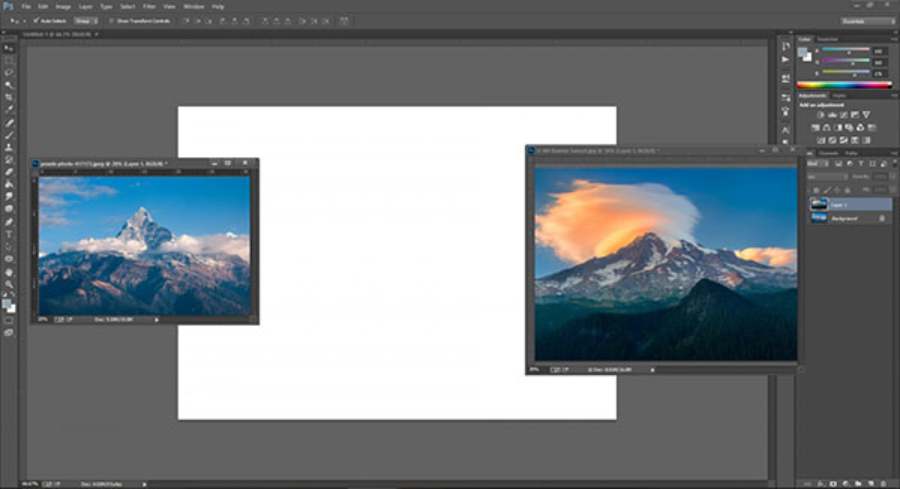
Once you have completed the basic editing steps, you can take the final steps to perfect your photo. These steps may include adding lighting, shadows, or changing the overall contrast of the photo. You can also use the Clone Stamp tool or Healing Brush to remove blemishes or smooth out the photo.
Finally, double-check the photo to make sure everything blends together well, with no exposed parts or irregularities.
3. Advanced tips for compositing photos in Photoshop CS6
3.1. Using Blending Modes
Blending modes are a powerful tool that helps you combine layers of images smoothly. When compositing images, you can experiment with different blending modes like Multiply, Screen, or Overlay to create special effects and make objects blend into the background more vivid.
3.2. Use Filter to create effects
Photoshop CS6 has a lot of filters that you can use to create special effects for objects in your photos. Filters like Gaussian Blur, Motion Blur or Lens Flare can help you create beautiful effects, thereby making the combined objects look more natural and attractive.
3.3. Fine-tune small details with Clone Stamp and Healing Brush
The Clone Stamp and Healing Brush are two great tools for fixing small details or imperfections in your photos. You can use them to copy parts of another photo into the area that needs fixing, making your collage perfect and without any trace of your editing.
@old
Conclusion
Combining photos in Photoshop CS6 is not as difficult as you think. With the combination of selection tools, smoothing tools, and blending modes, you can easily create beautiful and professional photo collages. If you want to "upgrade" to make your photos more sparkling, register for sadesign's Photoshop course now! Hope you will have impressive and unique photo collages!


