Best Selling Products
Adobe adds profiles to Lightroom and ACR
Nội dung
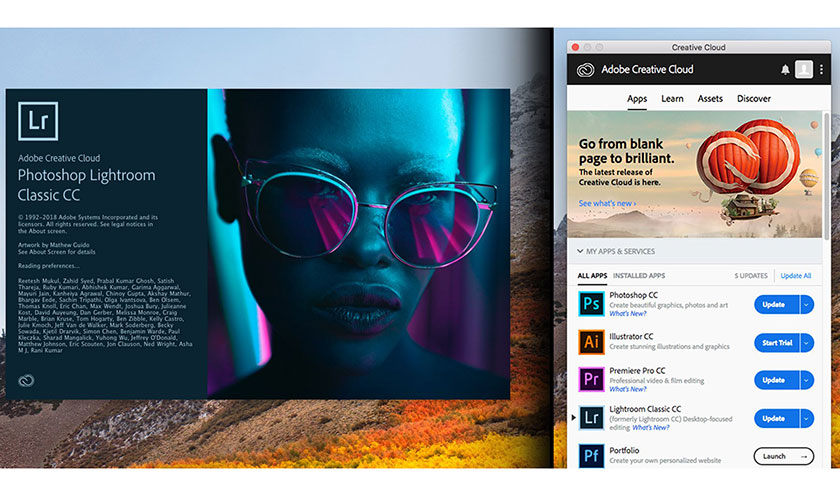
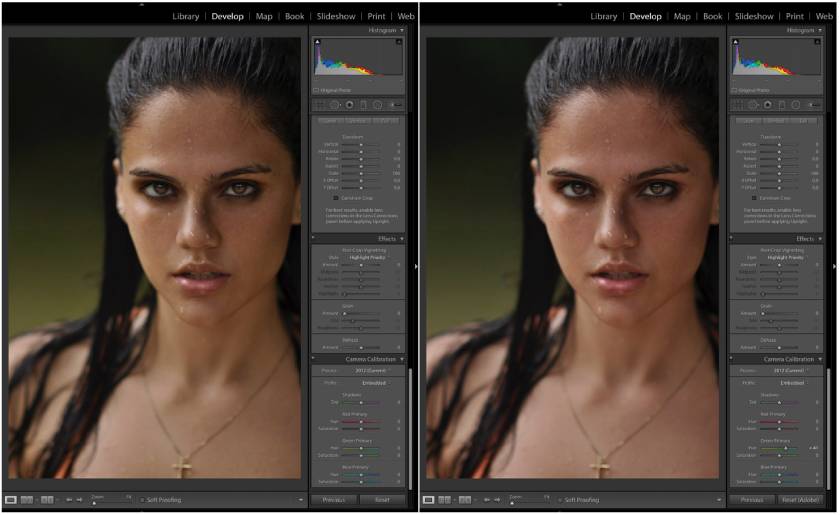
Today, Lightroom and Camera RAW users can rejoice! Adobe has just released "Profiles" for Lightroom Classic, Lightroom CC and Adobe Camera Raw.  In ACR and Lightroom, a profile is used to render your photo, converting it from raw camera information into the colors and tones we see. Profiles are not presets, they do not make slider changes in any of the tool panels. Instead, they are a new base RAW conversion to work with. Furthermore, they only work when shooting RAW, so apologies to those who shoot JPEGs. When we shoot RAW, we tell our camera that we don't want the camera to add any fancy processing to any of our photos. Instead, we want all the data, exactly as it was collected. This ensures the highest possible quality, detail and dynamic range.
 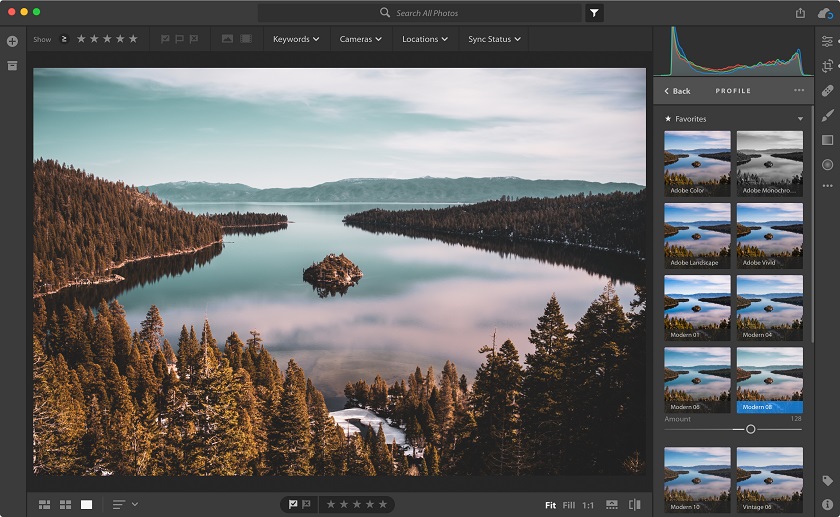 The old versions of LR and ACR only gave us access to a common profile that was not specific to the camera, which was Adobe Standard. However, we already have several other Camera Match Profiles, which are clearly different and should not be confused with those associated with this update. The Camera Matching profile attempts to match the camera manufacturer's colors in specific settings. Use the Camera Matching profile if you prefer the color rendering provided by the camera manufacturer's software. Both the Adobe Standard and Camera Matching camera profiles are intended to serve as starting points for further image adjustments. Therefore, use the profiles along with the color and tone controls in the Basic, Tone Curve, HSL/Grayscale, and other image adjustment tabs. Adobe Standard has been used to significantly improve color rendering, especially in warm tones such as reds, yellows, and oranges, from previous Adobe camera profiles. Adobe Color now appears to be the successor to Adobe Standard as our new default profile.
 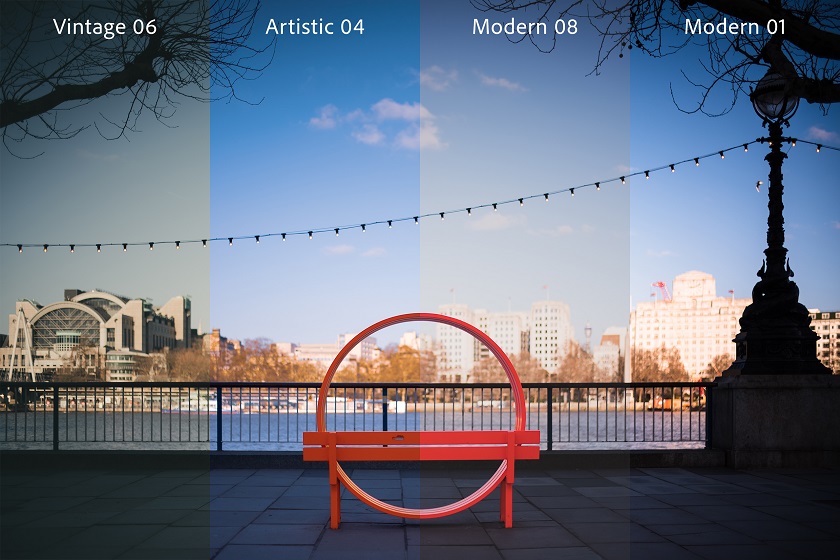 You now have more than 40 Creative profiles to choose from, divided into four groups: Artistic, Modern, Vintage, and Black & White. These profiles can be applied to both Raw and non-Raw images, and come with a 3D Lookup Table (LUT) for a level of control previously reserved for Photoshop. Creative profiles also come with an Amount slider, so you can increase or decrease the effect. comparison-Profiles-to-magazine-Black-and-White Additionally, Adobe has also worked with several popular Lightroom preset creators to create a range of 3rd party Profiles, some of which are already available today. These include profiles of photographers Brian Matiash and Matt Kloskowski, and companies like RNI Films and Contrastly. You can find links to all 3rd party Profiles on Adobe's blog post about this update.
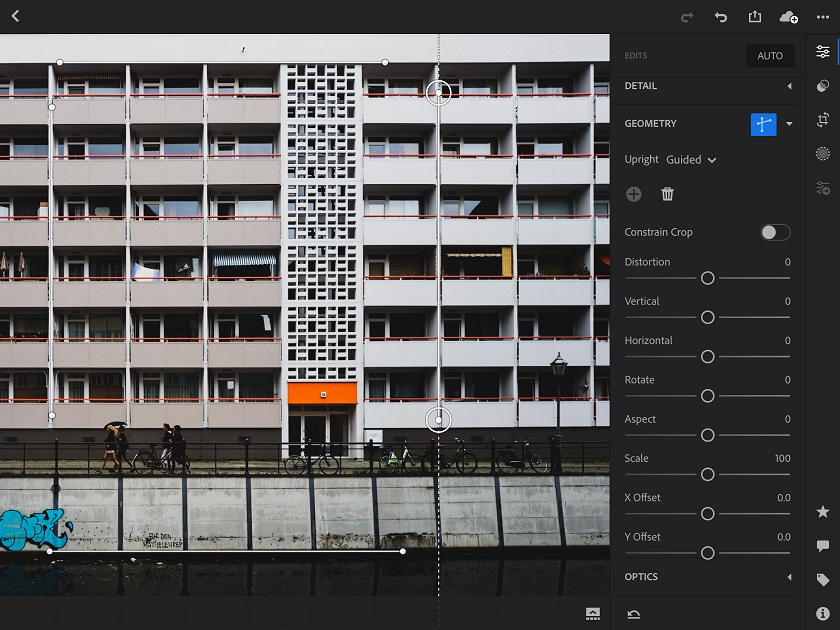
 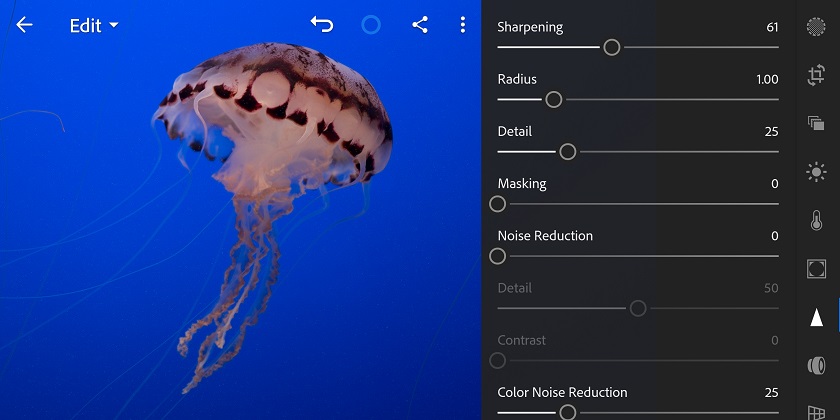 In addition to the Profiles update described above, Lightroom CC for iOS, Android, and ChromeOS all have several feature updates and upgrades. On the Android/ChromeOS front, a new Details tab offers Sharpen and Noise Reduction options, Noise options have been added for "realistic film grain" and some additional controls for sharing images via Lightroom. CC Web has also been added. For iOS users, the new Geometry tab helps you correct curved and skewed photos using the new Upright, Guided Upright, and Geometry sliders; the same Grain options mentioned above have been added and Adobe has introduced Left-Handed Editing Mode on iPad. The company has also made some optimizations to the iPhone X layout to take advantage of the dreaded notch.
 In ACR and Lightroom, a profile is used to render your photo, converting it from raw camera information into the colors and tones we see. Profiles are not presets, they do not make slider changes in any of the tool panels. Instead, they are a new base RAW conversion to work with. Furthermore, they only work when shooting RAW, so apologies to those who shoot JPEGs. When we shoot RAW, we tell our camera that we don't want the camera to add any fancy processing to any of our photos. Instead, we want all the data, exactly as it was collected. This ensures the highest possible quality, detail and dynamic range.
  The old versions of LR and ACR only gave us access to a common profile that was not specific to the camera, which was Adobe Standard. However, we already have several other Camera Match Profiles, which are clearly different and should not be confused with those associated with this update. The Camera Matching profile attempts to match the camera manufacturer's colors in specific settings. Use the Camera Matching profile if you prefer the color rendering provided by the camera manufacturer's software. Both the Adobe Standard and Camera Matching camera profiles are intended to serve as starting points for further image adjustments. Therefore, use the profiles along with the color and tone controls in the Basic, Tone Curve, HSL/Grayscale, and other image adjustment tabs. Adobe Standard has been used to significantly improve color rendering, especially in warm tones such as reds, yellows, and oranges, from previous Adobe camera profiles. Adobe Color now appears to be the successor to Adobe Standard as our new default profile.
 6 new Adobe RAW profiles
In total, we currently have 6 basic Adobe profiles to choose from: Previously, the only Adobe RAW profile you had was Adobe Standard. Now, you have six more to choose from:- Adobe Color: designed to improve the look and rendering of warm tones, improve transitions between certain color ranges, and slightly increase the original contrast of your photos. As the new default, it is designed to work with the widest range of images.
- Adobe Monochrome: Tuned to be a "great starting point" for any black and white photo. The result is better tonal separation and contrast than Adobe Standard converted to B&W.
- Adobe Landscape: Creates more vibrant sky and leaf tones.
- Adobe Neutral: Provides a starting point with very low contrast. Adobe claims this is most useful "for photos where you want the most control, or photos where tonal range is difficult."
- Adobe Portrait: Offers "more control and better skin tone reproduction." This means less contrast and saturation is applied to skin tones throughout the image, so you have more control over how those tones appear.
- Adobe Vivid: A "saturated, powerful starting point."
New Advertising Profile
 You now have more than 40 Creative profiles to choose from, divided into four groups: Artistic, Modern, Vintage, and Black & White. These profiles can be applied to both Raw and non-Raw images, and come with a 3D Lookup Table (LUT) for a level of control previously reserved for Photoshop. Creative profiles also come with an Amount slider, so you can increase or decrease the effect. comparison-Profiles-to-magazine-Black-and-White Additionally, Adobe has also worked with several popular Lightroom preset creators to create a range of 3rd party Profiles, some of which are already available today. These include profiles of photographers Brian Matiash and Matt Kloskowski, and companies like RNI Films and Contrastly. You can find links to all 3rd party Profiles on Adobe's blog post about this update.
 Update for Lightroom CC on Android and iOS
 In addition to the Profiles update described above, Lightroom CC for iOS, Android, and ChromeOS all have several feature updates and upgrades. On the Android/ChromeOS front, a new Details tab offers Sharpen and Noise Reduction options, Noise options have been added for "realistic film grain" and some additional controls for sharing images via Lightroom. CC Web has also been added. For iOS users, the new Geometry tab helps you correct curved and skewed photos using the new Upright, Guided Upright, and Geometry sliders; the same Grain options mentioned above have been added and Adobe has introduced Left-Handed Editing Mode on iPad. The company has also made some optimizations to the iPhone X layout to take advantage of the dreaded notch.
A few other things
Finally, in addition to everything mentioned above, some small improvements have been made to Lightroom CC and Lightroom Classic CC on Desktop. In Lightroom Classic CC, the Dehaze tool has been made more accessible by moving it to the Basics panel, the Tone Curve panel has been expanded for better/more precise control and the face tagging algorithm has been improve. In Lightroom CC, support has been added for Network Attached Storage (NAS) devices and a new filter option has been added that allows you to sort your images by "sync state". To learn more about all the updates detailed above, and especially if you want to dive deeper into Profiles' new features, visit Adobe's blog or update Adobe Camera Raw, Lightroom CC, and Adobe Camera Raw. / or your Lightroom Classic CC to the latest version. This update came out about 15 minutes ago and will be available to all Creative Cloud subscribers. The addition of profiles is a welcome update and - hopefully - will allow us to streamline our workflow even further and produce better RAW conversions. To learn more about the power of these new configurations, check out Matt Kloskowski's in-depth video below. [embed]https://www.youtube.com/watch?v=ji4eXfy78tM[/embed] Sadesign Co., Ltd. provides the world's No. 1 warehouse of cheap copyrighted software with quality: Panel Retouch, Adobe Photoshop Full App, Premiere, Illustrator, CorelDraw, Chat GPT, Capcut Pro, Canva Pro, Windows Copyright Key, Office 365 , Spotify, Duolingo, Udemy, Zoom Pro...
Contact information
SADESIGN software Company Limited
Sadesign Co., Ltd. provides the world's No. 1 warehouse of cheap copyrighted software with quality: Panel Retouch, Adobe Photoshop Full App, Premiere, Illustrator, CorelDraw, Chat GPT, Capcut Pro, Canva Pro, Windows Copyright Key, Office 365 , Spotify, Duolingo, Udemy, Zoom Pro...
Contact information
SADESIGN software Company Limited


