Best Selling Products

Copyright Adobe Lightroom Account
59 USD

Genuine Adobe Illustrator account
99 USD

Upgrade Genuine Office 365
49 USD

Adobe Premiere Pro Account
99 USD

Genuine Cheap Canva Pro
39 USD

ChatGPT Plus Account (GPT-4)
16 USD

Autodesk All App Account Copyright
120 USD

MidJourney Account
29 USD

Upgrade genuine Capture One account
120 USD

Capcut Pro 1 Year
39 USD

Upgrade Duolingo Super
29 USD

Windows 10 & 11 Pro Key
36 USD

Adobe Photoshop Copyright - Full App
120 USD

Plugin Retouch4me
69 USD

Freepik Premium Account
59 USD
How to Blend Vintage Colors in Photoshop
Nội dung
 Blend Vintage Colors in Photoshop
Color in Vintage style
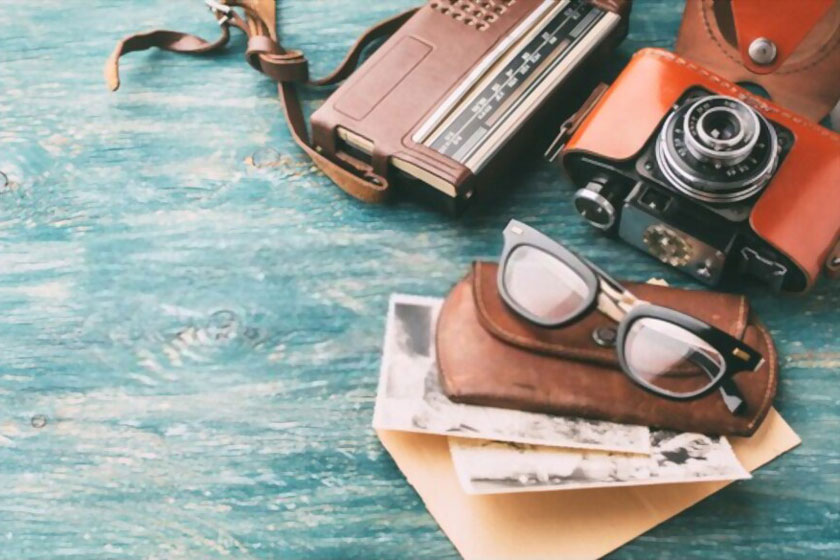
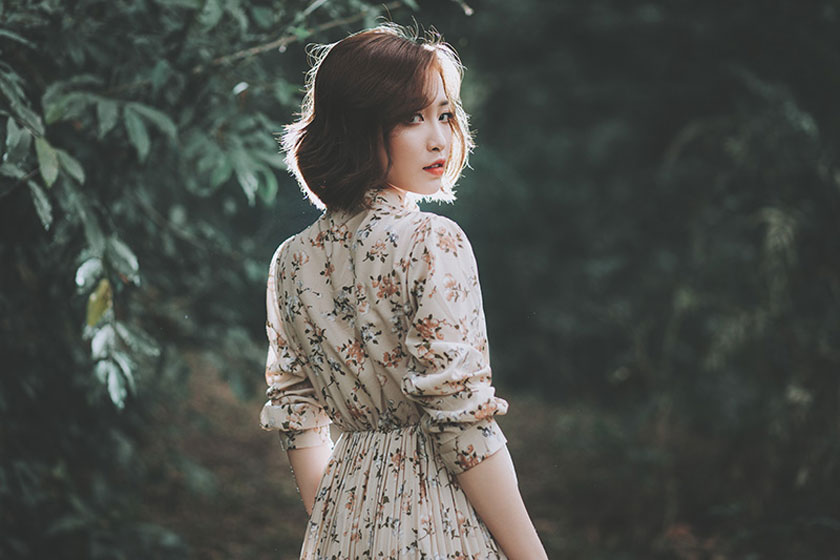
In every picture color is the most important factor. Colors used in the Vintage style are usually gentle and very courteous. Therefore, vintage images will often have a slightly wrong color and do not match the actual color, it is always prone to old, faded and possibly dusty.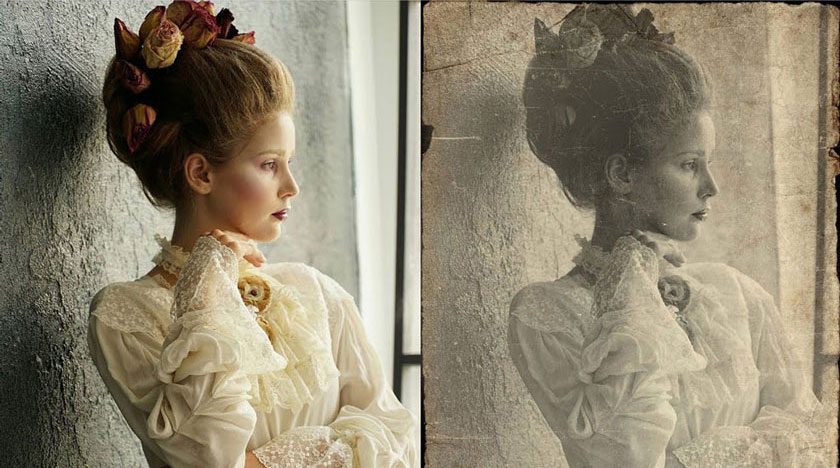 Color in Vintage style
How to blend Vintage colors in Photoshop Vintage color
Ways to blend with Photoshop software are very simple. Firstly, you need to open Photoshop software on your computer and follow the steps below: How to blend Vintage colors in Photoshop Vintage color
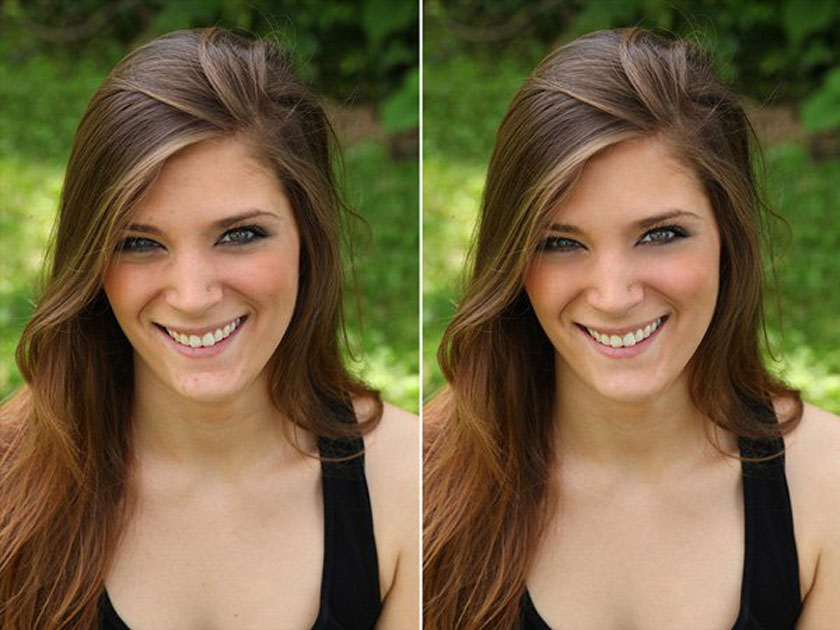
How to add sepia tones to an image
On the Split Toning panel, you can add sepia tones to a black and white image if you want. Do this activity by using the Hue and Saturation options. add sepia tones to an image
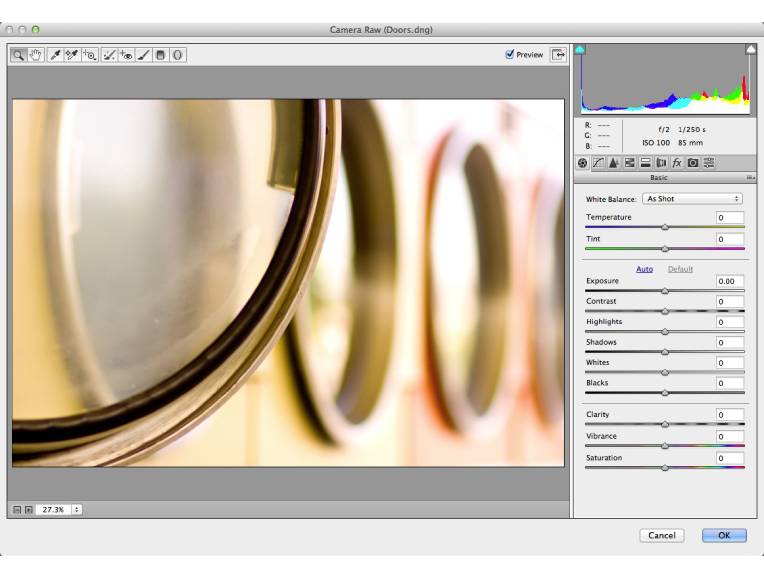
How to lower the overall contrast of an image
The image will fade over time when there is less overall contrast, so you will reduce image contrast with a few simple sliders in the Basic panel. To reduce highlights, you lower the values by dragging the slider to the left. If you want, you can also lower it to -70. Then you can make the shadows lighten by dragging the Shadows slider to the right. You can increase your Shadows value to +80. Finally, to reduce the contrast in midtones, click on the Clarity slider and drag it to the left. You lower the Clarity value to -40. At this point, your image becomes softer without losing so much detail. Above shares about how to blend vintage colors in Photoshop in the most detailed. If you want to edit images in a professional vintage style, please contact SaDesign for fastest support.


VIP Products


Best Selling Products
Copyright Adobe Lightroom Account
59 USD
Genuine Adobe Illustrator account
99 USD
Upgrade Genuine Office 365
49 USD
Adobe Premiere Pro Account
99 USD
Genuine Cheap Canva Pro
39 USD
ChatGPT Plus Account (GPT-4)
16 USD
Autodesk All App Account Copyright
120 USD
MidJourney Account
29 USD
Upgrade genuine Capture One account
120 USD
Capcut Pro 1 Year
39 USD
Upgrade Duolingo Super
29 USD
Windows 10 & 11 Pro Key
36 USD
Adobe Photoshop Copyright - Full App
120 USD
Plugin Retouch4me
69 USD
Freepik Premium Account
59 USD