Best Selling Products

Upgrade Duolingo Super
29 USD

Adobe Photoshop Copyright - Full App
120 USD

Capcut Pro 1 Year
39 USD

Genuine Adobe Illustrator account
99 USD

Copyright Adobe Lightroom Account
59 USD

Upgrade genuine Capture One account
120 USD

Freepik Premium Account
59 USD

MidJourney Account
29 USD

Adobe Premiere Pro Account
99 USD

Genuine Cheap Canva Pro
39 USD

ChatGPT Plus Account (GPT-4)
16 USD

Upgrade Genuine Office 365
49 USD

Windows 10 & 11 Pro Key
36 USD

Autodesk All App Account Copyright
120 USD

Plugin Retouch4me
69 USD
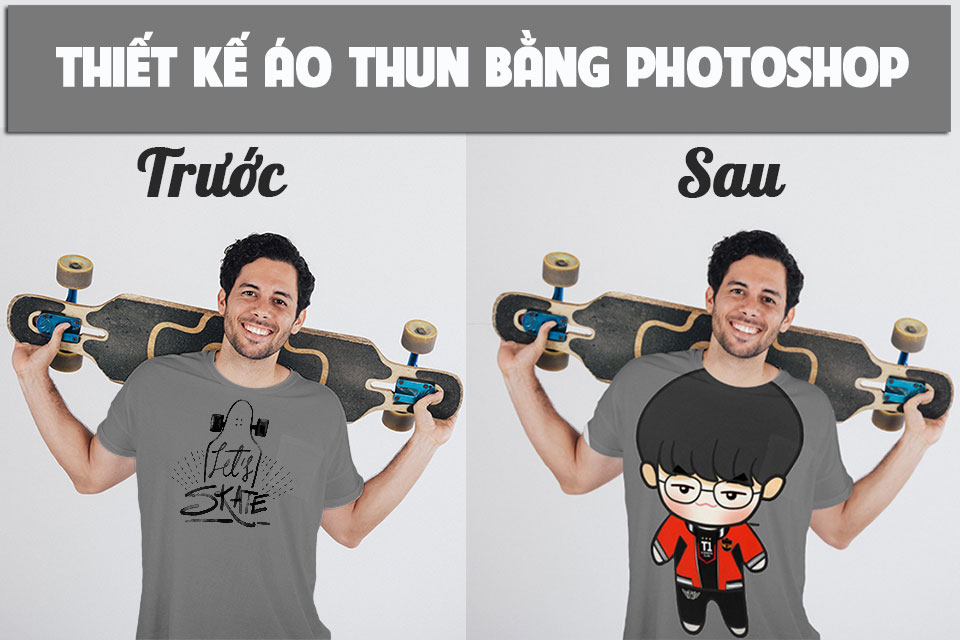
How to design T-shirts with Photoshop
If you are planning to design T-shirts with unique patterns, Photoshop is an optimal choice. Here you can manipulate images, logos, add sayings and apply effects to create a stunning t-shirt. Let's take a look at how to design t-shirts using Photoshop right after the following sharing.
If you are planning to design T-shirts with unique patterns, Photoshop is an optimal choice. Here you can manipulate images, logos, add sayings and apply effects to create a stunning t-shirt. Let's take a look at how to design t-shirts using Photoshop right after the following sharing.

Instructions for downloading mockup T-shirt photos
Hiring models to take photos with T-shirts and then changing the patterns and logos will be very expensive. Instead, you can use free mockup t-shirt design templates and then add your own textures and logos. A mockup image is simply an example model of an object or subject created based on a specific design in full scale and size. Mockups are prototypes, they help you test design ideas on a sample product without spending too much time and effort.
You can download t-shirt mockups from popular sources such as Freepik, Adobe Stock, Envato Elements, ShutterStock. Then change the image and logo you want and you'll get a completely new t-shirt. In the sharing article today, we will download t-shirt mockups on Freepik.
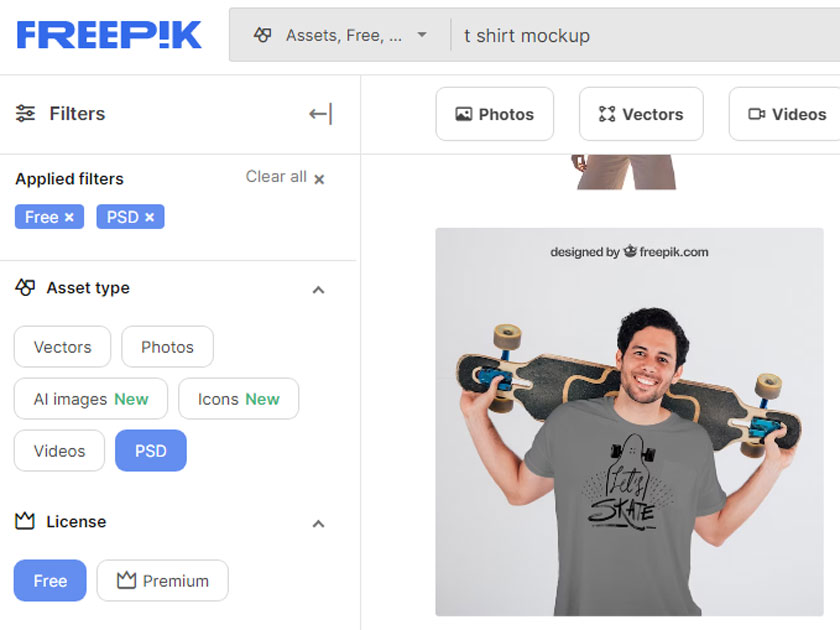
Step 1: First, visit Freepik, in the search box enter the keyword “T-shirt mockup” to find a t-shirt model. Click on the Free option, PSD format to make the process of designing a t-shirt in Photoshop simpler.
Step 2: We choose the appropriate mockup shirt image and then download it to our device.
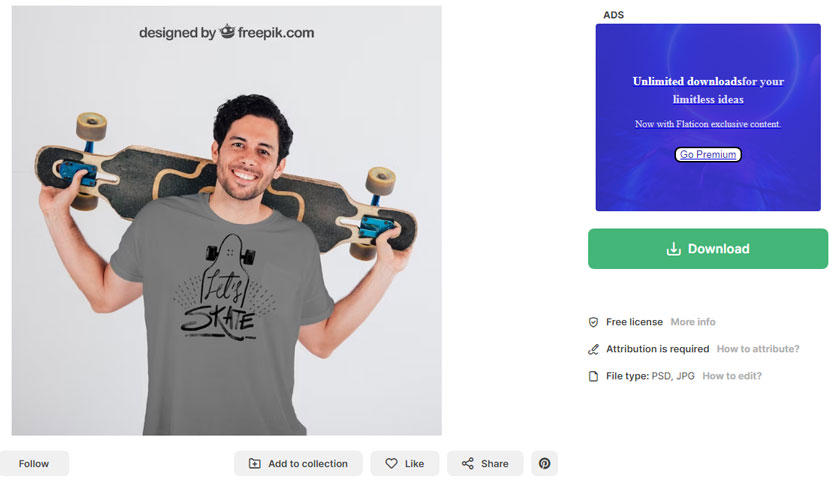
Please proceed to decompress the file you just downloaded. Normally, photo templates on Freepik or other applications will have a JPG image and a PSD file. Right-click on the PSD file and select Open With Photoshop to open the image in Photoshop. Then we will proceed to design t-shirts using Photoshop in Photoshop software.
How to design T-shirts with Photoshop
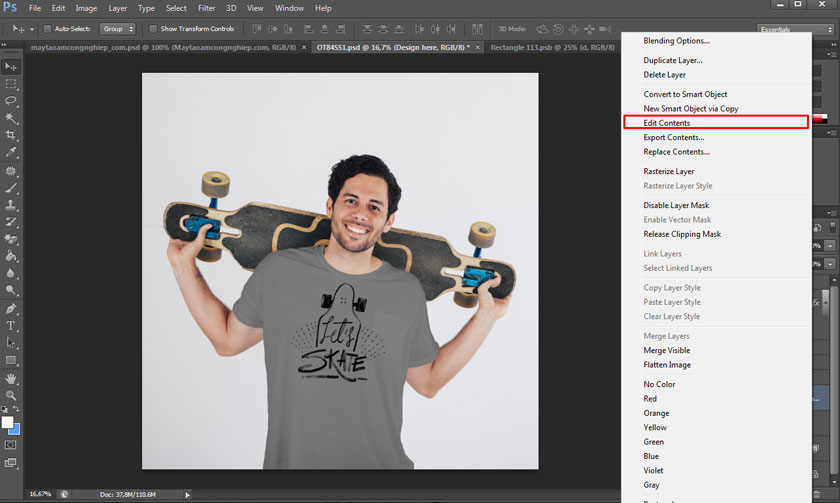
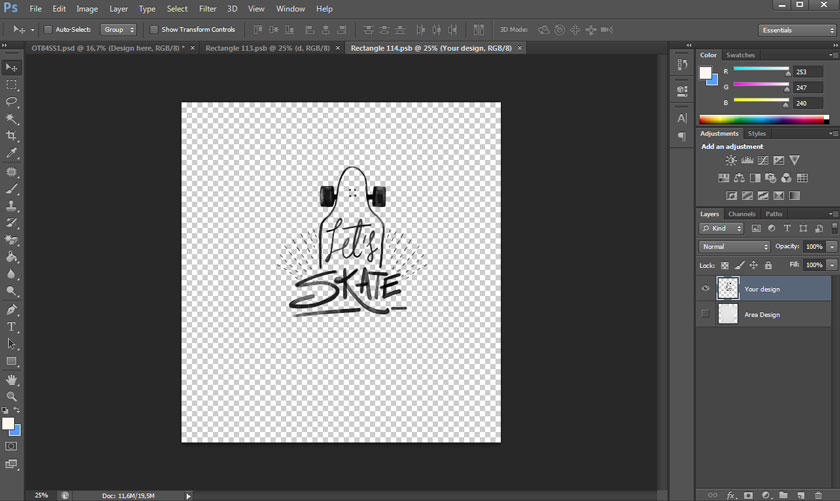
After having a mockup T-shirt image and opening the image in Photoshop, we will see that this T-shirt design is divided into many Layers and many different Groups. Helps us easily change colors and Logos. Typically, you will see a Layer that says Your Work, Edit Here or Design Here with a highlight color. We will proceed to design t-shirts in Photoshop by replacing our Logo and pattern on this layer. You can also open other Groups to adjust shirt color, background color, and brightness for photos.
Step 1: At the Your Work, Edit Here or Design Here layer, right-click and select Edit Contents. At this point, a dialog box will pop up, click OK.
The workflow will move to a new working area, now you can continue designing t-shirts in Photoshop in this area.
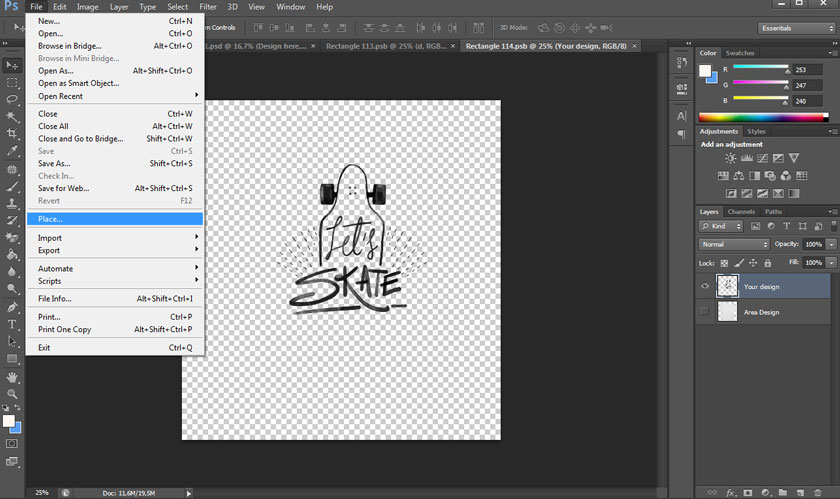
Step 2: Then in the menu bar, click File => select Place Embedded, select the appropriate logo, image and then click Place.
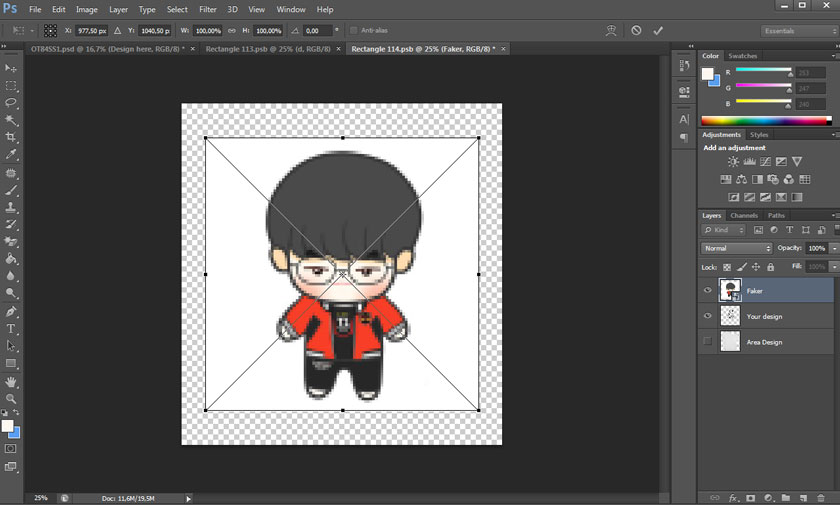
Step 3: Then we use the key combination Ctrl + T to change and adjust the size of the Logo and image to the center. Click on the white anchor points above the image to resize the Logo. You can click on the center of the Logo to move it to other positions to best suit the T-shirt design.
Step 4: In this case, we use a white background JPG format image. You can click on the Logo Layer then select the Blending Mode as Multiply. Photoshop will turn white pixels into transparent. If you use a PNG image with a transparent background, skip this step. In some cases, you can use the Quick Selection Tool to create a selection of the logo.

If the logo has a difficult background, you can click Select on the menu bar then select Color Range.
In the Color Range dialog box, click on the sampling tool, then click on the Logo background to remove the background. Finally, click OK to create a selection. After all, this step is to create a selection for the logo. Once you have created a selection, press Alt and then click create Layer Mask.
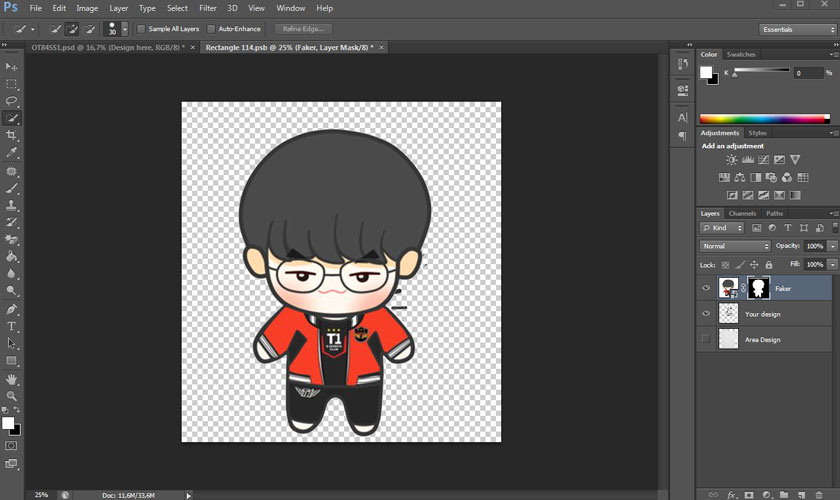
You will see a Layer Mask corresponding to the selection appear. The black area will be hidden, the white Logo part will be retained.
Step 5: Now, go to the menu bar and select File => select Save to save the design.
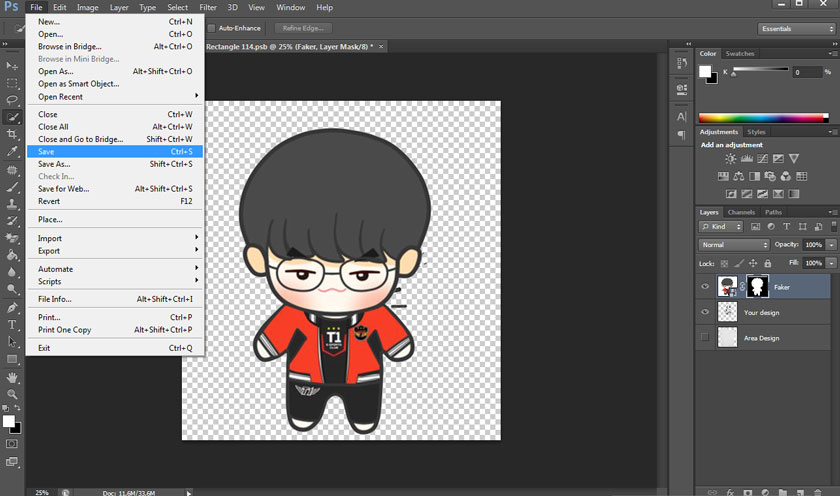
Wait a few seconds to save, then return to the main work area (original mockup shirt image) and you will receive a T-shirt with a completely new pattern.
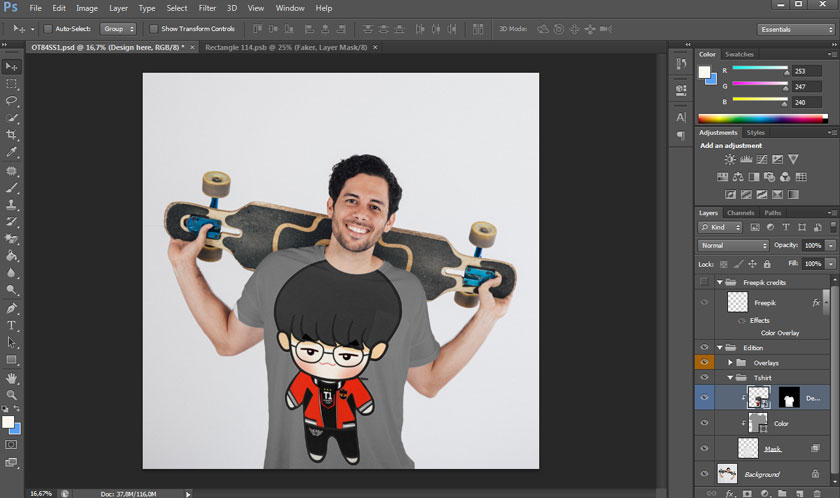
So you have completed the simple and quick steps to design a t-shirt in Photoshop.
Above is general information on simple instructions on how to design t-shirts using Photoshop. In fact, designing shirts with Photoshop is very easy when combining with free tools on Freepik and Envato Elements. You just need to change the logo and adjust the colors accordingly. SaDesign hopefully the above sharing can help you design your own unique and beautiful t-shirts.


VIP Products


Best Selling Products
Upgrade Duolingo Super
29 USD
Adobe Photoshop Copyright - Full App
120 USD
Capcut Pro 1 Year
39 USD
Genuine Adobe Illustrator account
99 USD
Copyright Adobe Lightroom Account
59 USD
Upgrade genuine Capture One account
120 USD
Freepik Premium Account
59 USD
MidJourney Account
29 USD
Adobe Premiere Pro Account
99 USD
Genuine Cheap Canva Pro
39 USD
ChatGPT Plus Account (GPT-4)
16 USD
Upgrade Genuine Office 365
49 USD
Windows 10 & 11 Pro Key
36 USD
Autodesk All App Account Copyright
120 USD
Plugin Retouch4me
69 USD