Best Selling Products

MidJourney Account
29 USD

Copyright Adobe Lightroom Account
59 USD

Freepik Premium Account
59 USD

Upgrade Duolingo Super
29 USD

Adobe Photoshop Copyright - Full App
120 USD

Plugin Retouch4me
69 USD

Upgrade Genuine Office 365
49 USD

Adobe Premiere Pro Account
99 USD

Windows 10 & 11 Pro Key
36 USD

ChatGPT Plus Account (GPT-4)
16 USD

Genuine Cheap Canva Pro
39 USD

Genuine Adobe Illustrator account
99 USD

Autodesk All App Account Copyright
120 USD

Capcut Pro 1 Year
39 USD

Upgrade genuine Capture One account
120 USD
Create a Retro Style for Beautiful and Classic Photos
Nội dung
- 1. The appeal of Retro style
- 1.2. Storytelling through memory
- 1.3. The Beauty of Imperfection
- 2. Choose a Retro color palette.
- 3. Utilizing Grain Noise
- 4. Coordinate costumes and props
- 5. Create Light Leaks effect
- 6. Creates a soft and slightly matte finish.
- 7. Retro Photo Editing Tools
- 8. Choose the right setting.
Retro style is often associated with a sense of nostalgia. Warm colors, soft lighting, film grain, and details that bear the mark of time can evoke images of old photo albums, family videos, or diary entries preserved for many years.

1. The appeal of Retro style
1.2. Storytelling through memory
Retro style is often associated with a sense of nostalgia. Warm colors, soft lighting, film grain, and details that bear the mark of time can evoke images of old photo albums, family videos, or diary entries preserved for many years.
What makes Retro special is that it doesn't just recreate a visual form of the past. It attempts to convey the spirit and emotions of an era .
A photograph of an old street can become more emotionally evocative when combined with muted tones and warm lighting. A portrait in vintage attire can feel as if it were taken from a photoshoot decades ago.
Therefore, when pursuing Retro photography, think about the story before thinking about the filters. Ask yourself what emotion the photo wants to evoke: warmth, peace, joy, romance, or a touch of melancholy? The answer will determine how you choose colors and process the image.
1.3. The Beauty of Imperfection
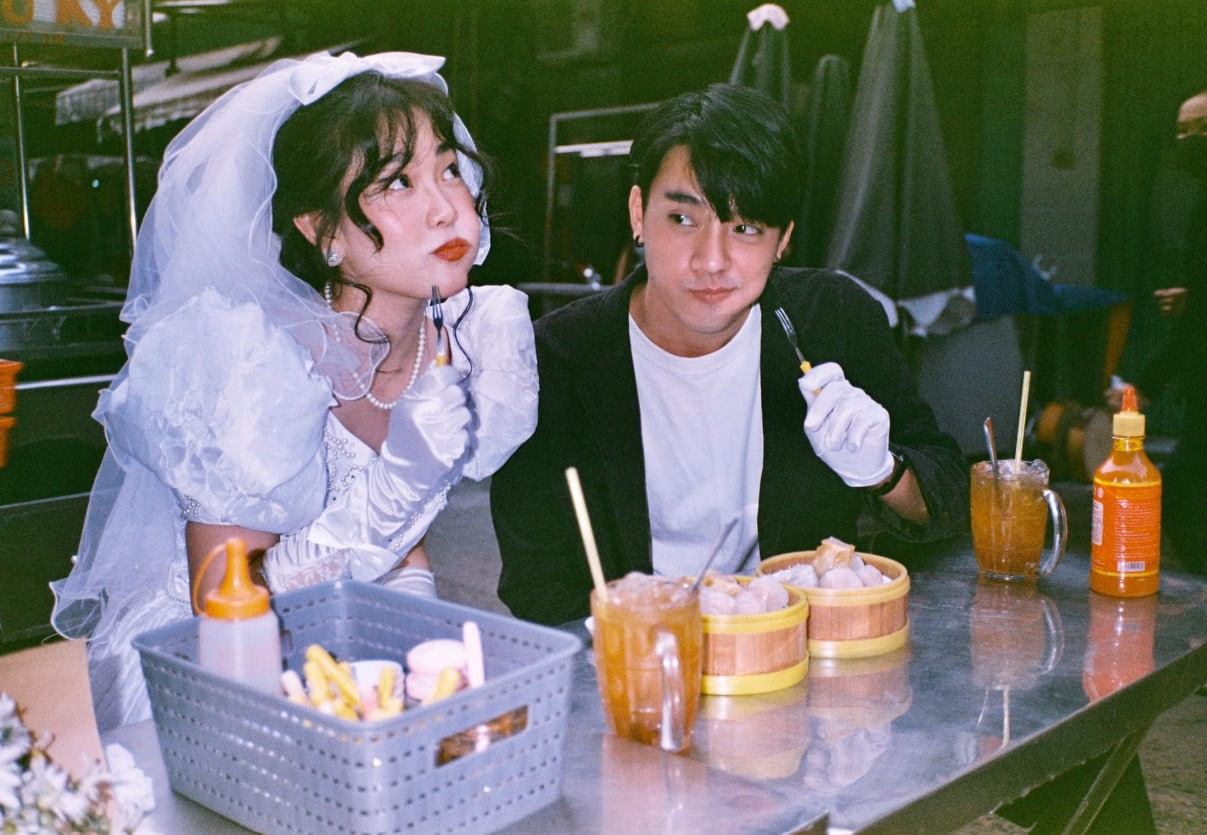
Modern digital photography typically aims for high sharpness, accurate colors, and clean images. Retro photography, on the other hand, takes almost the opposite approach.
Film grain, areas of uneven color, slight light leakage, image softness, or traces resembling old film can all become part of the aesthetic.
These "imperfections" don't necessarily make the image low-quality. On the contrary, they create a sense of authenticity and make the image seem more like a keepsake than a perfect digital product.
That's also why the retro style remains popular in photography, design, fashion, and social media content.
2. Choose a Retro color palette.
The characteristic color palette often leans towards shades of yellow, orange, brown, and brick red , combined with muted colors such as beige, gray, or moss green. These colors evoke images of old film, photographic paper, and vintage items.
However, it shouldn't be assumed that all retro photos must have a yellow or dark brown color scheme. The important thing is to build a color palette with moderate contrast and a slightly subdued feel.
In photo editing software, you can start by slightly reducing the saturation of the entire image. Then, increase the color temperature to create a warmer feel.
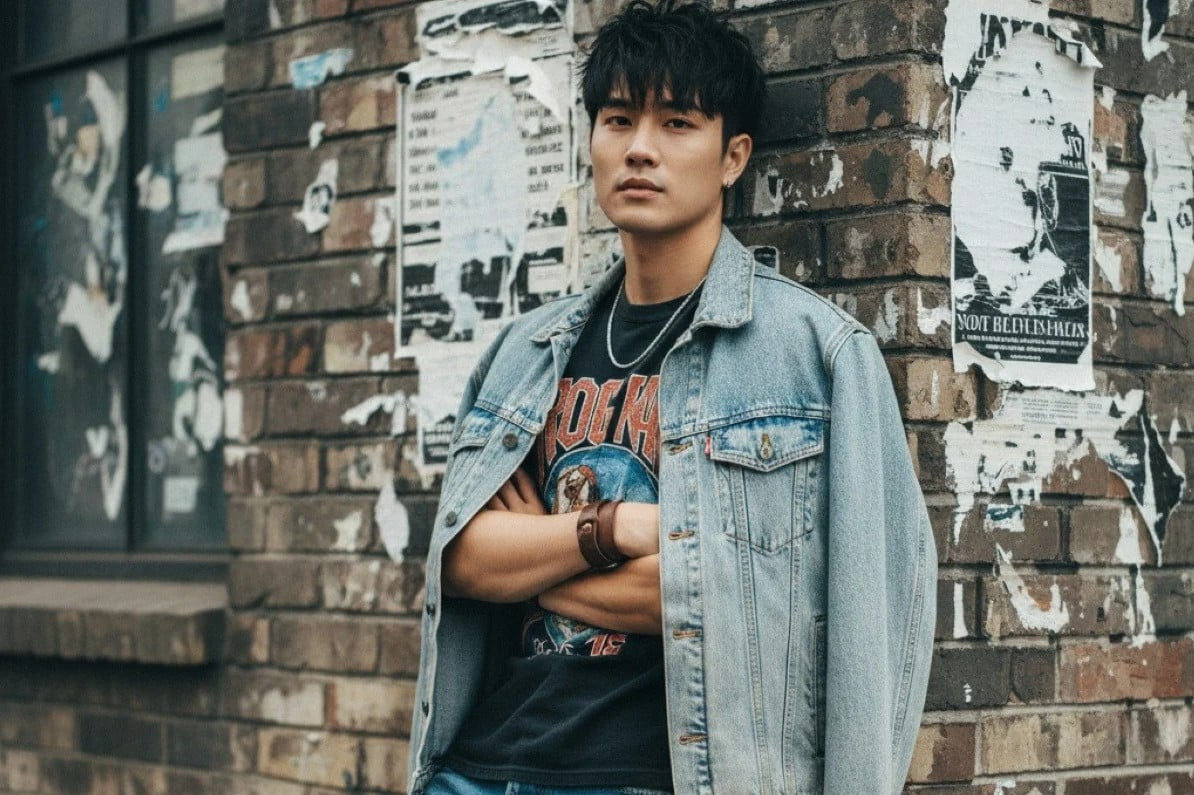
Next, observe each color area. If the blue is too vibrant, you can reduce the saturation or shift the shade of blue towards a mossy green. The yellow and orange areas can be adjusted to be warmer.
Contrast should also be controlled. A retro photo usually doesn't need excessively strong contrast. Slightly reducing contrast and softening the highlights can create a more film-like feel.
It's important not to apply the same settings to every photo. Outdoor shots, indoor portraits, or street photography will have different lighting conditions. Use presets or color settings as a starting point, then adjust them for each image.
3. Utilizing Grain Noise
If color creates the "tone," then grain is the element that creates the texture of the Retro style.
Grain mimics some of the characteristics of film photography, helping digital images feel less overly clean and sharp. When used appropriately, grain can make a photograph appear softer, more natural, and have more depth.
In current photo editing software, the Grain tool usually allows you to adjust the amount and size of the grain. Start with a low level, then gradually increase it until you achieve the desired texture.
A common mistake is adding too much grain right from the start. This can cause noise to obscure fine details, especially on faces or areas with a lot of texture.
For portraits, subtlety should be prioritized. Grain can be clearer in the background or less important areas, while the face still needs enough detail to convey emotion.
You can also combine Grain with a slight reduction in sharpness to create a sense of uniformity. When these two elements are balanced, the image will appear softer and closer to film quality without becoming blurry.
4. Coordinate costumes and props
A retro photograph would be difficult to be convincing if it only had classic colors but every element in the frame had a modern feel.
Costumes and props play a crucial role in creating consistency.
Items such as film cameras, rotary dial telephones, vintage watches, old suitcases, wooden furniture, or other vintage-designed objects can become effective storytelling elements.
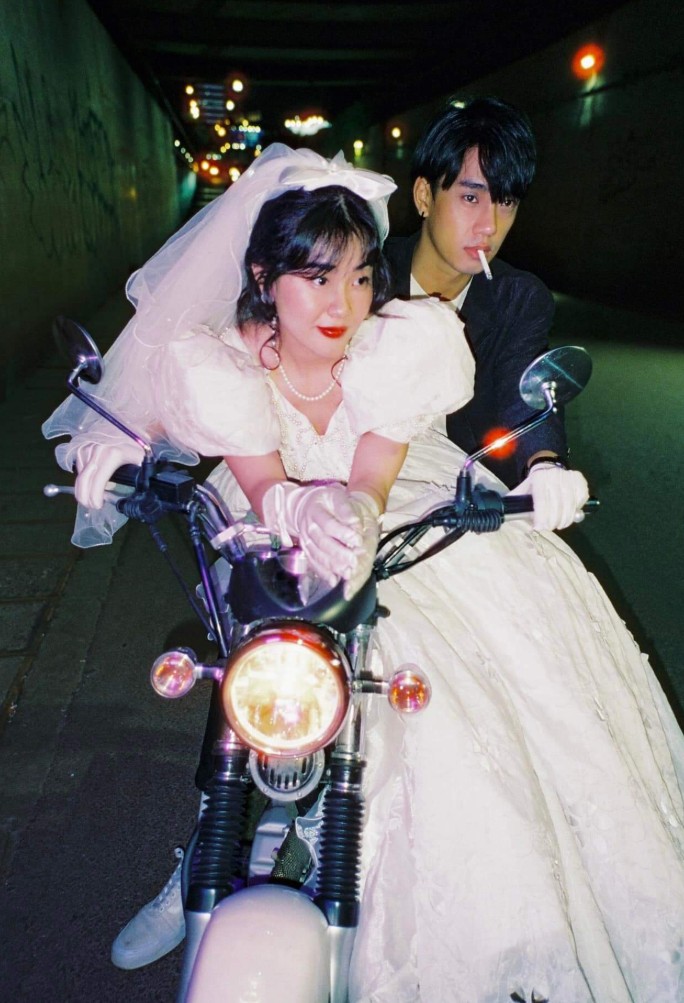
Clothing should also be chosen to suit the spirit of the setting. Designs reminiscent of the 60s, 70s, or 80s can help make the image more convincing.
It's not just clothes; elements like hairstyles, accessories, and makeup also contribute to the overall look.
However, it's not necessary to turn the entire photograph into a "classical stage." A few carefully chosen details can sometimes be more effective than cramming too many props into the frame.
For example, a character dressed in modern clothing standing next to a film camera in an old-fashioned shop setting can still create an interesting interplay between the present and the past.
The important thing is that each detail should serve the overall story.
5. Create Light Leaks effect
Light leaks , or the effect of light seeping through, are one of the easily recognizable characteristics of film photography.
This effect mimics the phenomenon of light leaking onto film during shooting or processing, creating unexpected streaks of light or areas of color at the edges and corners of the image.
In post-production, light leaks can be added using specialized filters or effect layers. Areas of red, orange, or yellow highlights often complement a retro color palette.
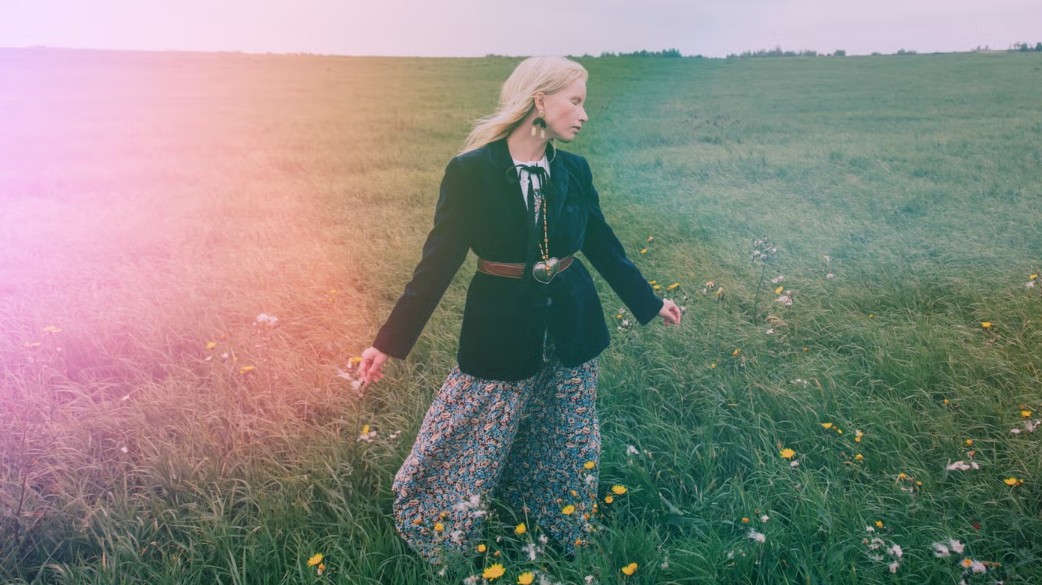
However, this effect needs to be used in moderation. If the light streak is too large or too bright, it can obscure the subject and make the photo look like it's using a built-in effect rather than a natural one.
An effective approach is to place Light Leaks in the corner of the image or at the edge of the frame, then reduce the transparency so that the effect blends into the overall composition.
You can also change the position, direction, and intensity of the effect depending on the original lighting. If the image has a light source from the left, a Light Leak appearing in the same direction might look more natural.
The ultimate goal isn't for viewers to notice the effect, but rather to make them feel that the photograph has the texture and atmosphere of an old film.
6. Creates a soft and slightly matte finish.
Modern digital photos typically have very high sharpness. In contrast, the retro style tends to aim for a softer feel.
Reducing sharpness or adding a bloom effect can help images feel less digital. Softening bright areas creates a dreamy effect reminiscent of certain older lenses or photographic materials.
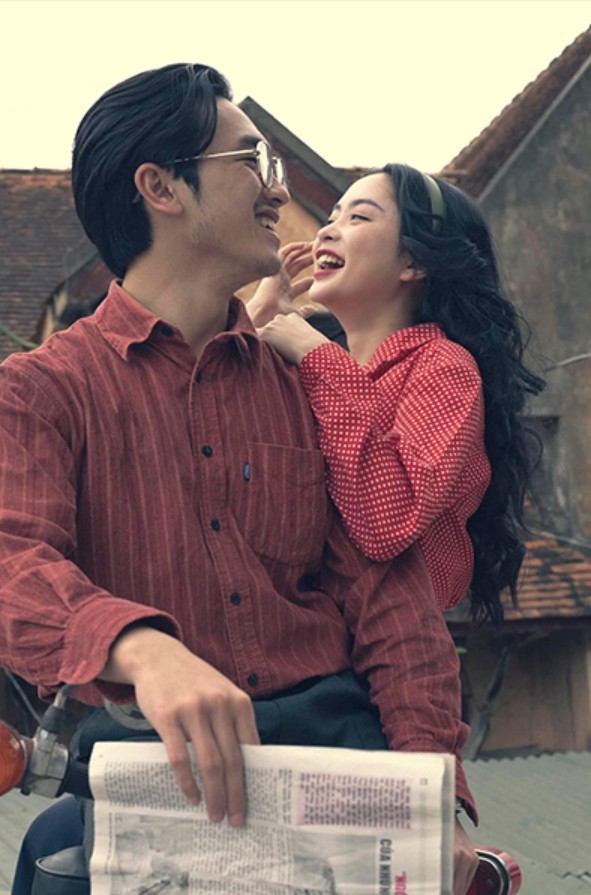
However, "blur" doesn't mean the entire image loses detail.
You should keep the main subject relatively clear, then apply a soft effect to a moderate degree. For portraits, the face still needs to be sharp enough to maintain expression. For landscape photos, important details shouldn't be blurred too much.
Another technique is to create a soft effect primarily in the highlights. When the light surrounding the subject has a subtle bloom, the photograph will have a more dreamy feel without losing structure.
This is one of the steps that requires restraint. Just a little softness can make a big difference; too much will cause the image to lose clarity and look unnatural.
7. Retro Photo Editing Tools
If you want to shorten editing time, you can use apps and presets designed for film or vintage styles.
VSCO, RNI Films, and Lightroom are noteworthy options when you want to experiment with color, grain, and film-like photographic effects.
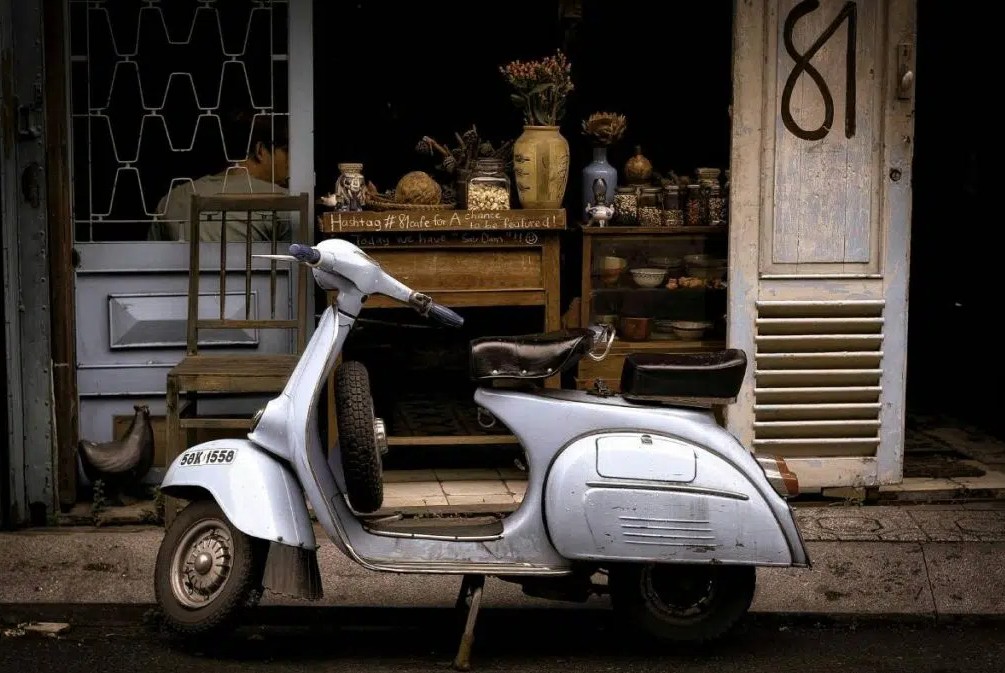
Presets have the advantage of helping to create a relatively consistent style with just a few steps. Some presets are built based on the color characteristics of popular film lines such as Kodak Portra or Fujifilm Pro 400H.
However, you shouldn't rely entirely on presets.
A preset might look great on the sample photo but produce different results when applied to a photo with different lighting or color conditions. After applying the preset, adjust the color temperature, exposure, contrast, saturation, grain, and other relevant parameters.
This method saves time and helps you create a unique retro style.
8. Choose the right setting.
The context is often overlooked when creating retro photos. A beautiful color palette will struggle to be effective if the surrounding environment isn't suitable.
Old neighborhoods, traditional grocery stores and barbershops, houses with wooden interiors, or spaces with warm yellow lighting can all provide a good backdrop for a nostalgic photoshoot.
Pay attention to details such as signage, building materials, furniture, wall colors, and lighting. These details can become an important part of the story.
A suitable setting not only makes the photo "look more classic" but also helps viewers understand the space and time that the artwork aims to evoke.
If you can't find a completely classic venue, you can still choose a modern space but add some vintage props to create a connection.
A beautiful retro photo doesn't necessarily have to be an exact replica of a photo taken decades ago. What's more valuable is that it evokes a sense of nostalgia , making viewers want to pause, observe longer, and imagine the story behind the image.





















VIP Products








Best Selling Products
MidJourney Account
29 USD
Copyright Adobe Lightroom Account
59 USD
Freepik Premium Account
59 USD
Upgrade Duolingo Super
29 USD
Adobe Photoshop Copyright - Full App
120 USD
Plugin Retouch4me
69 USD
Upgrade Genuine Office 365
49 USD
Adobe Premiere Pro Account
99 USD
Windows 10 & 11 Pro Key
36 USD
ChatGPT Plus Account (GPT-4)
16 USD
Genuine Cheap Canva Pro
39 USD
Genuine Adobe Illustrator account
99 USD
Autodesk All App Account Copyright
120 USD
Capcut Pro 1 Year
39 USD
Upgrade genuine Capture One account
120 USD