Best Selling Products

Copyright Adobe Lightroom Account
59 USD

Adobe Premiere Pro Account
99 USD

Freepik Premium Account
59 USD

Genuine Cheap Canva Pro
39 USD

Upgrade Duolingo Super
29 USD

Genuine Adobe Illustrator account
99 USD

Autodesk All App Account Copyright
120 USD

Plugin Retouch4me
69 USD

Upgrade Genuine Office 365
49 USD

ChatGPT Plus Account (GPT-4)
16 USD

Adobe Photoshop Copyright - Full App
120 USD

Capcut Pro 1 Year
39 USD

MidJourney Account
29 USD

Upgrade genuine Capture One account
120 USD

Windows 10 & 11 Pro Key
36 USD
The Secret to Making Food Look More Appetizing: Just Use Natural Light
Nội dung
- 1. The allure of window light
- 1.1. Soft and natural light
- 1.2. Reproducing realistic colors
- 1.3. Equipment saving
- 2. Choose the appropriate lighting direction.
- 3. Soften the light using diffusers.
- 4. Control the ball using reflectors.
- 5. Make use of curtains.
- 6. Choose the right time to take the photo.
- 7. Avoid mixing multiple light sources.
- 8. Build a simple shooting setup.
Window light is a simple yet incredibly effective natural light source for creating beautiful, soft, and appealing food photos.
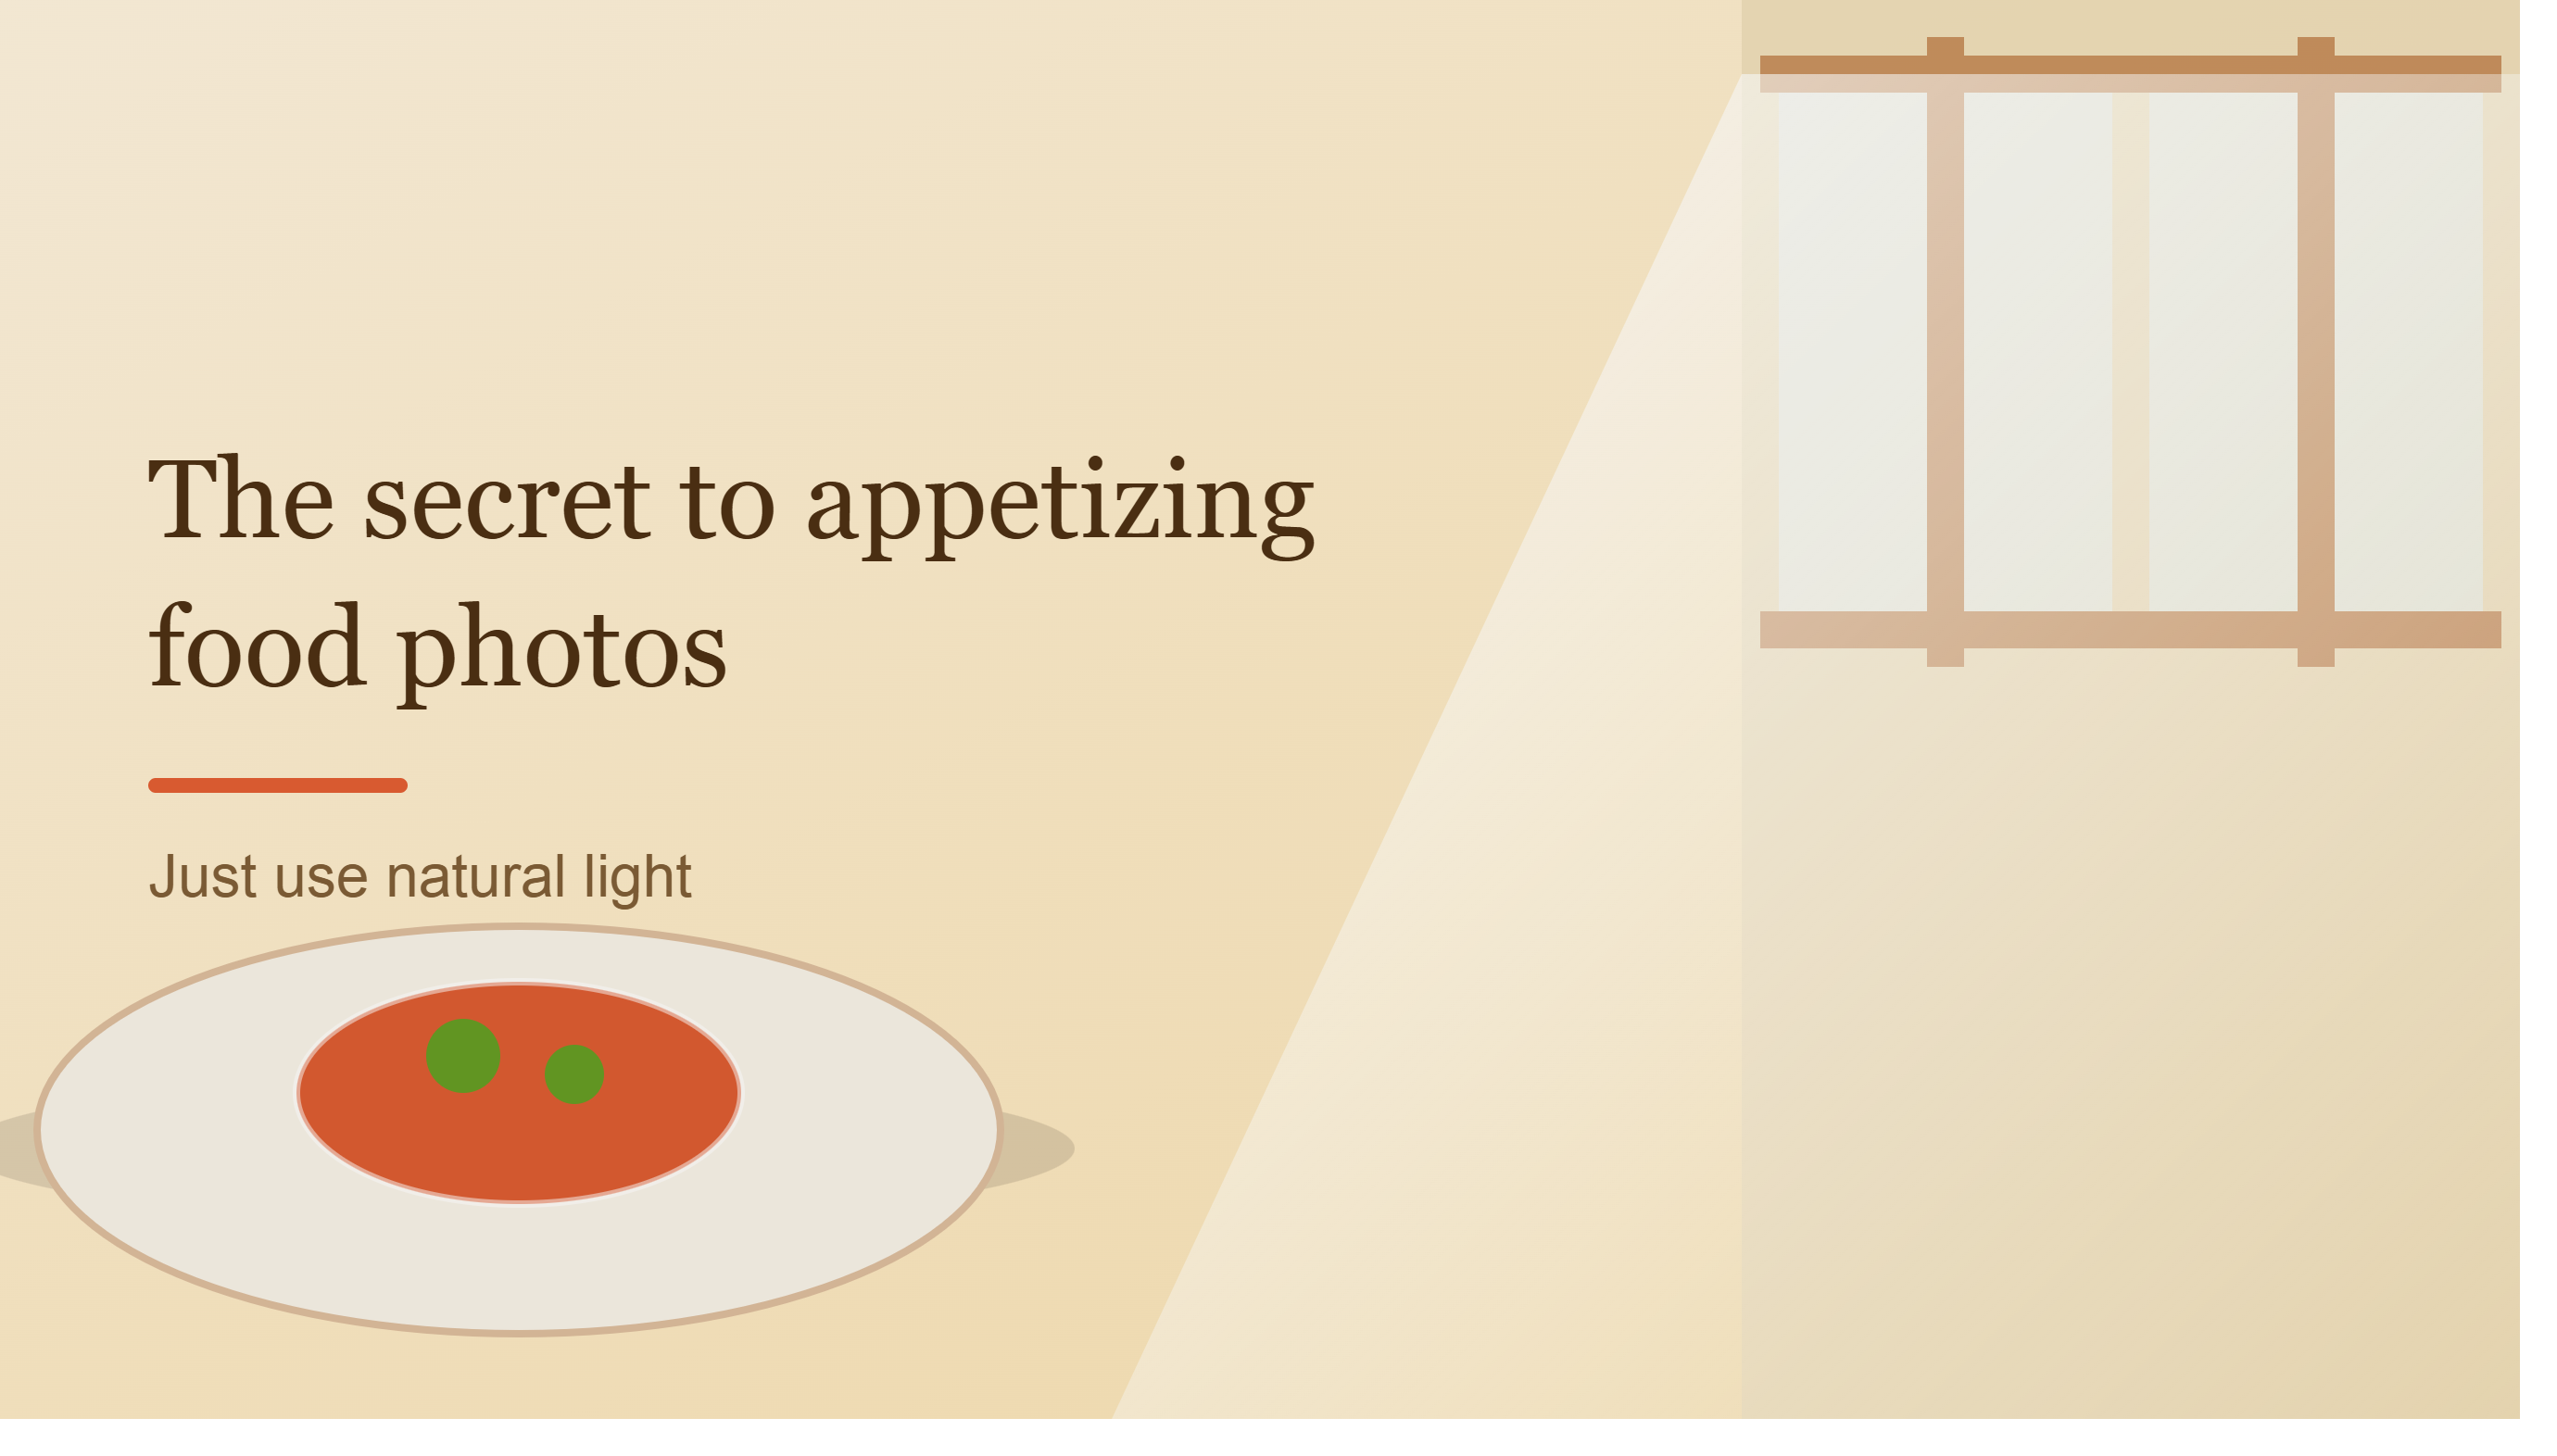
1. The allure of window light
1.1. Soft and natural light
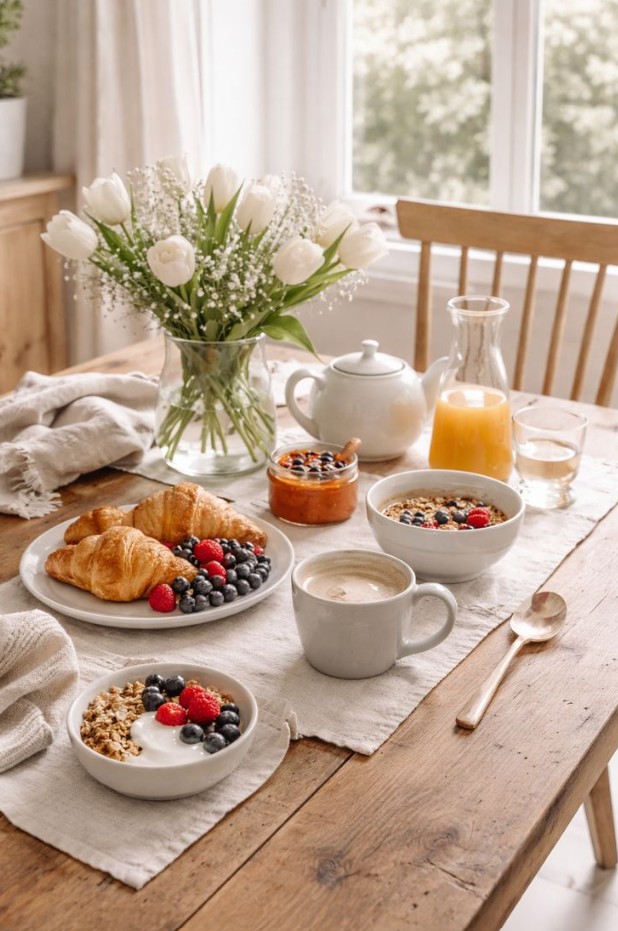
One of the biggest advantages of window lighting is its ability to create a relatively large and diffused light source. As light passes through a window, especially one with thin curtains, the intensity of the light is softened before it shines on the food.
As a result, shadows are often softer compared to direct, harsh light sources. The transitional areas between light and dark also become gentle, helping the food retain its natural appearance.
This is especially useful when photographing dishes with a lot of detail. The surface of a cake, sauces, vegetables, or foods with complex textures all need light that is soft enough to show their shape without creating overly dark areas.
Window light also creates a sense of intimacy. Instead of having an overly "studio" feel, the photo can resemble an everyday moment in a kitchen or at a family dinner table. This is one of the reasons why natural light is often used in food photography with a warm, minimalist, and casual style.
1.2. Reproducing realistic colors
Color is a particularly important element in food photography. A dish with natural and balanced colors tends to be more appealing.
Natural light from windows is able to reproduce colors relatively well, helping to clearly show the hues of food such as the green of vegetables, the red of tomatoes, the yellow of cakes, or the brown of baked goods.
Beyond color, lighting also affects the ability to showcase texture. The crispness of bread, the softness of cream, the glossiness of sauce, or the droplets of water on vegetables can all be highlighted when the light is directed correctly.
A well-positioned light source helps you maintain a balance between highlights and shadows, creating an image with depth instead of a flat photograph.
1.3. Equipment saving
Not everyone can afford to invest in studio lights, softboxes, triggers, or other specialized lighting equipment right away. Meanwhile, windows are readily available in almost every home.
This makes window lighting an ideal choice for beginners. You can experiment by moving the food closer to or further away from the window, changing the camera angle, and using curtains to control the light.
2. Choose the appropriate lighting direction.
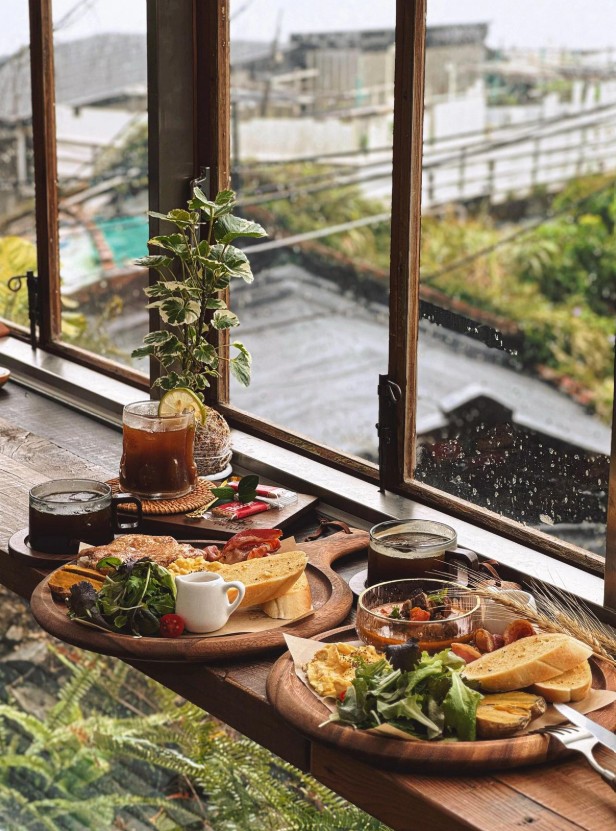
The position of the window relative to the food directly affects the shape and feel of the photograph.
Side lighting, especially at around a 45-degree angle , is often an easy option. This illuminates one side of the dish while casting a subtle shadow on the other. This difference in angle helps to highlight the shape and texture more clearly.
For example, with a multi-layered cake, side lighting can highlight each layer of cake and frosting. With a glossy surface, this light source also creates highlights that help the viewer perceive the texture.
Another option is backlighting . When the window is behind the dish, the light can create a subtle outline around the subject. This technique is particularly effective with dishes that have translucent ingredients, sauces , or steam.
Backlighting can help highlight the steam rising from hot food, creating the illusion that the dish has just been served.
Meanwhile, direct front lighting often reduces shadows and makes food appear flatter. However, this doesn't mean front lighting is always wrong. With some bright, clean, and minimalist styles, front lighting can still be used if well controlled.
3. Soften the light using diffusers.
When sunlight shines directly through the window, the light can become too strong. This can cause shadows to appear harsh, and some of the highlights on the food may lose detail.
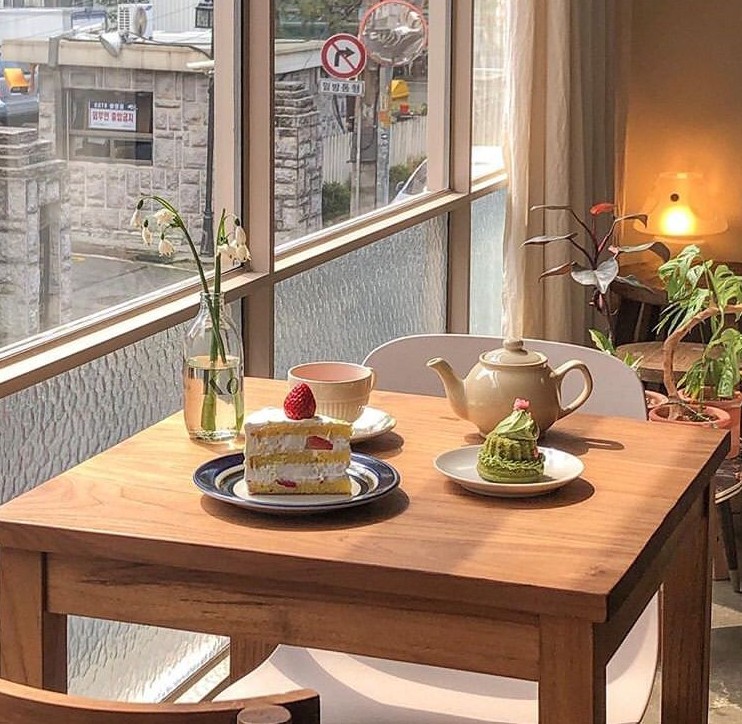
The simple solution is to use a light diffuser .
You can place a thin white cloth, sheer curtain, or suitable diffuser between the window and the dish. The purpose is to diffuse the light before it reaches the subject.
The process can begin as follows:
Step 1: Place the dish near the window and determine the direction of the main light source.
Step 2: Check the highlights on the dish. If the shadows are too harsh or the highlights are too intense, prepare a diffuser.
Step 3: Place a diffuser between the window and the food, avoiding completely blocking the light source.
Step 4: Observe the shadows again and adjust the distance between the diffuser and the food.
Step 5: Change the camera position and take test shots to find the angle with the most balanced lighting.
The larger the diffuser, the more softly the light is distributed. However, you still need to monitor the overall brightness to avoid making the image too dark.
4. Control the ball using reflectors.
When using window light from one side, the opposite side of the dish is often darker. This isn't necessarily a problem because shadows help create depth. But if the shadow is too deep, details can be lost.
At this time, the reflector was a simple but very useful tool.
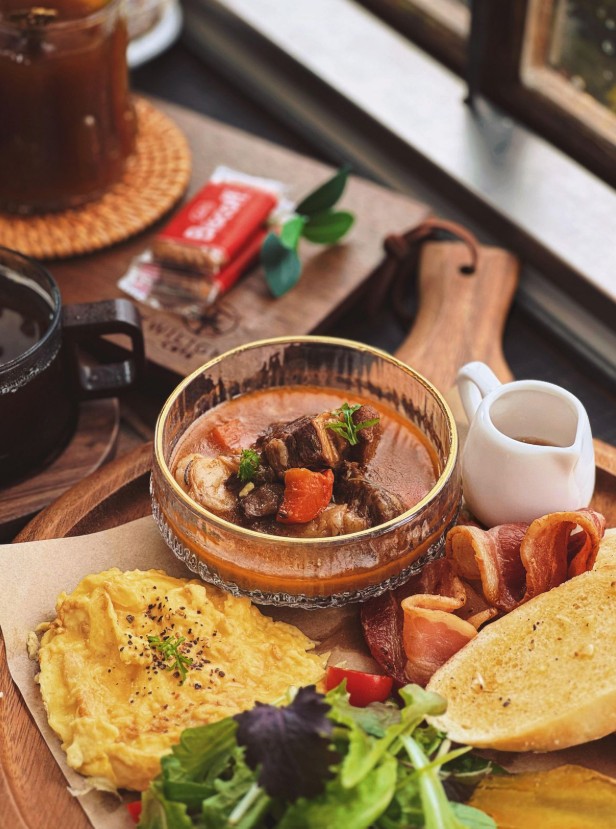
You can use a white cardboard sheet, a white foam board, or a specialized reflector. Place the reflector on the opposite side of the window to reflect some of the light back onto the food.
The distance between the reflector and the subject determines the amount of added light. Move the reflector closer if the dark areas need more light. Conversely, move it further away if you want to keep the shadows more distinct.
The key is not to try to eliminate all shadows. Shadows are what give food its volume and depth. The goal of backlighting is to control the shadows , not to make every area uniformly bright.
5. Make use of curtains.
Curtains can be used as a creative tool instead of just for sun protection.
Thin fabric curtains help to diffuse light, while some types of curtains with special structures can create interesting areas of light and shadow around the dining table.
For example, vertical blinds can create parallel streaks of light. When these streaks of light appear on food or a tabletop, the photograph gains an added graphic element.
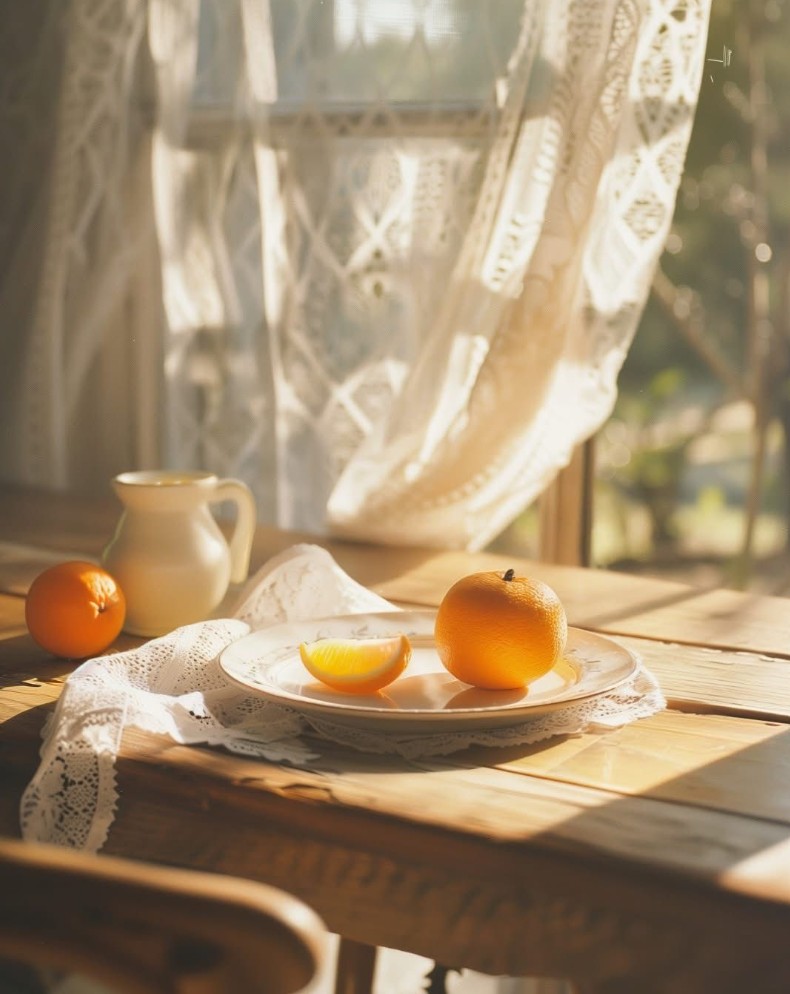
Fabric curtains can create softer shadows and are suitable for photos that want to maintain a gentle feel.
You can change the angle of the curtains to adjust the shape of the shadows. This is a simple way to create different lighting effects without changing equipment.
However, make sure the curtain effect doesn't obscure the subject. If the shadows are too complex, it might draw the viewer's attention to the light instead of the food.
6. Choose the right time to take the photo.
The time of day has a significant impact on the quality of light from a window.
Approximately 1–2 hours after sunrise or just before sunset typically provides softer, warmer light. This is an ideal time if you want to create a warm atmosphere for food photos.
Low light can also create longer shadows, giving images depth and a sense of atmosphere.
Conversely, midday usually has stronger and more direct sunlight. If the window receives direct sunlight, the food may appear to have very strong highlights and harsh shadows.
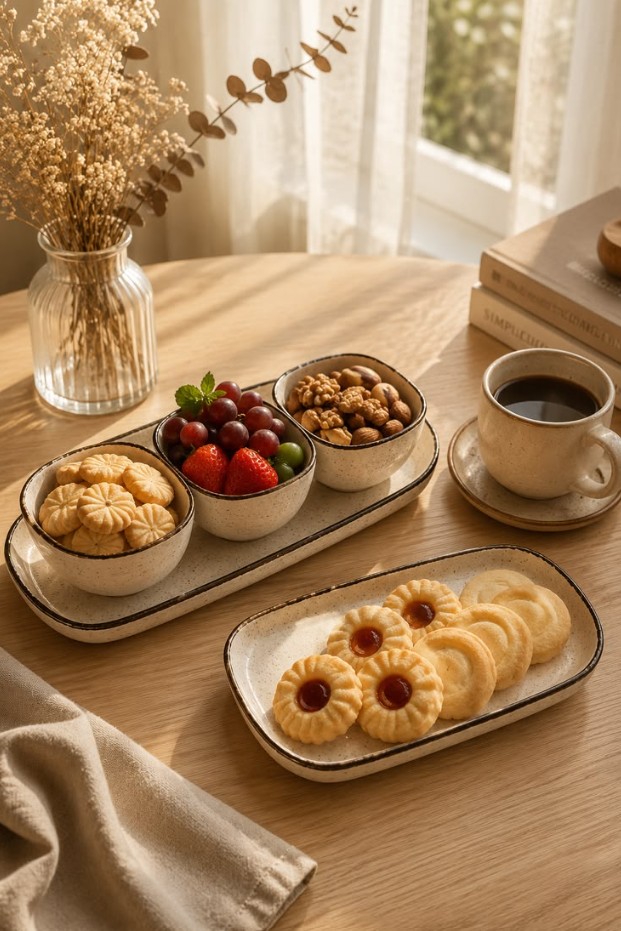
However, there isn't one single ideal time for every photograph. A dish with a bright, vibrant style might be better suited to brighter lighting, while dishes aiming for a cozy feel might be better suited to softer lighting.
Observe your window at different times to understand how the light changes.
7. Avoid mixing multiple light sources.
One common mistake when taking photos using window light is forgetting to turn off the lights in the room.
Natural and artificial light can have different color temperatures. When two light sources shine on a dish, one area may appear yellowish while another area has a cooler color.
This makes adjusting the white balance in post-production difficult.
If you've chosen window light as your primary light source, the simplest solution is to turn off any unnecessary lights in the room .
If you must use additional lighting, try to choose a light source with a color temperature that matches the natural light at the time of shooting.
Color consistency makes the dish look more natural and professional.
8. Build a simple shooting setup.
To get started, you don't need a complicated studio. A basic setup can include a window, a table, food, a camera or phone, and a reflector.
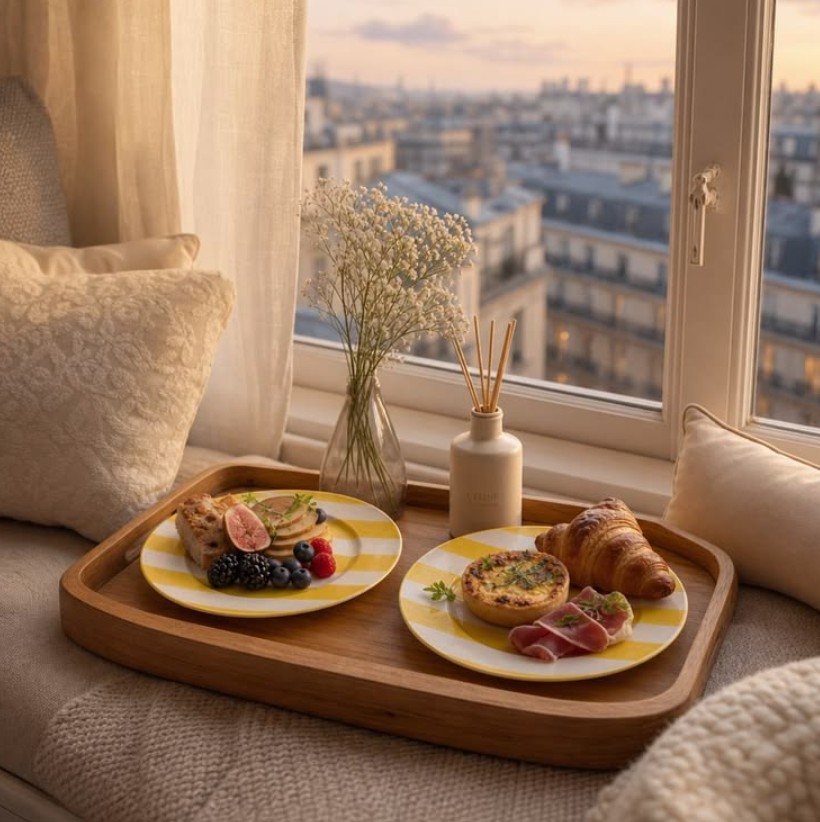
Position the table near the window, but not necessarily right next to it. Then, try placing the food at an angle of approximately 45 degrees to the light source.
Next, place a reflector on the opposite side to control the shadows. If the light is too strong, add sheer curtains or a diffuser.
Once you've arranged everything, try taking test shots from different angles. For food photos, a 45-degree angle often helps showcase the height and texture of the dish, while a top-down angle is suitable for dishes with a flat layout, such as a dining table, pizza, or multiple dishes arranged together.
There's no need to change everything at once. Change each element individually and observe the results to understand how the light is affecting the image.
Window light is one of the simplest yet most effective tools to get started with food photography. This natural light source has the ability to create soft shadows, true colors, and an intimate atmosphere without requiring complex equipment.





















VIP Products








Best Selling Products
Copyright Adobe Lightroom Account
59 USD
Adobe Premiere Pro Account
99 USD
Freepik Premium Account
59 USD
Genuine Cheap Canva Pro
39 USD
Upgrade Duolingo Super
29 USD
Genuine Adobe Illustrator account
99 USD
Autodesk All App Account Copyright
120 USD
Plugin Retouch4me
69 USD
Upgrade Genuine Office 365
49 USD
ChatGPT Plus Account (GPT-4)
16 USD
Adobe Photoshop Copyright - Full App
120 USD
Capcut Pro 1 Year
39 USD
MidJourney Account
29 USD
Upgrade genuine Capture One account
120 USD
Windows 10 & 11 Pro Key
36 USD