Best Selling Products
Create an Image Of a Pair in Which a Person is Created From The Text Background
Nội dung
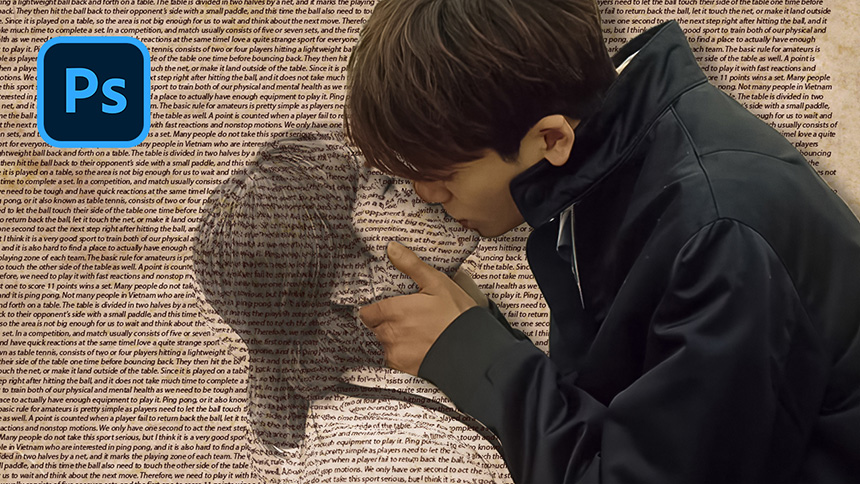
Hello everyone, this is SaDeisgn channel, in this tutorial, I will show you how to create a camouflage text effect in Photoshop.
I put these stocks in the description, you can download and watch the whole video with me.
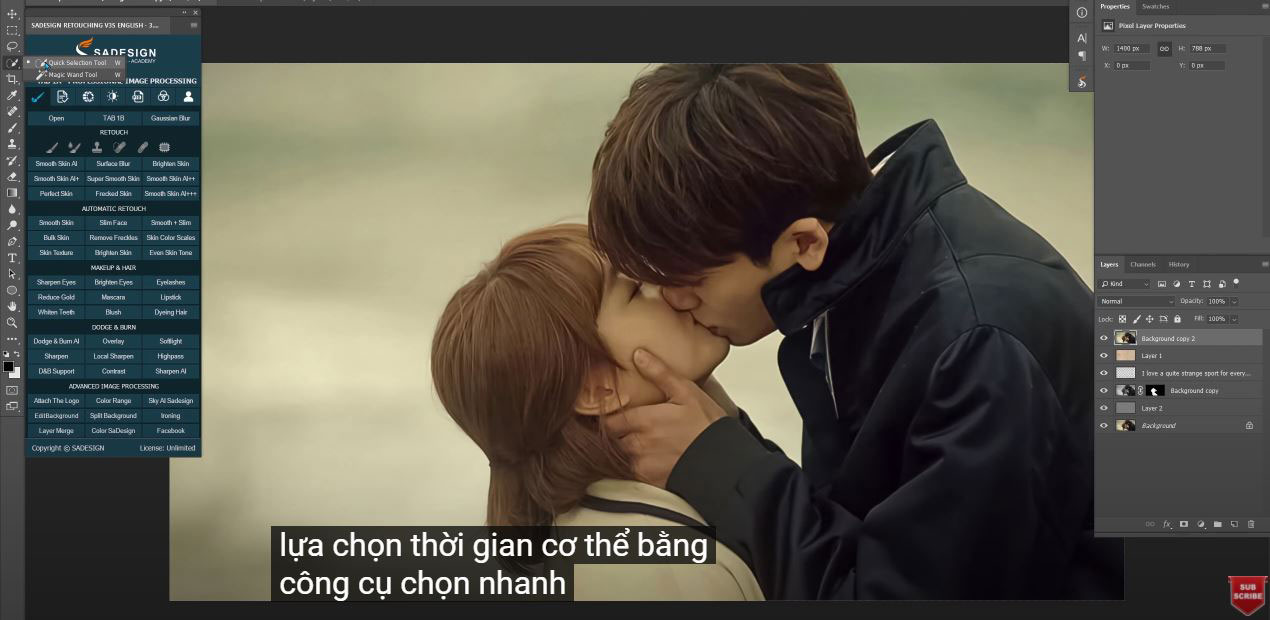
Here, I have the texture layer and background of the lovely Korean couple.
Duplicate the background layer twice by pressing CTRL or CMD + J twice.
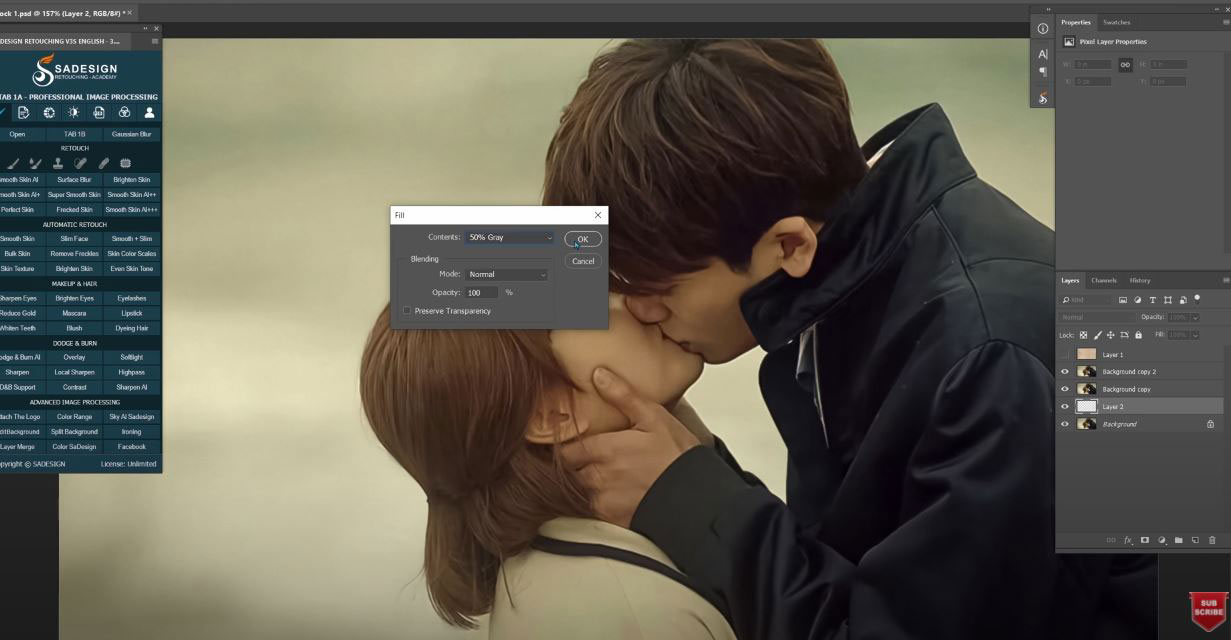
Create a new layer above the background layer, press Shift + f5, then fill it with 50% gray in the content box. YES
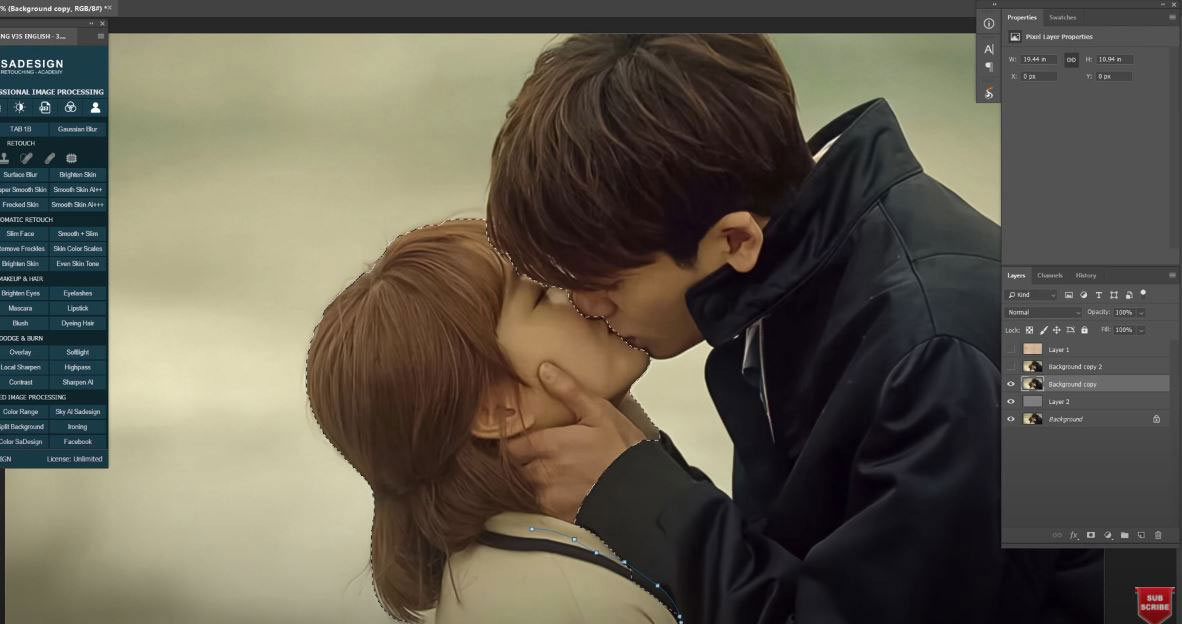
Turn off the second layer, select the third layer, choose “Quick Selection Tool” to select the girl.
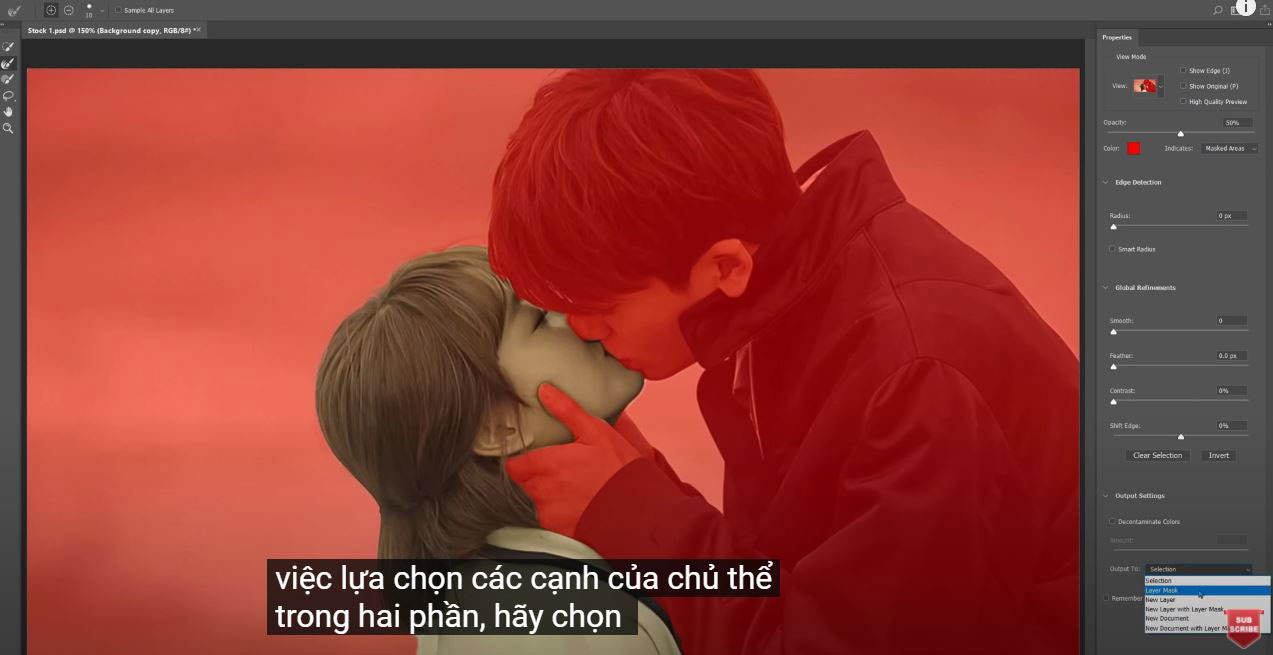
Then go to Select > Select and Mask > use the Refine Edge Brush tool to improve the selection of the subject's edges.
In the output box: select “Layer mask” and OK
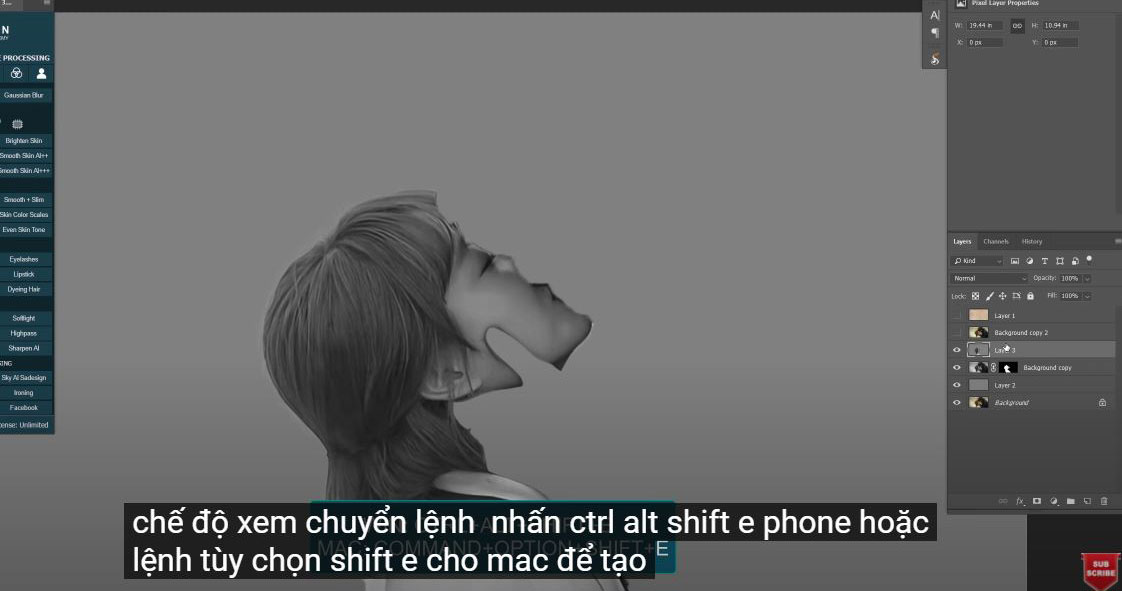
Convert this layer to black and white using CTRL + SHIFT + U or CMD + SHIFT + U.
Press CTRL + ALT + SHIFT + E for Win or CMD + OPTION + SHIFT + E for Mac to create stamped visible layers that combine all the layers below.
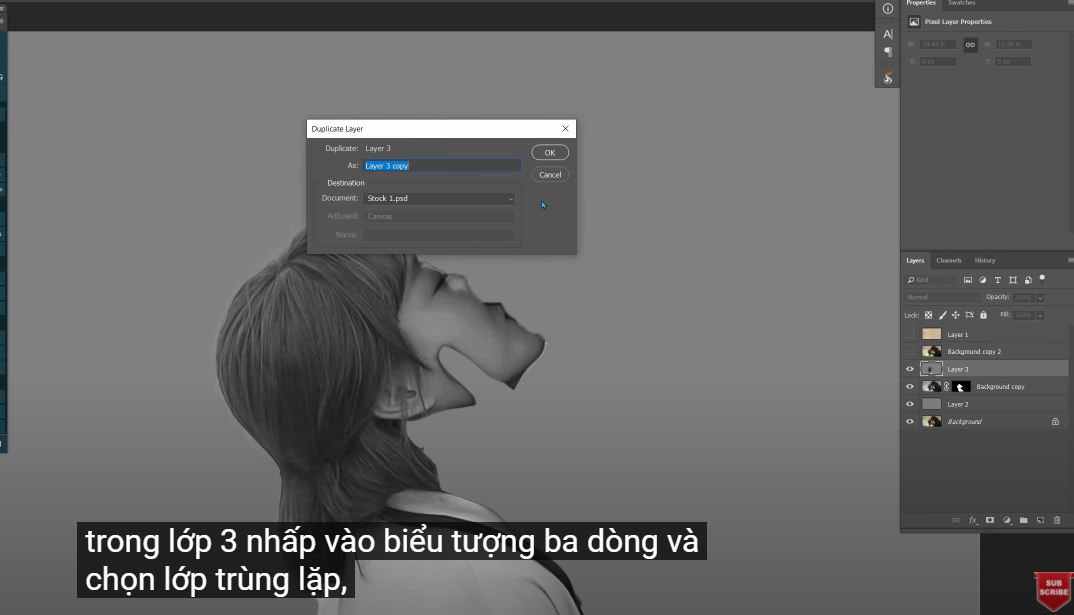
In layer 3, click on the 3-line icon and select “Clone Layer”.
Make sure to select "new" in the document box
.
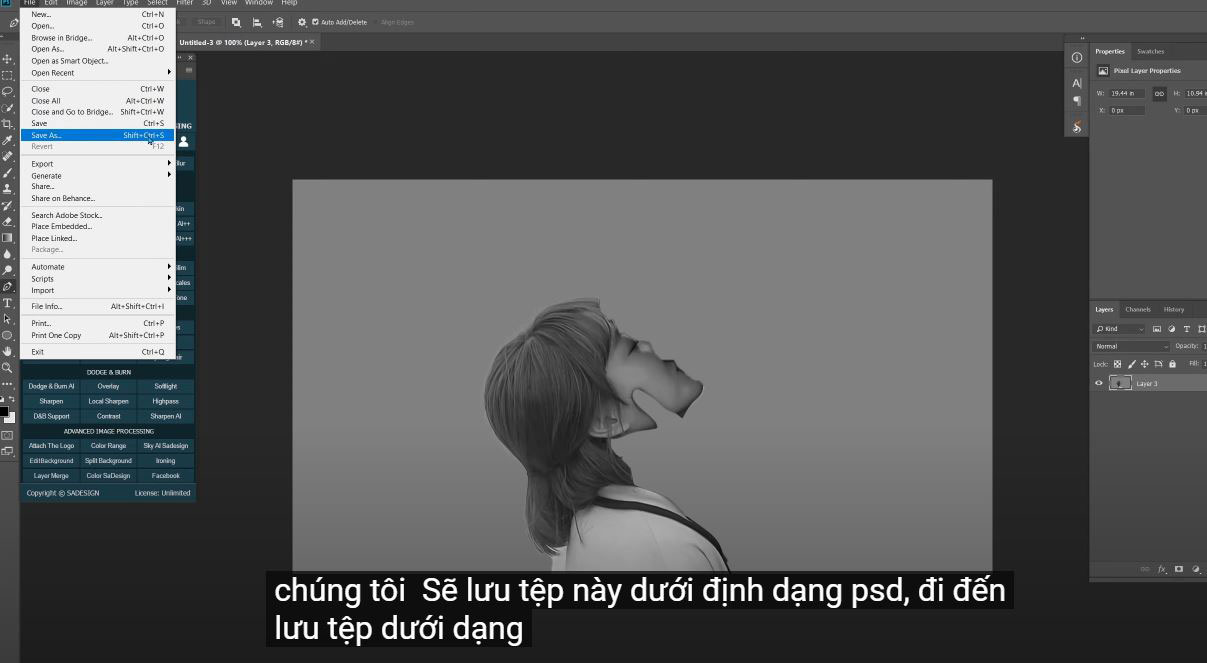
We will save this file in PSD format, go to File > Save as > name and select PSD format, then Save
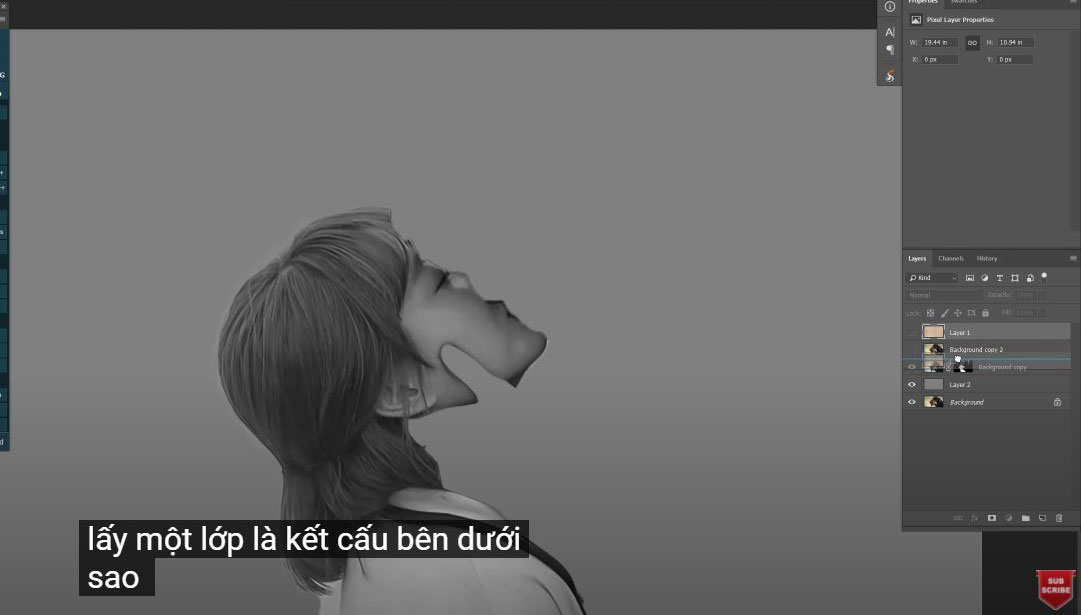
Back to our project, we can delete layer 3 now.
Take layer 1 as the texture below “background copy 2”, turn it on and change the blend mode from normal to overlay.
Next we will combine the text with it. To do that, first create a new layer, select “Horizontal Text Tool”
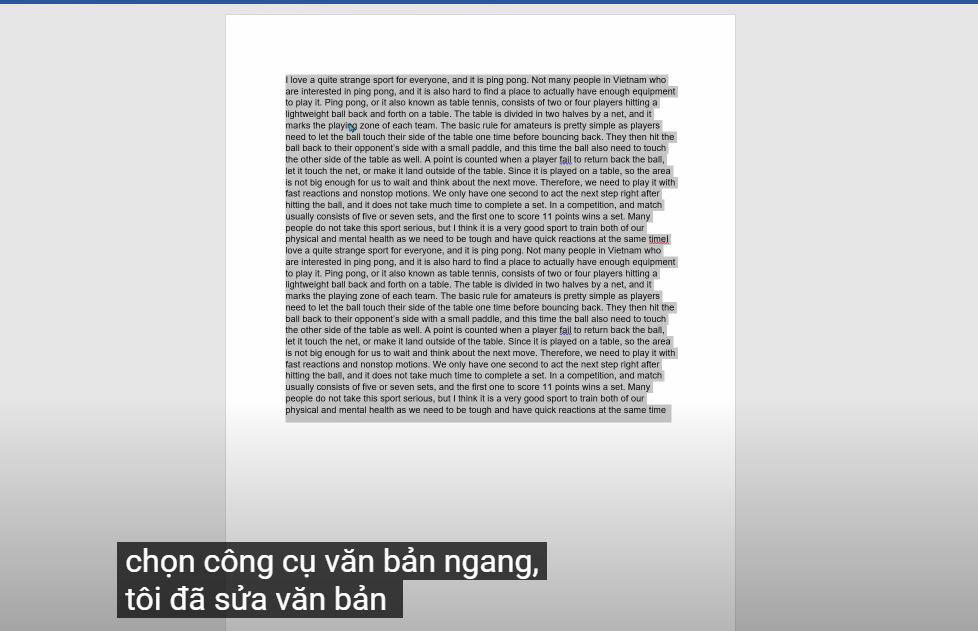
I prepared text, you can take mine or enter your own to make it special.
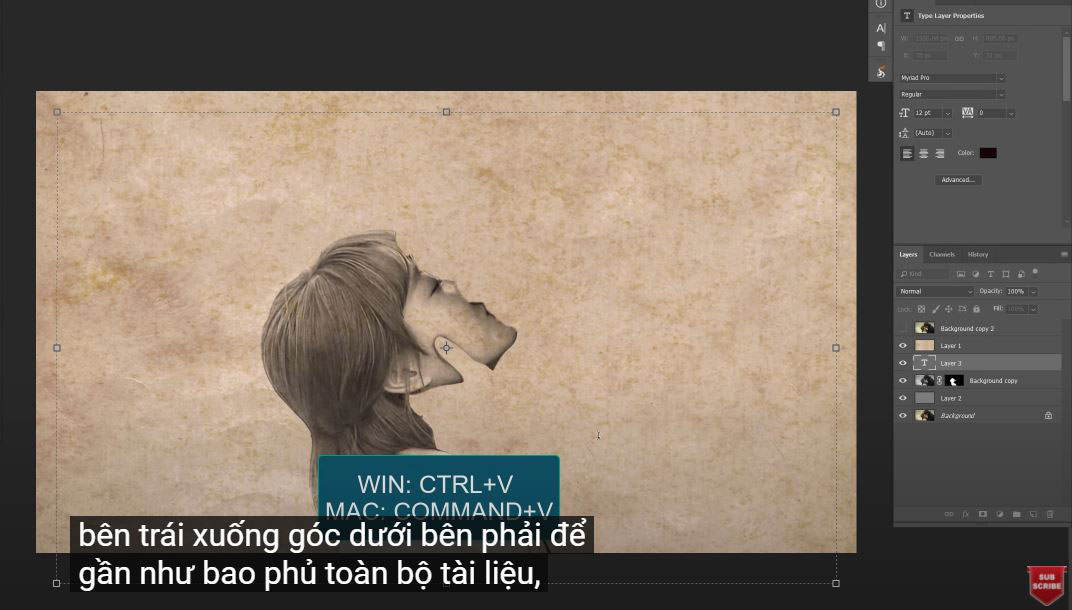
Just copy all the text in the Word document, transfer back to the project. Draw a rectangle from the top left corner to the bottom right to almost cover the entire document.
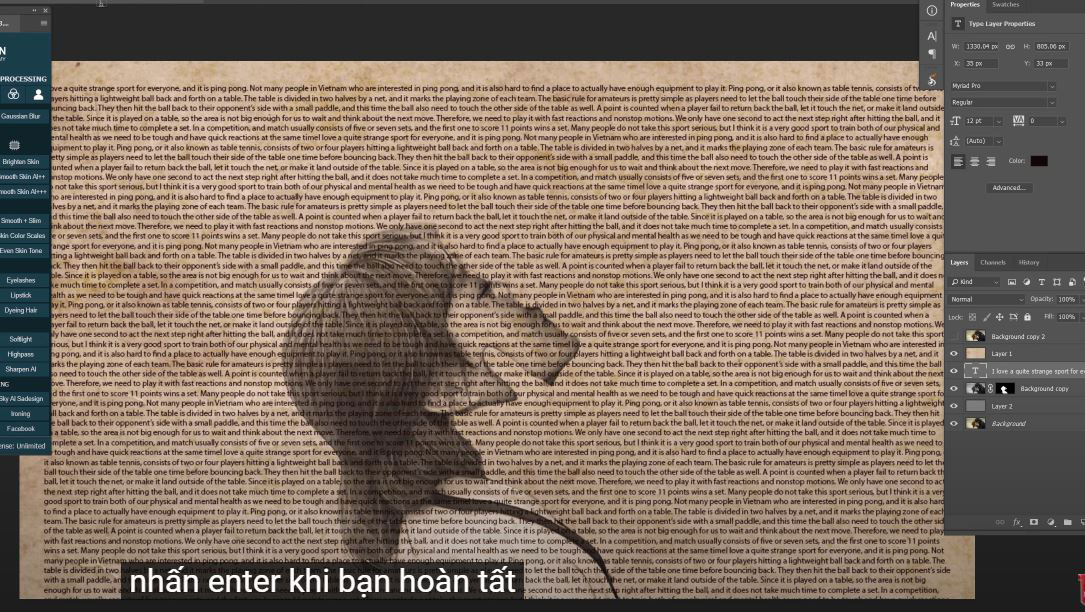
Paste the text several times with the keyboard shortcut CTRL or CMD + V so that it covers the rectangle. Press Enter when you're done.
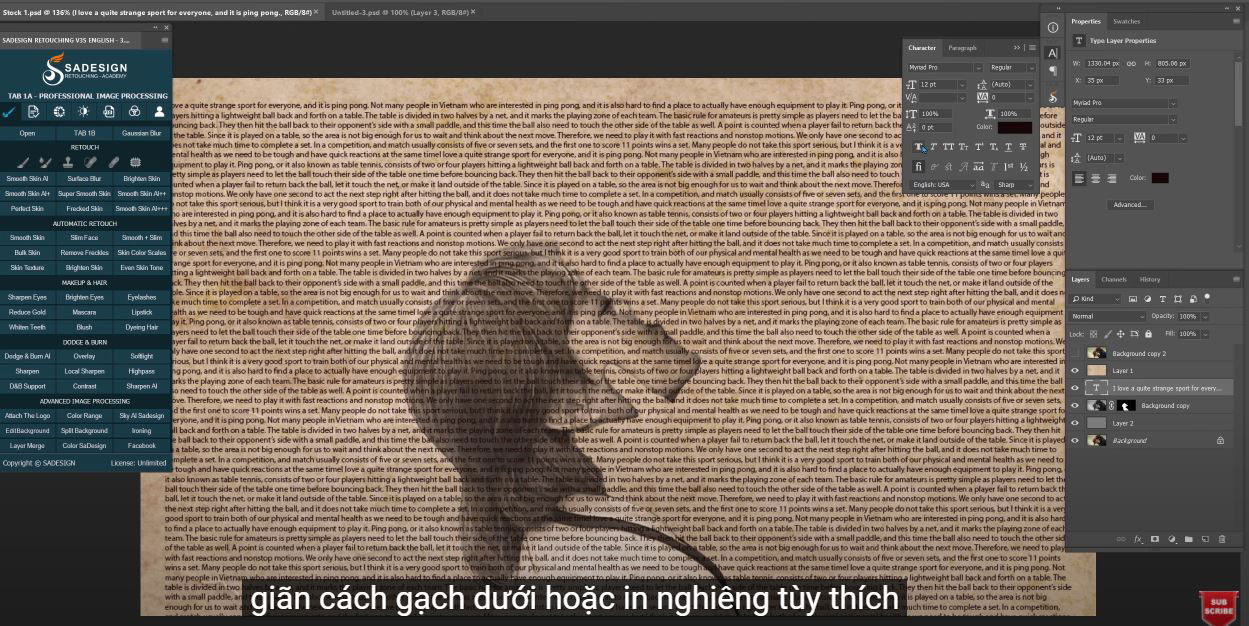
Customize the text in Window > Characters. Here, you can change the font color, size, spacing, underline or italic as you like.
Go to Select > Select and Mask > Use the refine edges brush tool to paint over the edges of his hair and canvas.
Make sure the output is “Layer Mask”
Here it is, the girl is now disguised in text and textures.
Just give it some small tweaks to make it look great!
Select the black layer mask on the top layer, use the eraser tool to erase the areas you want.
n case you accidentally over-painted, to get the original back, press X to invert the white to black in front and repaint those areas. Adjust the opacity to what you see fit.
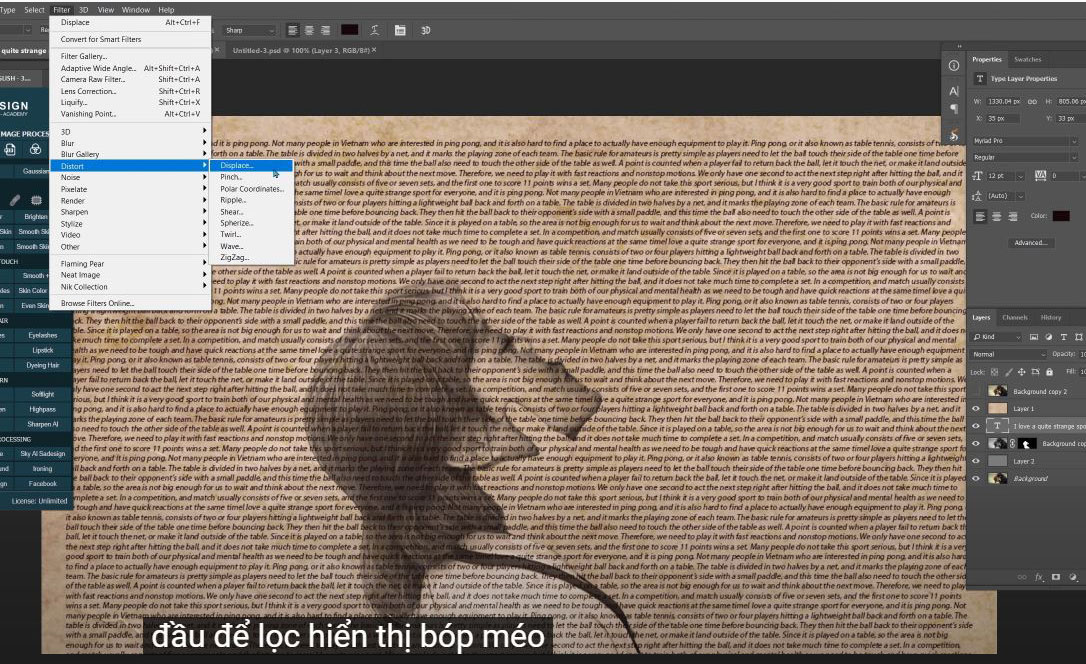
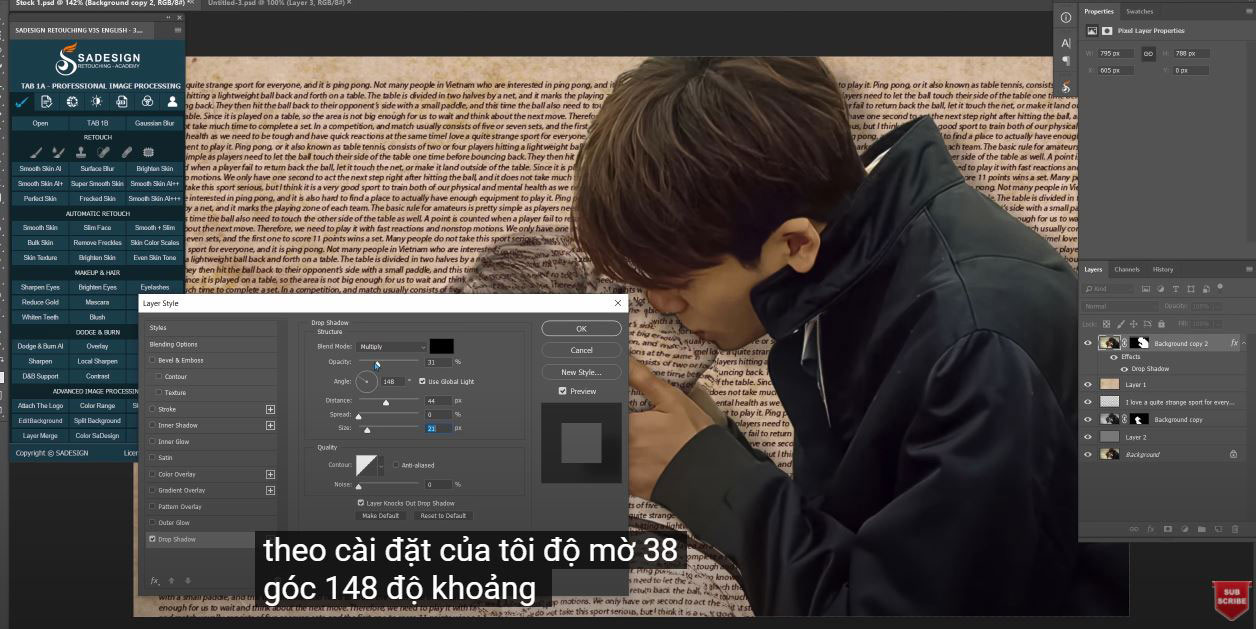
Select the top layer, go to Blend Options to add shadow in “Drop Shadow”, you can play with these options or follow my settings:
38% Opacity
148 degree angle
Distance 44
Size 21 and confirm
That is all! Now you know how to create this amazing effect.
REGISTER FOR FREE PHOTOSHOP LEARNING
============================
The most powerful Retouch tool processor
DOWNLOAD:
✅ SADESIGN PANEL ENGLISH: https://sadesign.ai/retouching/
✅ SADESIGN PANEL VIETNAM: https://www.retouching.vn/


