Best Selling Products
Create Oil Stain Effect in Photoshop with Sadesign
Nội dung
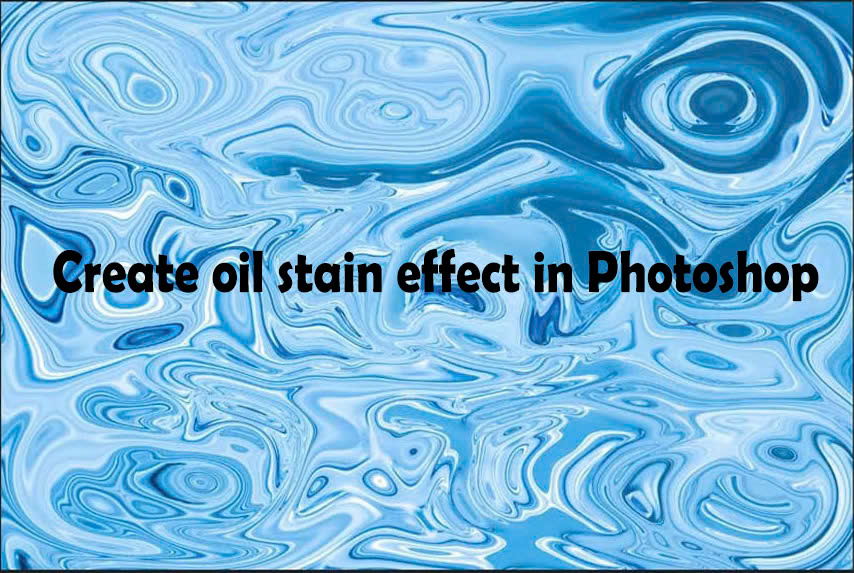
Colorful oil stain effects in Photoshop will make your design look more impressive. We can completely create it by combining many different tools in Photoshop. Let's refer to the detailed implementation with Sadesign right below.
1. Create oil spill effect in Photoshop with Liquify Tool
Liquify Tool is an extremely magical design tool in Photoshop. It allows you to bend, distort, change the shape of your photos in a variety of ways, transforming them in surprising ways. Therefore, using Liquify Tool to create an oil spill effect in Photoshop is the most popular.
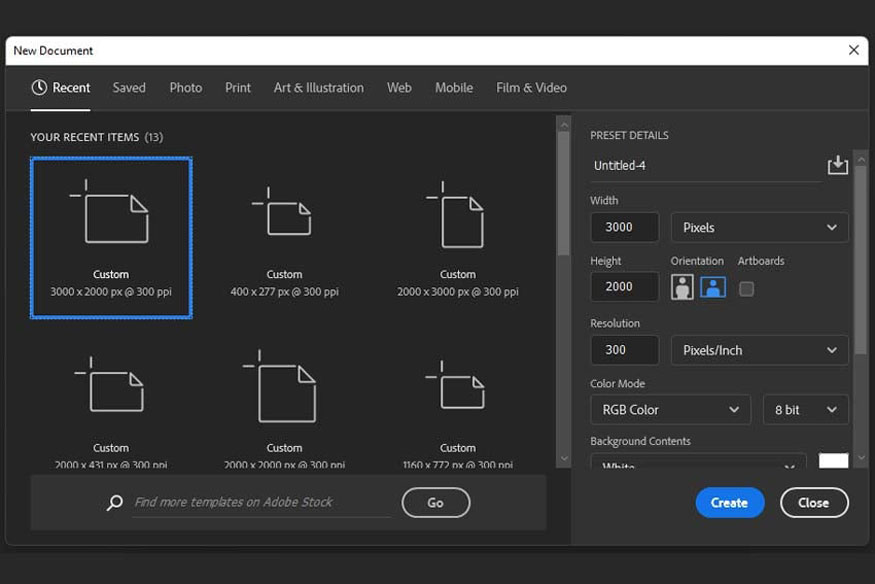
Step 1: First, we need to create a new document with a size of 3000 x 2000px. To create a new document, on the menu bar, go to File => New => set the appropriate parameters => Ok. Or you can use the shortcut key combination Ctrl + N and follow the steps above.
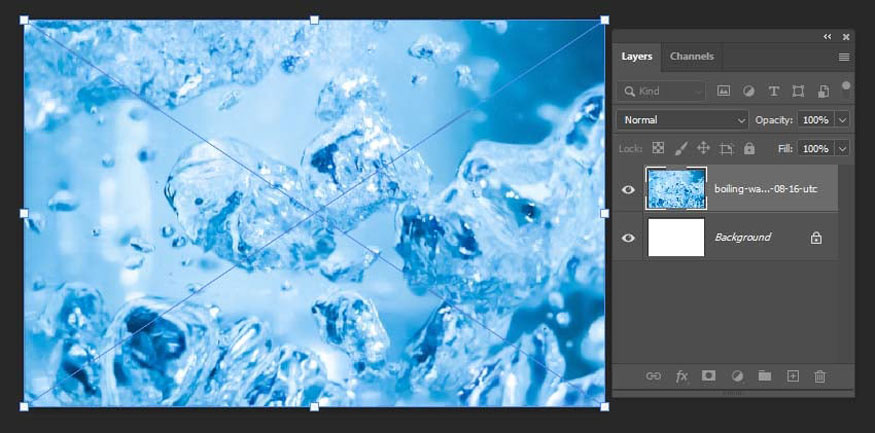
Step 2: On the menu bar, go to File => Place and select the water drop splash photo that you have downloaded to your computer. You can also use any image with a water splash vibe like the picture.
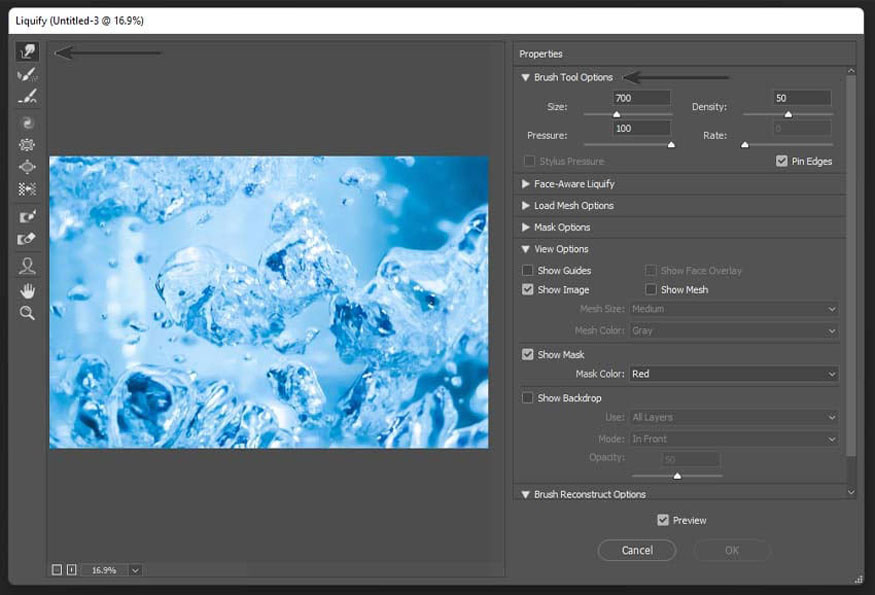
Step 3: On the menu bar, go to Filter => Liquify (Shift+Ctrl+X) then select Forward Warp Tool and set it with the following settings:
- Size: 700
- Density: 50
- Pressure: 100
- Pin Edges: On
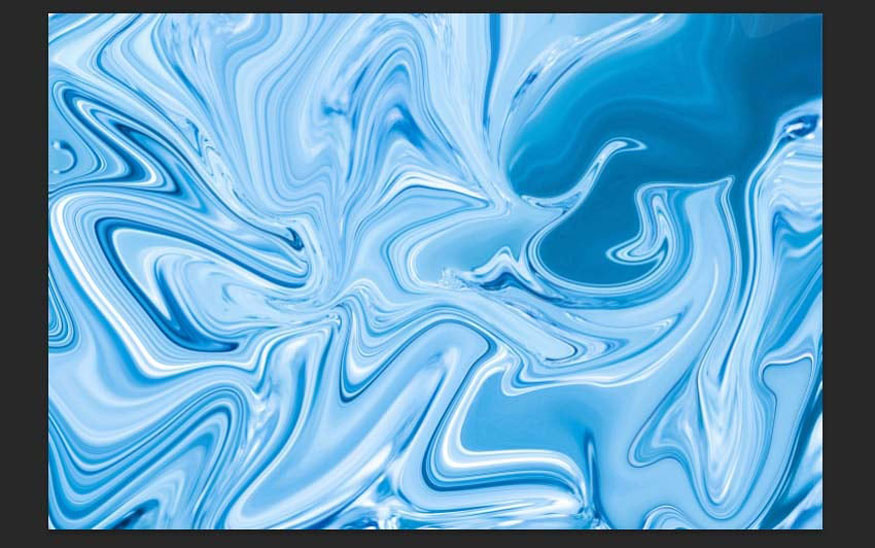
Step 4: Start using the Forward Warp Tool on your image by hovering your mouse on the screen until you get a result similar to the image below:
Step 5: And the last step, use the Twirl Clockwise Tool from the same Liquify panel. Then apply the following settings:
- Size: 800
- Pressure: 100
- Density: 50
- Rate: 50
- Pin Edges: On
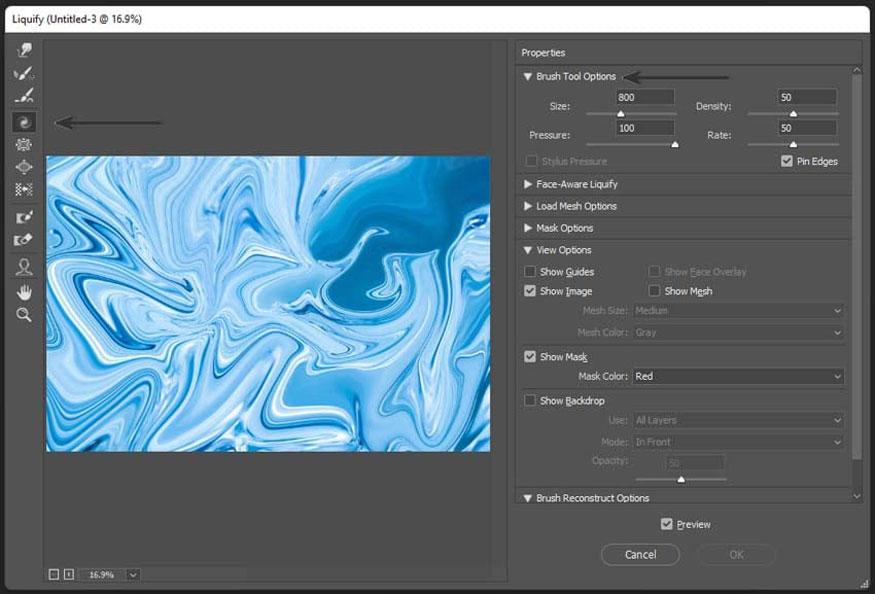
Step 6: Blend the background with the Twirl Clockwise Tool until you get a result similar to the image below:
.jpg)
Thus, we have finished creating the oil spill effect in Photoshop using the Liquify Tool. The current water drop photo has been transformed into an extremely impressive liquid spill layer.
2. Add color to the oil spill effect in Photoshop with Gradient Map
Oil spills are often characterized by extremely unique multi-colored bands. Let's add rainbow colors to the oil spill with Gradient Map.
Gradient Map is a tool that allows you to apply colors to images easily. With this tool, you can choose the desired gradient, Gradient Map will apply it to the image based on the formula on the right side will apply color to the darkest area. The middle part applies color to the neutral area and the left part will apply it to the brightest area.
Step 1: Continuing with the design above, we will create an oil spill filter. Click Create New Fill or Adjustment Layer at the bottom of the Layer panel (circle icon split in half) and select Gradient Map.
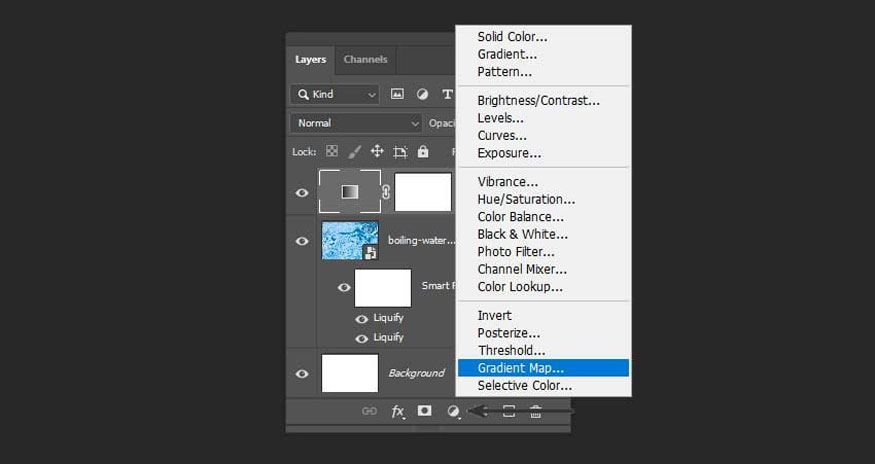
Step 2: Click Reverse then click on the color strip above, then use the color codes below on your Gradient Strip. Place the color points in order from left to right.
- #31db88
- #0bcef2
- #486cfa
- #7044e9
- #eb36c3
- #fa6732
- #e9b325
- #dbc743
- #c1dd7f
- #56dcb2
- #4ae7e9
- #3ad2f4
Set them like the image below.
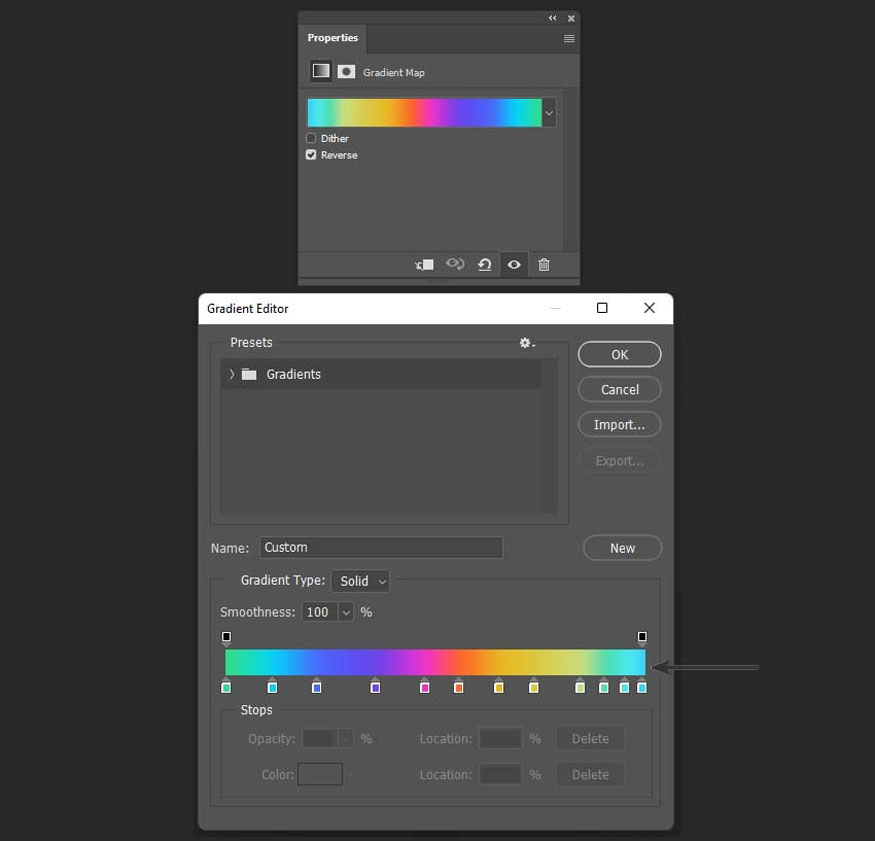
Then click OK. The result we get will be an oil spill effect in Photoshop with extremely beautiful multi-colors. The color transitions are extremely natural, true to the oil spill vibe.
.jpg)
The above is a summary of the steps to create an oil spill effect in Photoshop. In fact, this method is very simple, not complicated at all. You can try changing many settings to get the most unique results. Hope the above sharing will help you have impressive designs.
Installation and support contact information:
🏡 SADESIGN Software Company Limited
📨 Email: phamvansa@gmail.com
🌍 Website: https://sadesign.ai


.png)


