Best Selling Products

Adobe Premiere Pro Account
99 USD

Genuine Adobe Illustrator account
99 USD

Capcut Pro 1 Year
39 USD

Autodesk All App Account Copyright
120 USD

Genuine Cheap Canva Pro
39 USD

ChatGPT Plus Account (GPT-4)
16 USD

Windows 10 & 11 Pro Key
36 USD

MidJourney Account
29 USD

Copyright Adobe Lightroom Account
59 USD

Upgrade genuine Capture One account
120 USD

Upgrade Genuine Office 365
49 USD

Upgrade Duolingo Super
29 USD

Plugin Retouch4me
69 USD

Freepik Premium Account
59 USD

Adobe Photoshop Copyright - Full App
120 USD
Create professional effects with After Effects: Realize creative ideas
Nội dung
- 1. What is After Effects and why is it chosen for film special effects?
- 2. Types of cinematic effects that can be created with AE
- 2.1. Compositing – Image overlay technique
- 2.2. Motion Tracking và Camera Tracking
- 2.3. Fire, smoke, and explosion effects
- 2.4. Light and energy effects
- 2.5. Space and time simulation techniques
- 3. Important basic knowledge when doing special effects with AE
- 3.1. Basic AE interface and workspace
- 3.2. Understanding Composition (Comp), Timeline and Layers
- 3.3. Basic properties of Layer
- 3.4. Keyframe and Animation: Creating Smooth Motion
- 3.5. Learn about Mask and Matte
- 4. Plugins and tools to support effects in AE
- 4.1. Element 3D
- 4.2. Trapcode Suite
- 4.3. Optical Flares và Saber
- 4.4. Red Giant Universe
- 5. Process of making cinematic effects with AE
- 5.1. Import
- 5.2. Trim and standardize footage
- 5.3. Create effects using layers and effects
- 5.4. Lighting, shadows, environment simulation
- 5.5. Rendering
- 6. Some notes when doing cinematic effects with AE
- 7. AE in the future – effects are increasingly "real" and "fast"
- 8. Conclusion
Discover how to create cinematic effects with After Effects: from basic techniques to advanced applications. Turn ideas into vivid, professional effects.
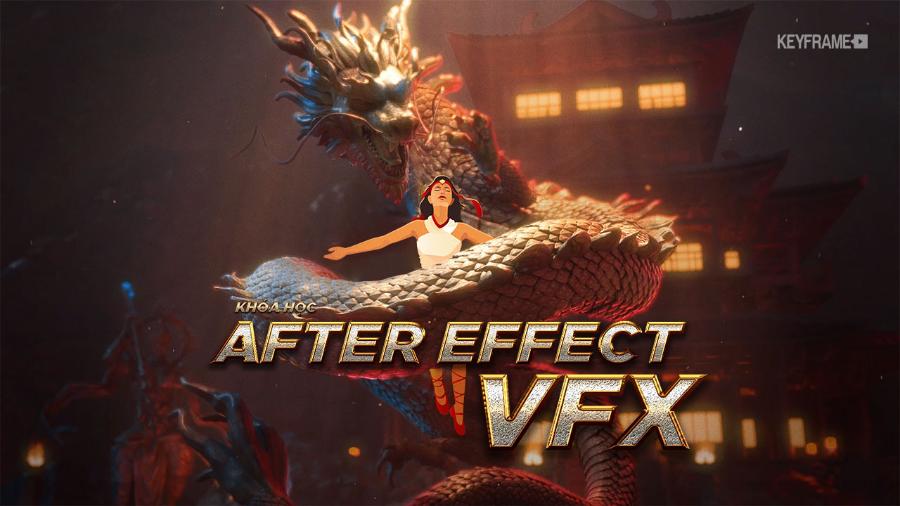
After Effects has long been an indispensable tool in the film post-production industry. Not only does it create visual effects, this software also helps realize bold ideas and expand storytelling capabilities in cinema. Thanks to its powerful effects processing capabilities, AE becomes an ideal companion for those who want to explore the world of professional effects. Let's find out more details with sadesign in the content below!
1. What is After Effects and why is it chosen for film special effects?
After Effects is a motion graphics and video effects software developed by Adobe, featuring the ability to create effects, animate, compositing and process dynamic images. In the film industry, AE is often used for scenes that require sophisticated post-processing, such as changing backgrounds, creating simulated environments, creating explosion effects, embedding 3D images or smoothing camera movements.
.jpg)
Not only limited to the film industry, AE is also a popular tool in the production of advertisements, MVs, TVCs, trailers and other interactive media formats. What makes AE attractive is its flexibility in application, the ability to combine with other software such as Premiere Pro, Cinema 4D, Photoshop and Illustrator.
The role of AE in video production is extremely important. It is not only used to create "magical" special effects but also used to:
Create Motion Graphics for intros, outros, titles, and UI/UX elements in videos.
Perform compositing: combine different shots, add CG (Computer Graphics) elements to real footage.
Edit and enhance images: adjust colors, remove blemishes, stabilize shaky images.
Create special effects: explosions, smoke, water, light, transformation, etc.
Keying: separates objects from the background (usually a green background or chroma key).
Tracking and Matchmoving: track the movement of objects in the video to attach graphic or 3D elements.
2. Types of cinematic effects that can be created with AE
Adobe After Effects (AE) is a powerful tool in film and video production, allowing for the creation of many types of professional cinematic effects. Some of the popular effects that can be achieved using AE include:
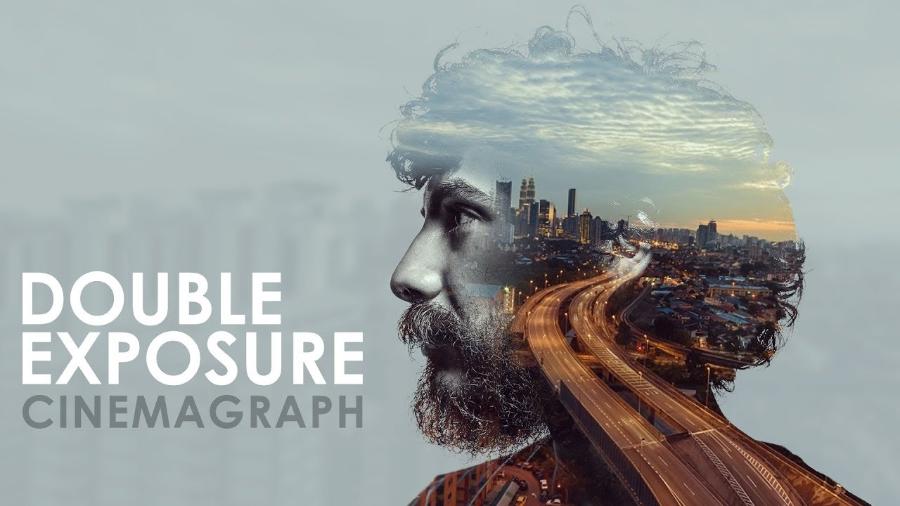
2.1. Compositing – Image overlay technique
Compositing is one of the outstanding strengths of AE. This technique allows combining multiple layers of images or videos together to create a complete scene. AE provides powerful tools such as masking, keying (chroma key/green screen), blending modes for users to easily process post-production with high precision.
.jpg)
Scenes that use green screens to change the setting are often finished using compositing techniques in AE.
2.2. Motion Tracking và Camera Tracking
Motion Tracking allows AE to track the movement of an object in a video and apply effects to it smoothly and accurately. Camera Tracking is more advanced, helping to simulate camera movement in 3D space. This is the foundation for inserting virtual objects or flying letters according to real camera angles, often seen in action and science fiction movies.
2.3. Fire, smoke, and explosion effects
After Effects allows for realistic explosions and destruction effects using plugins like Trapcode Particular, Video Copilot's Action Essentials, or built-in particle systems. This allows for scenes that would otherwise be impossible in real life, such as house fires, car explosions, or flying debris, to be safely shot digitally.
2.4. Light and energy effects
Cinematic effects cannot lack artificial light, energy rays, electromagnetic effects or force fields. AE provides many simulation tools such as Glow, Saber, Optical Flares to create extremely eye-catching cinematic effects. These types of effects are often used in superhero action scenes, science fiction or modern music videos.
2.5. Space and time simulation techniques
With tools like Time Remapping, Echo, Time Displacement, post-production workers can create fast-forward, slow-motion, looping effects or create illusions in space. AE also supports the creation of "space portals", "teleportation" or "freeze time" - effects that have been used a lot in blockbuster movies.
3. Important basic knowledge when doing special effects with AE
.jpg)
3.1. Basic AE interface and workspace
Project Panel: Where you manage all your media files (video, images, audio), compositions and folders.
Composition Panel: Displays the contents of the Composition you are working on. This is the main "screen" for previewing the results.
Timeline Panel: Where you arrange layers in time, adjust properties, and add keyframes to create animations.
Effects & Presets Panel: Contains a list of effects available in AE and presets you can apply to layers.
Tools Panel: Provides tools for working with layers such as Selection Tool, Hand Tool, Zoom Tool, Rectangle Tool, Ellipse Tool, Pen Tool, Rotate Tool, Scale Tool, Camera Tool, etc.
Info Panel, Audio Panel, Preview Panel: Additional panels provide detailed information, audio controls, and performance preview.
Workspace: AE allows you to customize your workspace by arranging panels as you like and saving them into different workspaces for specific tasks (e.g. Standard, Animation, Effects).
3.2. Understanding Composition (Comp), Timeline and Layers
Composition (Comp): Comp is the "heart" of an AE project. It is where you assemble layers, apply effects, and create animations. Each AE project can contain many different Compositions. You need to set parameters for Comp such as Resolution, Frame Rate, Duration, and Aspect Ratio when creating a new one.
Timeline Panel: This is where you control the timing and display order of the layers in your Comp. Each layer will have its own timeline where you can add keyframes to animate the layer properties. The timeline also displays markers, effects, and other time-related information.
Layers: Layers are individual elements in a Composition. They can be video footage, still images, text, shape layers, solid colors, cameras, lights, or another Composition (Pre-comp). Layers are stacked
3.3. Basic properties of Layer
When you select a layer in the Timeline, you'll see its basic adjustable properties. These are the foundation for creating animations and transition effects:
Position (P): Determines the position of the layer in the Composition Panel in terms of X (horizontal) and Y (vertical) coordinates. You can change the position of the layer over time to create a moving effect.
Scale (S): Adjusts the size of the layer by a percentage both horizontally and vertically. You can make the layer enlarge or shrink over time.
Rotation (R): Rotate the layer around the Anchor Point in degrees. You can create a circular effect or more complex movements.
Opacity (T): Adjusts the layer's transparency, from 0% (fully transparent) to 100% (fully visible). Creates fade in, fade out effects, or makes layers invisible.
Anchor Point (A): The anchor point of the layer, which is the center that the transformations (Scale, Rotation) will be based on. By default, the Anchor Point is in the middle of the layer, but you can move it to create different rotation or масштабирование effects. For example, move the Anchor Point below an object to have it rotate around the bottom.
3.4. Keyframe and Animation: Creating Smooth Motion
Keyframe: A marker on the Timeline that marks the value of a layer property at a specific point in time. To create animation, you change the value of a property at different points in time and AE automatically creates in-between frames to create smooth motion.
Create Keyframe: To add a keyframe to an attribute, click the stopwatch icon next to the attribute name in the Timeline. A diamond-shaped keyframe marker will appear at the current time cursor position.
Adjust Animation: To change the animation, move the time cursor to a different location on the Timeline and change the property value. A new keyframe will be automatically added.
Easing: To make the animation look more natural and smooth, you can use easing. Easing adjusts the speed of change between keyframes. Common easing options include Easy Ease (F9), Easy Ease In (Shift + F9), and Easy Ease Out (Ctrl/Cmd + Shift + F9). You can also tweak the speed curve in the Graph Editor for more precise control.
3.5. Learn about Mask and Matte
Mask: A path drawn on a layer that defines which areas of the layer will be visible and which will be hidden. Masks can be any shape (rectangle, circle, complex curve) and can be animated over time.
Matte: A layer used to define the transparency of another layer. Instead of painting the mask directly, you use the brightness or transparency of one layer as a "mold" for another layer.
3.6. Introduction to Blend Mode and Track Matte
Blend Mode: Determines how a layer interacts in color and brightness with the layers below it in the layer stack. AE offers a variety of blend modes, each of which creates a unique combined effect (e.g. Multiply, Screen, Add, Overlay, Difference). Experimenting with different blend modes is a great way to create interesting visual effects.
Track Matte: Similar to Matte, but applied directly in the Timeline Panel to a specific layer. You can select another layer as an Alpha Matte or Luma Matte for the current layer. Track Matte is a quick and efficient way to create complex masking effects without painting a mask directly on the target layer.
4. Plugins and tools to support effects in AE
.jpg)
4.1. Element 3D
This is a powerful plugin that supports 3D processing directly in AE. It allows users to import 3D models, assign materials, light, and animate without switching to other 3D software. Suitable for inserting machines, vehicles, weapons, or digital objects into the scene.
4.2. Trapcode Suite
A suite of plugins from Red Giant that help create particle, light, liquid, and optical illusion effects. Trapcode Particular and Form are two of the most powerful tools for creating fireworks, smoke, rain, or abstract special effects.
4.3. Optical Flares và Saber
Both were developed by Video Copilot and are extremely popular in film special effects. Optical Flares specializes in lens flare effects, while Saber specializes in lightsaber and plasma effects, which are perfect for sci-fi themes.
4.4. Red Giant Universe
A comprehensive set of post-production effects, from glitch, retro, VHS to space effects. Easy to use, fast and compatible with AE.
5. Process of making cinematic effects with AE
5.1. Import
Users start by importing original footage from the camera, supporting assets (images, sounds, textures, 3D effects, etc.). Organizing layers and folders scientifically will help save time later.
5.2. Trim and standardize footage
Before starting to apply effects, the footage needs to be trimmed and standardized to ensure consistency in speed, frame rate, and resolution. Operations such as color correction or image stabilization are also performed during this stage.
5.3. Create effects using layers and effects
This is the most important stage. Each effect will be placed on one or more separate layers. The user uses keyframes to control the movement, transparency, position and other parameters to create the exact effect required.
5.4. Lighting, shadows, environment simulation
For scenes with 3D elements, proper lighting and shading settings are needed to create depth and sync with the real lighting in the original footage. AE supports virtual lights and virtual cameras for users to control the space.
5.5. Rendering
Once completed, the video is exported using Adobe Media Encoder or via AE’s own rendering system. Choosing the right format ensures optimal image quality when it enters the next stage of post-production or release.
6. Some notes when doing cinematic effects with AE
When creating cinematic effects with After Effects (AE), there are a few important points to keep in mind to ensure product quality and optimize workflow.
Always storyboard and shape your ideas before implementing : Helps save time and avoid going in the wrong direction.
Use a powerful computer : Creating special effects requires high-end graphics processing, so CPU, RAM and GPU must all be invested accordingly.
Scientific file management : AE projects can become chaotic if layers and folders are not named clearly.
Optimize files : Use precomp, nesting, or proxies to increase performance.
Keep original image quality : Always use high quality footage to avoid losing authenticity when applying special effects.
In particular, thoroughly testing the final product on various devices and formats is an indispensable step to ensure compatibility and image quality. Always update your knowledge and skills to keep up with technology trends and improve your creativity.
7. AE in the future – effects are increasingly "real" and "fast"
AI technology is gradually creeping into AE with features like rotobrush 2.0, content-aware fill… to help process faster and more accurately. Recent updates allow users to track objects, separate backgrounds, or create masks in seconds instead of hours.
At the same time, the plugin ecosystem is increasingly diverse, supporting unlimited creativity. Effects that used to only appear in Hollywood blockbusters are now accessible to every content creator - just a little skill and good visual thinking.
8. Conclusion
After Effects is more than just a software, it is a tool that turns any idea into reality. Whether it is a portal, a spectacular explosion or a completely virtual world, AE allows users to be creative without limits. Creating cinematic effects with AE is a journey that combines technique and emotion, where the post-production person is not simply editing images but telling the story in the most powerful and convincing way! When the technology is in your hands, the most important thing left is your imagination.


VIP Products


Best Selling Products
Adobe Premiere Pro Account
99 USD
Genuine Adobe Illustrator account
99 USD
Capcut Pro 1 Year
39 USD
Autodesk All App Account Copyright
120 USD
Genuine Cheap Canva Pro
39 USD
ChatGPT Plus Account (GPT-4)
16 USD
Windows 10 & 11 Pro Key
36 USD
MidJourney Account
29 USD
Copyright Adobe Lightroom Account
59 USD
Upgrade genuine Capture One account
120 USD
Upgrade Genuine Office 365
49 USD
Upgrade Duolingo Super
29 USD
Plugin Retouch4me
69 USD
Freepik Premium Account
59 USD
Adobe Photoshop Copyright - Full App
120 USD