Best Selling Products

MidJourney Account
29 USD

Adobe Premiere Pro Account
99 USD

Capcut Pro 1 Year
39 USD

ChatGPT Plus Account (GPT-4)
16 USD

Adobe Photoshop Copyright - Full App
120 USD

Genuine Adobe Illustrator account
99 USD

Plugin Retouch4me
69 USD

Upgrade Genuine Office 365
49 USD

Windows 10 & 11 Pro Key
36 USD

Upgrade genuine Capture One account
120 USD

Genuine Cheap Canva Pro
39 USD

Freepik Premium Account
59 USD

Upgrade Duolingo Super
29 USD

Copyright Adobe Lightroom Account
59 USD

Autodesk All App Account Copyright
120 USD
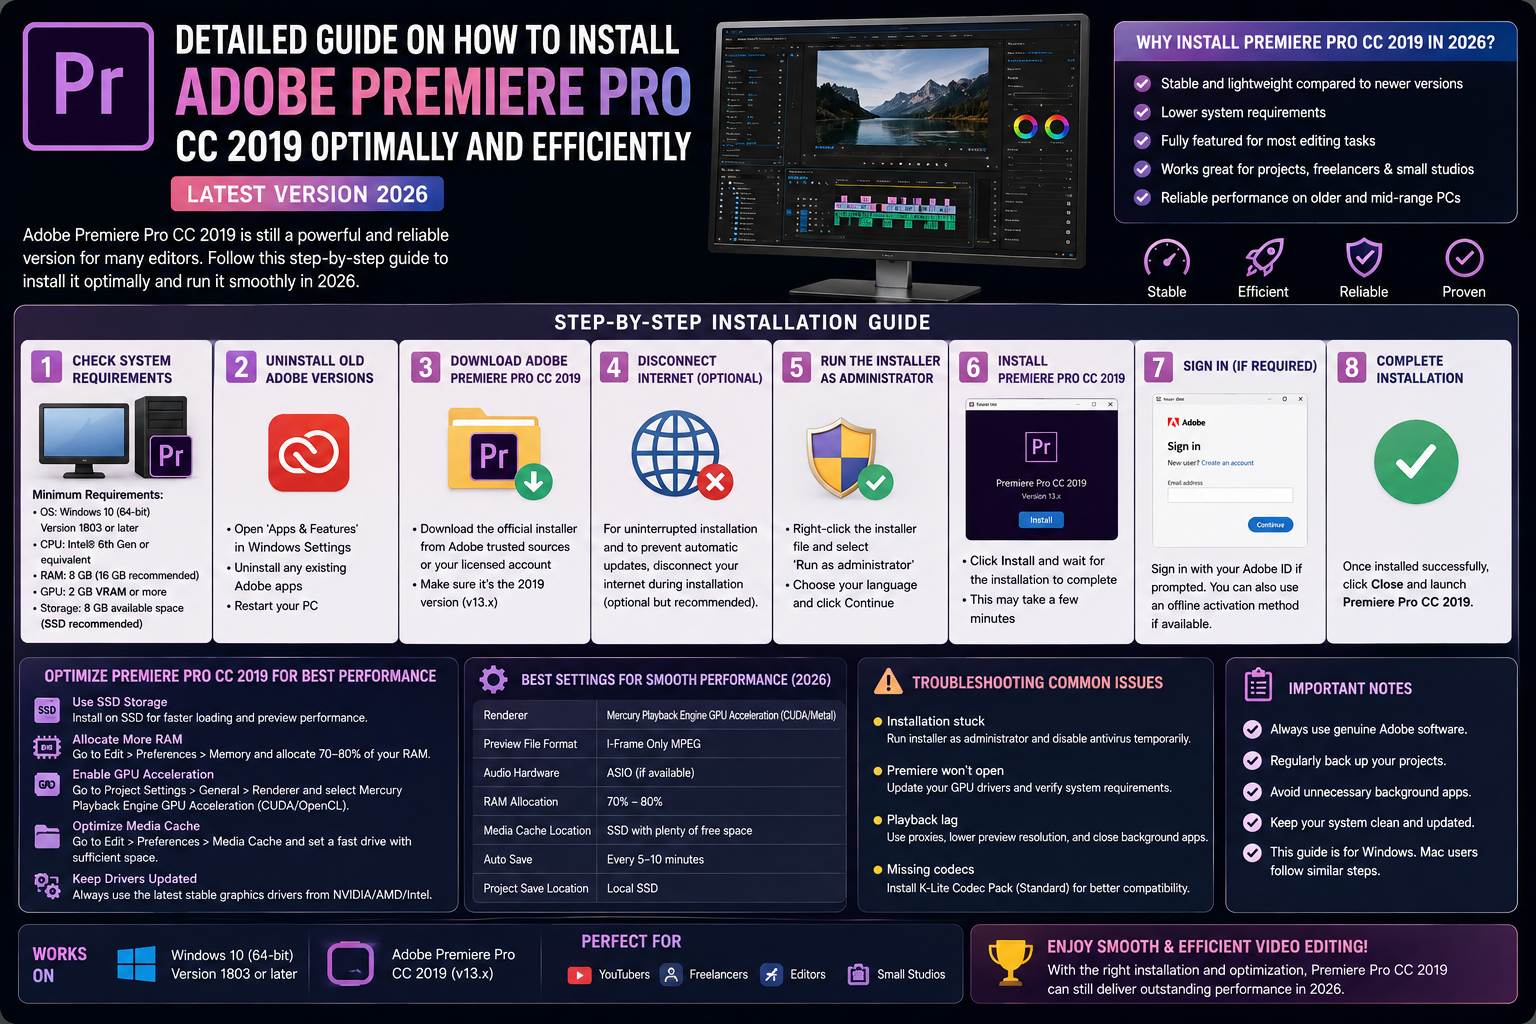
Detailed guide on how to install Adobe Premiere Pro CC 2019 optimally and efficiently (latest version 2026).
Nội dung
- 1. Required system requirements before installing Adobe Premiere Pro CC 2019
- 1.1. Minimum and Recommended Hardware Configurations
- 1.2. The role of the graphics card (GPU) in video rendering
- 2. Steps to prepare an optimal software environment
- 2.1. Update Microsoft Visual C++ and .NET Framework
- 2.2. Check storage space and clean up the hard drive.
- 3. Detailed instructions on the Adobe Premiere Pro CC 2019 installation process.
- 3.1. Launch the installation file and select your language.
- 3.2. Choosing a software storage location
- 3.3. Data copying process and completion
- 4. Appvip.ai - A leading platform for software installation and optimization.
- 5. Important settings to configure immediately after installation for optimal performance.
- 5.1. Setting up Media Cache
- 5.2. Allocating RAM for Premiere Pro
- 6. Troubleshooting common errors during Adobe Premiere Pro CC 2019 installation.
- 6.1. "Installation Failed" error due to conflict with older versions.
- 6.2. Missing DLL files error
- 7. Key features that make Premiere Pro CC 2019 a good choice.
- 7.1. Enhanced color correction capabilities with Lumetri Color
- 7.2. The convenient Essential Graphics system
- 8. Experience using Adobe Premiere Pro CC 2019 stably and for the long term.
- 8.1. Project management using a scientific directory structure.
- 8.2. Using the Proxy feature for large videos
- 9. Conclusion
Discover the correct Adobe Premiere Pro CC 2019 installation process. This article provides solutions for optimizing your system, system requirements, and tips for using this professional video editing software.
1. Required system requirements before installing Adobe Premiere Pro CC 2019
Preparing a compatible hardware platform is a prerequisite for the software to launch smoothly. Premiere Pro CC 2019 requires seamless coordination between the CPU, RAM, and especially the graphics card to handle high-resolution video files.
1.1. Minimum and Recommended Hardware Configurations
A 64-bit version of Windows 10 is a mandatory requirement for this release. Regarding the processor, you should equip it with at least a 6th generation Intel processor or higher, or an equivalent from AMD, to ensure sufficient multi-threading capabilities. A minimum of 8GB of RAM is required; however, for 4K video projects or demanding effects, 16GB or 32GB is generally sufficient. For storage, an SSD is recommended for significantly faster data access and software startup times compared to traditional HDDs.
1.2. The role of the graphics card (GPU) in video rendering
Hardware acceleration via GPU is a highlight of the 2019 version. NVIDIA graphics cards with integrated CUDA cores or AMD cards with OpenCL standards will significantly reduce video rendering times. Before installing Adobe Premiere Pro CC 2019, make sure your graphics card drivers are updated to the latest version from the manufacturer to avoid black screen errors or unresponsive "Media Encoder" errors.
2. Steps to prepare an optimal software environment
Software stability depends heavily on the supporting components in the operating system. A clean Windows environment with all the necessary supporting libraries will ensure a smooth installation process.
2.1. Update Microsoft Visual C++ and .NET Framework
Most errors that occur during the extraction or execution of the installation file are usually related to missing runtime libraries. You need to ensure that your computer has all the Microsoft Visual C++ packages from 2005 to 2017 and the latest version of .NET Framework installed. These components act as a bridge to help Adobe's source code communicate effectively with the computer hardware.
2.2. Check storage space and clean up the hard drive.
Although the Adobe Premiere Pro CC 2019 installation file doesn't take up too much space, subsequent work will generate a lot of cache files. You should reserve at least 20GB of free space on your system drive (usually drive C) and prepare a separate disk partition to store project files to optimize data read and write speeds.
3. Detailed instructions on the Adobe Premiere Pro CC 2019 installation process.
Once everything is ready, you can begin the official installation process. Follow the logical sequence to ensure you don't miss any important settings.
3.1. Launch the installation file and select your language.
After extracting the installer, locate the "Set-up.exe" file. It's important to run this file with administrator privileges (Run as administrator) to ensure the software has full access to system files. On the start screen, you can choose your language; English (English - International) is usually the most common choice for easier access to user manuals later.
3.2. Choosing a software storage location
By default, the software will be installed to the C:\\Program Files\\Adobe directory . However, if your C drive has limited space, you can change it to a different partition. Nevertheless, tech experts still recommend installing the software on the same drive as the operating system (preferably an SSD) for the fastest response times.
3.3. Data copying process and completion
This process typically takes between 5 and 15 minutes, depending on your hard drive speed. During this time, avoid running other heavy tasks to prevent interruptions to the file overwriting process. When the status bar reaches 100%, a completion message will appear, indicating that the Adobe Premiere Pro CC 2019 installation has been technically successful.
4. Appvip.ai - A leading platform for software installation and optimization.
Self-installation can sometimes encounter unforeseen problems due to differences in personal computer configurations. The website appvip.ai was created to address these difficulties for users. It's a reliable source providing in-depth tutorials, solutions for troubleshooting Adobe Premiere Pro CC 2019 installation errors, and tips for optimizing graphics software. At appvip.ai , you'll find not only simple technical steps but also updated tips for effective software usage.
5. Important settings to configure immediately after installation for optimal performance.
Many people often skip this step and start editing immediately, leading to lag as the project grows. Optimizing the options in Preferences is extremely important.

5.1. Setting up Media Cache
Go to Edit > Preferences > Media Cache . Here, change the cache file location to a drive that doesn't contain the operating system and has a faster speed. Regularly clearing the media cache will free up hard drive space and keep the software running smoothly.
5.2. Allocating RAM for Premiere Pro
In Preferences > Memory , you'll see a list of Adobe applications using RAM. Adjust the "RAM reserved for other applications" setting to the lowest possible level (e.g., 3GB or 6GB) to allocate most resources to Premiere Pro. This will prevent the software from crashing unexpectedly when performing complex color grading (Lumetri Color) operations.
6. Troubleshooting common errors during Adobe Premiere Pro CC 2019 installation.
Even with thorough preparation, you may sometimes encounter system error messages. Understanding the cause will help you resolve the issue quickly without having to reinstall your entire computer.
6.1. "Installation Failed" error due to conflict with older versions.
If you previously installed other versions of Premiere Pro, leftover files in the Registry may cause conflicts. The most thorough solution is to use a specialized tool like Adobe Creative Cloud Cleaner Tool to clean up all junk files before reinstalling the 2019 version.
6.2. Missing DLL files error
The error message indicating a missing "MSVCP140.dll" or "VCRUNTIME140.dll" is extremely common. The quickest solution is to download and reinstall the Microsoft Visual C++ Redistributable package corresponding to your operating system. After installation, restart your computer for the changes to take effect.
7. Key features that make Premiere Pro CC 2019 a good choice.
Why the 2019 version and not newer versions? The answer lies in its stability and the inclusion of key features that fully meet the needs of modern video editing.
7.1. Enhanced color correction capabilities with Lumetri Color
The 2019 version introduces intelligent curve tools, allowing users to precisely control tone and saturation. You can easily balance white balance and create cinematic color grading styles without having to switch to other specialized software like DaVinci Resolve.
7.2. The convenient Essential Graphics system
Designing titles and text effects is easier than ever with the Essential Graphics panel. You can drag and drop pre-designed templates, customize fonts, sizes, and colors directly on the Program Monitor. This saves a significant amount of time compared to traditional methods.
8. Experience using Adobe Premiere Pro CC 2019 stably and for the long term.
Installation is just the beginning; maintaining the software's stability throughout extended working periods is the real challenge.
8.1. Project management using a scientific directory structure.
A good habit of professional video editors is to always organize source data (Footage), audio, and images into separate folders from the start. This helps Premiere Pro manage file paths better, avoiding the "Media Offline" error when you move the project folder to a different hard drive.
8.2. Using the Proxy feature for large videos
If your computer isn't very powerful but you still want to edit 4K video, take advantage of the Proxy feature. Premiere Pro will create low-resolution files for smooth editing, and when exporting the video, the software will automatically reconnect to the original file to ensure the highest image quality.
9. Conclusion
The Adobe Premiere Pro CC 2019 installation process may seem complicated, but if you follow the technical instructions above correctly, you'll be rewarded with a stable, efficient, and error-free working environment. Patience in preparing your system and optimizing the software will allow you to fully concentrate on creating impressive videos. Always remember to regularly update your knowledge from reputable sources like appvip.ai to keep up with the latest technology trends!





















VIP Products








Best Selling Products
MidJourney Account
29 USD
Adobe Premiere Pro Account
99 USD
Capcut Pro 1 Year
39 USD
ChatGPT Plus Account (GPT-4)
16 USD
Adobe Photoshop Copyright - Full App
120 USD
Genuine Adobe Illustrator account
99 USD
Plugin Retouch4me
69 USD
Upgrade Genuine Office 365
49 USD
Windows 10 & 11 Pro Key
36 USD
Upgrade genuine Capture One account
120 USD
Genuine Cheap Canva Pro
39 USD
Freepik Premium Account
59 USD
Upgrade Duolingo Super
29 USD
Copyright Adobe Lightroom Account
59 USD
Autodesk All App Account Copyright
120 USD