Best Selling Products
How to Glow Anything or Any Object in Photoshop
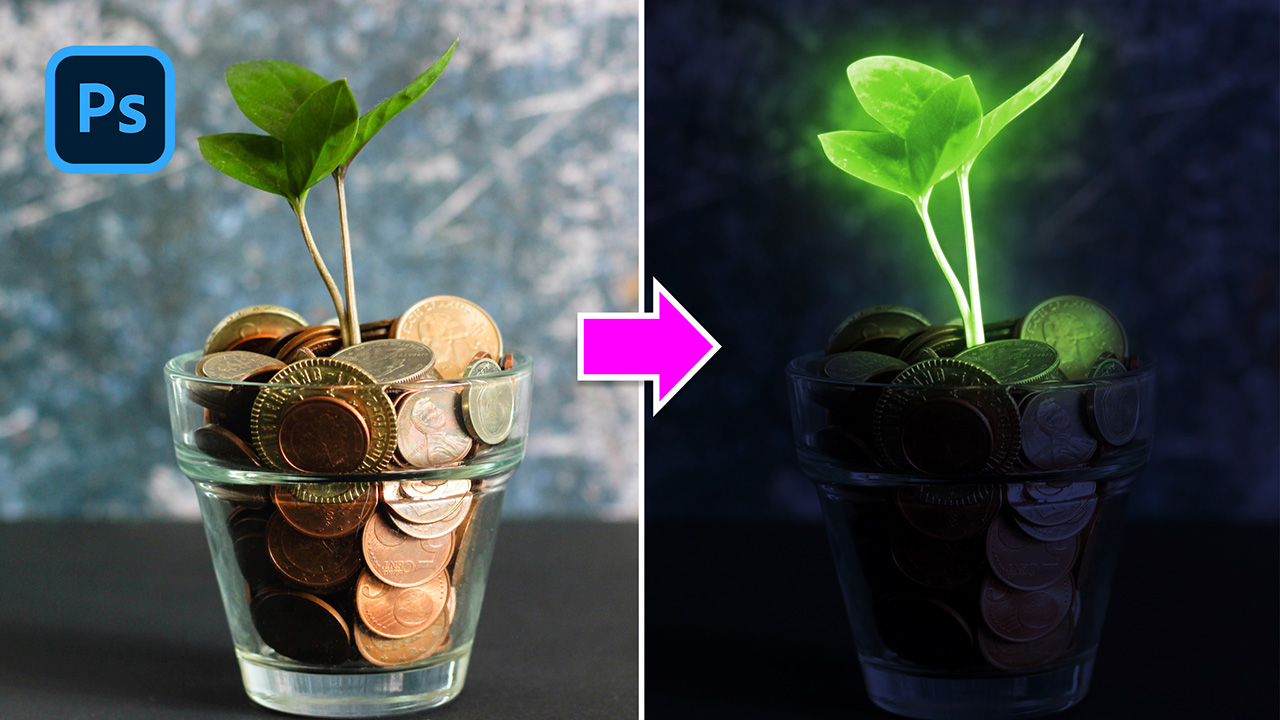
Hi there, today I’ll share with you technique that can glow any objects just in Photoshop.
Take this image as an example, i’m going to glow these tiny leaves. First, you have to take the selection of them by using Pen tool.
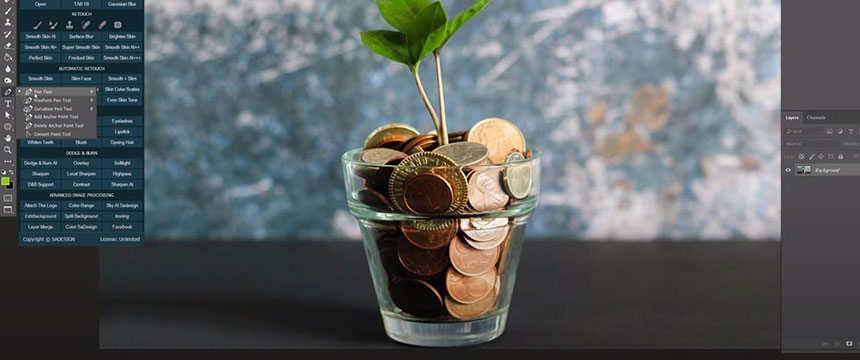
Carefully make the selection. You can take the inner parts because we will add feather later. Once, you completed the selection, press SHIFT+F6 to open feather window and add 1 radius pixel. OK

CTRL or CMD + J to take the leaves to a new layer. Next, we will deal with the background still left on the leaves.
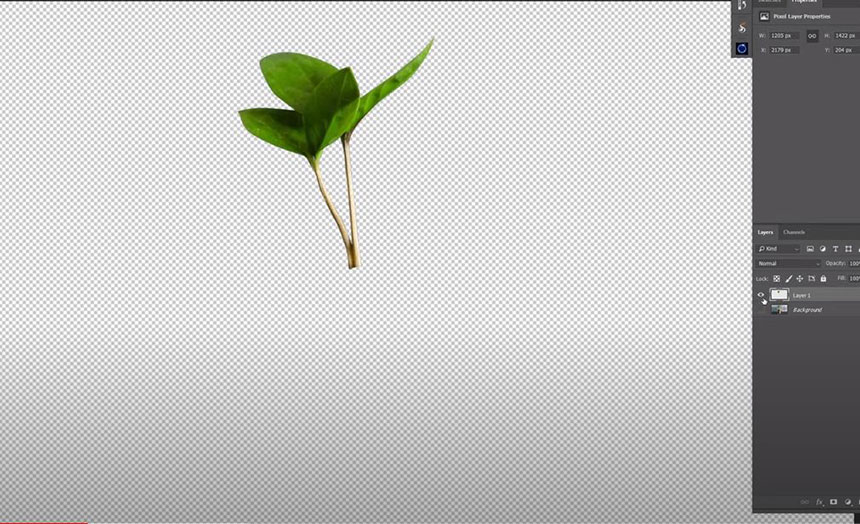
Turn off the background layer so we can clearly see what needs to be removed. Use Pen tool again and take the selection of it. Before delete the selection, make sure to add 1 pixel of feather to soften the edges. Just keep targeting the areas you want to remove with pen tool, then remove it. The leaves are all separated from the background.
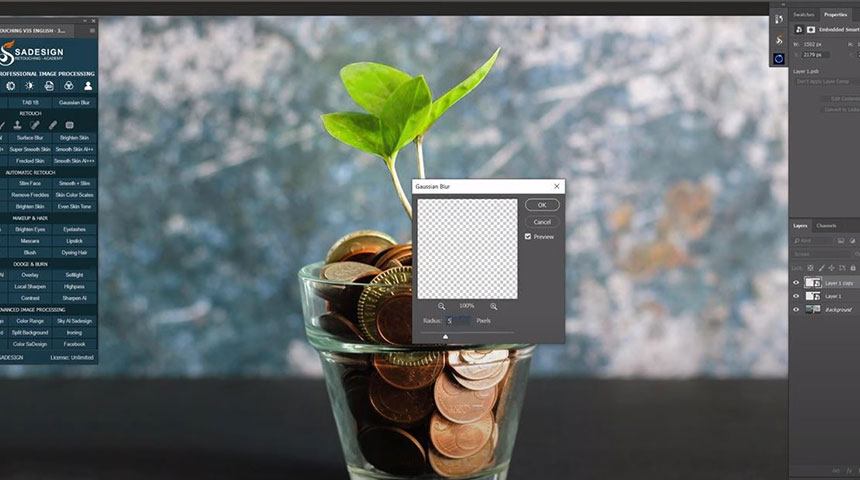
Now, right click to leaves layer, select “Convert to smart object”. This helps to modify this layer non-destructively. Change its blend mode to “Screen” and duplicate it with CTRL or CMD + J.

You can see the leaves are brightened. Head to Filter > Blur > Gaussian Blur > add 5 pixels of radius to blur this layer.
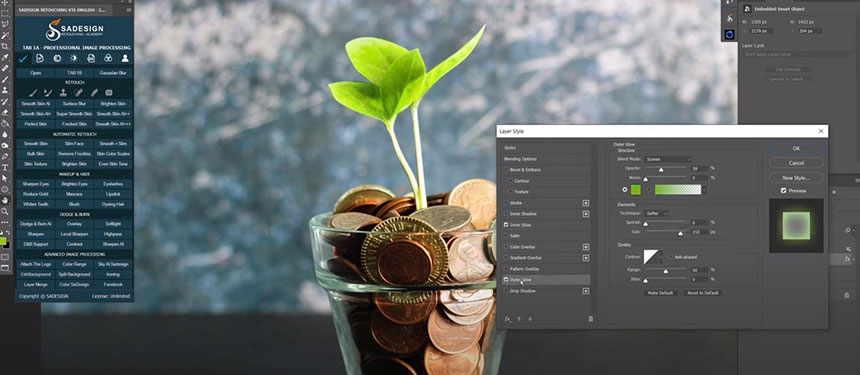
In layer 1, click to fx icon, choose “Blending Options” , we will make the leaves glow with “Inner Glow” option. In color box on the right side, make sure to pick up green color to match with the leaves. Opacity 76%.
Check to “Outer Glow” as well, Green color in color box. Adjust the opacity to around 46%. Confirm
In top layer, press CTRL+J to duplicate it. Double click to Gaussian Blur effect in this layer to change the blur amount. This is the reason why we need to convert layer into smart object. Change the radius pixel to 150. OK
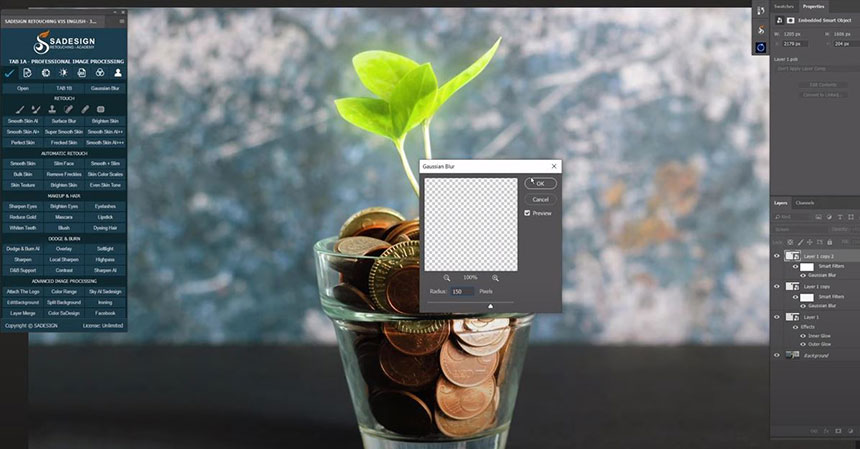
Then, duplicate this layer to multiply the blur effect, we will change radius pixel to 300. This will smoothen the blur effect even more. Put all layers into group with this icon.

Now, we will change the color of leaves. Create a Hue/Saturation adjustment layer, Check to “Colorize” box and check to this icon to clipping mask it to the leaves layer. adjust Hue to the color that you prefer. Saturation 64 Next, we will darken the background so the glowing leaves will pop more, In background layer, click to adjustment icon, choose “Color Lookup”. Select “NightfromDay” in 3DLUT file.
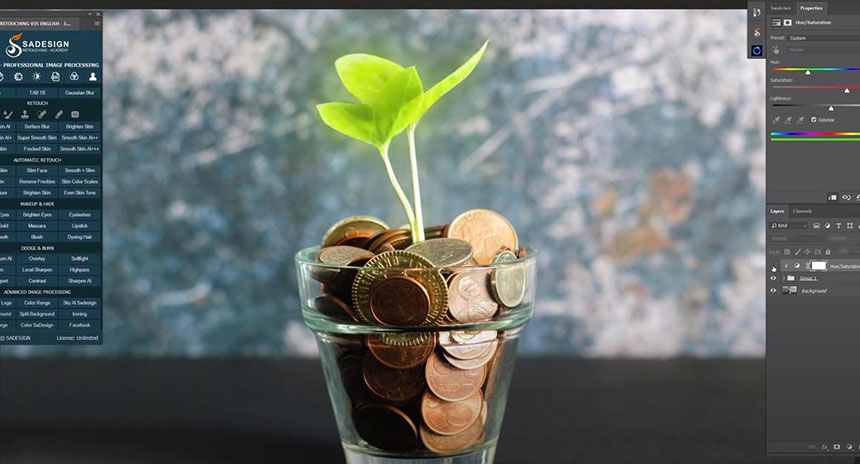
There you go! Use Brush tool (B shortcut), Opacity around 10%, click to this arrow icon to switch black color to foreground. Paint on the areas you want to decrease the night effect. Increase brush size with this bracket ] on the keyboard.
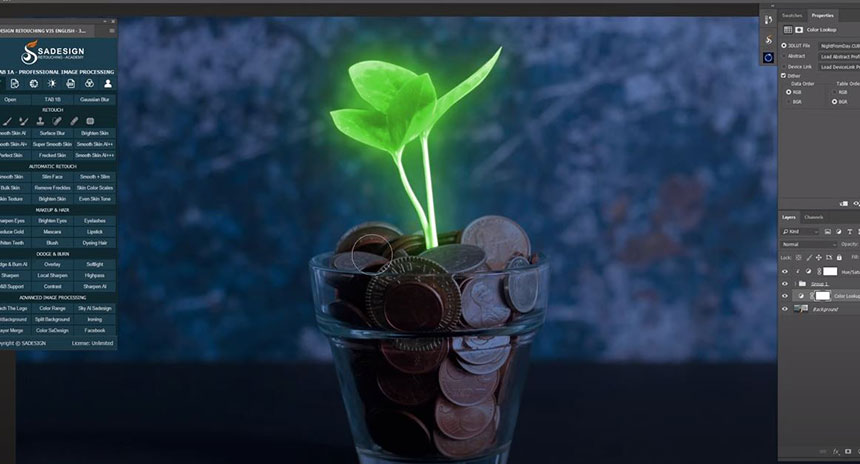
Create an exposure adjustment layer, decrease exposure to -1.74. In its mask, use Brush tool to paint slightly on some coins in the top and the areas around the leaves. Opacity 15%. Duplicate Hue/Saturation layer, take it under Group 1, press CTRL or CMD + I to invert the layer mask from white to black. Use Brush tool, white in foreground. Paint on the coins’ surfaces to add the color reflection to it.
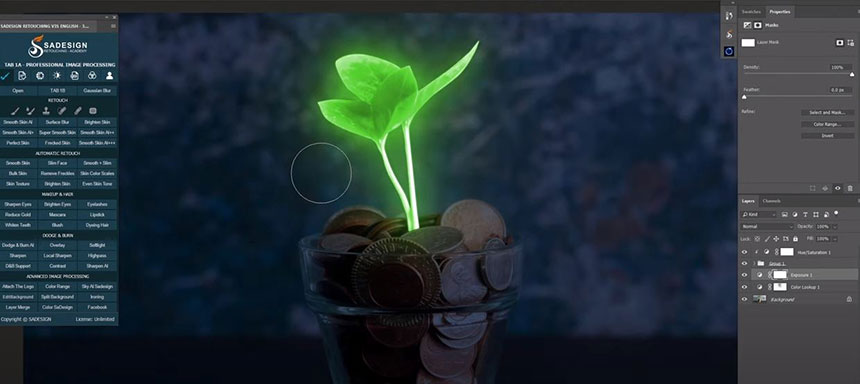
Create a selective color, choose Greens channel in Colors box and following these values Cyan -15 Magenta -11 Yellow -15 Change to Cyans channel Cyan -40 Yellow -18 Black -26
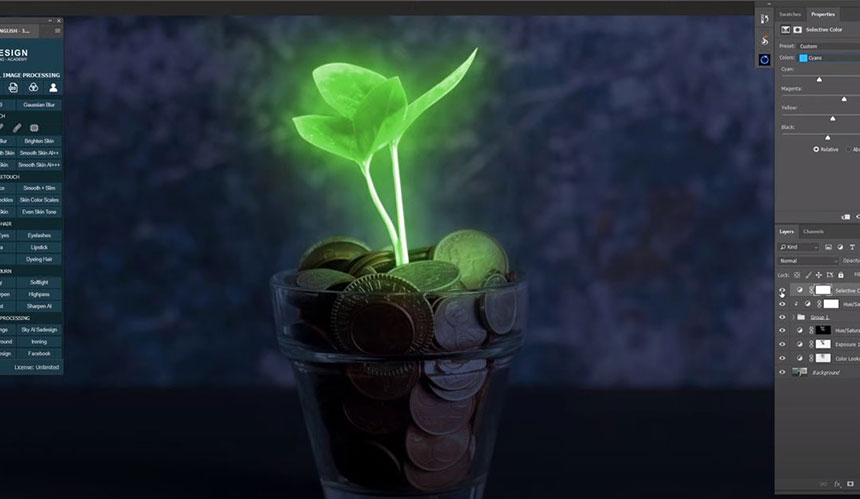
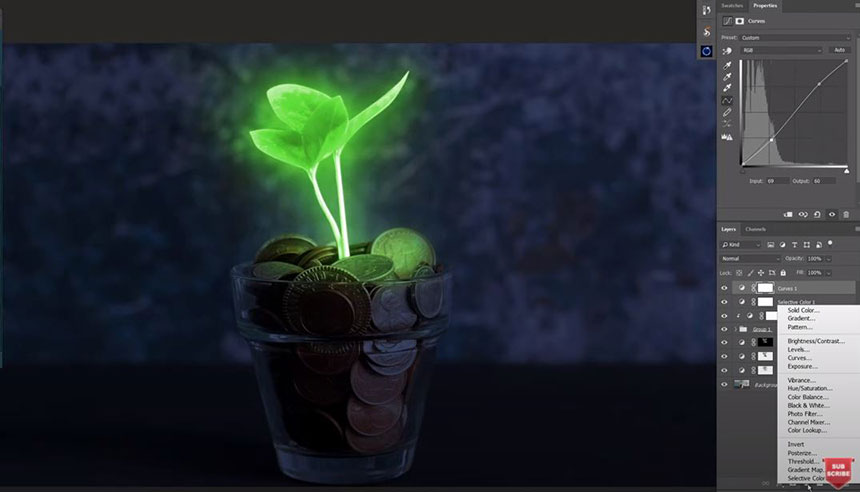
Add contrast to the image with Curves adjustment layer. Increase highlight and decrease shadow.
Finally, create color lookup adjustment, set whole image to “Late Sunset”. Reduce the opacity to 30% Group all layers to see the before and after
That’s all for this tutorial, if you like Photoshop and Photograph just like SaDesign and you want to get more and more tips, techniques, experience from us.
Make sure to subscribe our channel by simply clicking the subscribe button and you will get lots of free tutorials that we share everyday. See you guys in the next video. Bye Bye!
REGISTER FOR FREE PHOTOSHOP LEARNING
============================
The most powerful Retouch tool processor
DOWNLOAD:
✅ SADESIGN PANEL ENGLISH: https://sadesign.ai/retouching/
✅ SADESIGN PANEL VIETNAM: https://www.retouching.vn/


