Best Selling Products
Creating An Underwater Effect in Photoshop
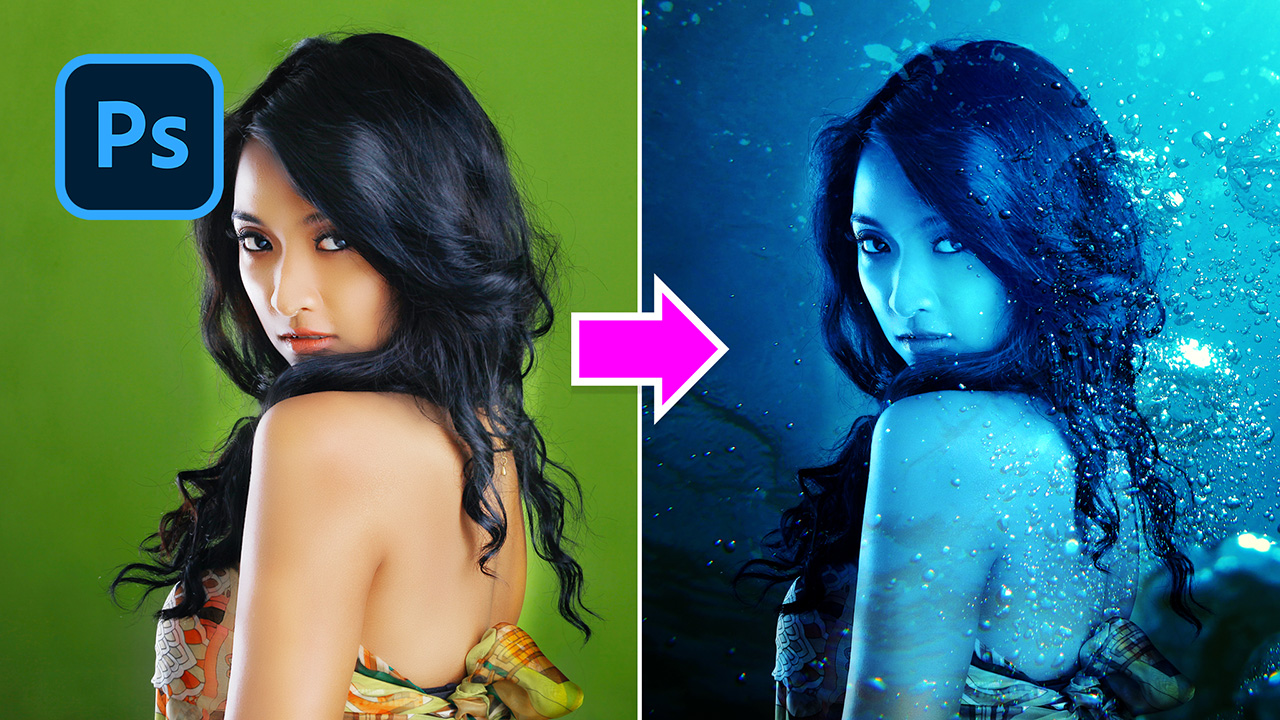
Hi guys, i’m going to show you how to create underwater effect in Photoshop. You can download all the stocks in this tutorial on the description’s link.
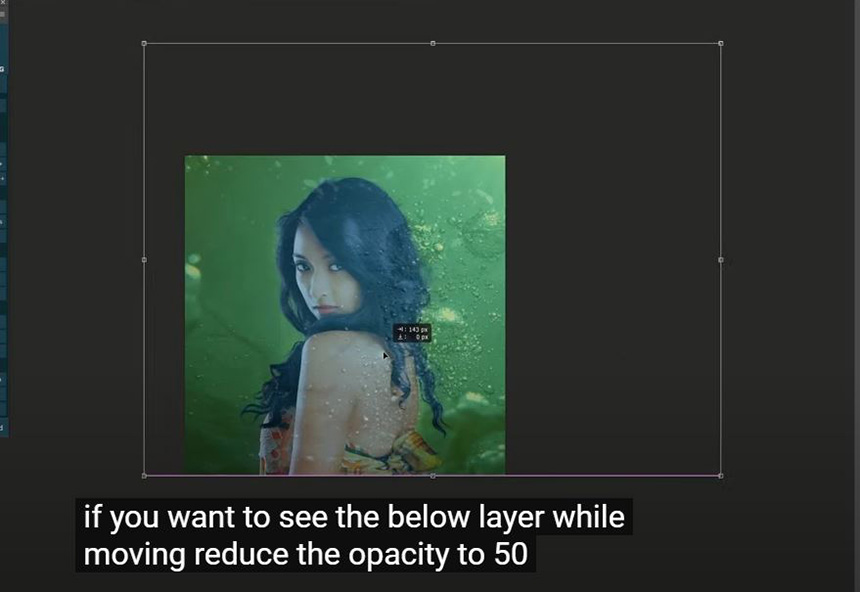
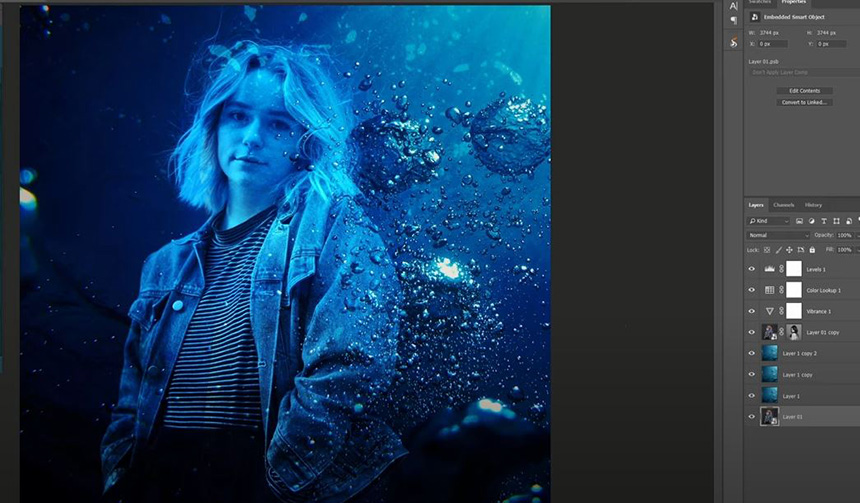
First, Open your photo and convert it into smart object. Take this underwater photo to our project. Press CTRL+A and CTRL+C to copy this photo, then paste it to the current project with CTRL+V. Zoom out and use Transform (CTRL+T) to expand it. Adjust its position to suit yourself. If you want to see the below layer while moving, reduce the opacity to 50%.
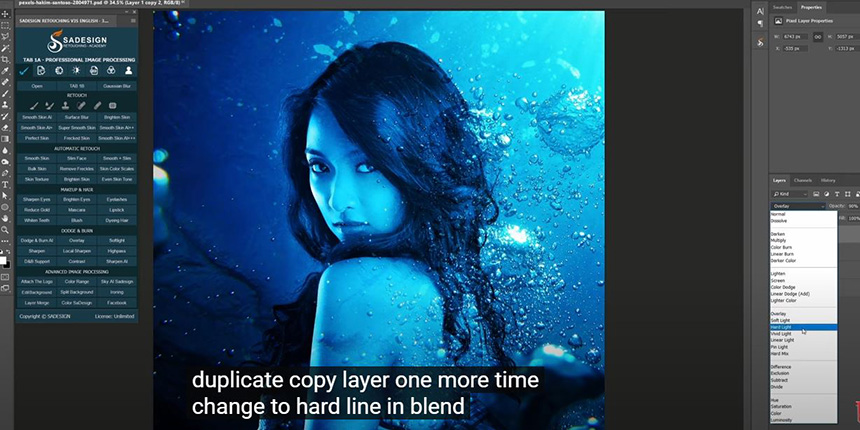
Once, you are done with the adjustment. Bring back opacity to 100%. Change its blend mode to “Color” Duplicate layer 1 with CTRL+J and change Color to “Overlay” in blend mode. Reduce opacity to 90% Duplicate copy layer one more time, change to Hard Light in blend mode, opacity 70%
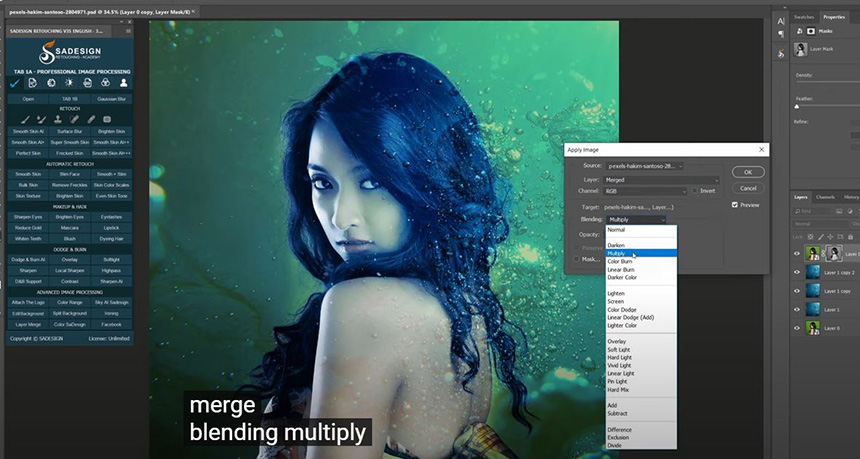
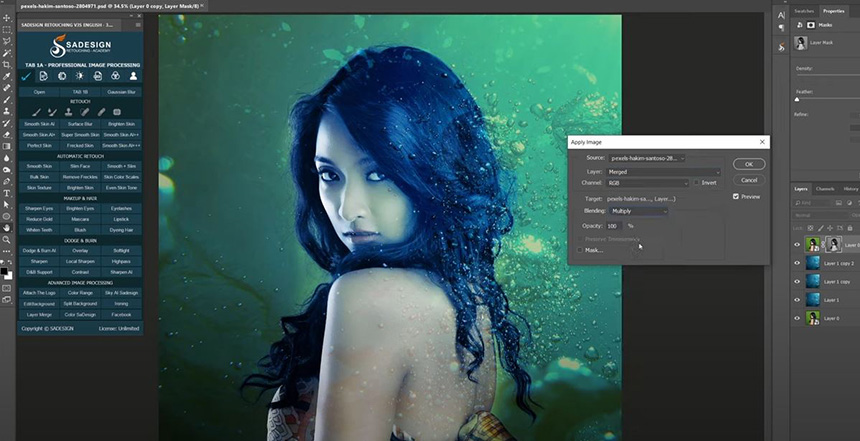
Now, duplicate layer 0, and take it on the top. Click to layer mask icon to add mask to the active layer. Head to Image > Apply Image > In Layer: Merge Blending: Multiply OK
Decrease opacity to 40% Click to adjustment icon and select “Vibrance” Increase Vibrance to around 60 Next, we will add color to it. Create color lookup adjustment layer, drop down menu in 3DLUT file and select “Filmstock”. Adjust opacity to 70%
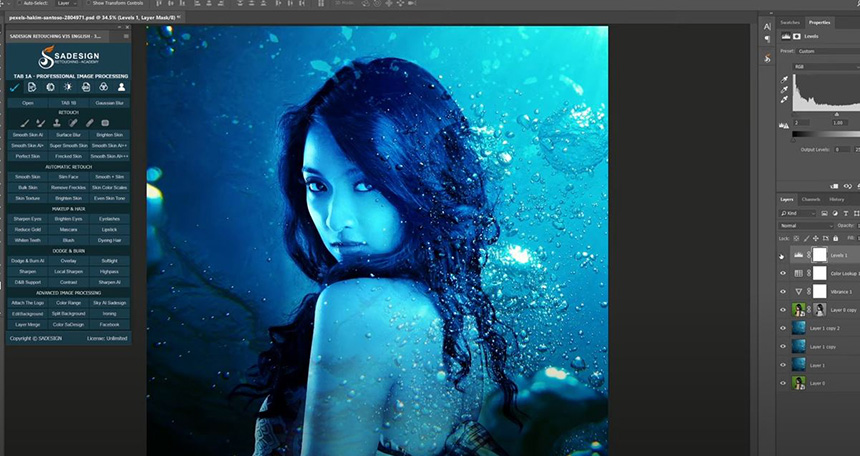
Create Levels adjustment layer, decrease white areas to 229 and increase black areas just to 2 Check the before and after to see the whole changes of your process. In case you want to apply this effect to other photos, this is the quick way to do it without starting at the first step again.
Double click to smart object, to open your photo from another document. Go to File > Open > Open your new photo you want to change. Copy it to the smart object document. Use CTRL+T to resize and reposition it. You can reduce the opacity to 50% so that you can adjust its position perfectly. When you are done, bring opacity back to 100% and close it. Yes to save the changes. Then our project will update the new photo that you just saved.
Watch the video here:
REGISTER FOR FREE PHOTOSHOP LEARNING
============================
The most powerful Retouch tool processor
DOWNLOAD:
✅ SADESIGN PANEL ENGLISH: https://sadesign.ai/retouching/
✅ SADESIGN PANEL VIETNAM: https://www.retouching.vn/


