Best Selling Products
How To Make an Image into a Pencil Image in Photoshop
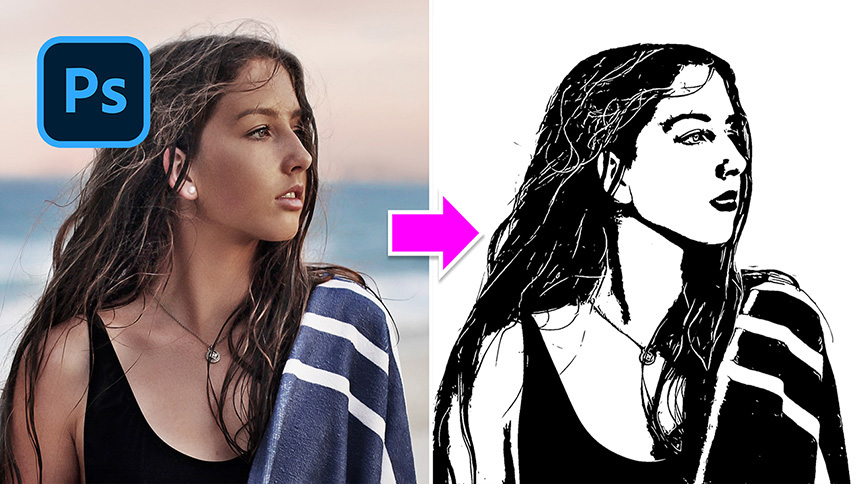
Hi, today I’ll show you the way to create stencil effect in Photoshop.
At first, separate the subject with background, Select > Subject, then Select > Select and Mask. Use Refine Edge Brush Tool to eliminate the background left on her hair. Just slightly brush on her hair. When you are done, change the selection to New layer with layer mask.
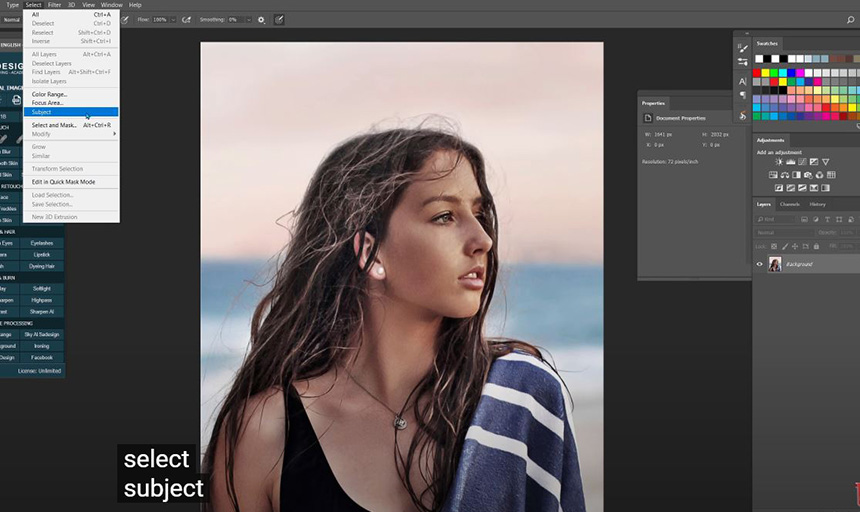
Check to the decontaminate color and adjust the amount to 30%, then OK
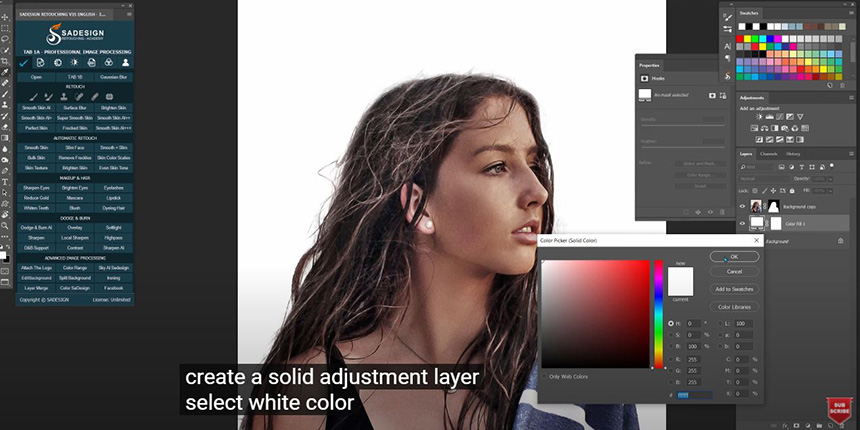
Now, the girl is separated with the background. Create a solid adjustment layer, select white color.
Click to the adjustment icon and choose threshold, increase highlight by click to the triangle and move to the left.
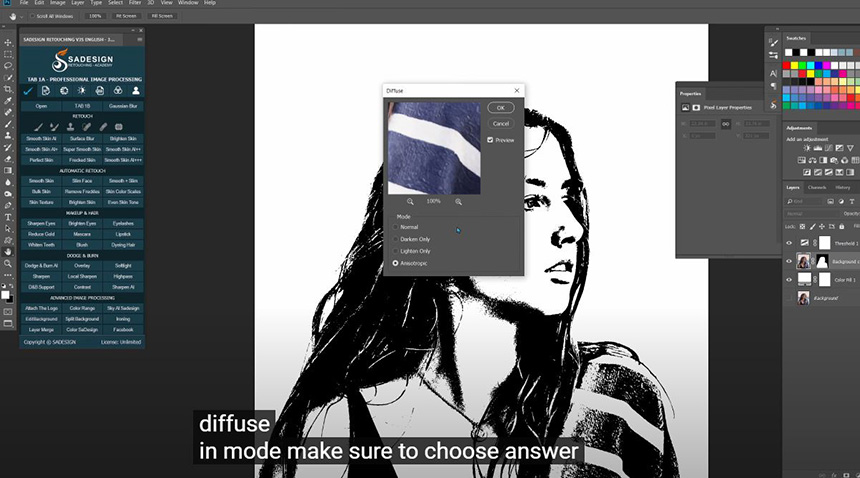
Go to Filter > Stylize > Diffuse, in mode, make sure to choose Anisotropic and click OK
To increase the effect even more, we have to repeat this step one more time.
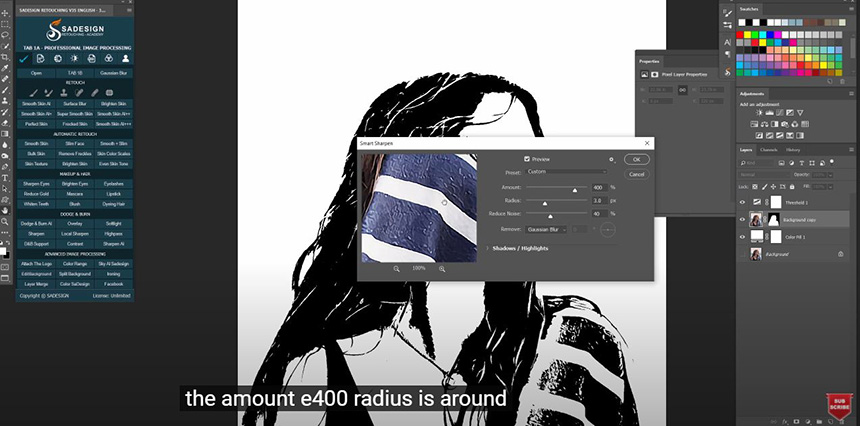
Next, we will sharpen it, go to Filter > Sharpen > Smart Sharpen, the amount is 400%, radius is around 3 pixels and reduce noise 40%
Next, we will repeat the step of Diffuse twice to enhance the effect.
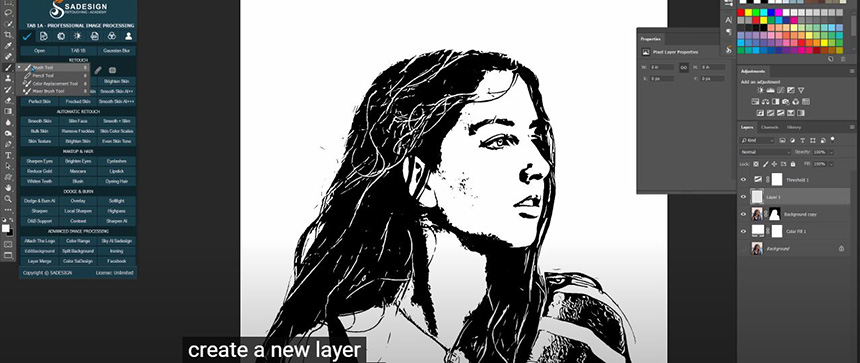
Create a new layer, choose brush tool (B shortcut), white in foreground and adjust the opacity to around 40%, paint to remove black points.
For some white points on her jacket, change black from background to foreground by pressing X shortcut on the keyboard and paint over these areas.
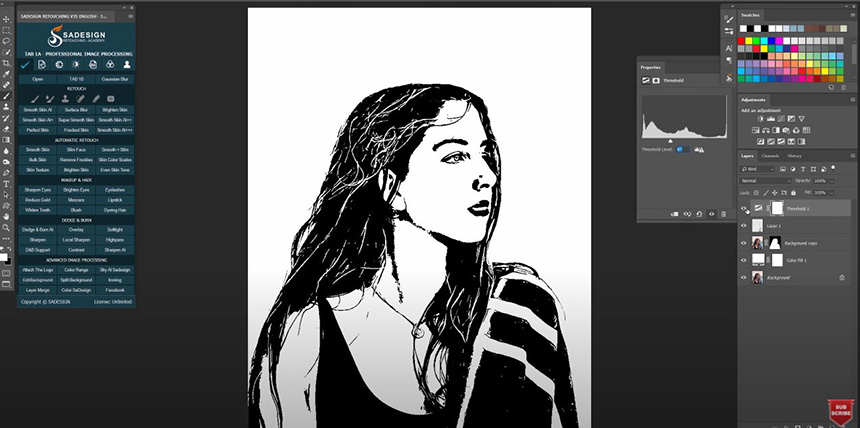
You can turn off the threshold layer to see what you already painted. This will help you to paint more accuracy
You can also adjust the amount of threshold level if you want. That’s it!
If you think this video is helpful, hit like, subscribe and ring the bell to get the notification for any tip, tutorials in the future. See ya!
REGISTER FOR FREE PHOTOSHOP LEARNING
============================
The most powerful Retouch tool processor
DOWNLOAD:
✅ SADESIGN PANEL ENGLISH: https://sadesign.ai/retouching/
✅ SADESIGN PANEL VIETNAM: https://www.retouching.vn/


