1. OVERVIEW OF ACNE REMOVAL TOOLS IN PHOTOSHOP
Before diving into the steps, you need to understand the tools that Adobe Photoshop provides. Each tool has a different image processing algorithm, suitable for different types of acne and specific skin areas.
-
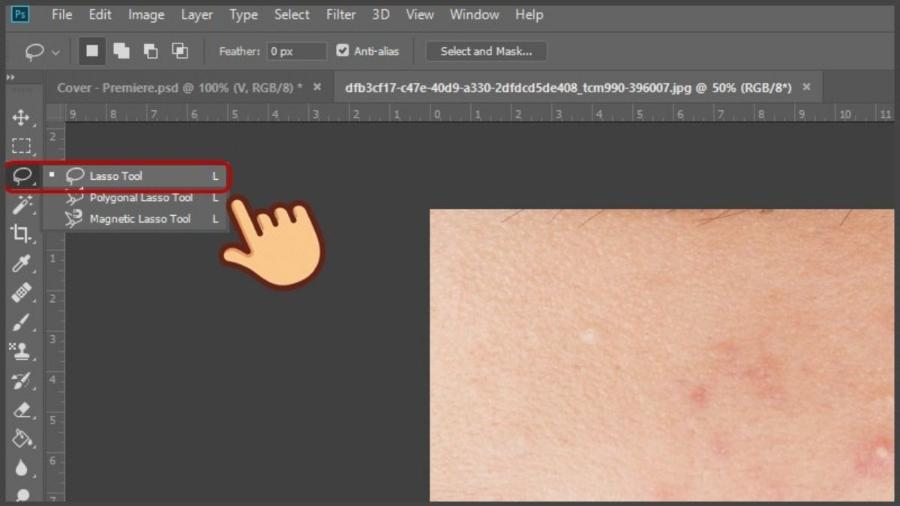
Spot Healing Brush Tool: A "miracle" tool for individual pimples, using artificial intelligence to automatically sample the surrounding skin area.
-
Healing Brush Tool: Allows users to actively select a clean area of skin to apply the treatment to the acne-affected area, helping to control color consistency.
-
Patch Tool: Extremely effective for areas with dense acne or large areas, allowing for intuitive drag-and-drop selection.
-
Clone Stamp Tool: A tool for copying originals, often used to process difficult details where the "Healing" tool might cause errors.
2. GUIDE TO REMOVING ACNE USING A SPOT HEALING BRUSH TOOL (THE FASTEST WAY)
This is the most popular method for beginners due to its convenience and superior processing speed.
2.1. Setting brush parameters
To begin, press the J shortcut key on your keyboard. In the options bar at the top, make sure you select Content-Aware mode . The brush hardness should be set to low (around 10-20%) so that the edges of the erased area blend smoothly with the original skin.
2.2. Perform the deletion operation.
Simply zoom in on the image, adjust the brush size slightly larger than the pimple, and click directly. Photoshop will automatically calculate the surrounding pixels to fill in that area naturally. Note that you shouldn't drag the mouse too far, as this can easily create unwanted blurry streaks on the skin.
2.3. Optimize efficiency using the Sample All Layers option
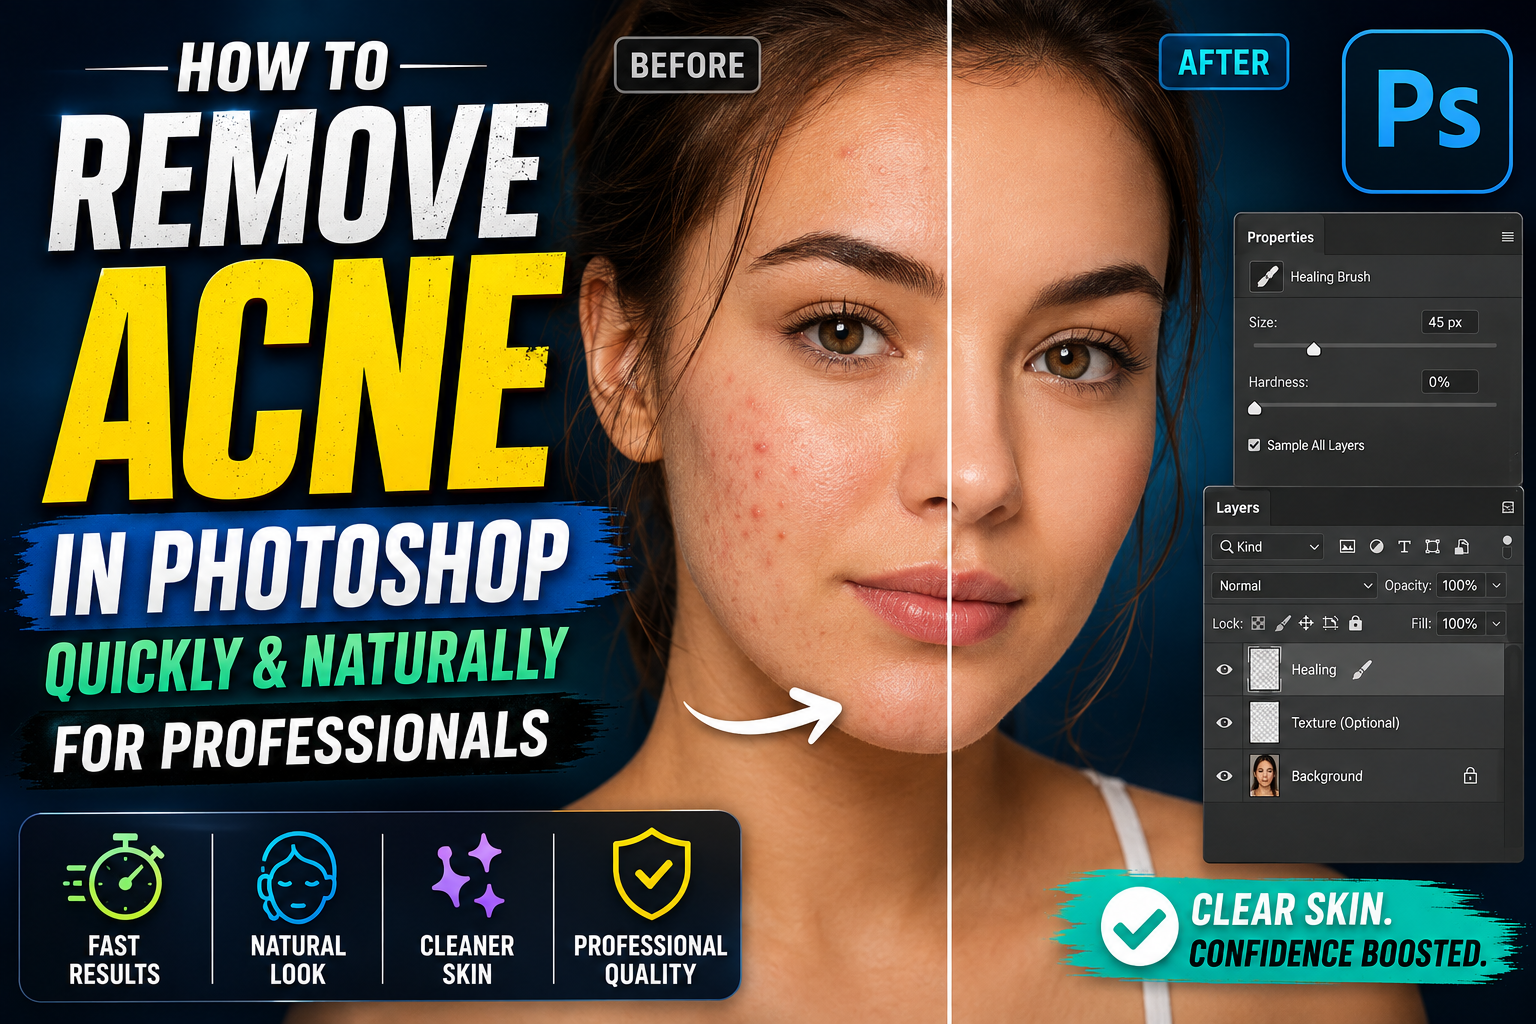
A common mistake beginners make is working directly on the original background layer. This makes all edits permanent and difficult to recover if mistakes occur. For a more professional approach, you should create a new blank layer above the original image layer. Then, in the Options bar of the Spot Healing Brush tool, check the " Sample All Layers" box . This option allows Photoshop to sample data from the layer below, but the blemish removal result is stored on the blank layer above. This method not only protects the original data but also allows you to flexibly adjust the intensity of the blemish removal layer through the Opacity parameter.
3. USE A HEALING BRUSH TOOL TO INSPECT THE SAMPLE SKIN AREA.
When acne is located in sensitive areas such as near the nostrils, corners of the eyes, or eyebrows, automated tools often distort the skin's structure.
3.1. Skin sampling
Unlike Spot Healing, this tool requires you to hold down the Alt key and click on a clean area of skin closest to the pimple. This action helps Photoshop determine the "perfect skin sample" you want to use.
3.2. Smart Blending
After taking a sample, you click on the pimple. The Healing Brush algorithm will capture the texture of the sample area but retain the brightness and color of the target area. This helps the pimple disappear without leaving any noticeable difference in skin tone.
3.3. Techniques for selecting homologous sampling regions
The key to success with the Healing Brush Tool lies in observation and selection of sampling points. You shouldn't sample just any clean skin area; prioritize areas with the most similar detail and texture to your target area. For example, if you're treating acne on your cheekbones where pores are large, don't sample from the smooth skin of your forehead. A discrepancy in texture will make the treated area look patched and inconsistent. A tip for professional designers is to frequently change the sampling point using the Alt key after every few clicks. This ensures that the newly added pixels always reflect the surrounding skin, avoiding the mechanical repetition of skin texture.
3.4. Controlling Diffusion with the Diffusion Parameter
If you set Diffusion to a low level (1 to 3), the edges of the edited area will be sharper, suitable for working near borders such as lip or eyebrow outlines. Conversely, if set to a high level (5 to 7), Photoshop will perform an extremely powerful blending of colors and light, helping to erase blemishes on smooth skin without leaving any ridges or shadows.
4. PATCH TOOL TECHNIQUE FOR AREAS WITH SKIN IMPERFECTIONS
In cases where the face has large cystic acne or a dense cluster of tiny blackheads, clicking on each pimple individually would be very time-consuming.
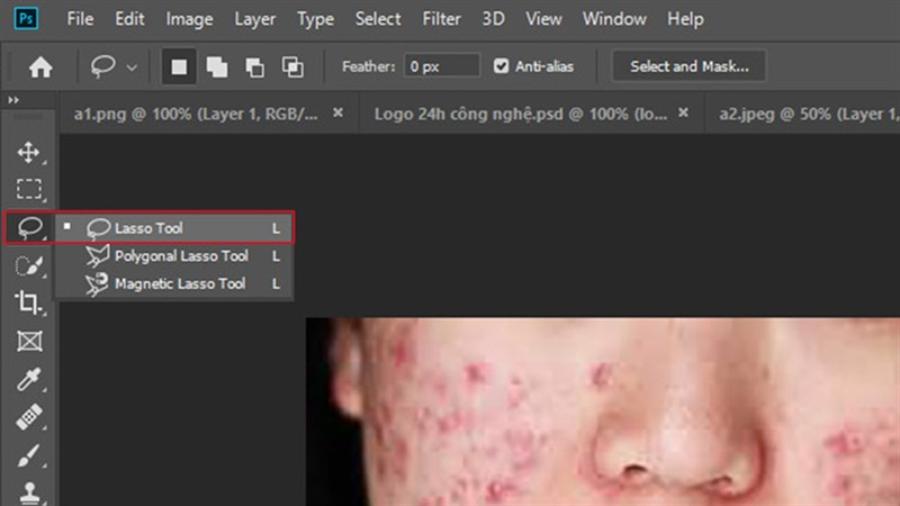
4.1. Create a selection around the acne area.
Using the Patch Tool (which is in the same group as the Healing Brush), draw a circle around the entire area of skin that needs treatment. Try to draw a circle close to the acne to avoid affecting other details such as natural wrinkles.
4.2. Leather surface replacement
You click and hold the mouse button inside the selection and drag it to a nearby clean area of skin. As soon as you release the mouse button, Photoshop will blend the clean area back into place, processing a large area in just a few seconds.
5. ADVANCED PROCESSING METHOD: FREQUENCY SEPARATION
If you want to remove blemishes in Photoshop to magazine cover standards, Frequency Separation is an indispensable technique. This method separates the image into two distinct layers: a color layer (Low Frequency) and a detail/structure layer (High Frequency).
5.1. Setting up two frequency classes
You duplicate the original image into two layers. On the bottom layer, you use Gaussian Blur to lightly blur the skin, retaining only the skin tone. On the top layer, you use the High Pass filter to preserve pores and skin texture.
5.2. Acne removal on High Frequency
Use the Clone Stamp or Healing Brush tool on the High Frequency layer. Because you're only working on the "surface" of the skin, you can remove blemishes without worrying about uneven skin tone. The result is smooth skin while still clearly showing individual pores.
6. ACCESS APPVIP.AI TO OPTIMIZE YOUR GRAPHICS PROCESS
The website appvip.ai was created as a comprehensive solution, providing a powerful ecosystem of resources and tools to optimize the performance of creative professionals. Instead of spending hours on repetitive tasks or searching for fragmented materials, you can find modern, integrated solutions here, from accurate color processing presets to supplementary tools that make removing blemishes in Photoshop faster and more professional than ever before.
Combining a solid Photoshop technical foundation with high-quality resources from appvip.ai not only saves you considerable time but also elevates the aesthetic quality of each output. This website focuses on simplifying complex tasks, allowing designers to concentrate their resources on brainstorming and artistic creation.
7. COMMON MISTAKES WHEN REMOVING ACNE IN PHOTOSHOP
Even experienced photographers often make mistakes that make their photos look "fake" and lifeless.
-
Over-smoothing (Flat skin): Excessive use of blemish removers and smoothing agents can strip the skin of its natural texture, making it look plastic or doll-like. Always remember that human skin needs pores.
-
Mistaking a distinctive mole for a mole: Sometimes, charming moles are a person's identifying feature. You should only remove moles temporarily, not permanently, unless specifically requested.
-
Leaving a repeating pattern: When using the Clone Stamp on the same area too many times, the skin will develop identical, repeating patches, creating an unnatural look.
8. SECRETS TO MAINTAINING A NATURAL LOOK FOR YOUR SKIN
To make your photos look like they haven't been edited at all, you need to apply the following tips:
8.1. Using Layer Masks
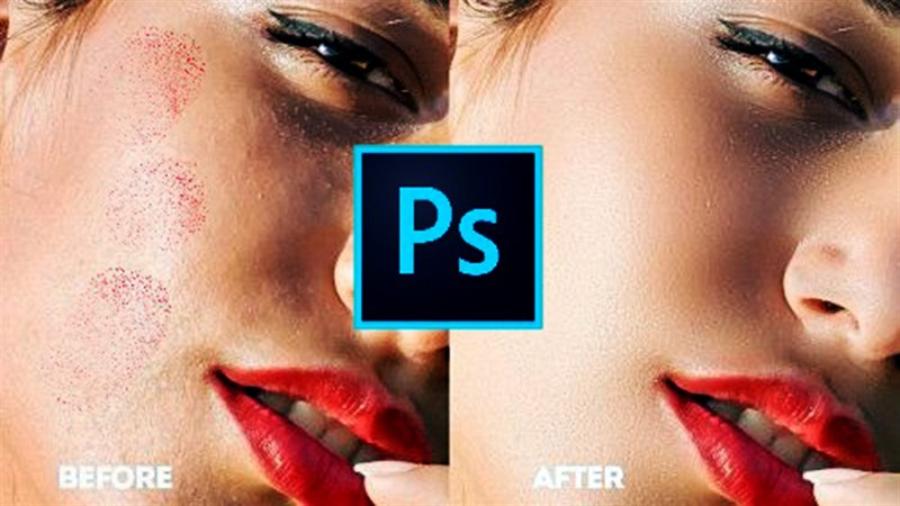
Always remove blemishes on a new layer or use a layer mask. This allows you to adjust the opacity of the editing layer, helping blemishes fade gradually instead of disappearing completely and abruptly.
8.2. Combining with the Dodge and Burn tool
After acne treatment, the skin in that area often has uneven brightness. Skillful use of Dodge (lightening) and Burn (darkening) will help to reshape the contours of the face, ensuring that the skin retains its depth even after acne clearance.
9. CONCLUSION
Mastering the technique of removing blemishes in Photoshop not only improves the appearance of the subject in the photo but also elevates the professional value of the designer. From simple steps like using the Spot Healing Brush to complex techniques like Frequency Separation, each method plays a crucial role in the professional post-processing process. Practice regularly to make your hands more agile and your eyes more sensitive to identifying imperfections. Beautiful skin after editing is skin that looks clean but still vibrant and retains its natural features.